Changing the Primary Domain of a Site
There may come a time when you wish to promote an additional domain to become the primary domain used to access your site. This can be done from the Domains tab on your Site dashboard. When you change the primary domain, SpinupWP will perform all of the necessary actions to move and update the files on your server. These actions include:
- Disable HTTPS (if enabled)
- Disable the page cache (if enabled)
- Copy all existing Nginx config files to the new domain directory
- Find & replace the new domain in all Nginx configs
- Symlink new sites-available config file
- Copy logrotate config
- Find & replace the domain in the PHP pool config file
- Find & replace the domain in the SpinupWP pool config file
- Find & replace the domain in the WP-CLI env file
- Find & replace the domain in cron
- Rename the site directory
- Update the git remote (for git sites)
- Remove symlink for old sites-available config file
- Verify Nginx config
- Find & replace the new domain in the WordPress database
- Update WordPress home and site_url options
- Update multisite constants in wp-config.php
- Flush the object cache
- Enable HTTPS (if enabled)
- Enable the page cache (if enabled)
- Delete old domain config files
- Restart Nginx
- Restart PHP-FPM
After changing the primary domain we recommend you test your site thoroughly and check any Nginx config files you might have added or customized. Also, please be aware that changing the primary domain can negatively impact SEO if the old domain is not redirected properly. Changing the primary domain will result in a short period (~1 min) of downtime while SpinupWP moves config files around, generates new HTTPS certificates and restarts Nginx and PHP-FPM.
Redirect the Old Domain (optional)
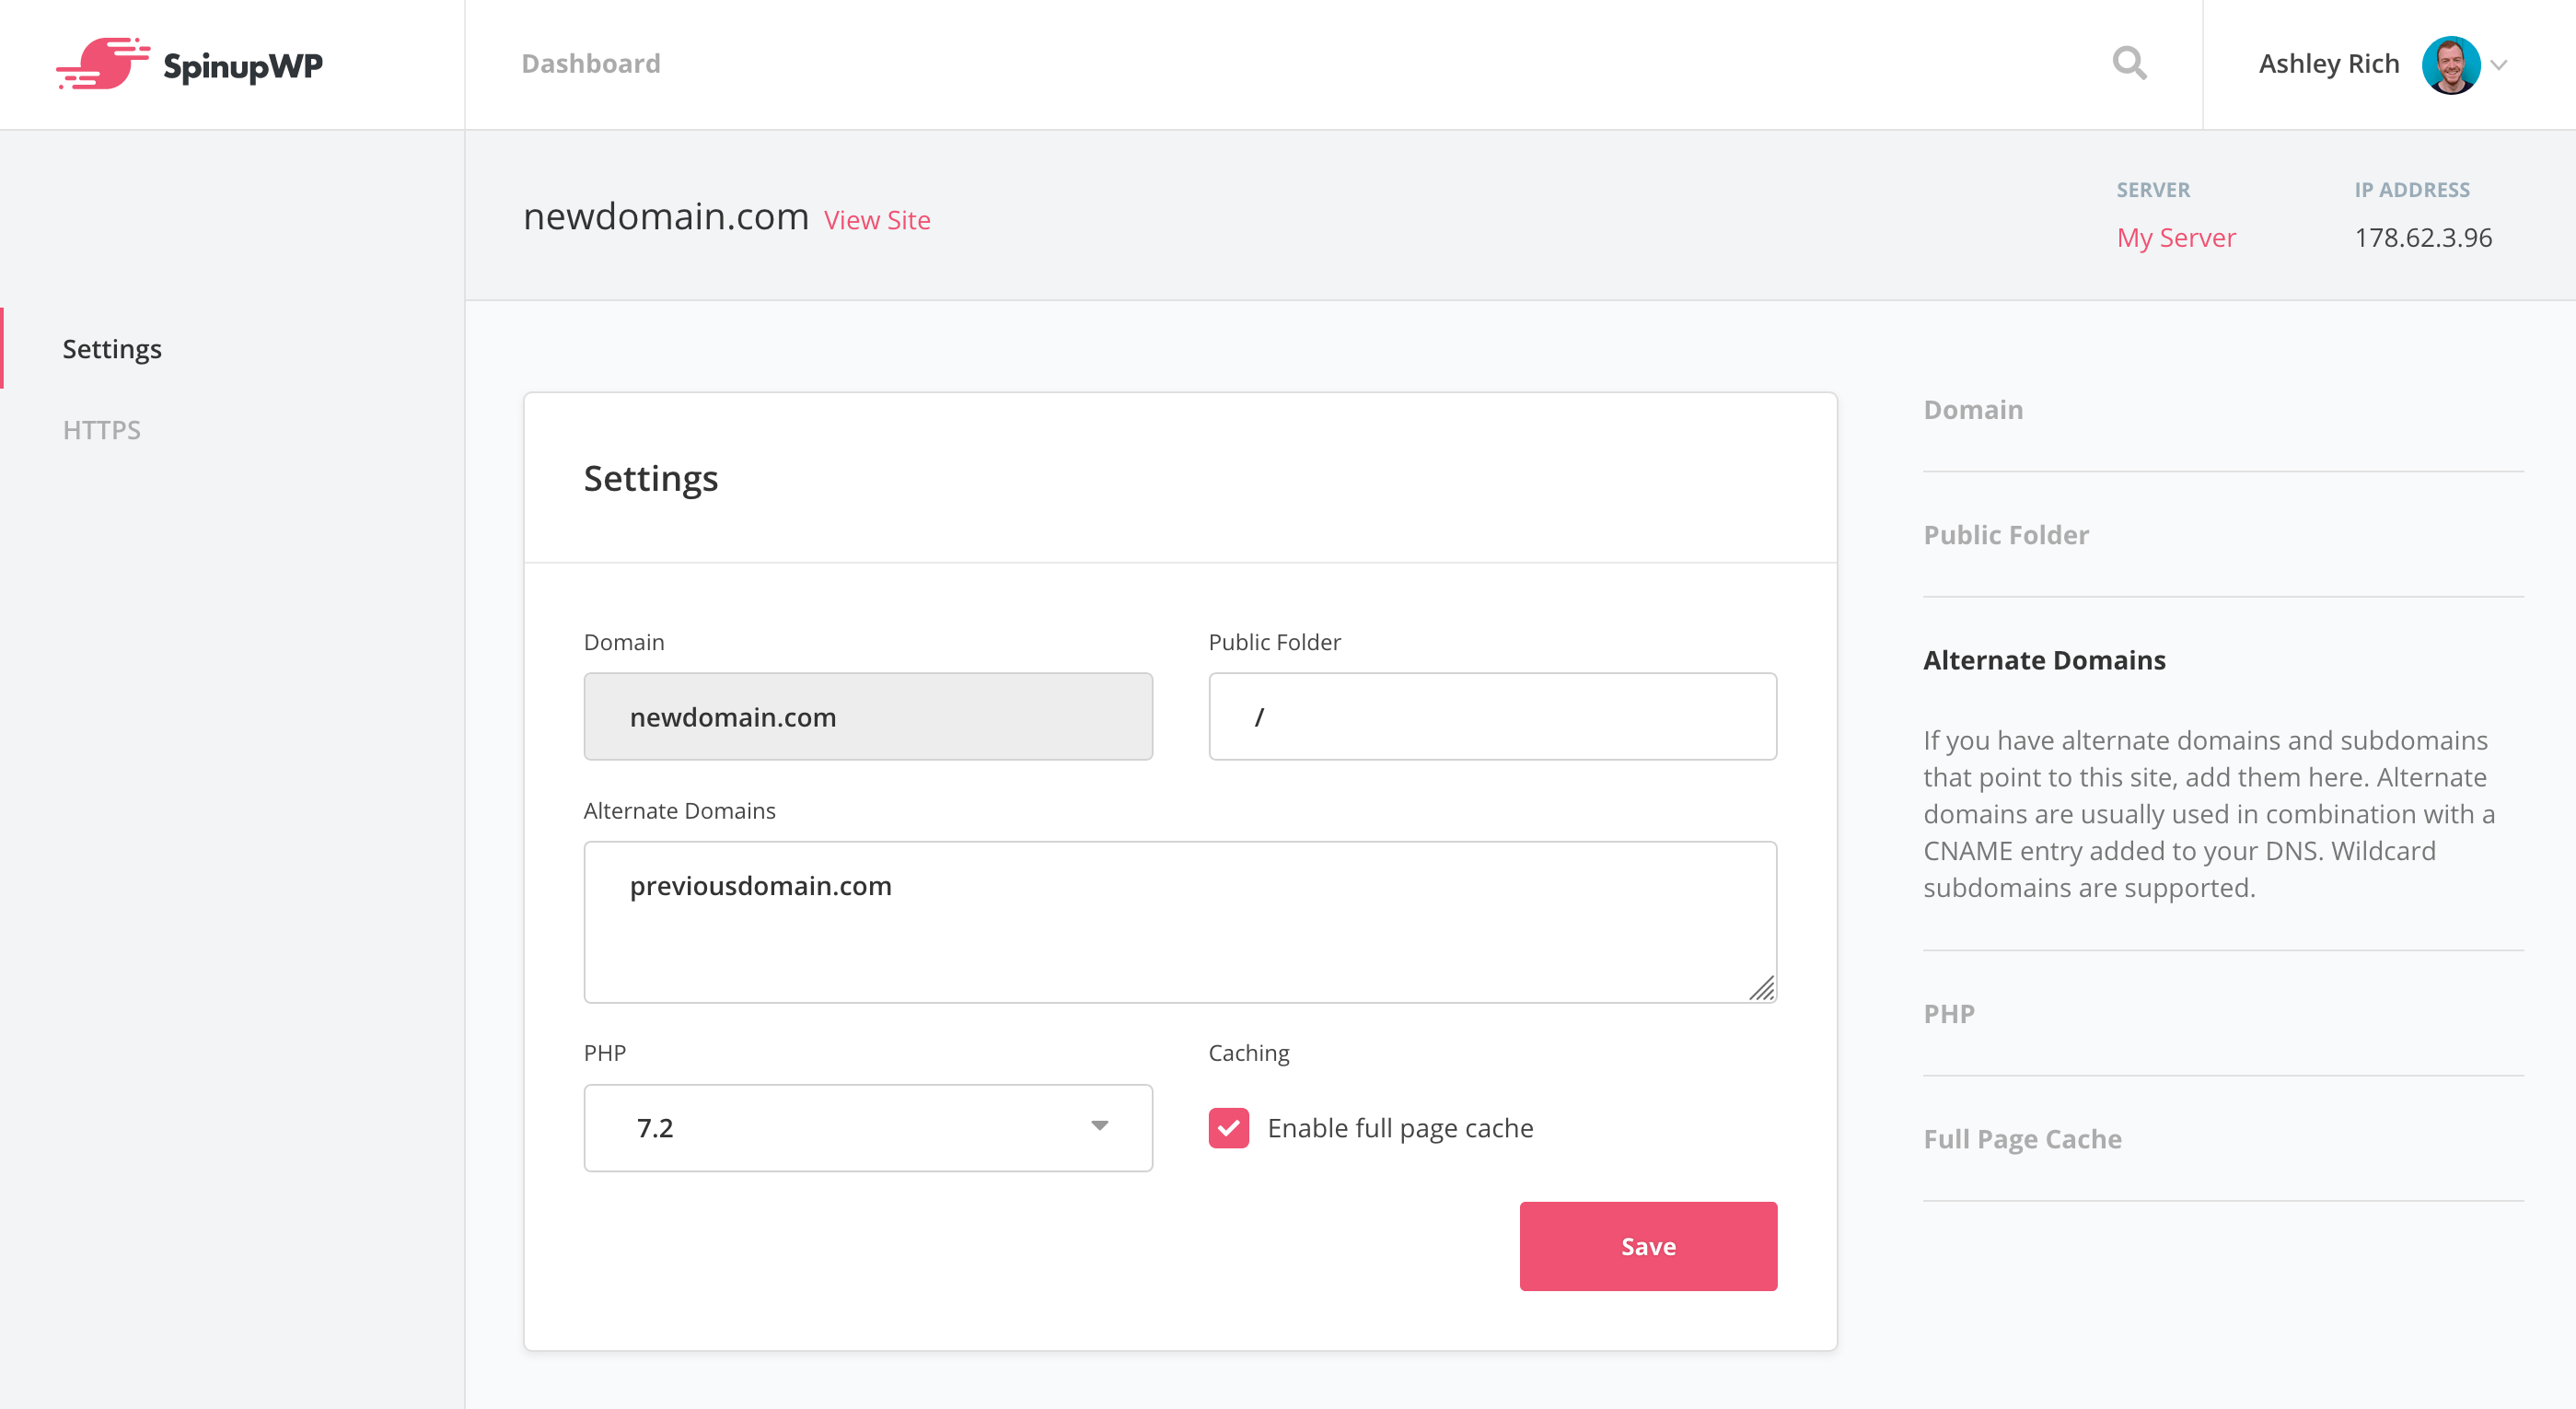
If you wish, you can also choose to redirect the old domain to the new domain. If your site is running on HTTPS you will first need to add the old domain as an Alternate Domain to the new primary domain. This will ensure SpinupWP continues to generate a HTTPS certificate for the old domain, which will allow HTTPS traffic to be redirected.
Next, SSH to your server using a sudo user and create a new file within /etc/nginx/sites-available/newdomain.com/before/ called change-domain.conf with the following contents:
server {
   listen 80;
   listen [::]:80;
   listen 443 ssl http2;
   listen [::]:443 ssl http2;

   server_name previousdomain.com;

   ssl_certificate /etc/letsencrypt/live/newdomain.com/fullchain.pem;
   ssl_certificate_key /etc/letsencrypt/live/newdomain.com/privkey.pem;

   return 301 $scheme://newdomain.com$request_uri;
}
If your site isn’t running on HTTPS you should remove both the listen 443 directives, and the ssl_certificate and ssl_certificate_key directives. Remember to update previousdomain.com and newdomain.com to reflect your domains.
Test that the configuration is correct using sudo nginx -t. You can ignore any warnings like “nginx: [warn] conflicting server name”. If everything looks good, reload Nginx:
sudo service nginx reload
Test that your site works by visiting the old domain. If everything is configured correctly it should redirect to the new primary domain.