We're always adding new features and improvements to SpinupWP.
See below for the latest enhancements and email us if there’s a feature you'd
like to see next.
Brotli is a modern compression algorithm competing to replace gzip as the compression algorithm for the web, improving compression rates by up to 20%, and speeding up the delivery of your sites. Brotli is widely supported by browsers and will be enabled by default on all new servers and sites created via SpinupWP.
SpinupWP customers will notice a mandatory upgrade in their dashboards for all servers running Ubuntu 22.04 LTS and 24.04 LTS. This upgrade is not available for servers running older versions of Ubuntu. When you run this upgrade, the Brotli compression module for Nginx will be installed on the server and the Nginx configuration files will be updated to enable it.
If you’re wondering why you need to manually upgrade each server and why we don’t just force upgrade all servers, please read our manifesto here.
Ubuntu 24.04 LTS shipped on April 25th and to our surprise many providers (Vultr, DigitalOcean, Akamai/Linode, etc) were offering it right away. And so we tested it out right away, but unfortunately the Fail2Ban package in the official Ubuntu repo was broken and some PHP packages weren’t yet available on Ondřej Surý’s repository that we use for PHP. The last of these issues were just resolved a few days ago by the maintainers of those projects and so today we can now fully support Ubuntu 24.04 LTS in SpinupWP.
We’ve tested on DigitalOcean, AWS EC2, Vultr, Akamai/Linode, and Google Cloud. We would have tested AWS Lightsail, but it doesn’t offer a 24.04 LTS option yet.
As part of this update, we’ve also retired the Ubuntu 20.04 LTS option. SpinupWP will only allow new servers to be set up with Ubuntu 22.04 LTS or Ubuntu 24.04 LTS.
The ability to click a link in the SpinupWP dashboard that automatically logs you into a site’s WordPress Admin has been on our list since before we even launched SpinupWP and now it’s finally here.
If you’re on the Team plan, today you’ll notice that the View Admin link in your site dashboard in SpinupWP has been replaced with a WP Admin link with a little arrow next to it. By default, the WP Admin link will function the same as the View Admin link. It will take you to the WordPress Admin (which will redirect you to the login page if you’re not already logged into WordPress).
Clicking the arrow next to the WP Admin link will launch a popup with two sections: one that allows you to quickly login to the WordPress Admin as a one-off and the other section allows you to manage the behavior of the WP Admin link, toggle on/off automatic login, and define a WordPress user to login as.
Starting today, you can flip a new switch when creating a new git site or in your existing git site’s settings that will generate a unique git deploy key for that site. For existing git sites, this switch will be off and your server’s git deploy key will be shown. This is the git deploy key you previously added to your GitHub/GitLab/BitBucket/etc account when you set up the site and will continue to work as it has previously. You just now have the option to generate a unique git deploy key for a site and use that instead of the server’s deploy key.
The server’s git deploy key is convenient if you have a GitHub/GitLab/BitBucket/etc account with lots of site repositories and don’t want to copy a unique git deploy key over to each site repository at your provider. You only need to install the server’s git deploy key at the account level of your GitHub/GitLab/BitBucket/etc account to grant SpinupWP access to all the repositories in that account.
But what if you don’t want to give SpinupWP access to all the repositories in your GitHub/GitLab/BitBucket/etc account? You might think that you could just install the server’s git deploy key in each site repository at your provider, but you can’t. GitHub and other providers do not allow the same git deploy key to be installed on multiple repositories. So you can install the server’s git deploy key on one site repository, but not a second.
Similarly, you cannot install a server’s git deploy key on multiple GitHub accounts. That is, if you wanted to set up two git sites on the same server but whose repositories are in two different GitHub accounts, you could not do it. GitHub won’t allow you to add the server’s git deploy key to the second account.
This is why we need a unique deploy key for each site. You can install each site’s unique git deploy key into its respective repository and grant SpinupWP access only to that repository. And if you move the site to another server in the future, the git deploy key goes with it and continues to work, which is not the case when using the server’s git deploy key. This is why we recommend using a unique git deploy key for each site unless you’re in the situation described above and really want that convenience.
You can now provide your Hetzner API key to SpinupWP and have it spin up and deploy instances in your Hetzner account without leaving the SpinupWP dashboard. Previously you had to go to your Hetzner console, spin up a new server, and then copy and paste connection information, so things are a lot smoother and quicker now.
When you delete a Hetzner server in SpinupWP, it will also ask you if you’d like to delete it in your Hetzner account. No more back and forth needed.
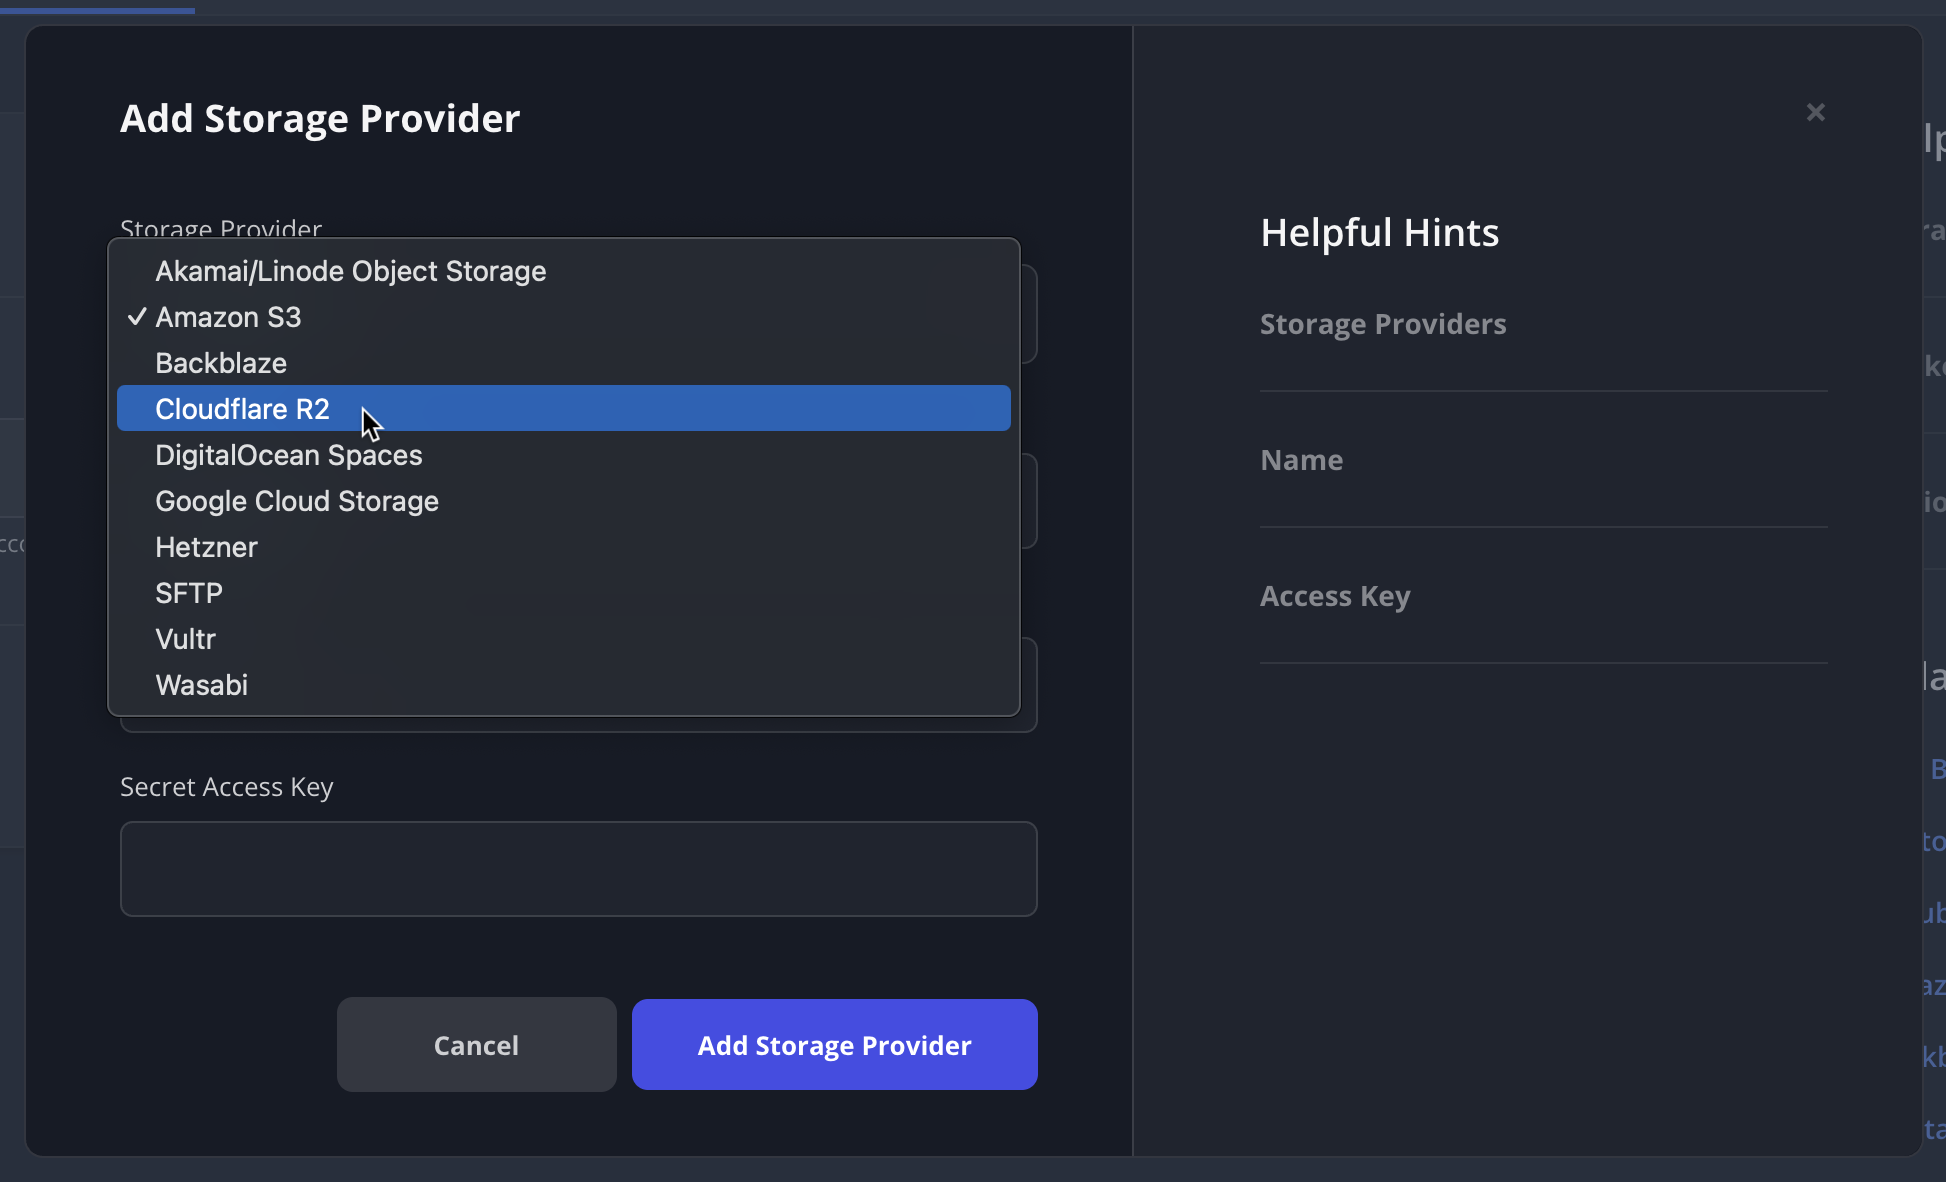
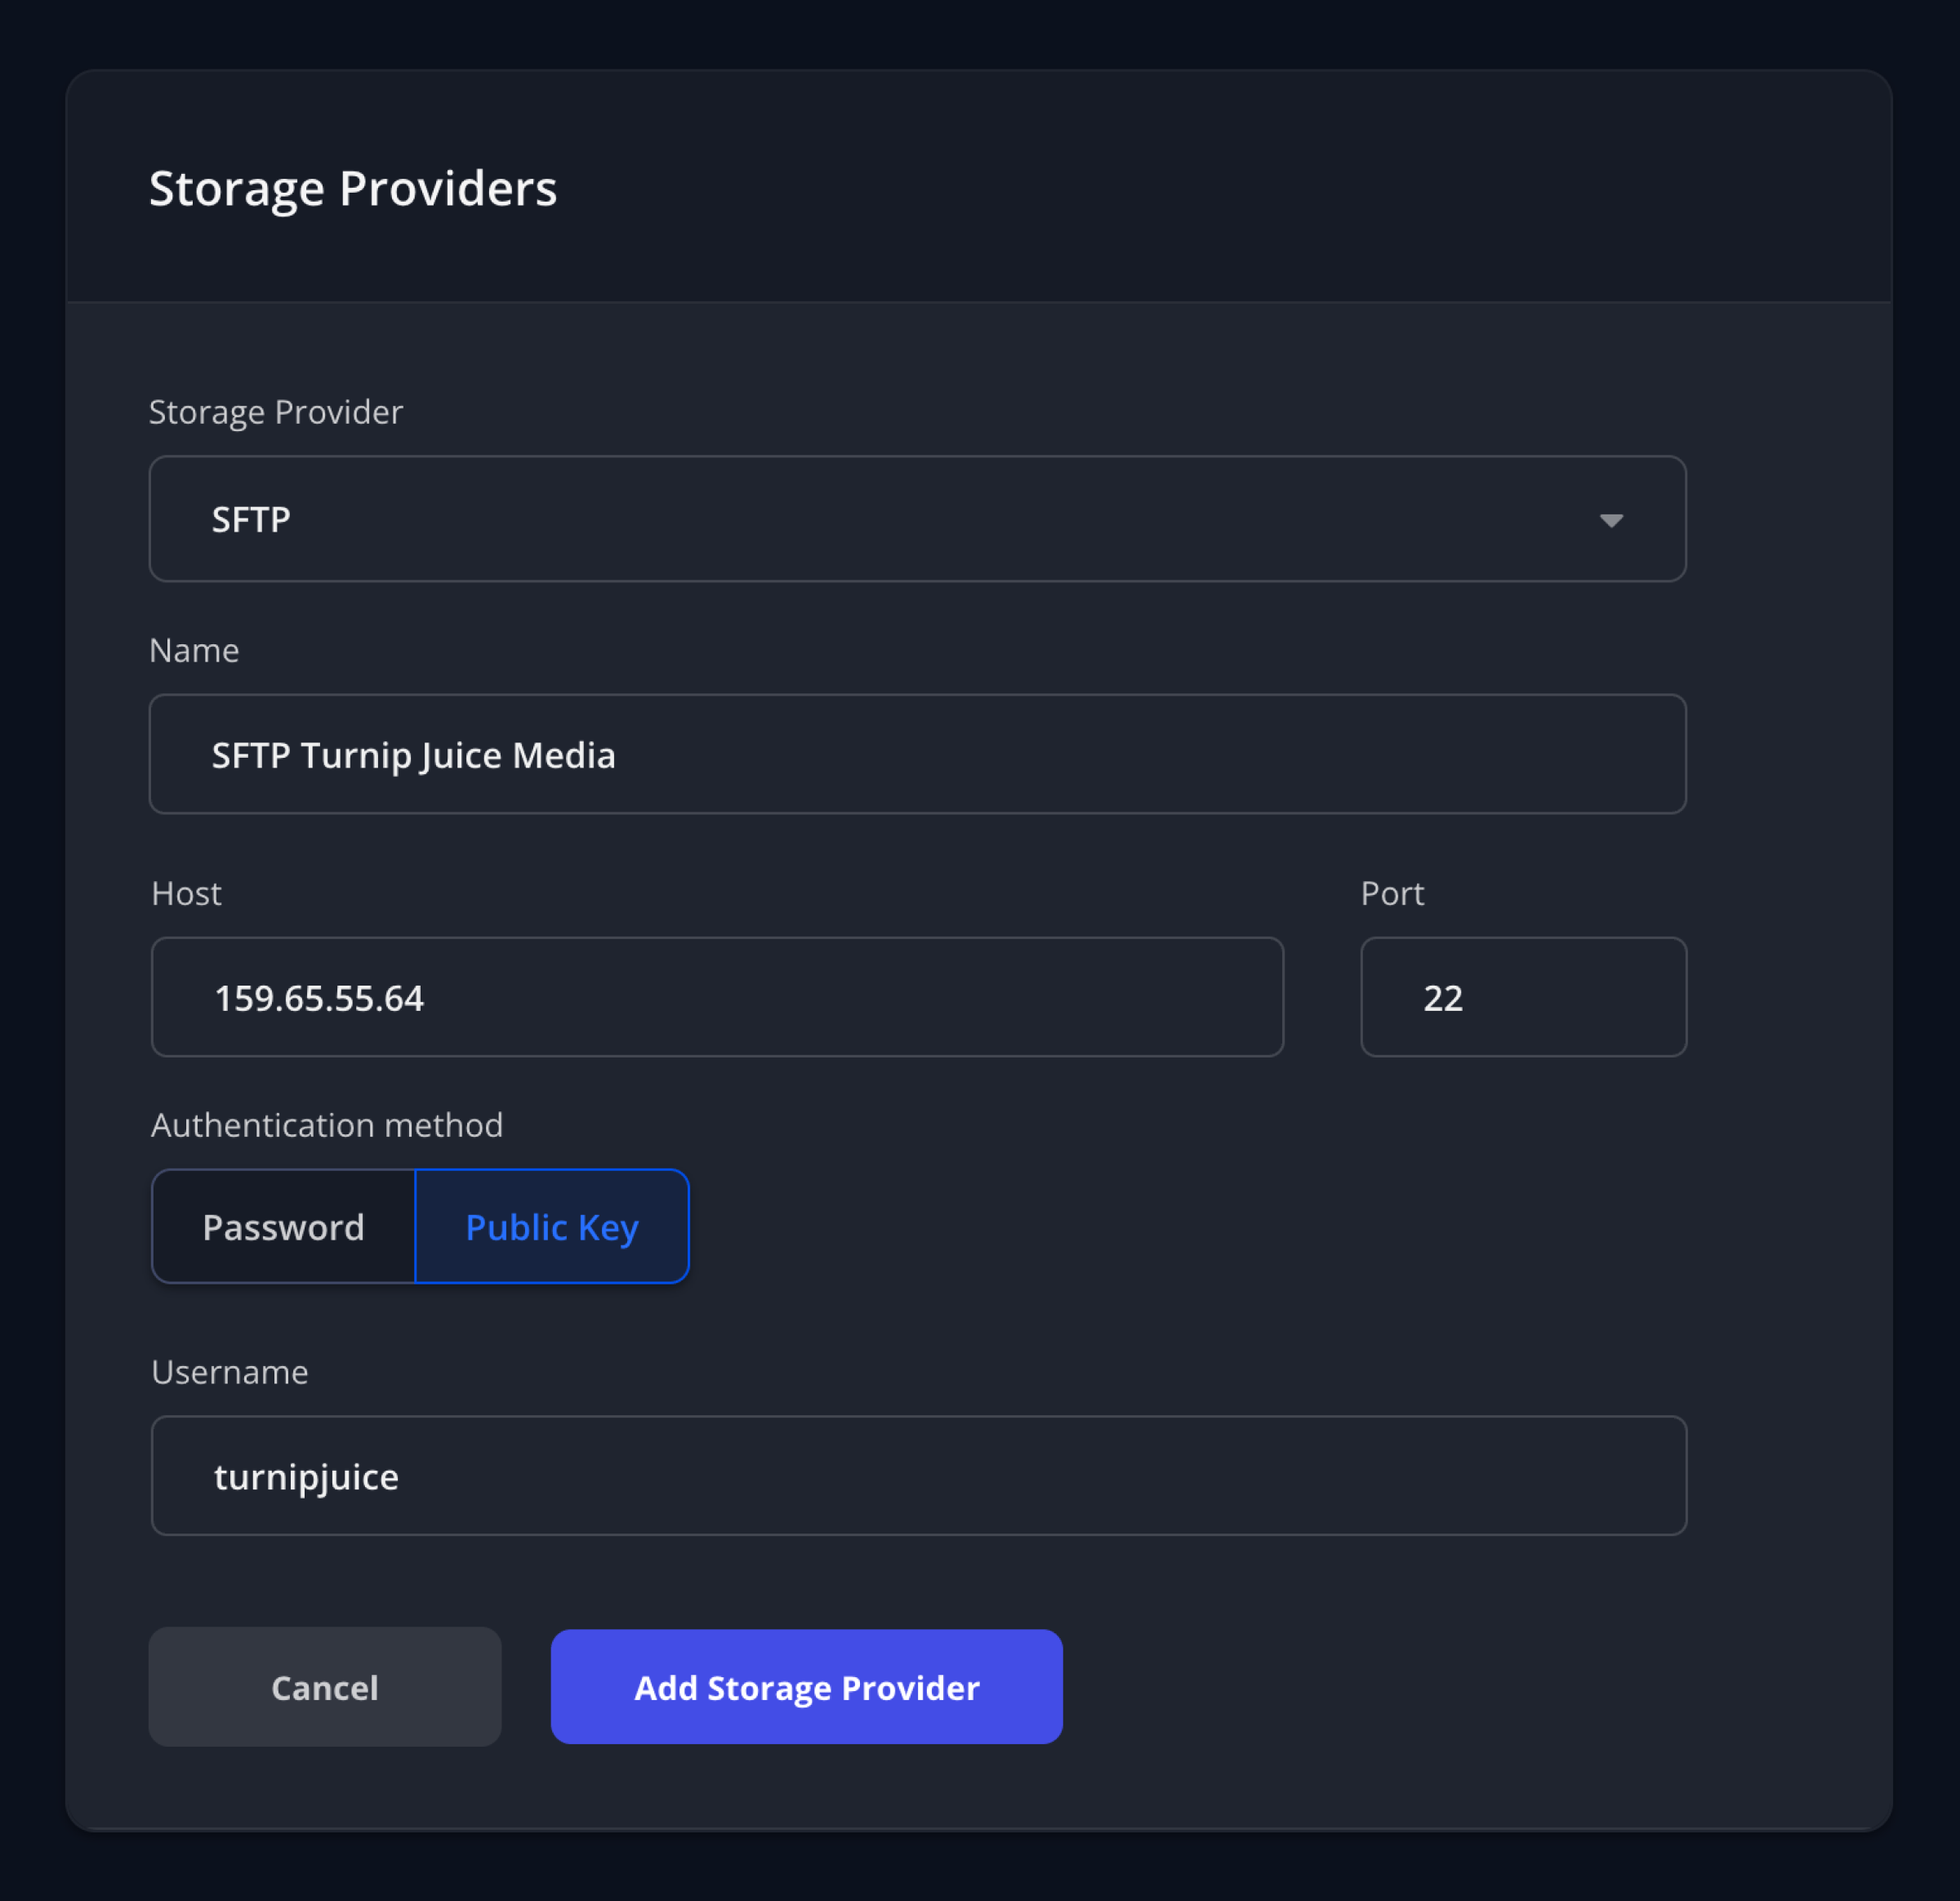
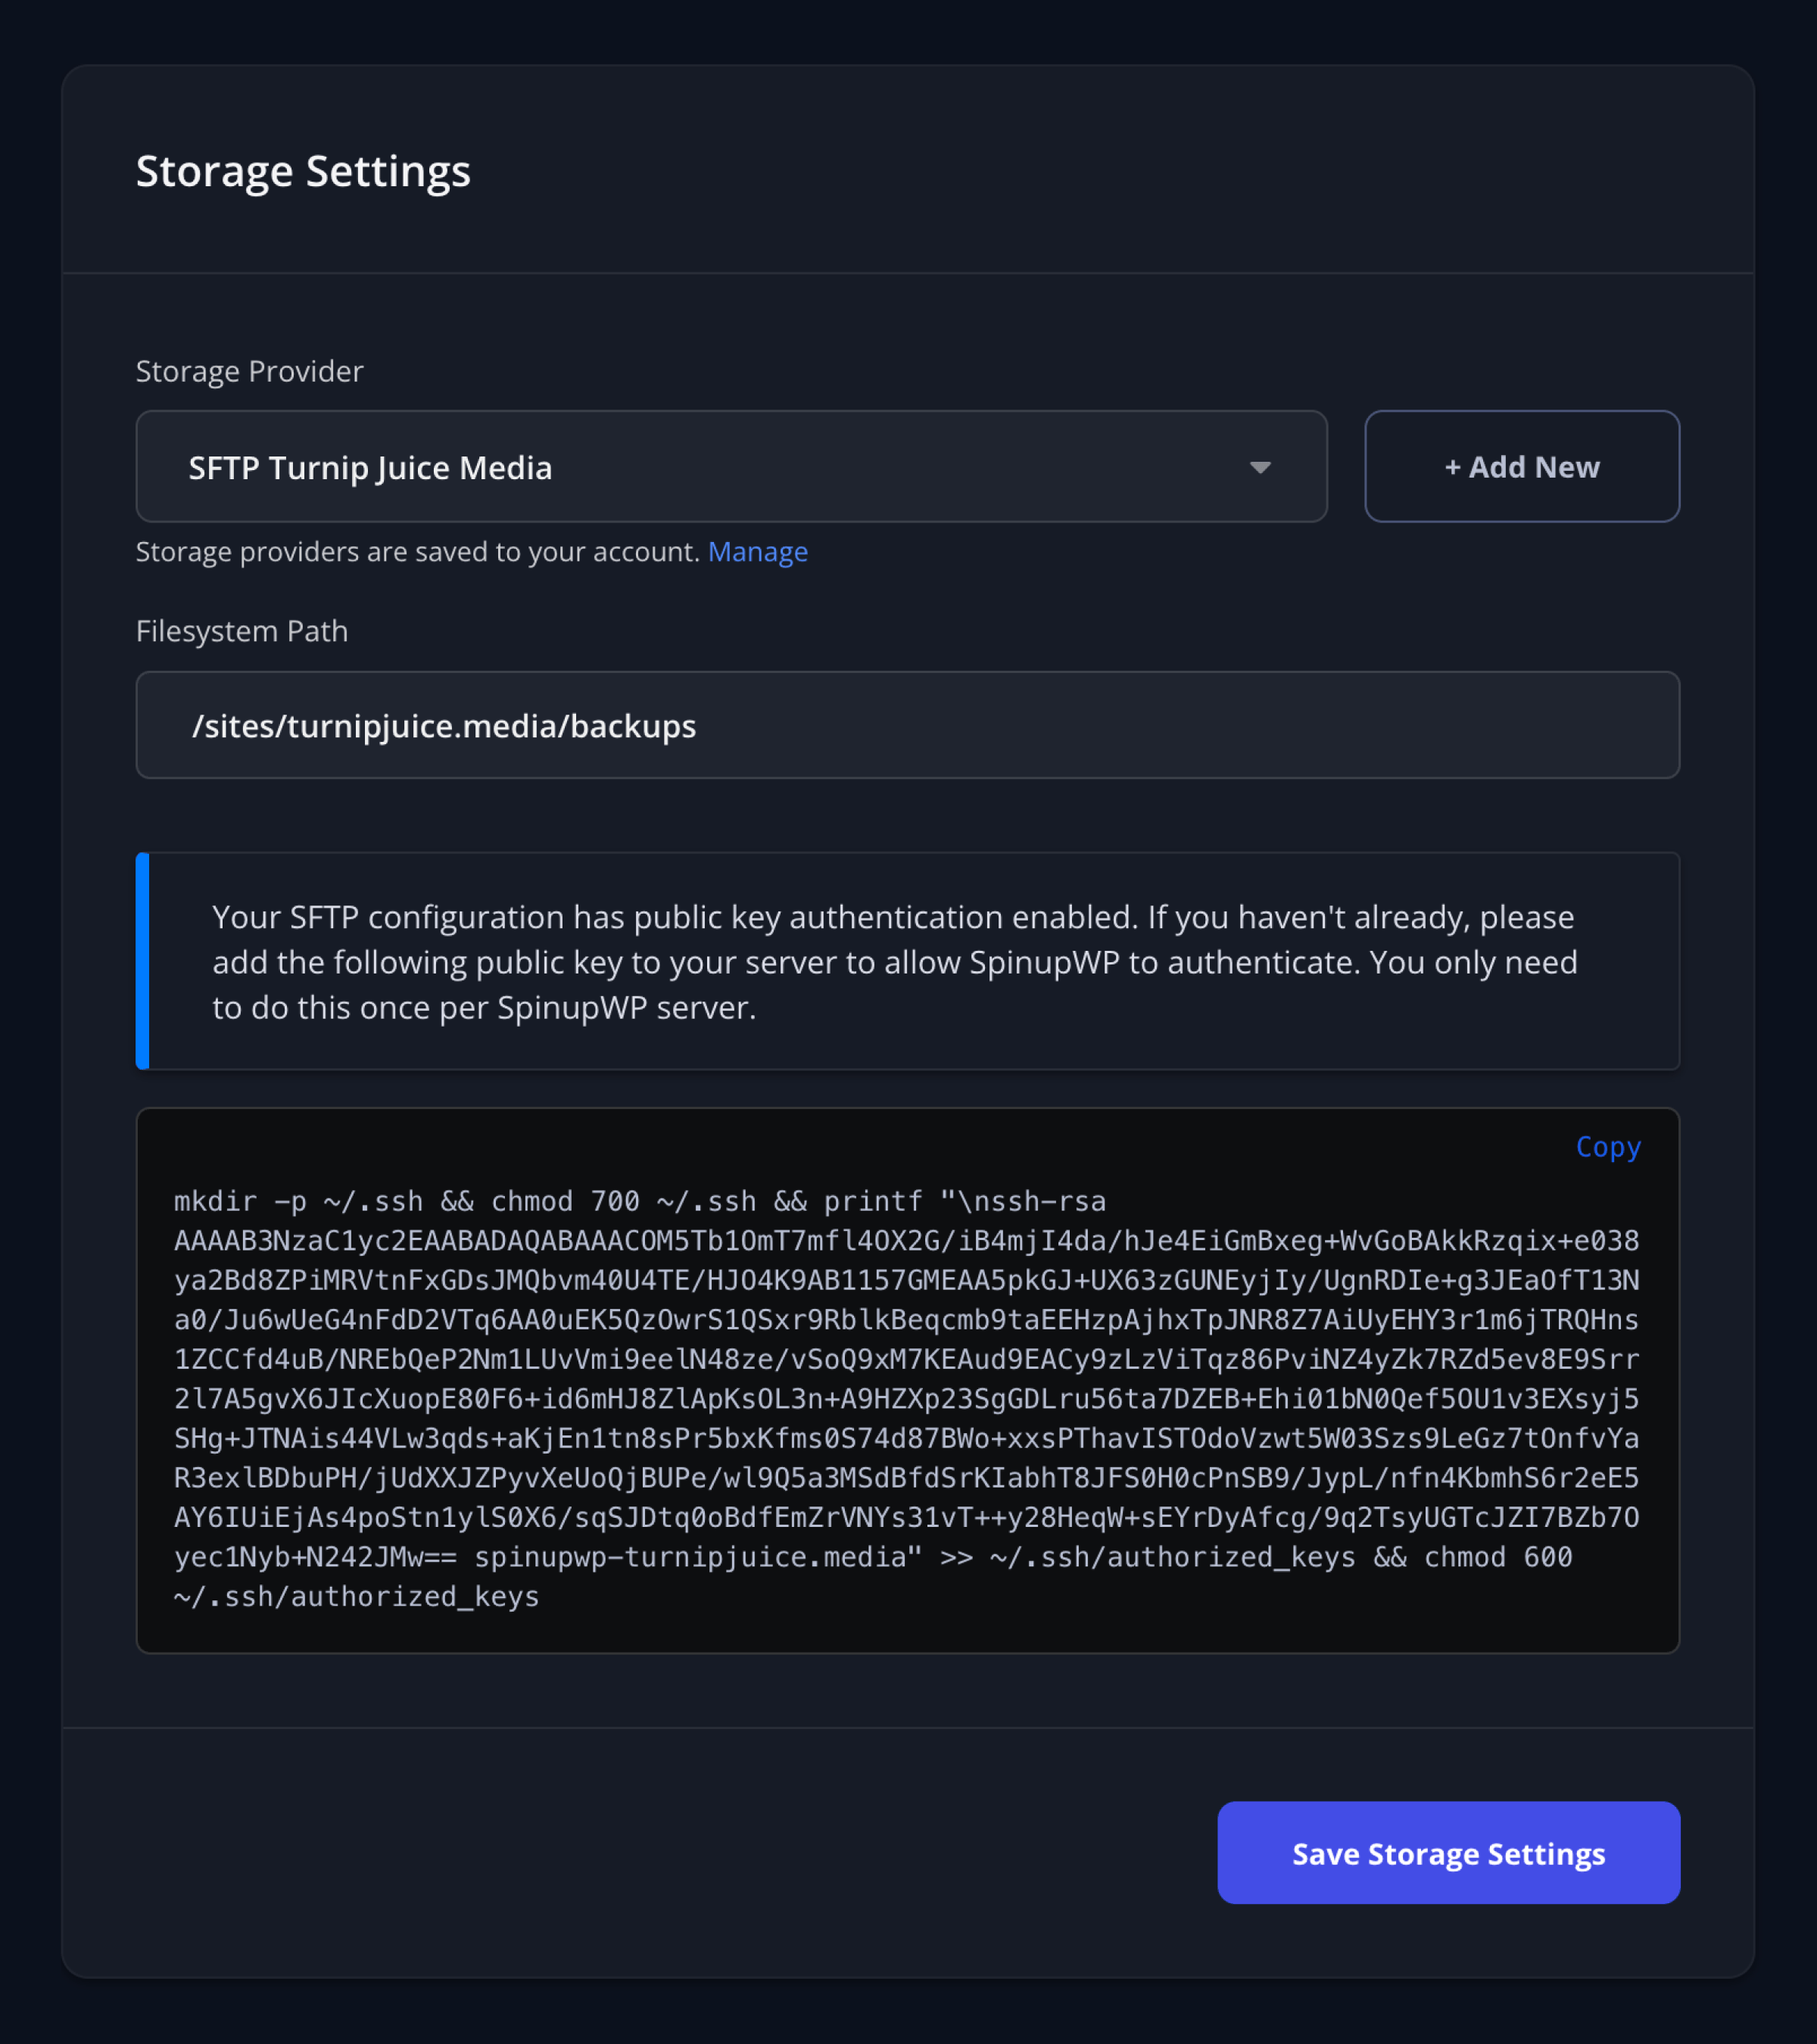
Hetzner does not currently offer an object storage service, but is working on one. In the meantime, we are considering implementing an SFTP backup option that will work with Hetzner Storage Boxes. Soon you’ll be able to take advantage of more of Hetzner’s services.
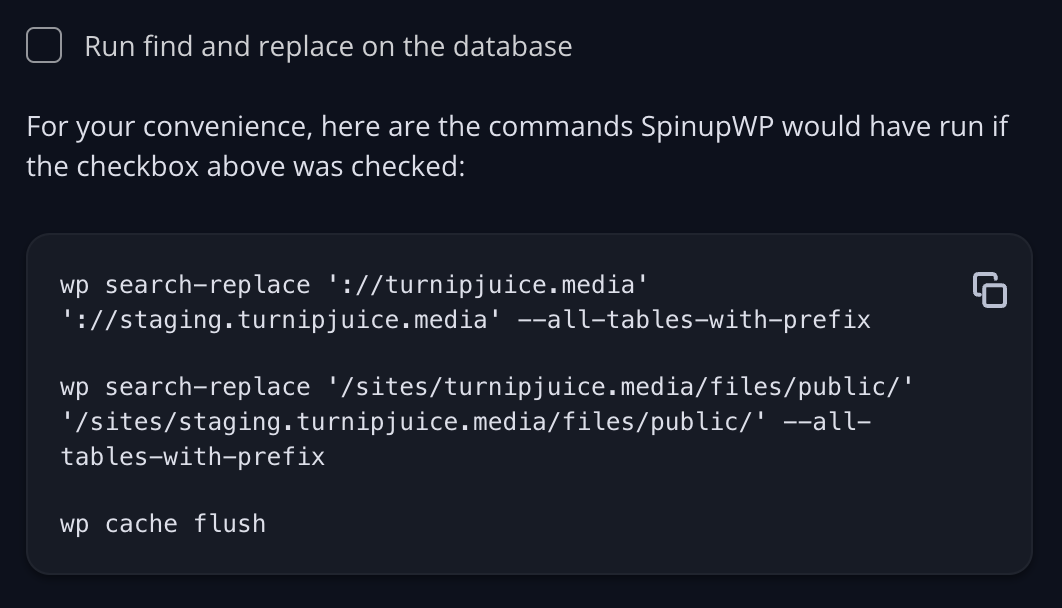
Let’s say you created a staging site by cloning a production site and want to refresh staging with the latest production files and database. Previously, you had to manually refresh the files and database via the command line or delete the staging site and clone production again. Not exactly convenient.
Now, with the Refresh Site tool, you can overwrite the staging site’s files and/or database with those of the production site:
The Refresh Site tool allows you to refresh just the files, just the database, or both. It also gives you the option to select any source site from which to copy the files and/or database and list specific files to exclude from being overwritten. If the site you’re refreshing was cloned from another site, it will be selected by default, but you’re free to select another site to refresh from.
The Refresh Site option is found in the action menus of every site:
This means that you can refresh the files and/or database of any site, not just staging sites. Maybe you have a production site that you’d like to overwrite with a new site that you’ve set up. Simply go to the production site, choose Refresh Site from its menu, choose the new site to copy from, and click Refresh Site. It’s that easy!
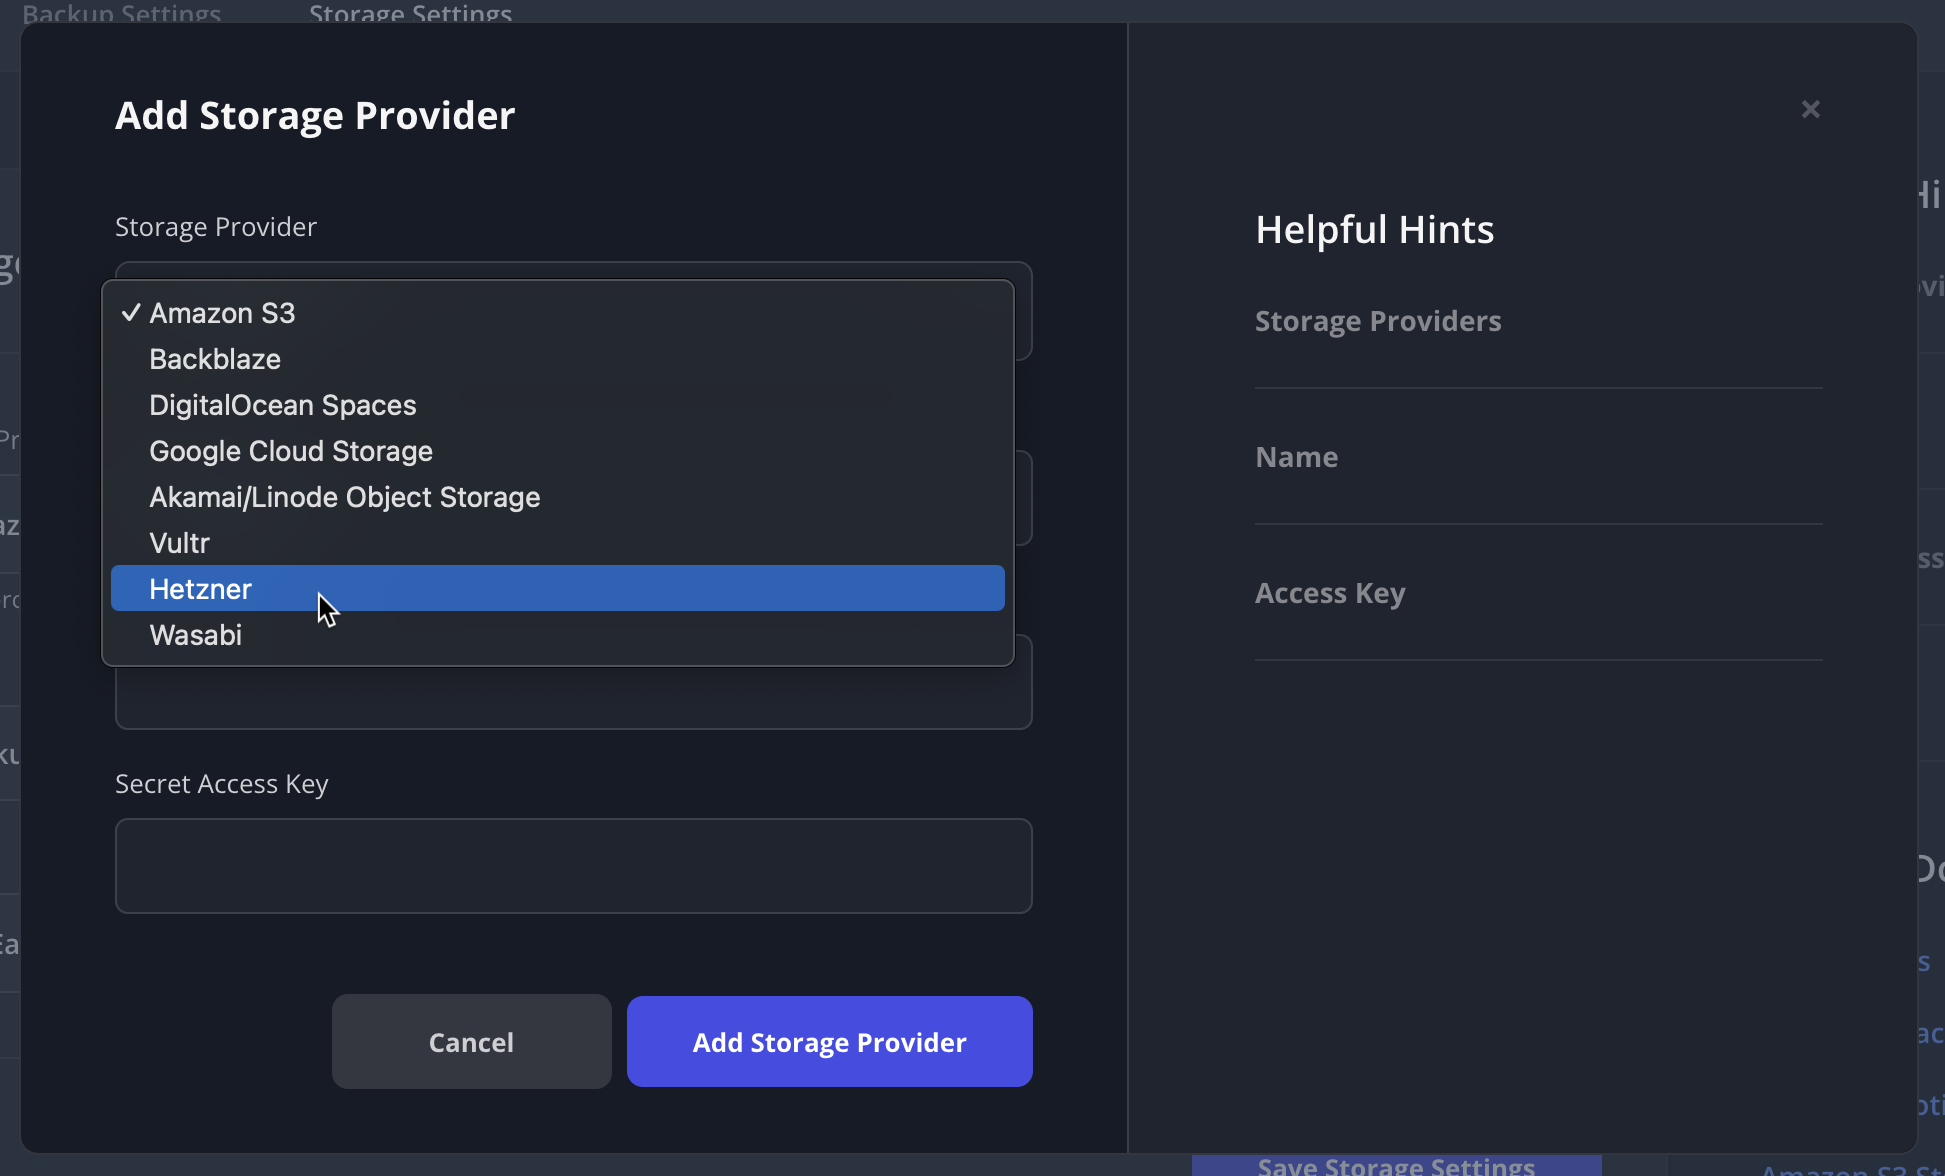
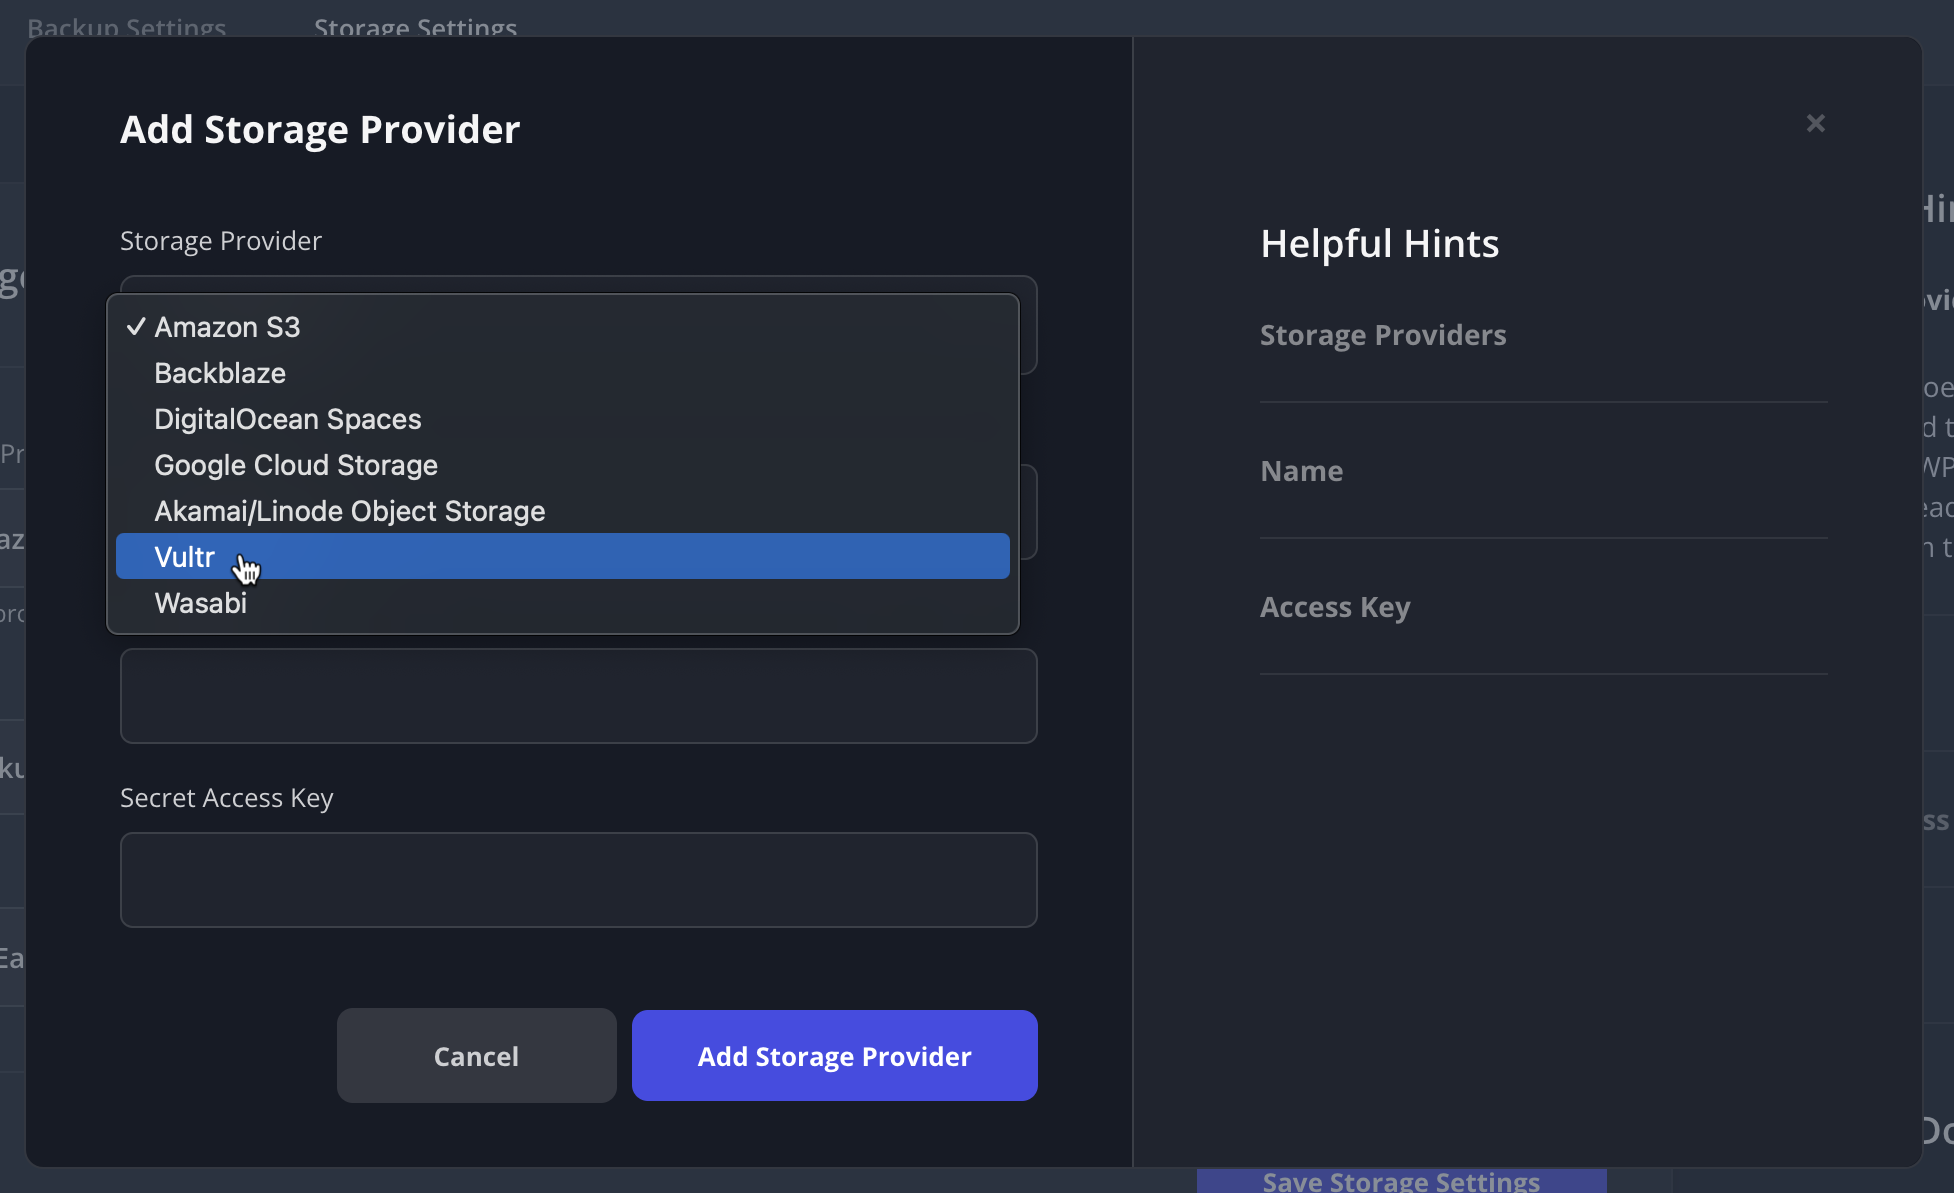
You can now provide your Vultr API key to SpinupWP and have it spin up and deploy instances in your Vultr account without leaving the SpinupWP dashboard. Previously you had to go to your Vultr dashboard, spin up a new instance, and then copy and paste connection information, so things are a lot smoother and quicker now.
When you delete a Vultr server in SpinupWP, it will also ask you if you’d like to delete it in your Vultr account. No more back and forth needed.
We’re also currently working on adding Vultr Object Storage as a supported storage provider for backups. Soon you’ll be able to take advantage of more of Vultr’s services.
We’ve shipped the latest release of the SpinupWP plugin, the plugin that should be installed on all WordPress sites hosted on servers configured by SpinupWP. In this release, we have added a “Purge this URL” option to our Cache menu in the WordPress nav bar.
If you’ve customized your page cache key by updating your FastCGI Cache configuration in Nginx, you can now customize the page cache key that the plugin uses for clearing the cache using WordPress filters. Props to quimcastella for his pull request for this.
We’ve also added compatibility for PHP 8.1 (props afragen), increased the cache clearing timeout, and fixed a bug where the page cache wasn’t clearing when the object cache failed to clear.
If you’re interested in contributing your own pull requests, please visit the SpinupWP plugin repo.
You can now define the public folder when creating a new site. Previously you could only update the public folder after the site was created and had to move files around manually. This was particularly annoying for those using Bedrock or Laravel.
The Public Folder option is only shown when you choose the “Clone a Git Repository” or “Don’t Install Any Files” options. If you choose to install WordPress, you won’t get the Public Folder option.
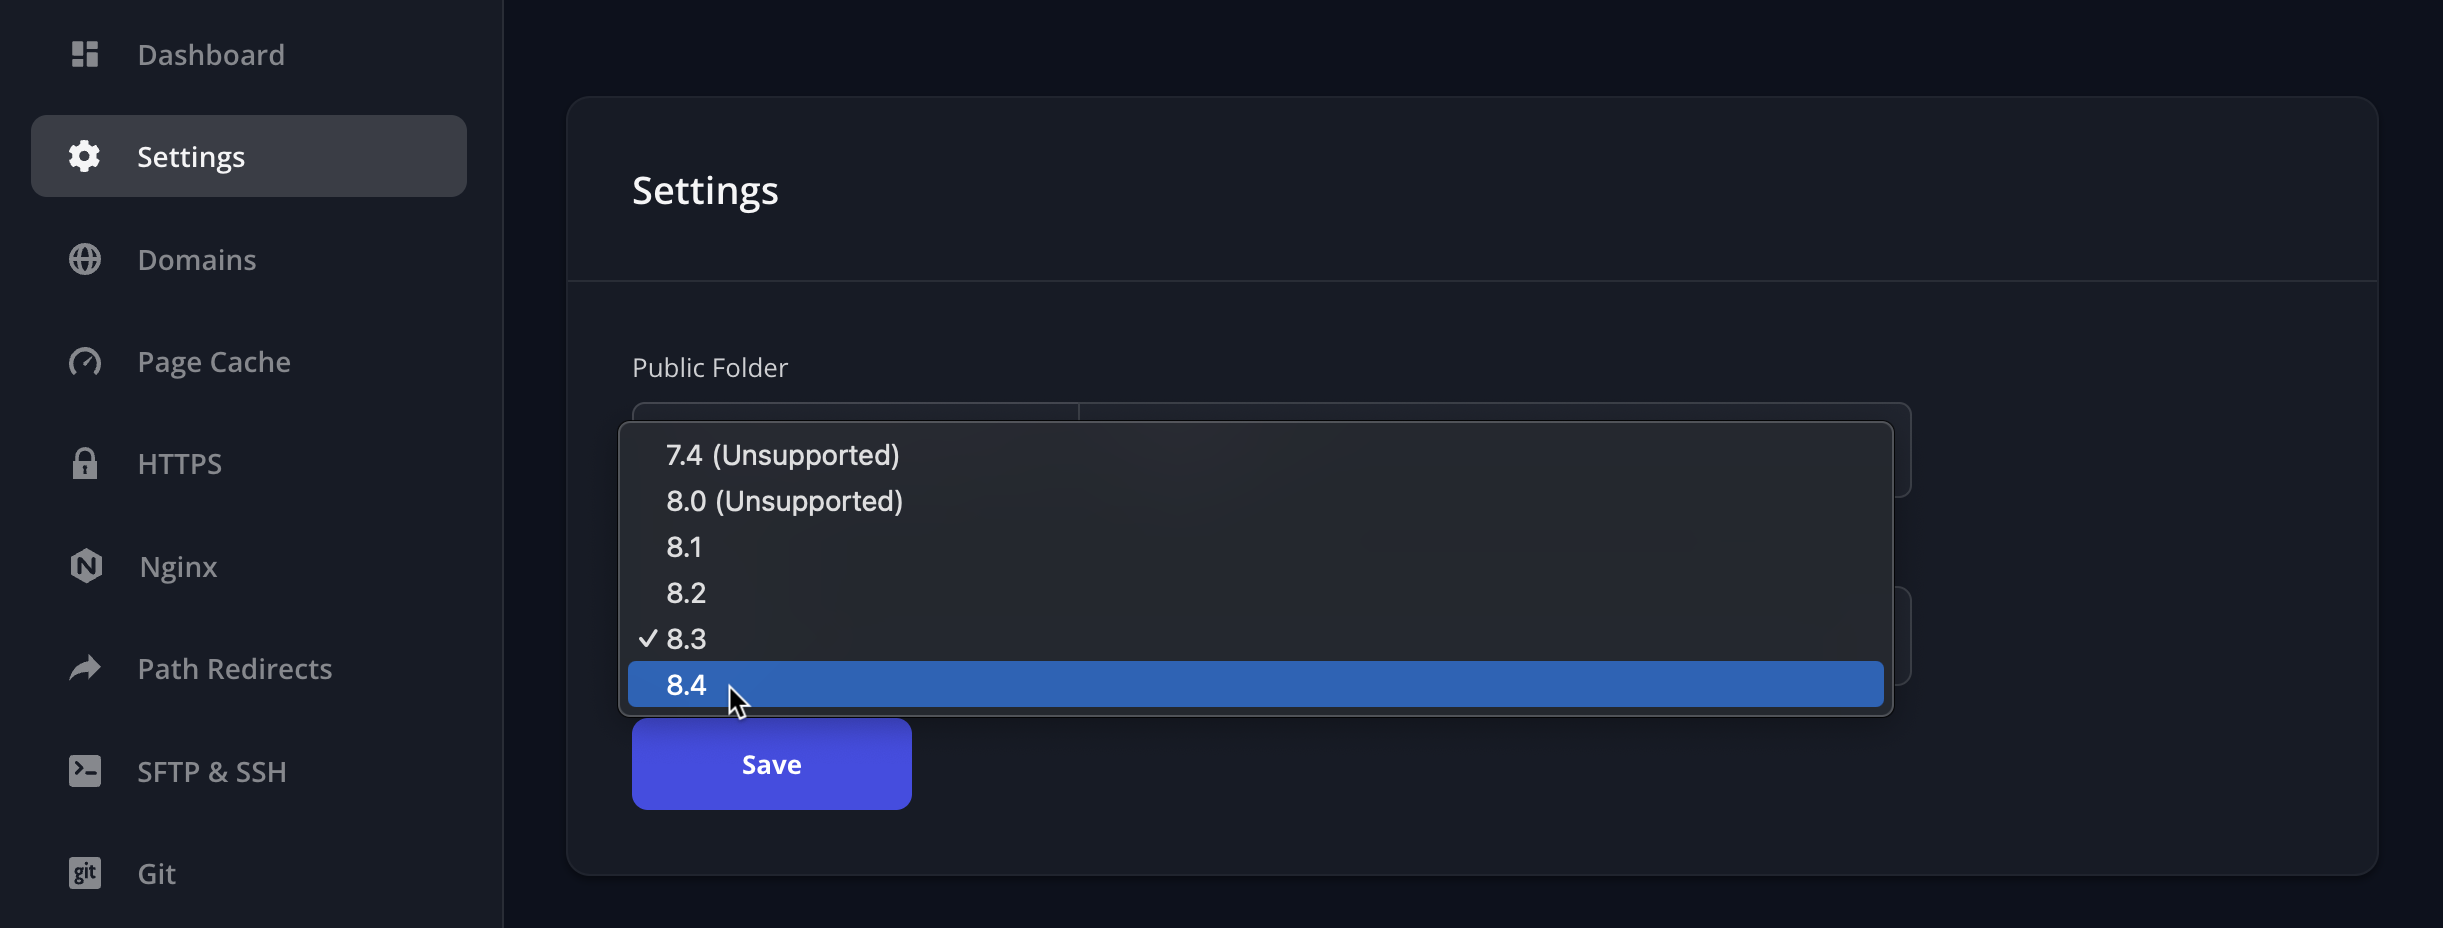
SpinupWP now supports PHP 8.3. WP CLI has been updated on all customer servers from version 2.7.1 to 2.9.0, introducing PHP 8.3 compatibility.
When creating a new site or updating existing sites to use PHP 8.3, you can now select PHP 8.3 via the SpinupWP dashboard:
From a site’s dashboard, select Settings from the left menu.
Select PHP 8.3 from the drop-down menu.
WordPress core 6.4 includes beta support for PHP 8.3. Since it’s beta support, you may run into minor issues so we recommend testing on staging before switching any of your production sites to PHP 8.3.
Previously, selecting a server size when creating a new server in SpinupWP was pretty awful. You were presented with a very long list of options in a dropdown.
Lots of the information was duplicated and it was not easy to grok.
We’ve replaced this with a much better UI. First, you select the Region and any server sizes unavailable in that region will be grayed out. Then you can filter by category and on some providers you can also filter by CPU options and storage options. Server categories include an explanation so you can decide which category best fits your needs. We’ve also added a warning next to server sizes that are smaller than what we recommend.
We hope that these improvements make it easier for you to choose a server size the next time you’re creating a server in SpinupWP.
Previously, user settings were mixed in with personal account settings. If you had an account on the Team plan, you had to switch to your personal account to access the notification and security settings for your user which applied to all your accounts. It was confusing! 😕
Now your user account settings are always one click away in the main menu no matter which account you’re on. And personal accounts now behave exactly the same as team accounts. You can change the account name and avatar independent of your user profile.
Start Your 7-Day Free Trial
Begin your SpinupWP journey today and spin up your first server within minutes.
Subscribe to get the latest news, updates and optimizations in performance and security.