DigitalOcean Reserved IPs
DigitalOcean offers you the ability to assign reserved IPs to DigitalOcean Droplets. Reserved IPs are static IP addresses that can be reassigned to different Droplets that exist in the same data center. This is useful if you want to implement a failover mechanism. You can assign a reserved IP to one Droplet and have a different Droplet with a copy of the application as the secondary server. If the primary server fails, the failover mechanism reassigns the reserved IP to the secondary one.
Using DigitalOcean Reserved IPs With SpinupWP
Implementing a reserved IP usually means that you are configuring a custom hosting setup. For this reason, we don’t support enabling reserved IPs from the SpinupWP dashboard. However, you can still enable a reserved IP from the DigitalOcean dashboard.
There are two ways you can navigate to the screen to enable a reserved IP and assign it to a Droplet.
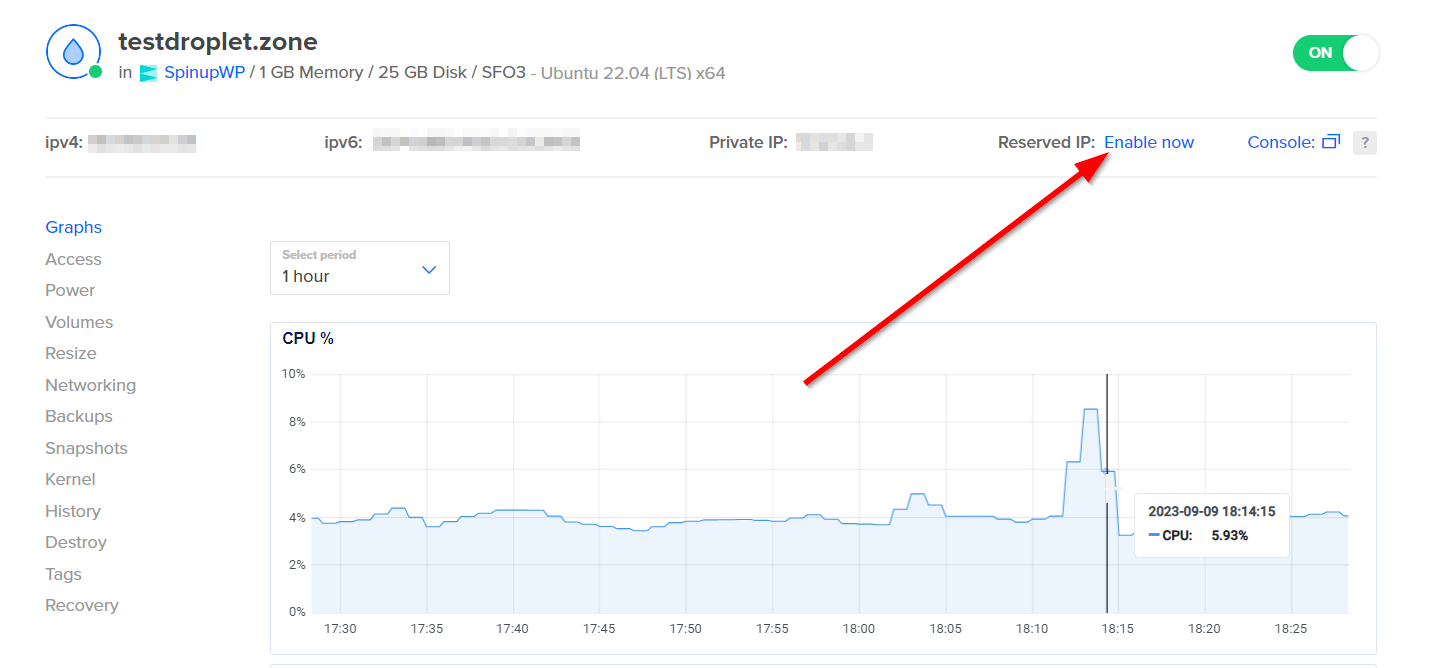
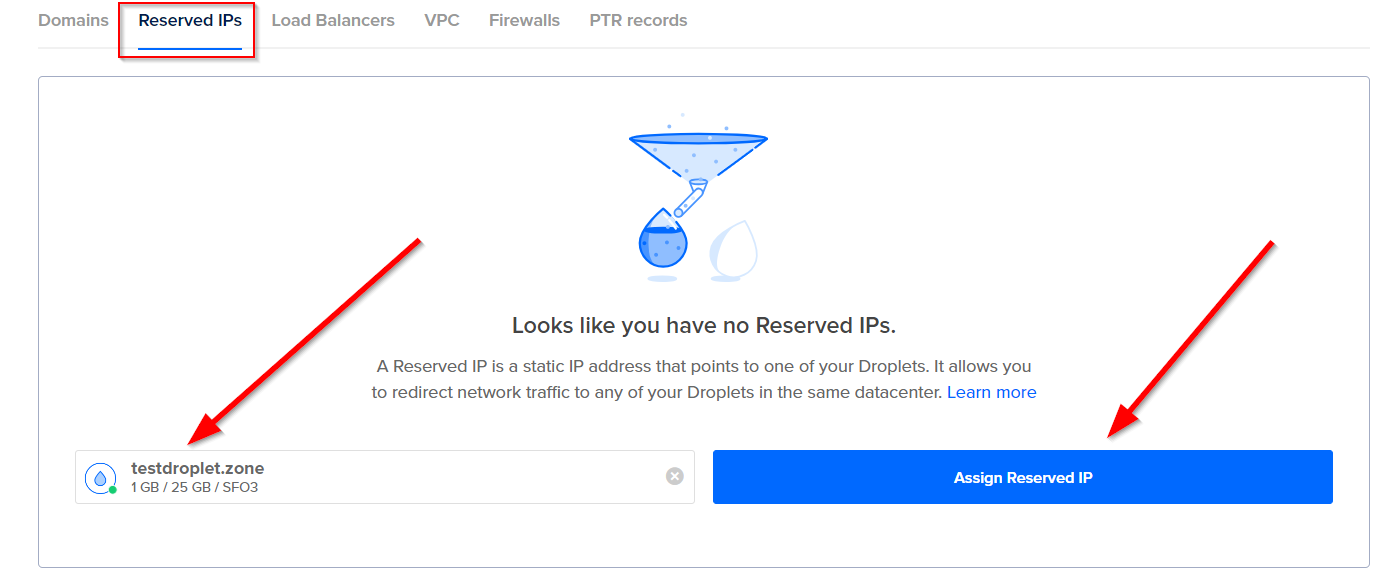
From the list of Droplets, click on the Droplet you want to assign a reserved IP to, then click Enable now next to the Reserved IP label at the top of the screen. This takes you directly to the Reserved IPs tab on the Networking screen, with the Droplet already selected.

Alternatively, from the Reserved IPs tab on the Networking screen. Click on the “Search for a Droplet” text field and select the Droplet from the list. You can also enter a partial name of the Droplet, which narrows the options to select from.

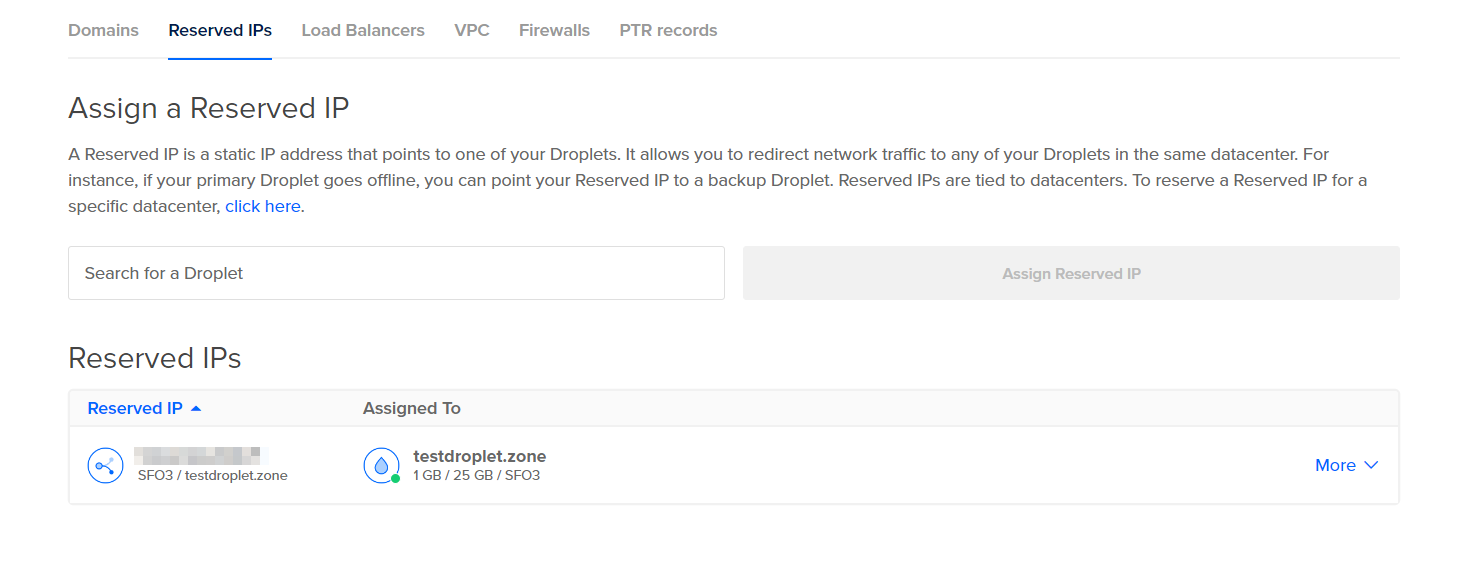
Whichever way you get there, click the Assign Reserved IP button, and Digital Ocean will automatically assign and enable the reserved IP to the Droplet.

Once the reserved IP is assigned, it’s important to be aware that you should NOT update the IP address of your server in SpinupWP to the new reserved IP. The original IP of the server remains intact, you’re just assigning an extra reserved IP to that Droplet. You should only manage and assign reserved IPs from the DigitalOcean dashboard.