Enable Basic Authentication for Your SpinupWP Site
SpinupWP allows you to add Nginx basic authentication to your site. This can be useful for restricting access to a site for security reasons or if you’re simply running a site that needs to restrict access before you even get to WordPress.
You can enable basic authentication by clicking on Settings from a SpinupWP site dashboard.
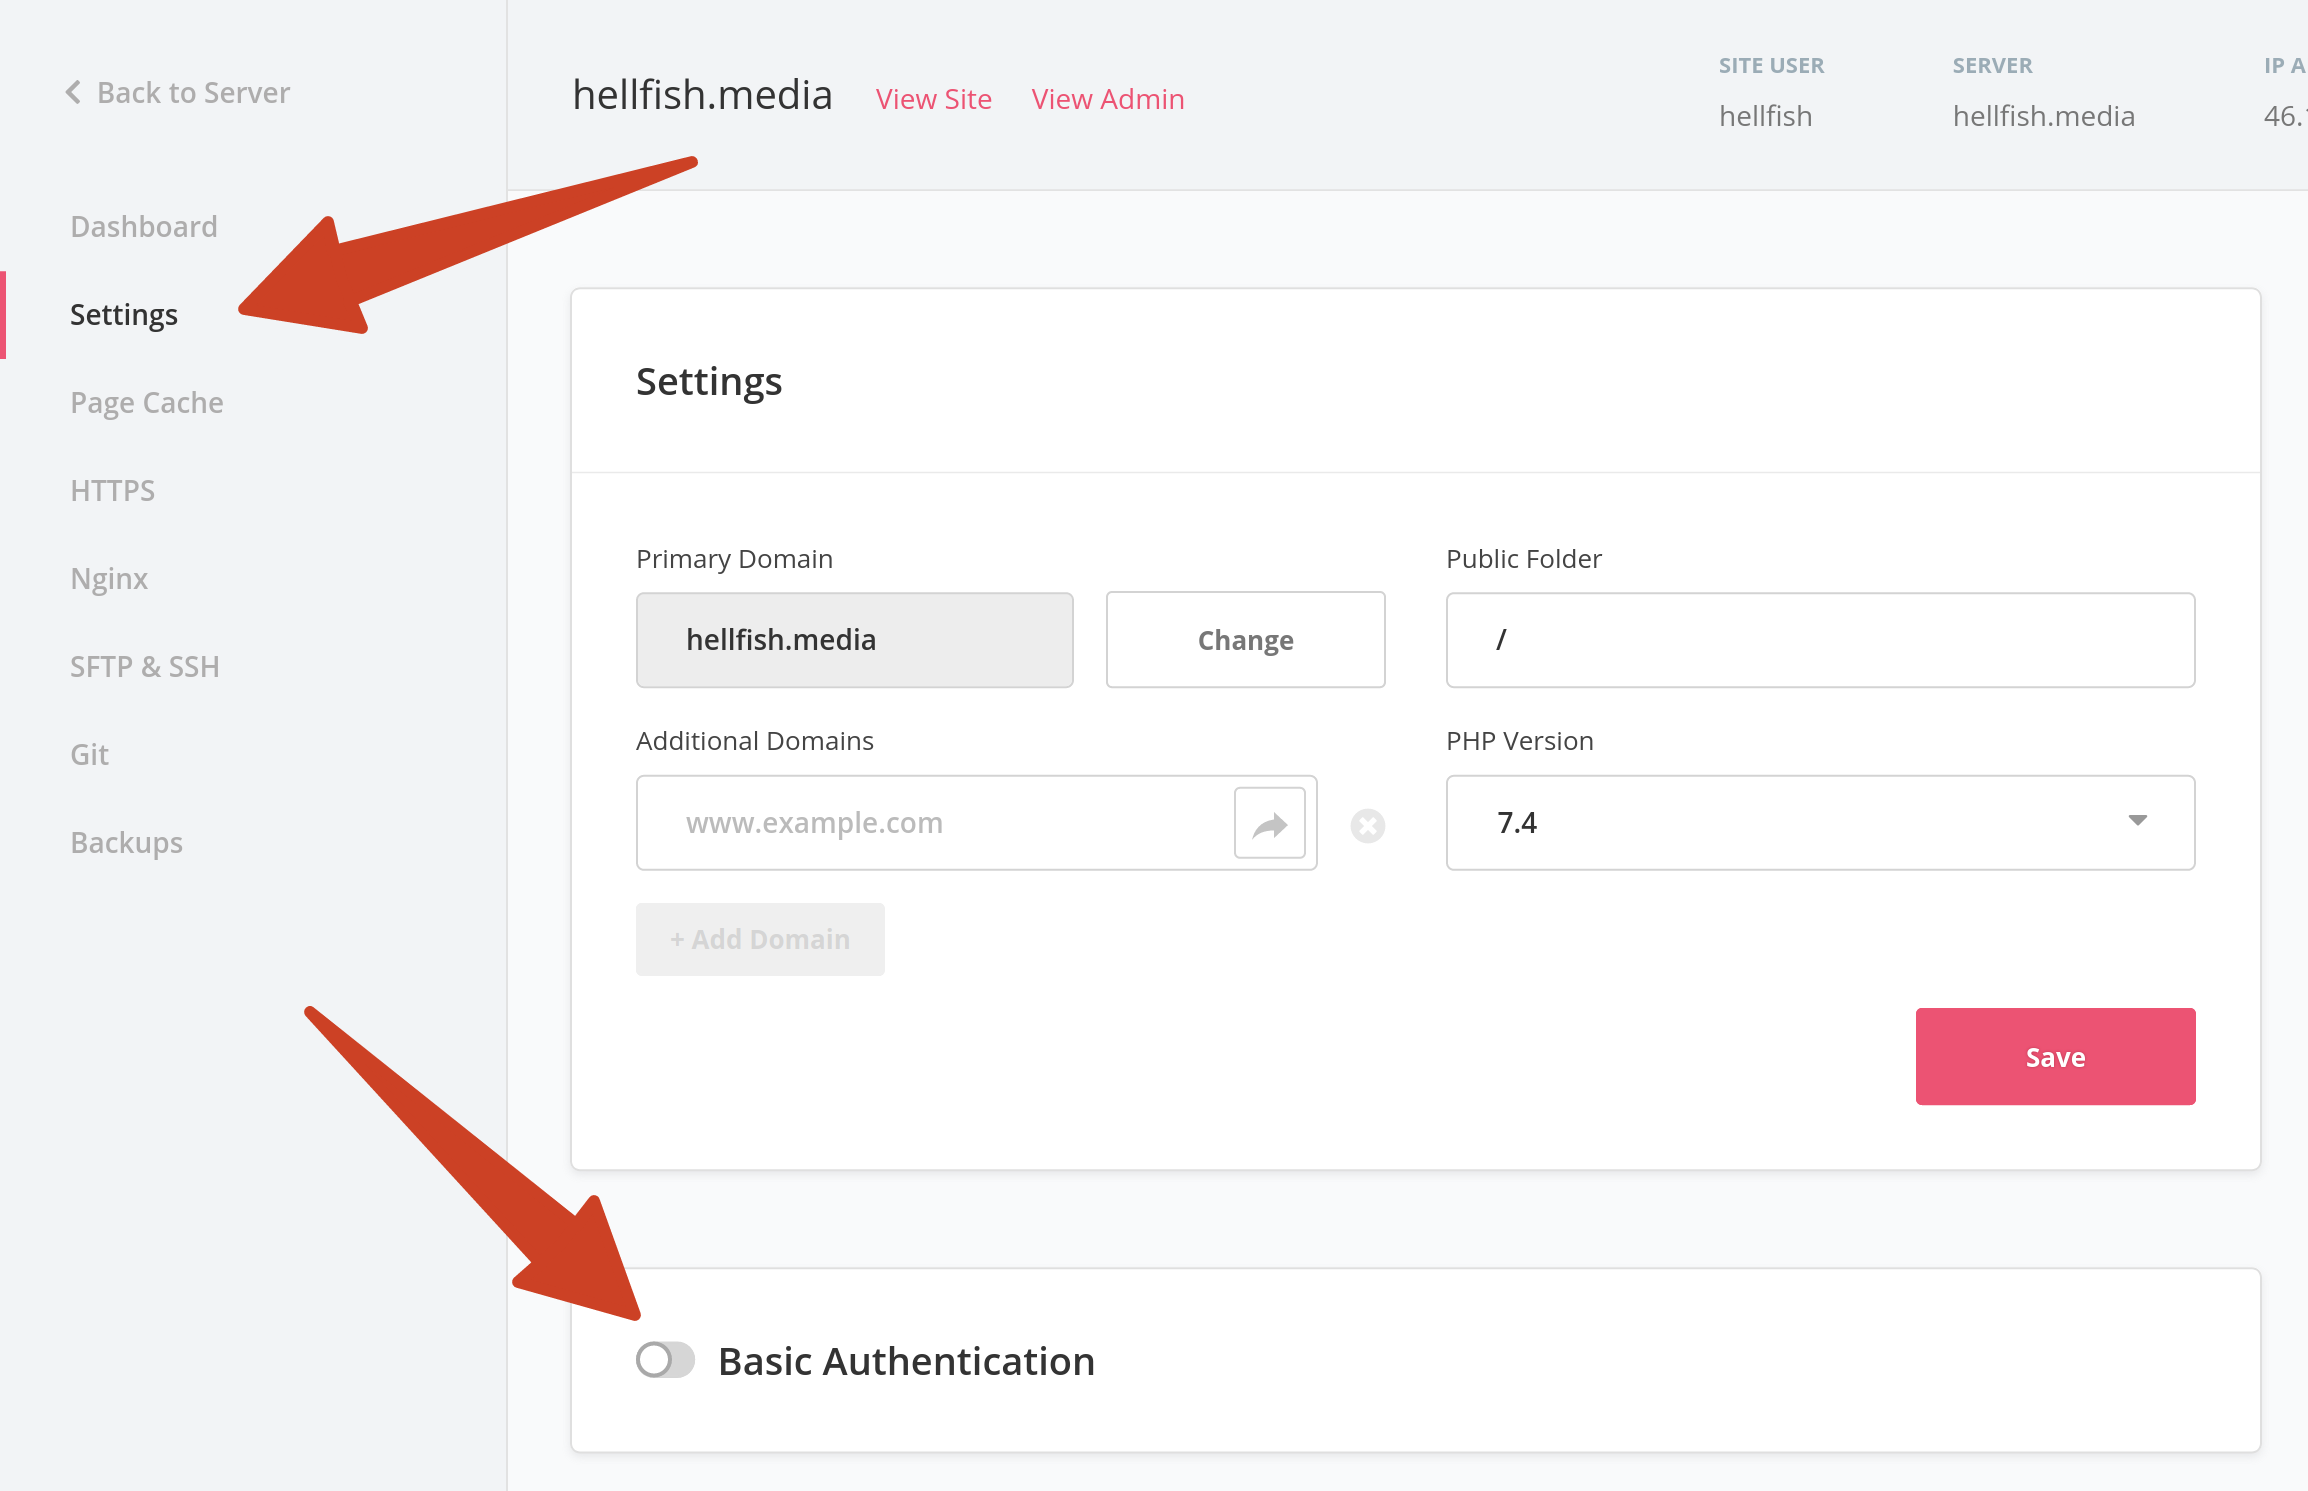
Switch on the “Enable basic authentication” toggle, which reveals a form to enter a username and password. Enter your chosen username and password and click Save. The button text changes to “Deploying changes” while SpinupWP changes your site configuration on your server.
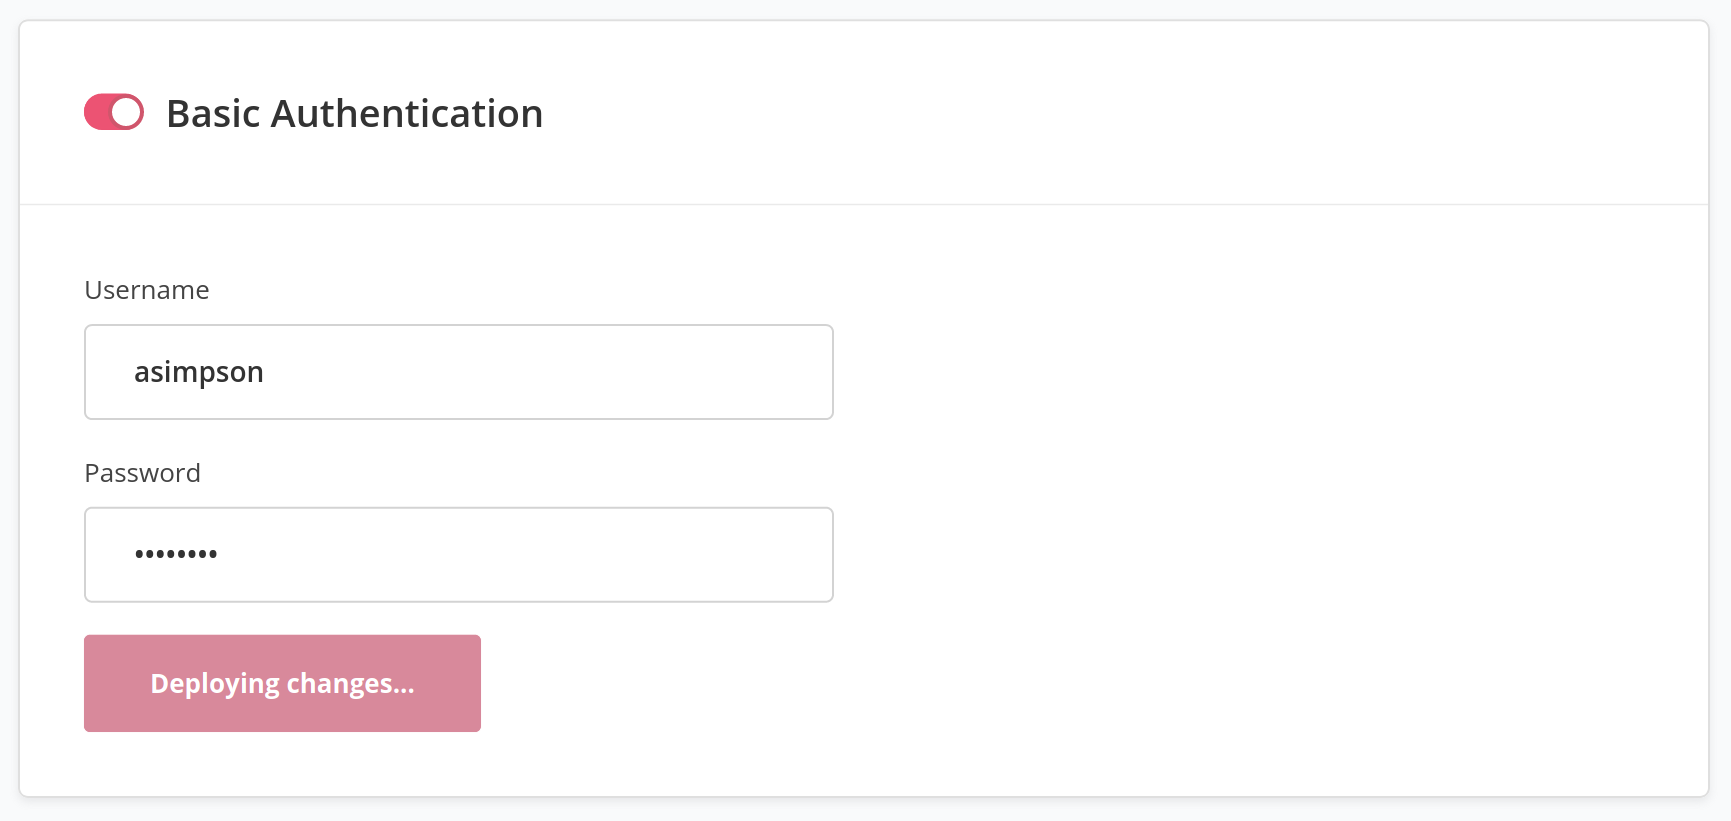
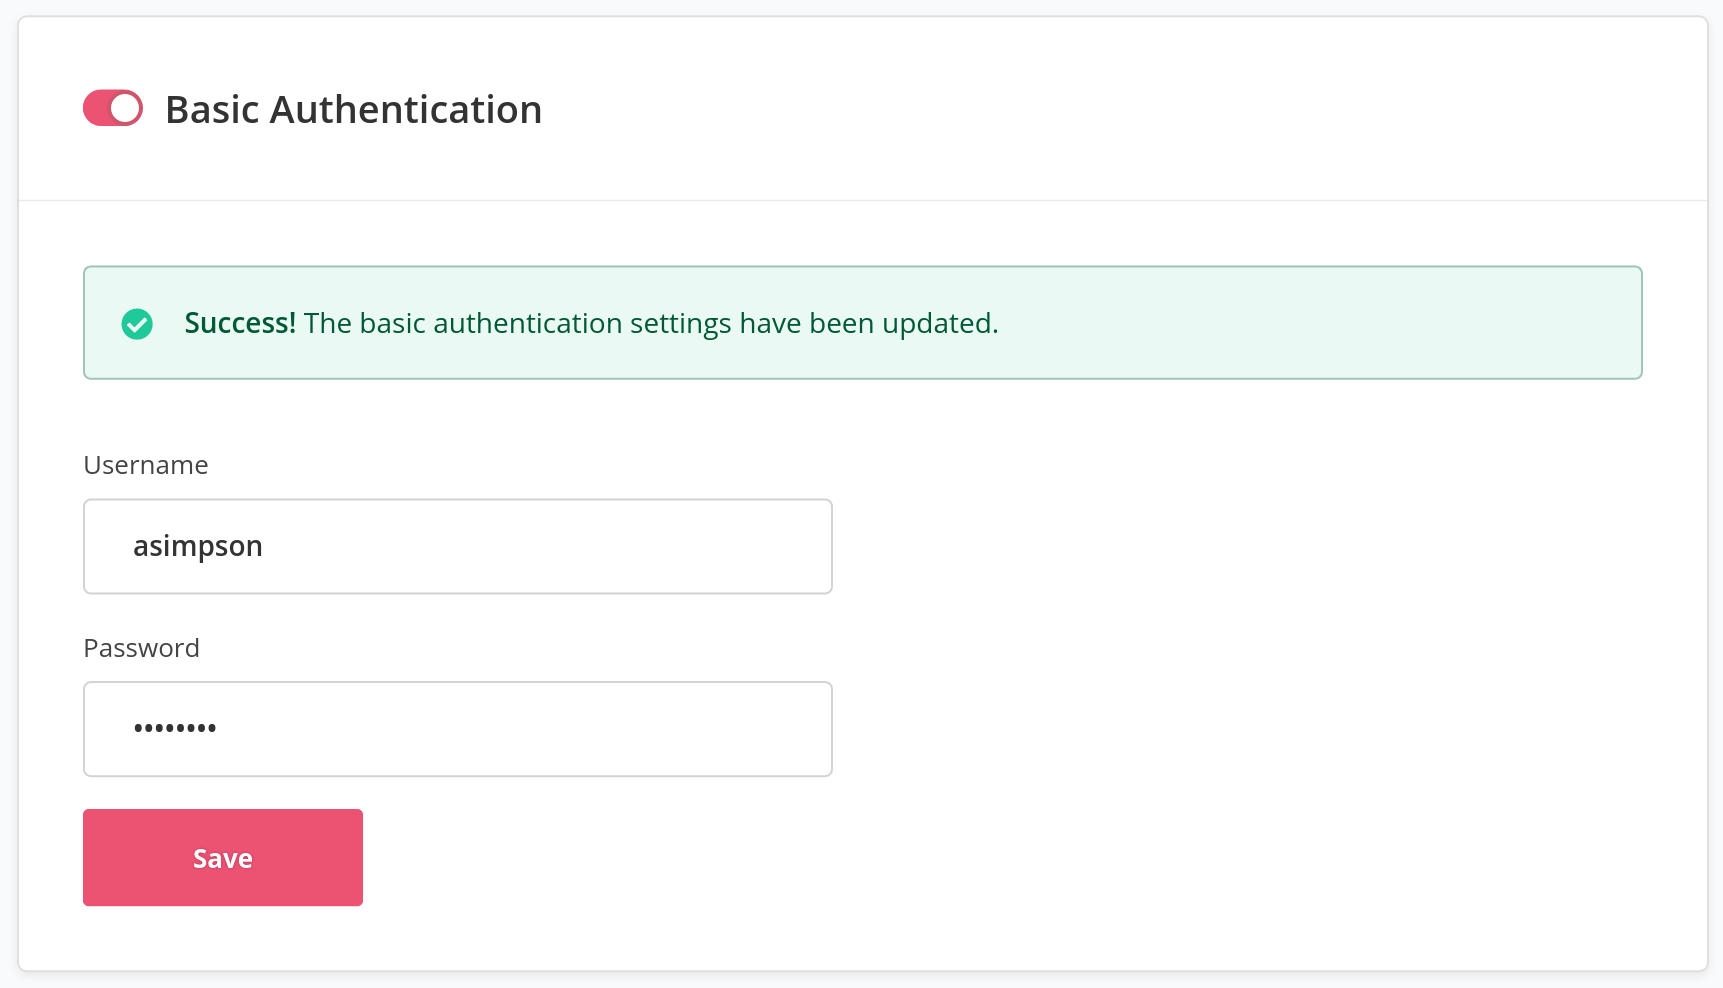
At this point, you can wait until you see the Success message, which indicates that the basic authentication settings have been updated.
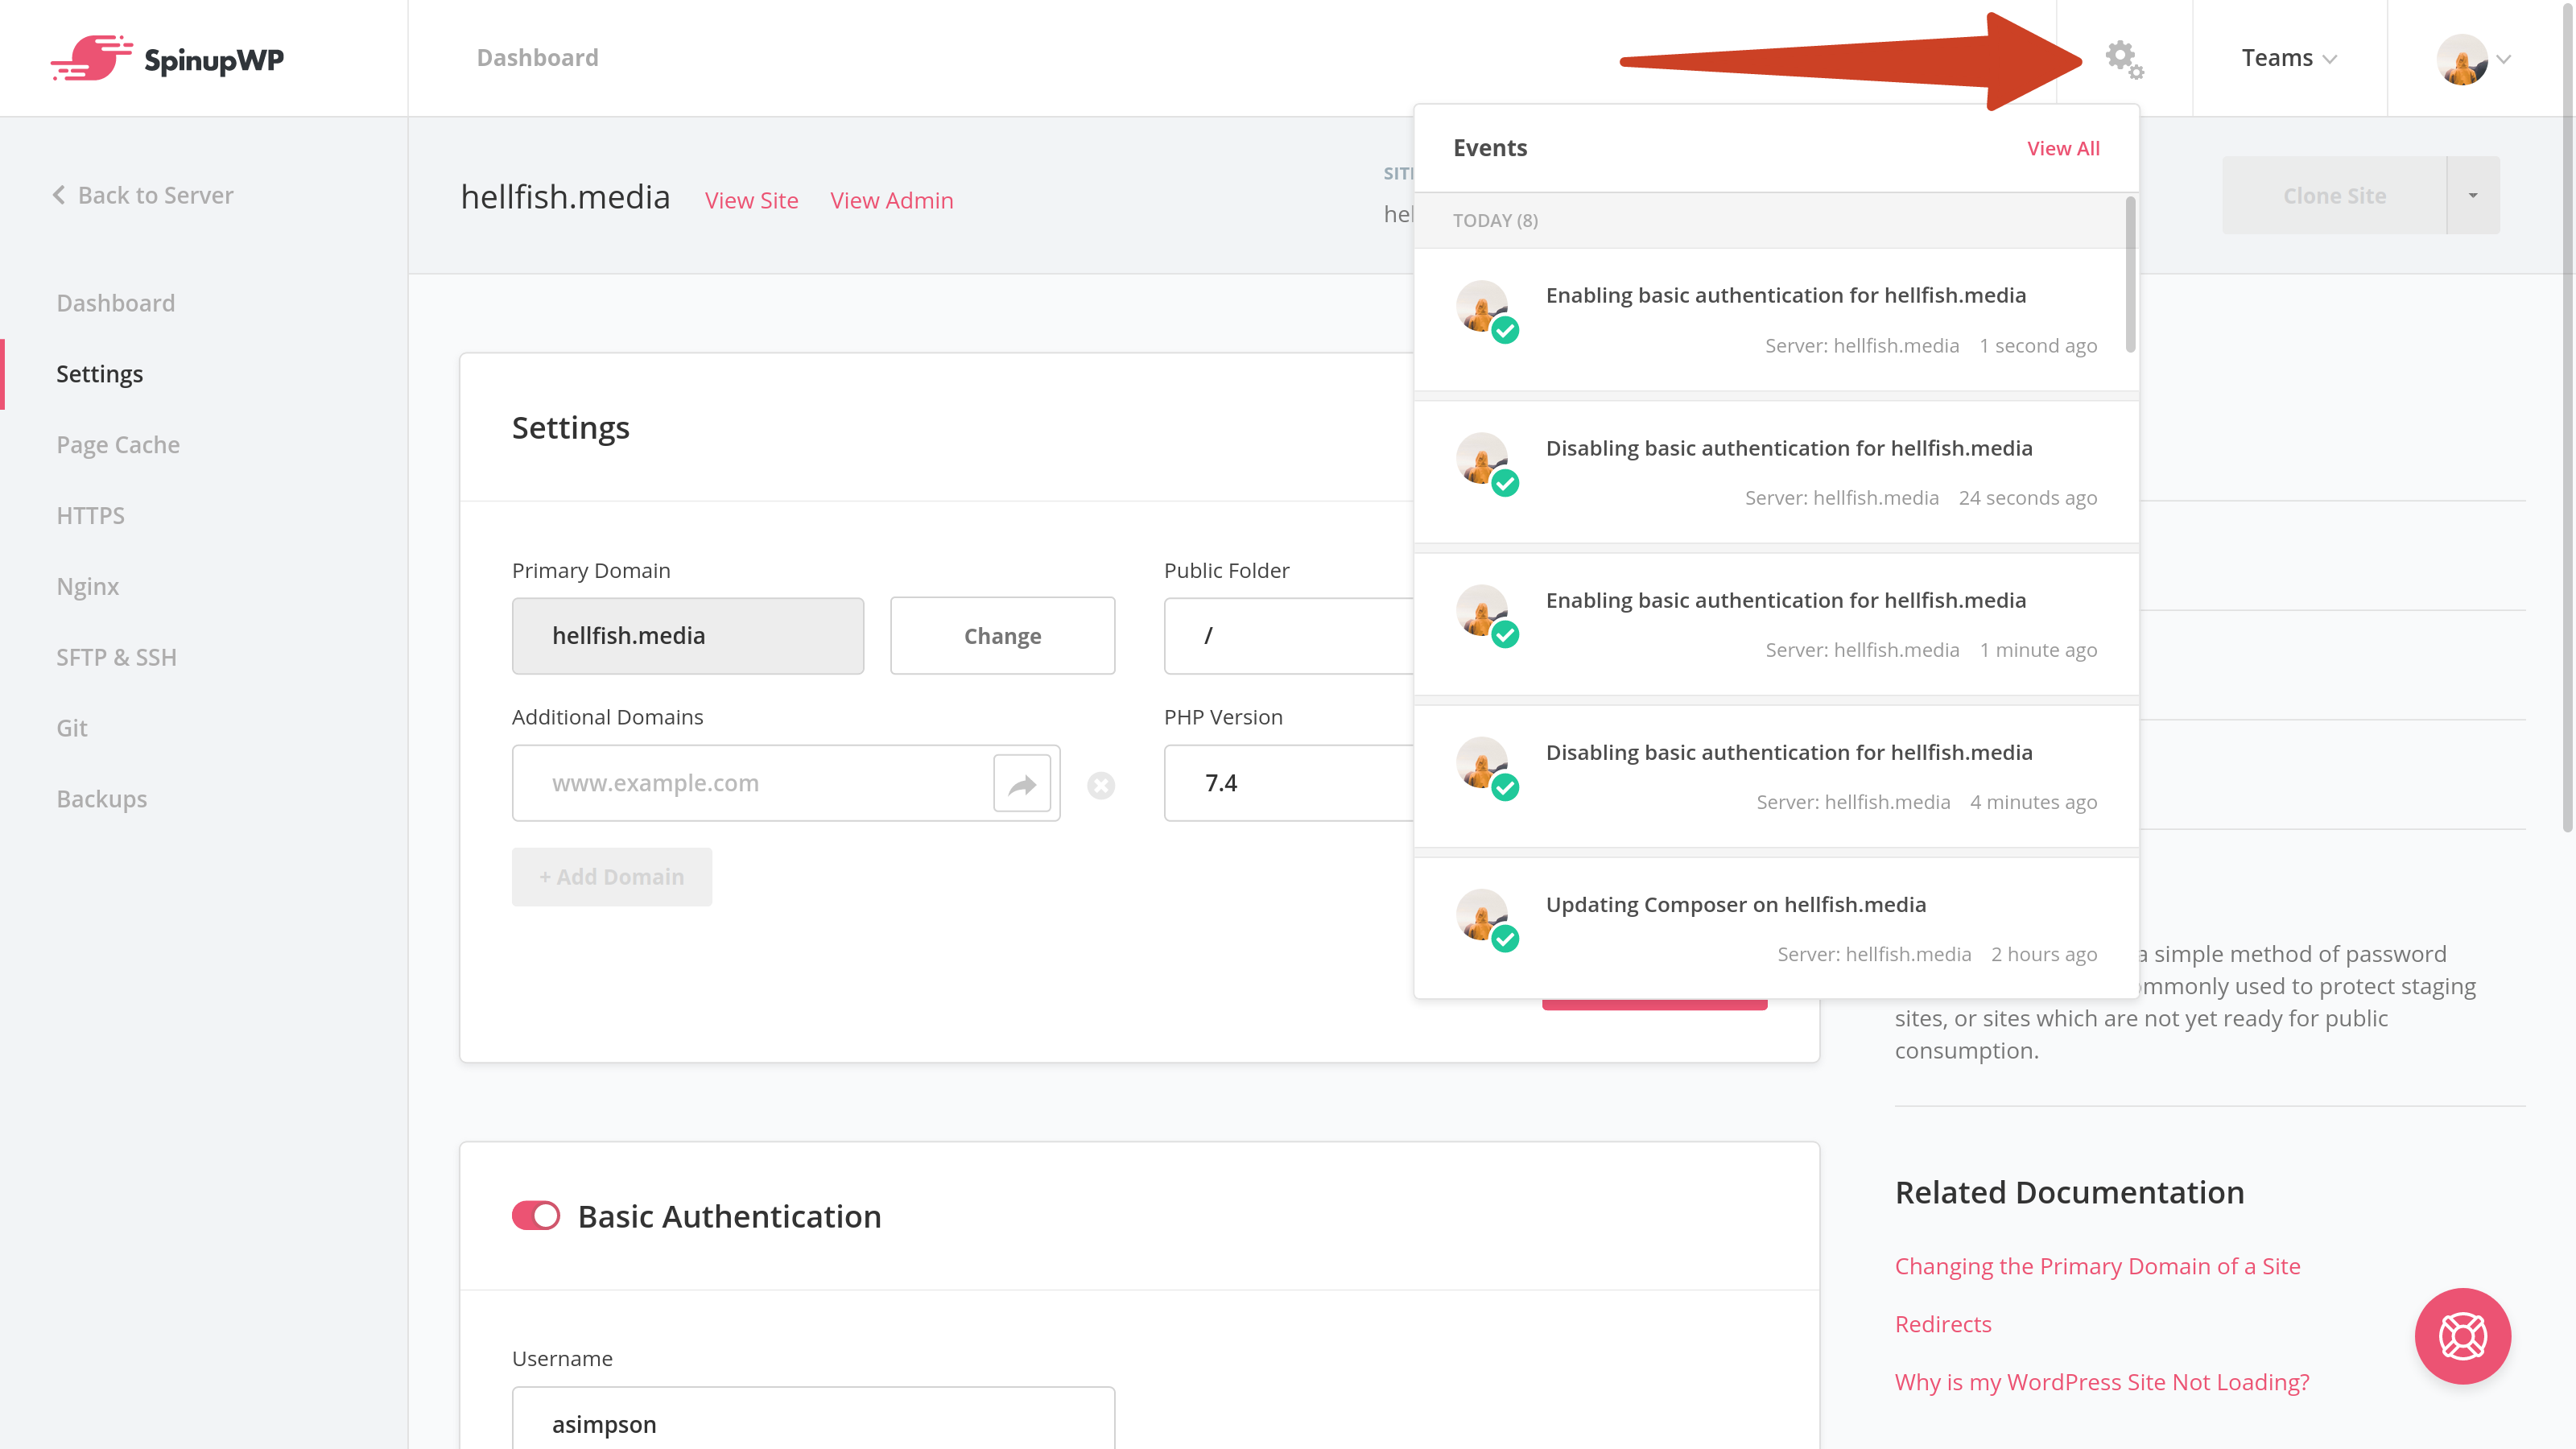
Alternatively, you can navigate away from the site Settings and do something else while the changes are deployed. You can use the Events icon at the top of the SpinupWP dashboard to monitor the status of the change, and it will be updated once the change has been completed.
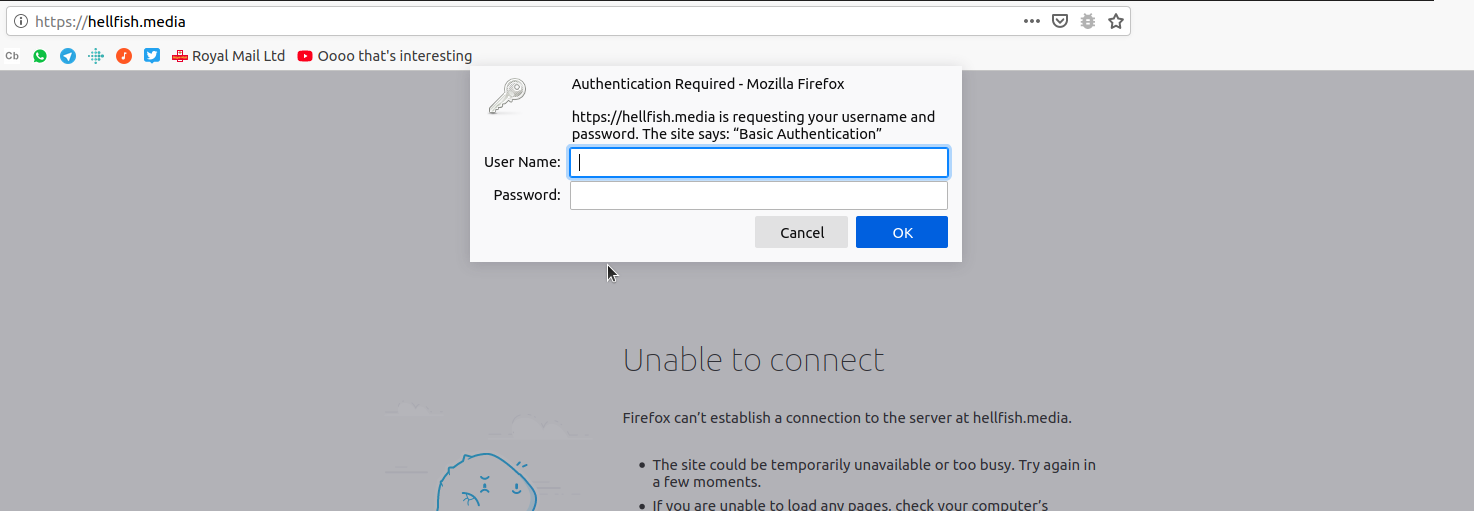
Once Basic Authentication is enabled, you’ll get asked for the username and password you just entered before you can see the site if you try to visit your site.
Allow Access by IP Address
You can also allow basic authentication to be bypassed for a specific IP address or range of addresses. This is useful if you want to allow specific users access to the site, without needing to know the basic authentication details.
To do this, you’ll need to use a sudo user since you’re going to edit Nginx configuration files. Remember, you’ll need your sudo user password to perform the commands.
To start, SSH to your server with your sudo user. Then navigate to /etc/nginx/sites-available/{DOMAIN}/server and edit the basic-auth.conf file with your terminal editor of choice. For this tutorial, we’ll use nano.
cd /etc/nginx/sites-available/hellfish.media/server/
sudo nano basic-auth.conf
The default file should look something like this:
auth_basic "Basic Authentication";
auth_basic_user_file /etc/nginx/sites-available/{DOMAIN}/.htpasswd;

location /.well-known/ {
        auth_basic off;
}
Now we want to add the Nginx directives to allow some IP addresses to bypass the Basic Authentication. You can find your IP address by visiting this site. There are two possible formats for your IP address.
IPv6: 2001:569:7e11:c200:1c8b:39e1:f0bc:c719
IPv4: 66.183.229.15
In almost every case, all you’ll need to add is the IPv4 formatted address, so make a note of it.
At the top of the basic-auth.conf file, add the following block of code, substituting your IP address for the one used in the example.
satisfy any;
allow 66.183.229.15;
deny all;
If you want to allow multiple IP addresses, add another allow line for each IP address you want to allow to bypass basic authentication. If you’re going to deal with ranges of IP addresses you should use an IP range calculator to find the required values. Then place them one per line in your configuration file.
Your complete basic-auth.conf file for a single IP address should look like this.
satisfy any;
allow 66.183.229.15;
deny all;

auth_basic "Basic Authentication";
auth_basic_user_file /etc/nginx/sites-available/spinup.sfndesign.ca/.htpasswd;

location /.well-known/ {
        auth_basic off;
}
Once you’re done, save and close the file. Then check to make sure that there are no errors in your Nginx configuration.
sudo nginx -t
If no errors are reported, you can reload Nginx.
sudo service nginx reload
Any user browsing from the IP addresses you’ve specified will bypass basic authentication, while any other users will be presented with the username and password prompt before they can see your site.