Setting Up an Akamai/Linode Managed MySQL Database and Adding It to SpinupWP
This guide will help you set up an Akamai/Linode managed MySQL database for use with new servers set up by SpinupWP. By the end of this tutorial, you will have the database hostname, port, username, password, and database name you need to configure the managed MySQL database as an external database in SpinupWP.
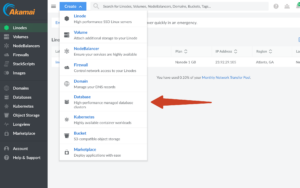
To get started setting up a database with Akamai/Linode, log in to your Akamai/Linode account, select Database from the left navigation menu, and press the Create Database Cluster button.
Enter a name for your external database in the “Cluster Label” field. The name you provide for an external database helps you distinguish between different external databases within SpinupWP. Be sure to choose something meaningful.
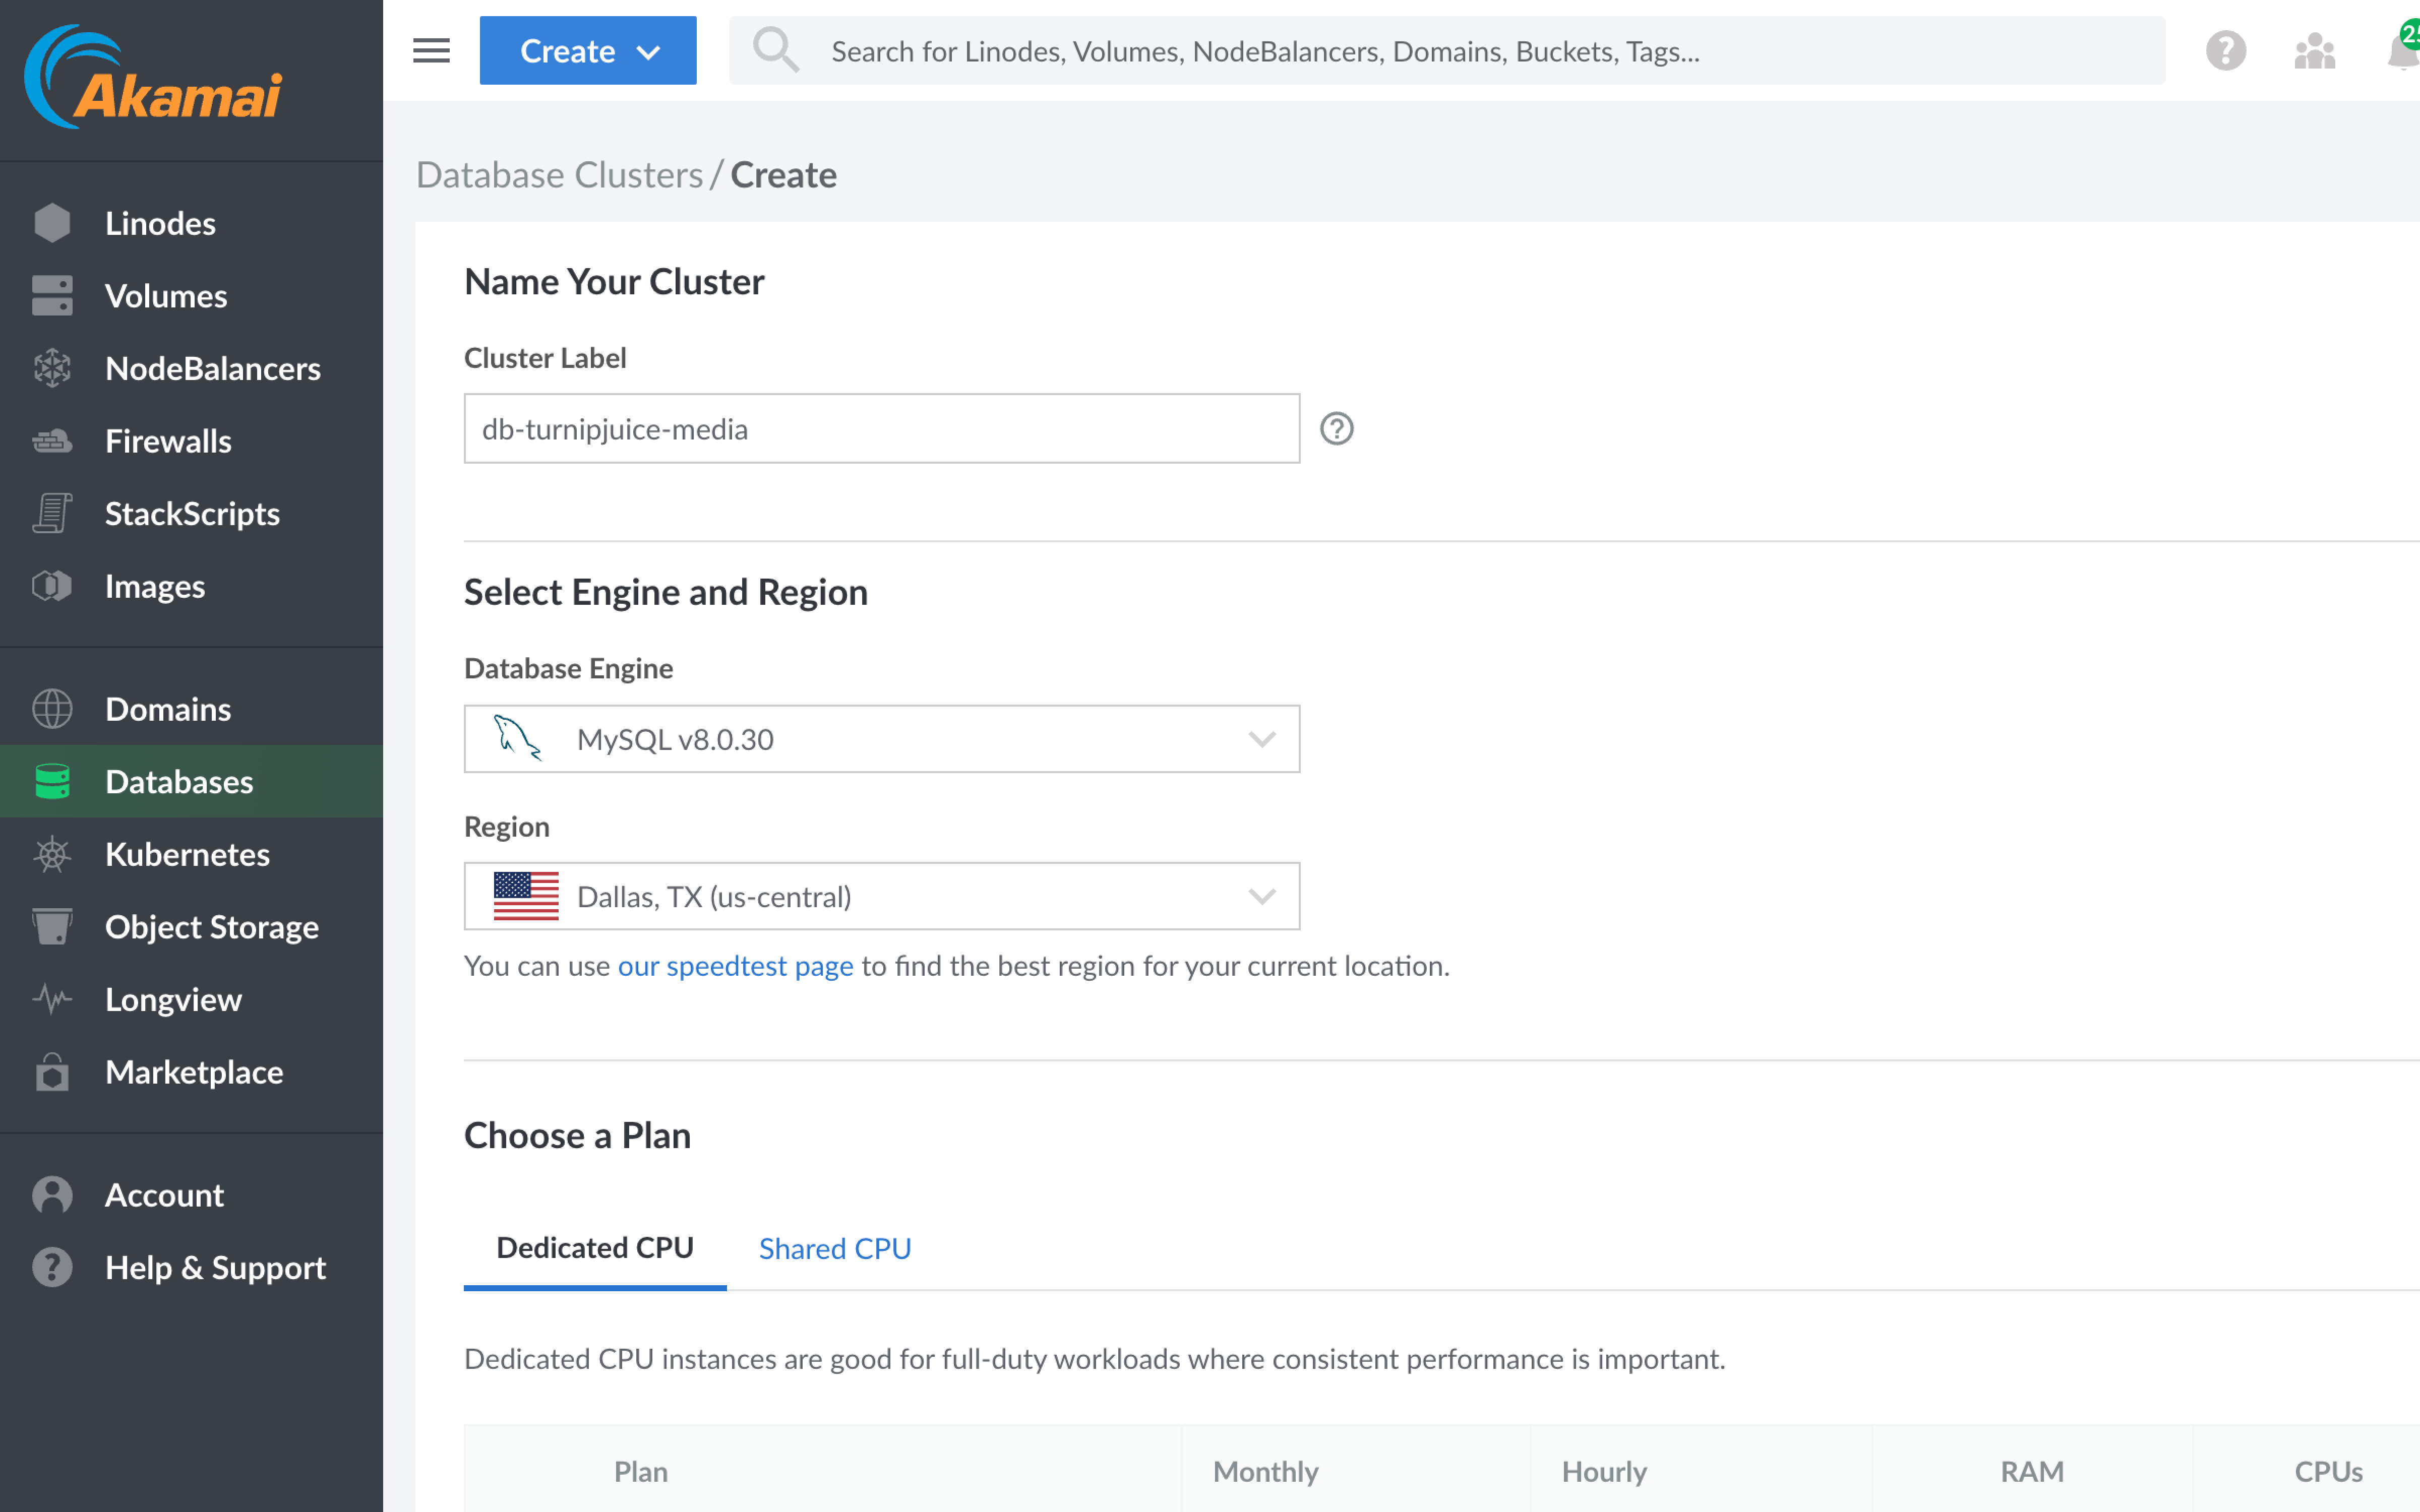
Next, select the most recent version of MySQL from the Database Engine dropdown.
You’ll also need to choose a datacenter region. Ideally, choose the same region where your web server instance is located. This will ensure that latency between your web server and external database is kept to a minimum.

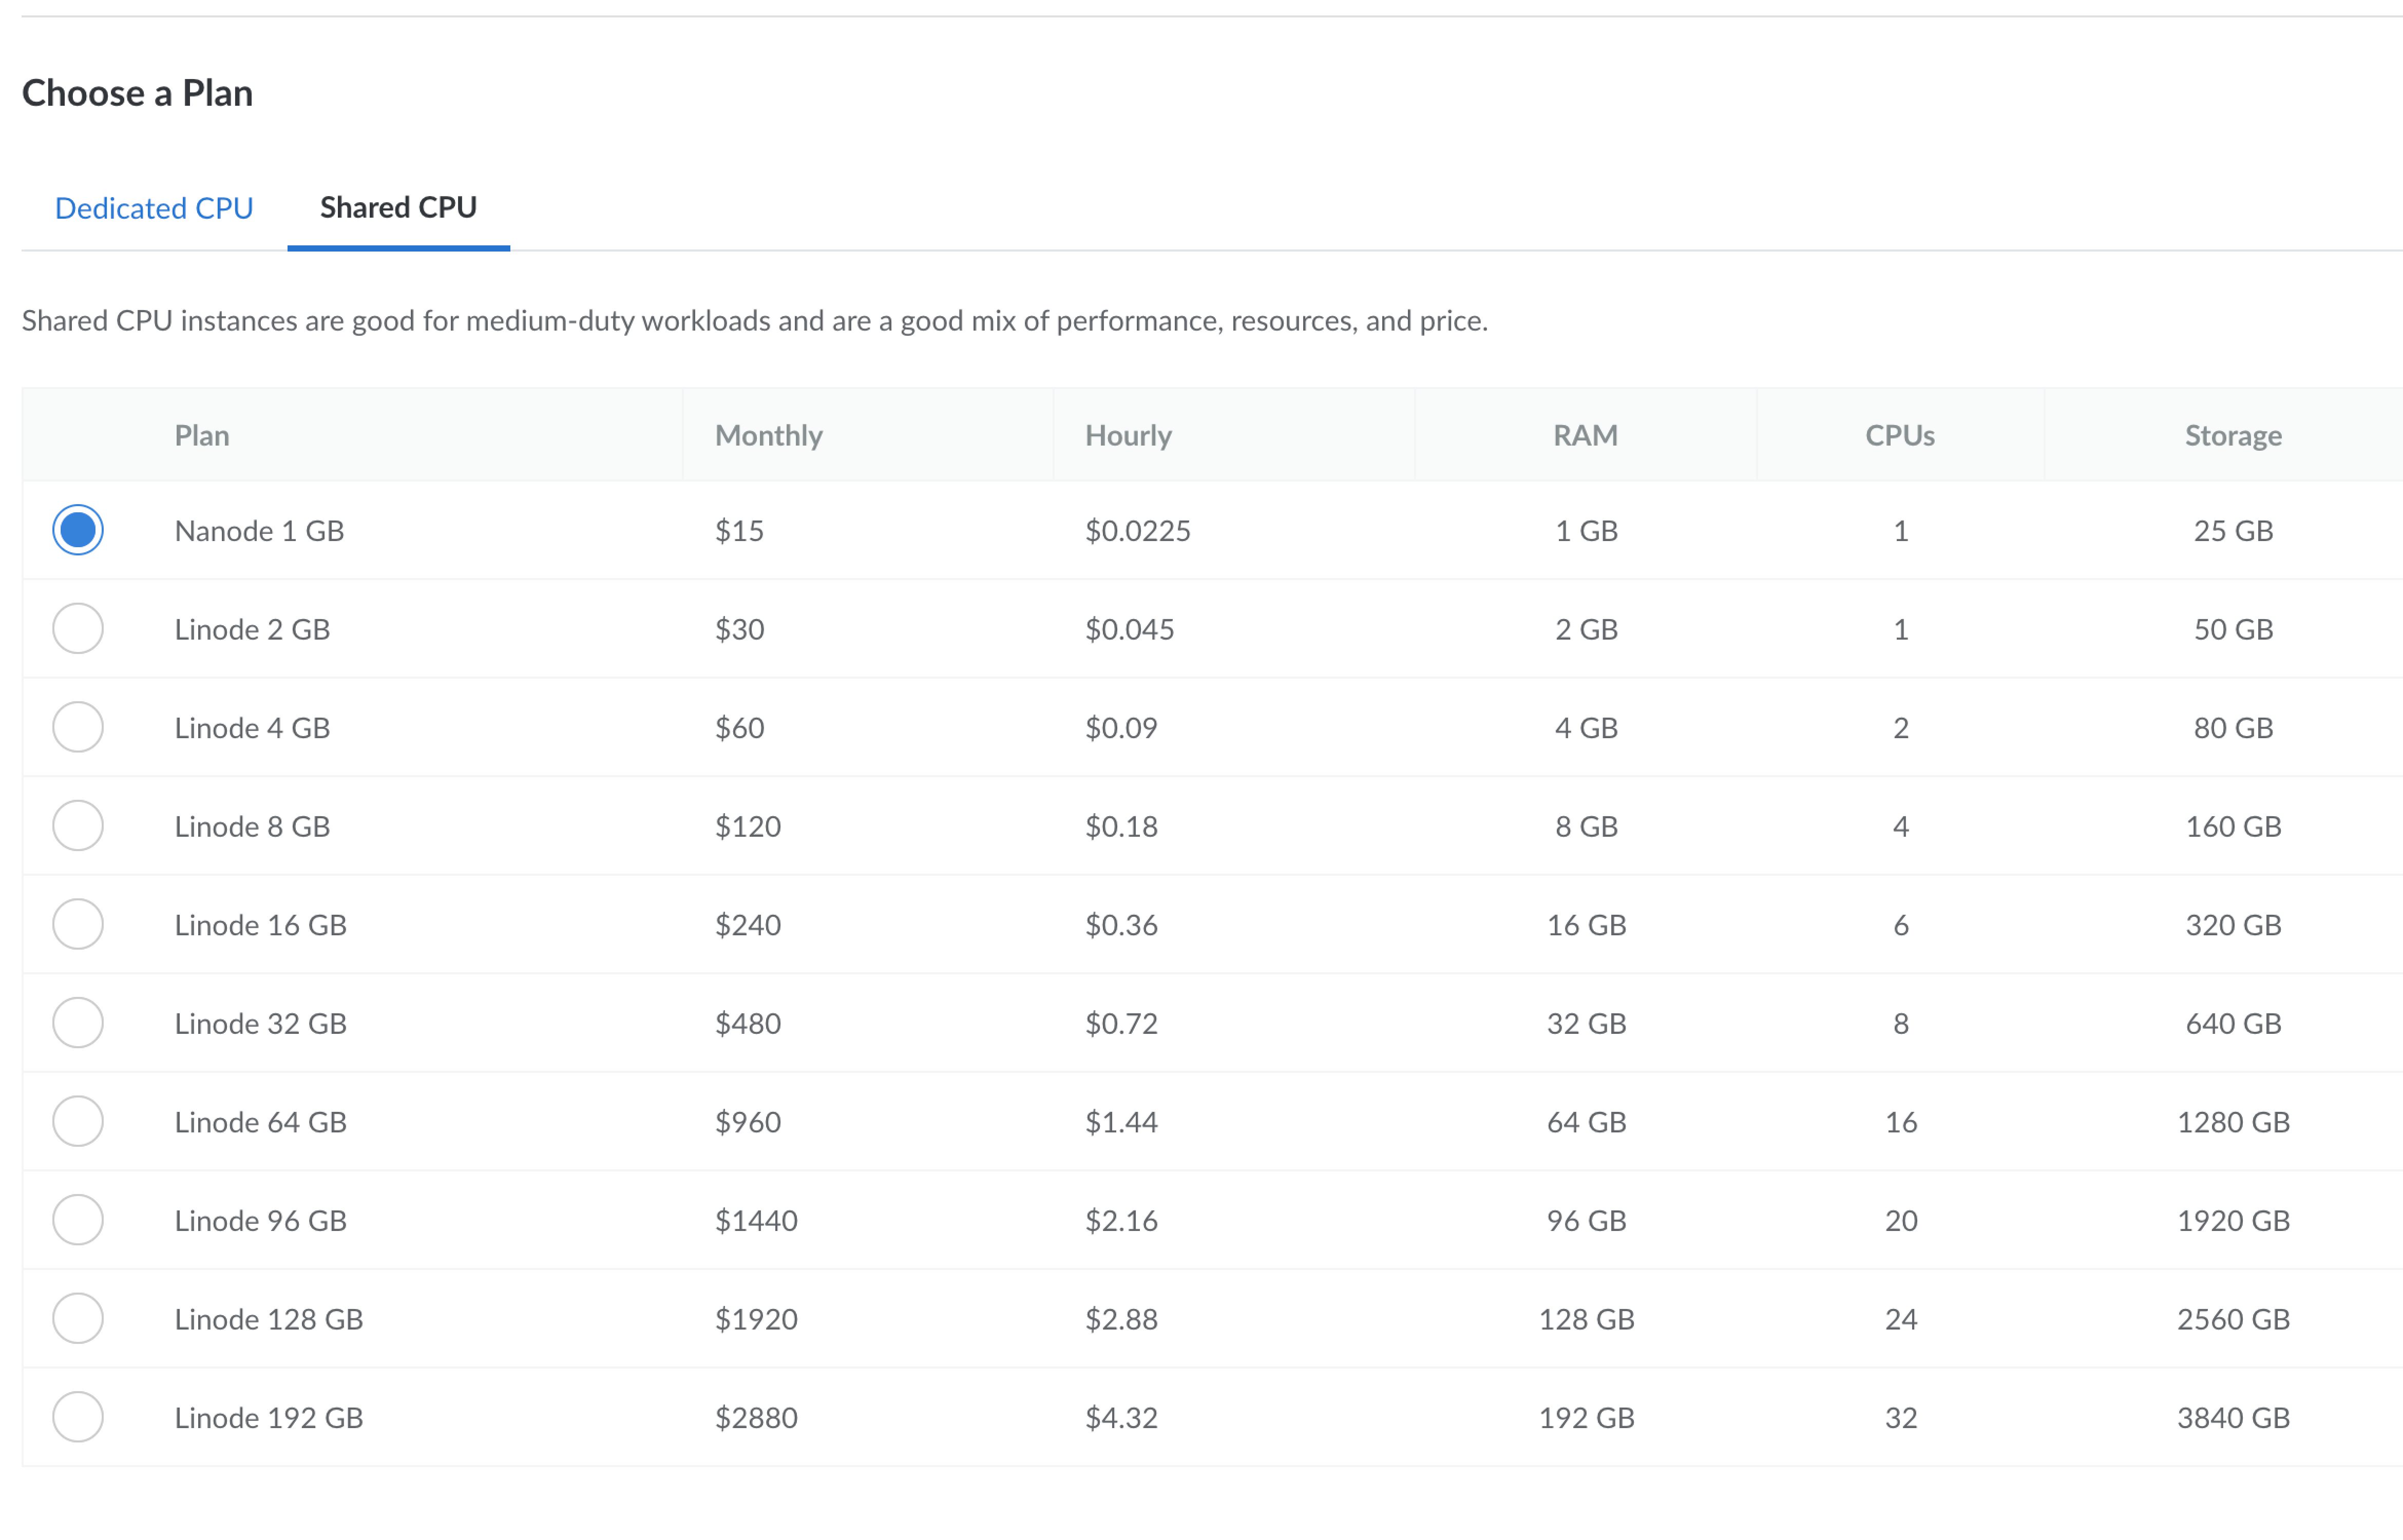
Next, you will need to choose your plan. The CPU and memory needs for the server will vary greatly based on the number of websites you intend to use the database for, as well as the size and volume of traffic for those websites. “Dedicated CPU” might be a good choice if you know that your database is going to require a lot of CPU. Otherwise, “Shared CPU” should be enough.
Next up, select between 1 and 3 nodes. The price point here varies based on the selected plan. Three nodes will help distribute processing needs and minimize page load impacts from traffic spikes, as well as keeping the site active during upgrades. On the other hand, interruptions like these are typically minimal, and the lower price point of a single node generally makes sense for many websites.
Finally, you can provide any IP addresses that will require access to the external database. If you don’t yet know the IP of the server you’re working towards provisioning, you will need to remember to ensure access is granted a few steps further into the process.
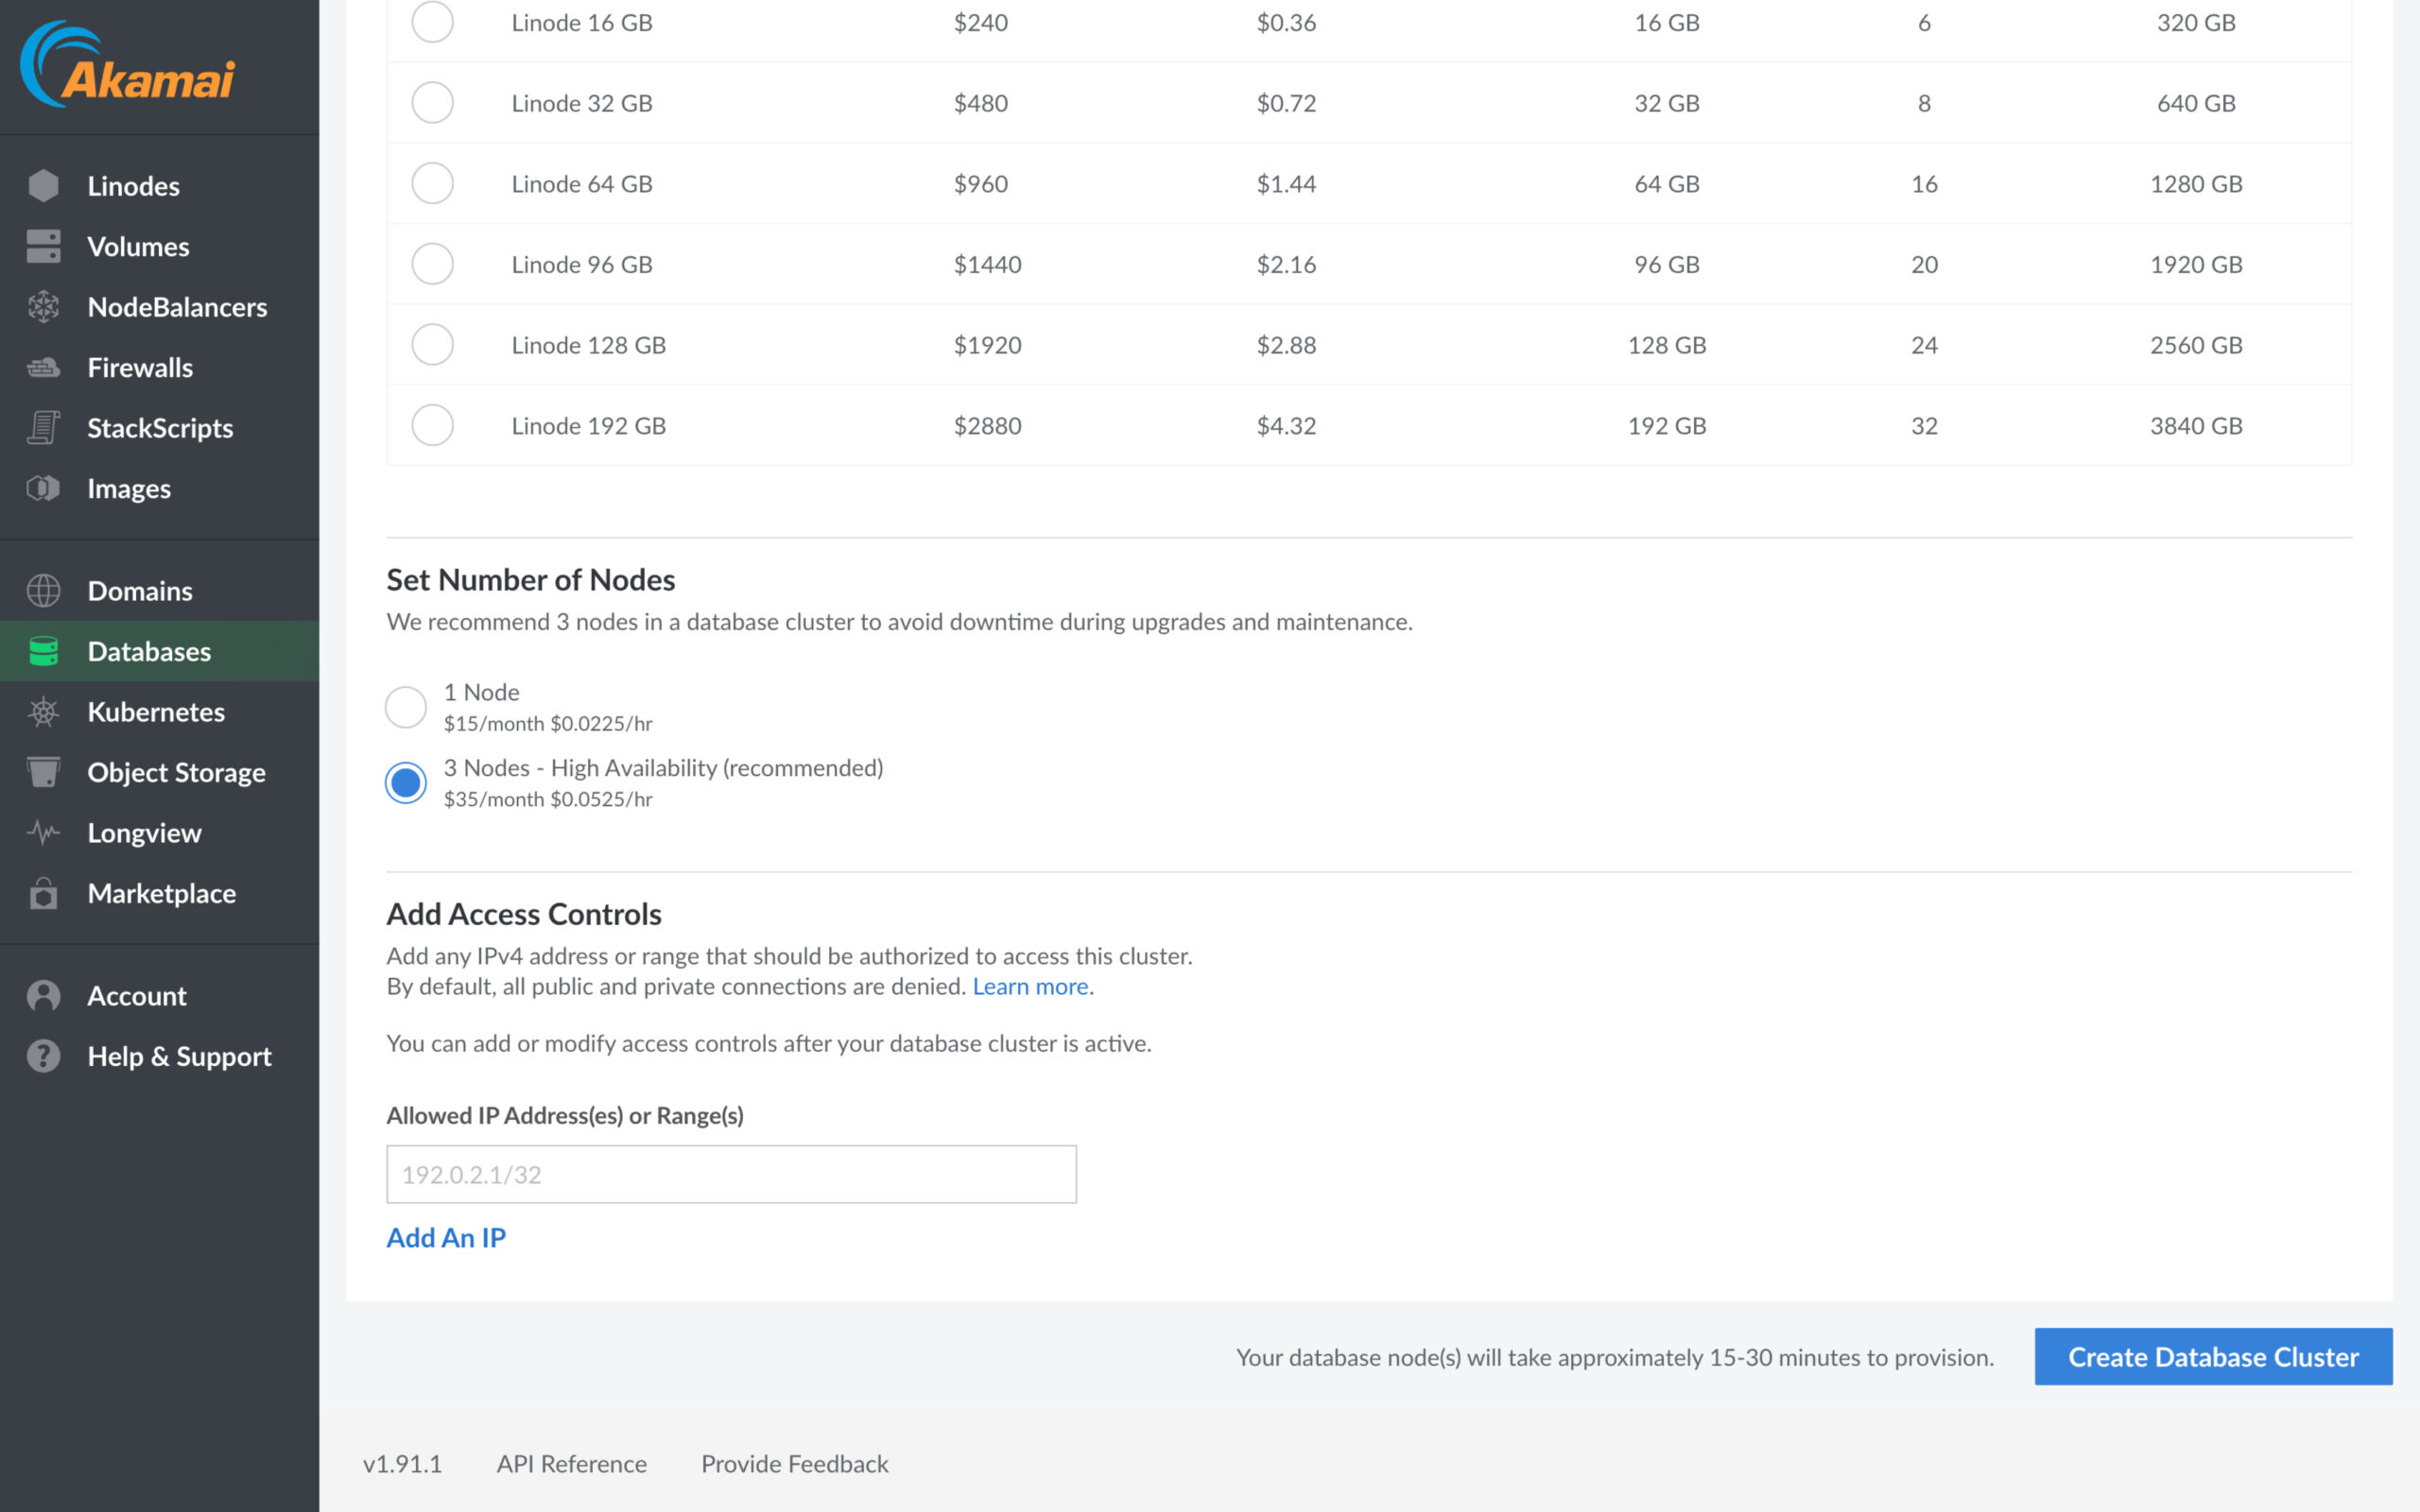
Now you can press the Create Database Cluster button to kick off the provision of your new external database. The provision may take a few minutes, making this a great opportunity to top up your coffee.
After the cluster is provisioned, you can click on it to go to the Database Cluster Settings page. In order to secure your database, you need to add at least one trusted source. This will allow connections only from your trusted source(s) and restrict all other incoming connections.
Click on the Manage Access Controls button to open the “Access Controls” panel. The “Manage Access Controls” panel allows you to manage the IPs allowed to connect to your managed database. To add an allowed IP, click the Add An IP button.
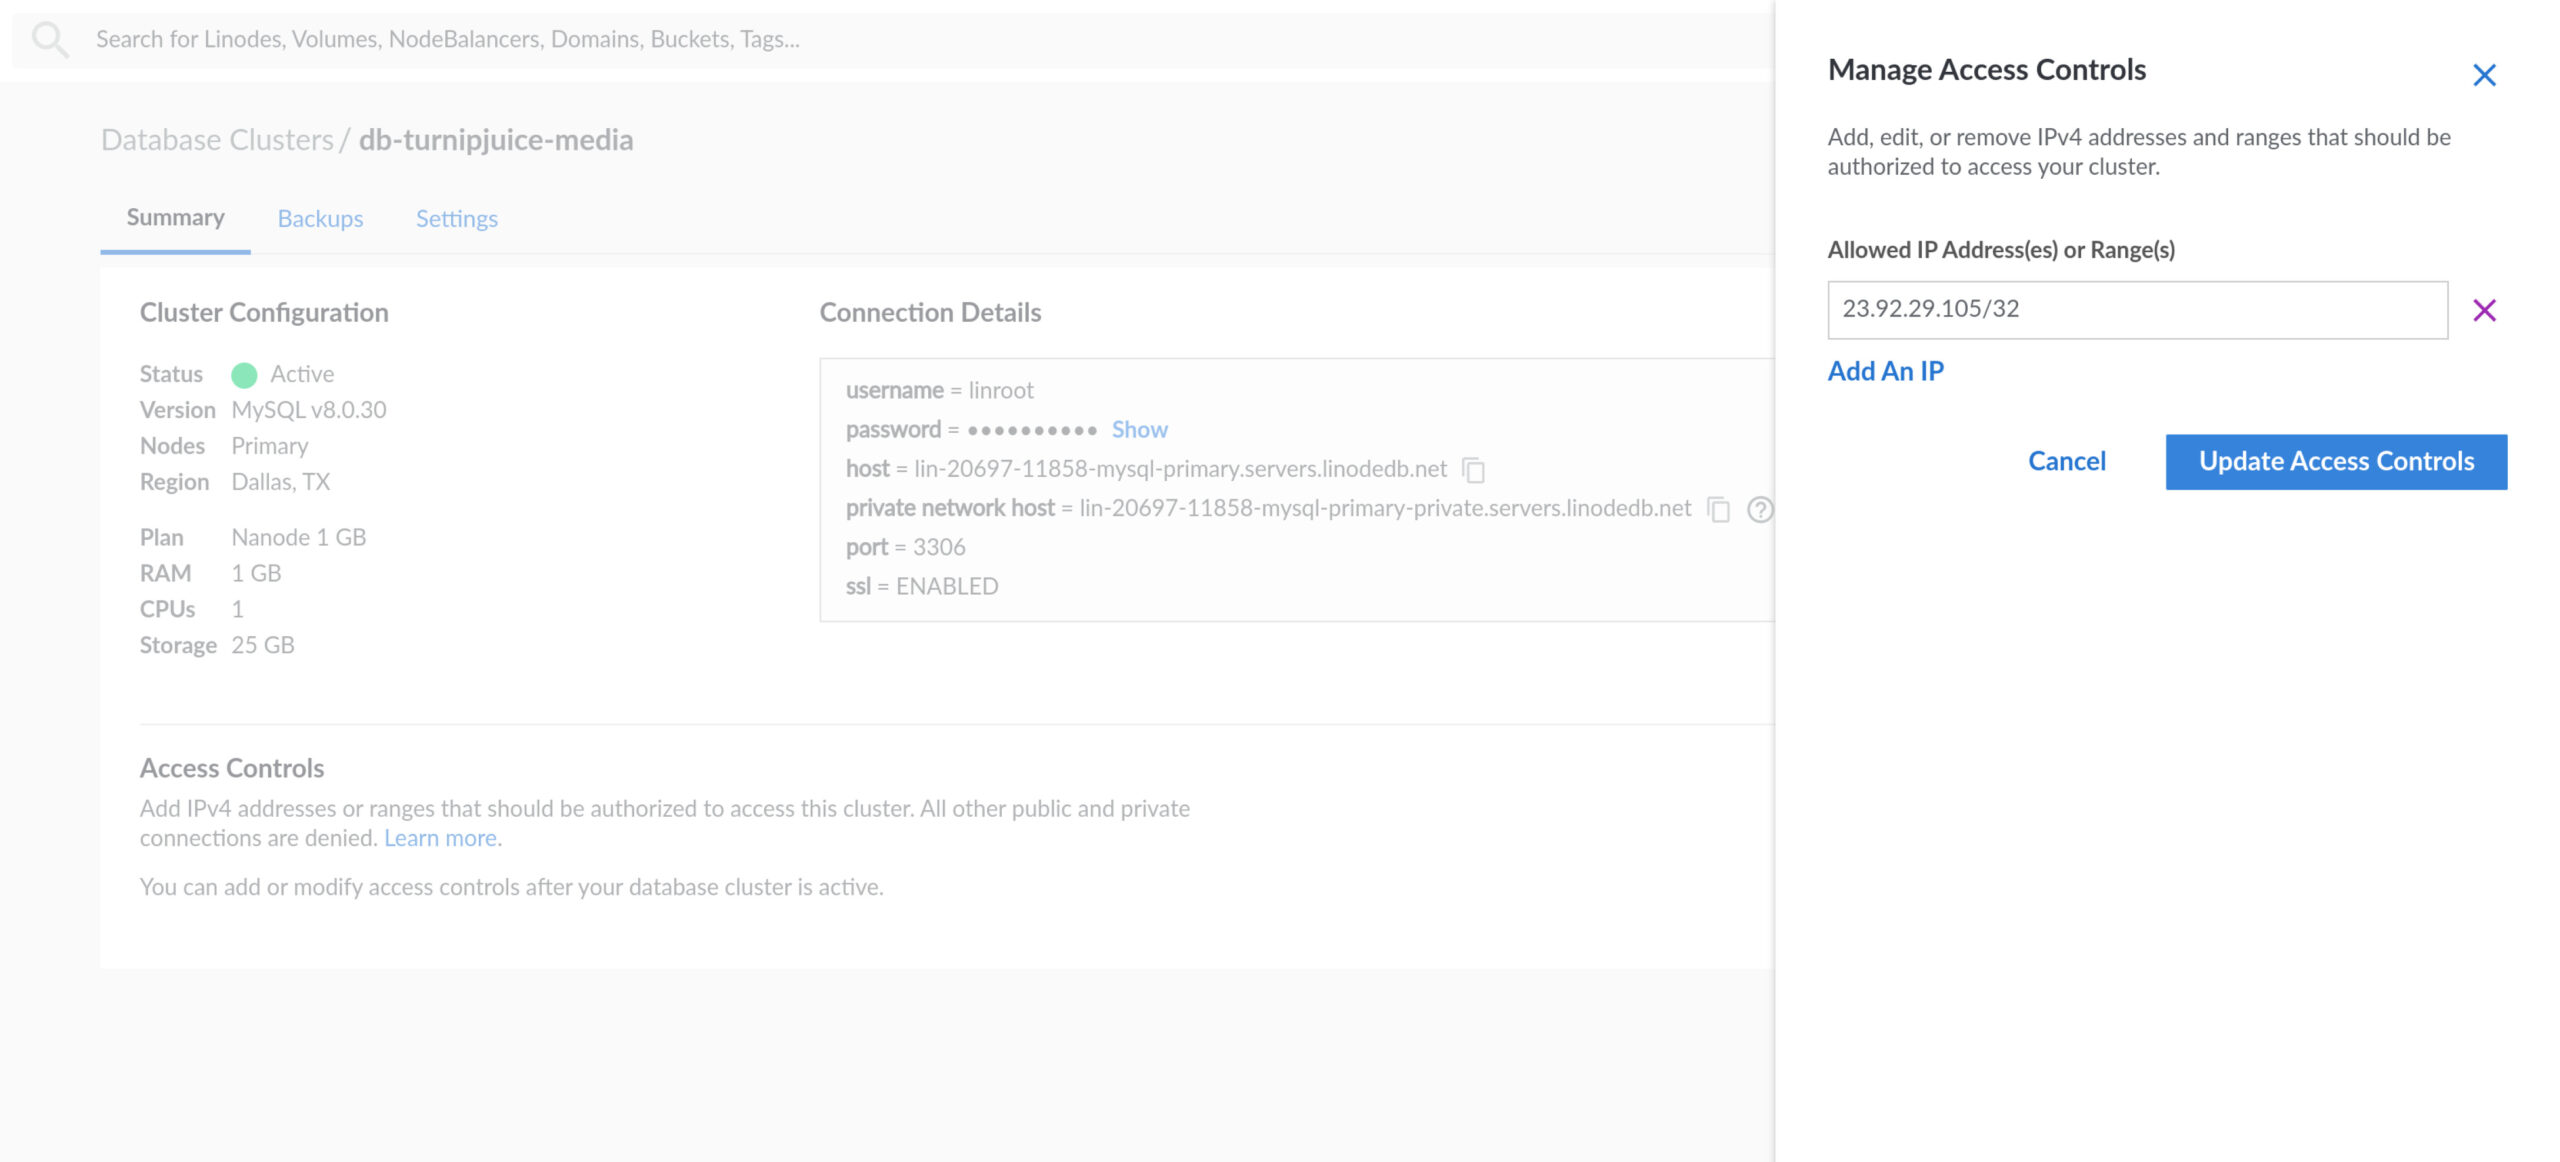
You can enter the IP address or CIDR block of the source you want to trust. If you need more than one allowed IP, just repeat the process and add any additional IPs.
Once the database creation has completed, you can use the username, password, host, and port to add the database server as an external database to SpinupWP.