Using SSH Keys
To encourage security best practices in SpinupWP we disable SSH password authentication by default. Instead, authentication with your servers is done using SSH Keys.
How Do SSH Keys Work?
The Secure Shell (SSH) protocol allows you to securely connect and authenticate to remote servers over an unsecured network using end-to-end encryption. SSH keys provide a more secure way of logging into a server with SSH than using a password alone.
SSH key authentication works by generating a pair of keys: a public key and a private key. You can place the public key on any server, and then unlock it by connecting to it with a client that already has the private key (usually your computer). When the two keys match up, the system unlocks without the need for a password.
Checking For Existing SSH Keys
Before generating a new SSH key you can check to see if you already have an SSH key in your ~/.ssh directory on your local computer:
ls ~/.ssh
This command will list the contents of the ~/.ssh directory. If you see the files id_rsa (private key) and id_rsa.pub (public key) or id_ed25519 (private key) and id_ed25519.pub (public key) in the output, then you already have an SSH key.
If the directory is empty then you can continue with generating a new SSH key below. If you have the id_rsa and id_rsa.pub files, these were generated using an old algorithm (RSA). You may want to archive these keys and generate new ones using the newer, more secure algorithm we use in the commands below (Ed25519).
Generating A New SSH Key
To generate a new SSH key, open a terminal and run the following command:
ssh-keygen -t ed25519 -C "your_email@example.com"
Replace “your_email@example.com” with something to help you identify this SSH key (it doesn’t have to be an email address).
When prompted to “Enter a file in which to save the key”, press Enter to select the default location (~/.ssh/id_ed25519).
When prompted to “Enter passphrase”, press Enter to leave it blank. If you would like an extra layer of security, you can add a passphrase to your SSH key. However, this will require entering the passphrase every time you use the SSH key.
Adding An SSH Key To A SpinupWP Server
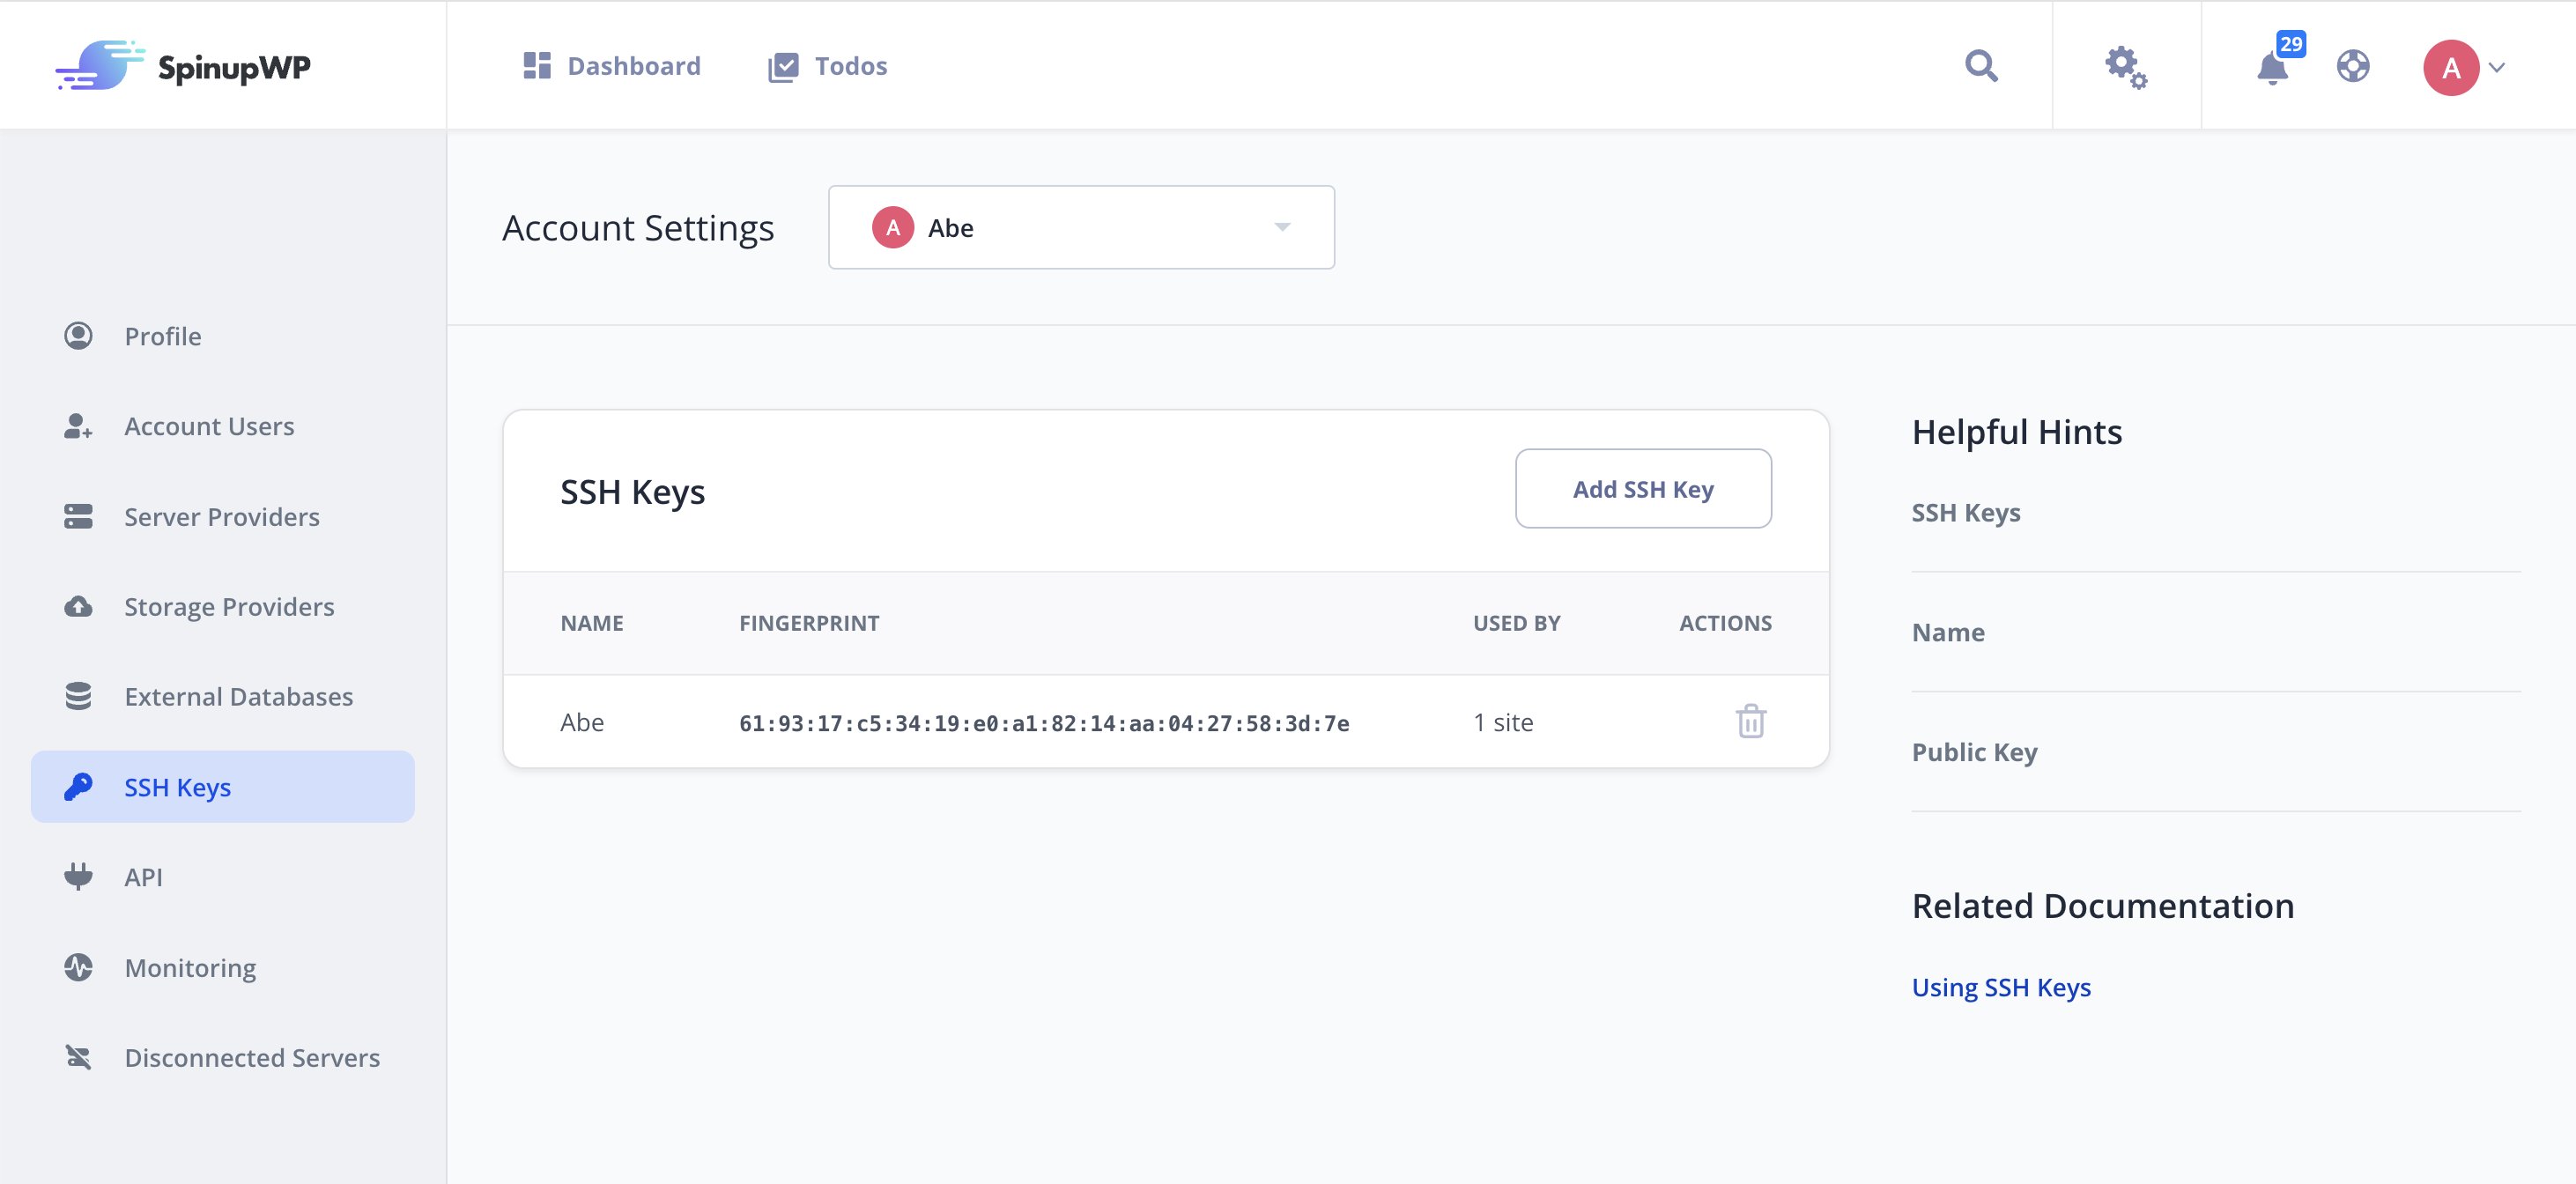
In SpinupWP you can add SSH public keys to your account via the Account Settings page.

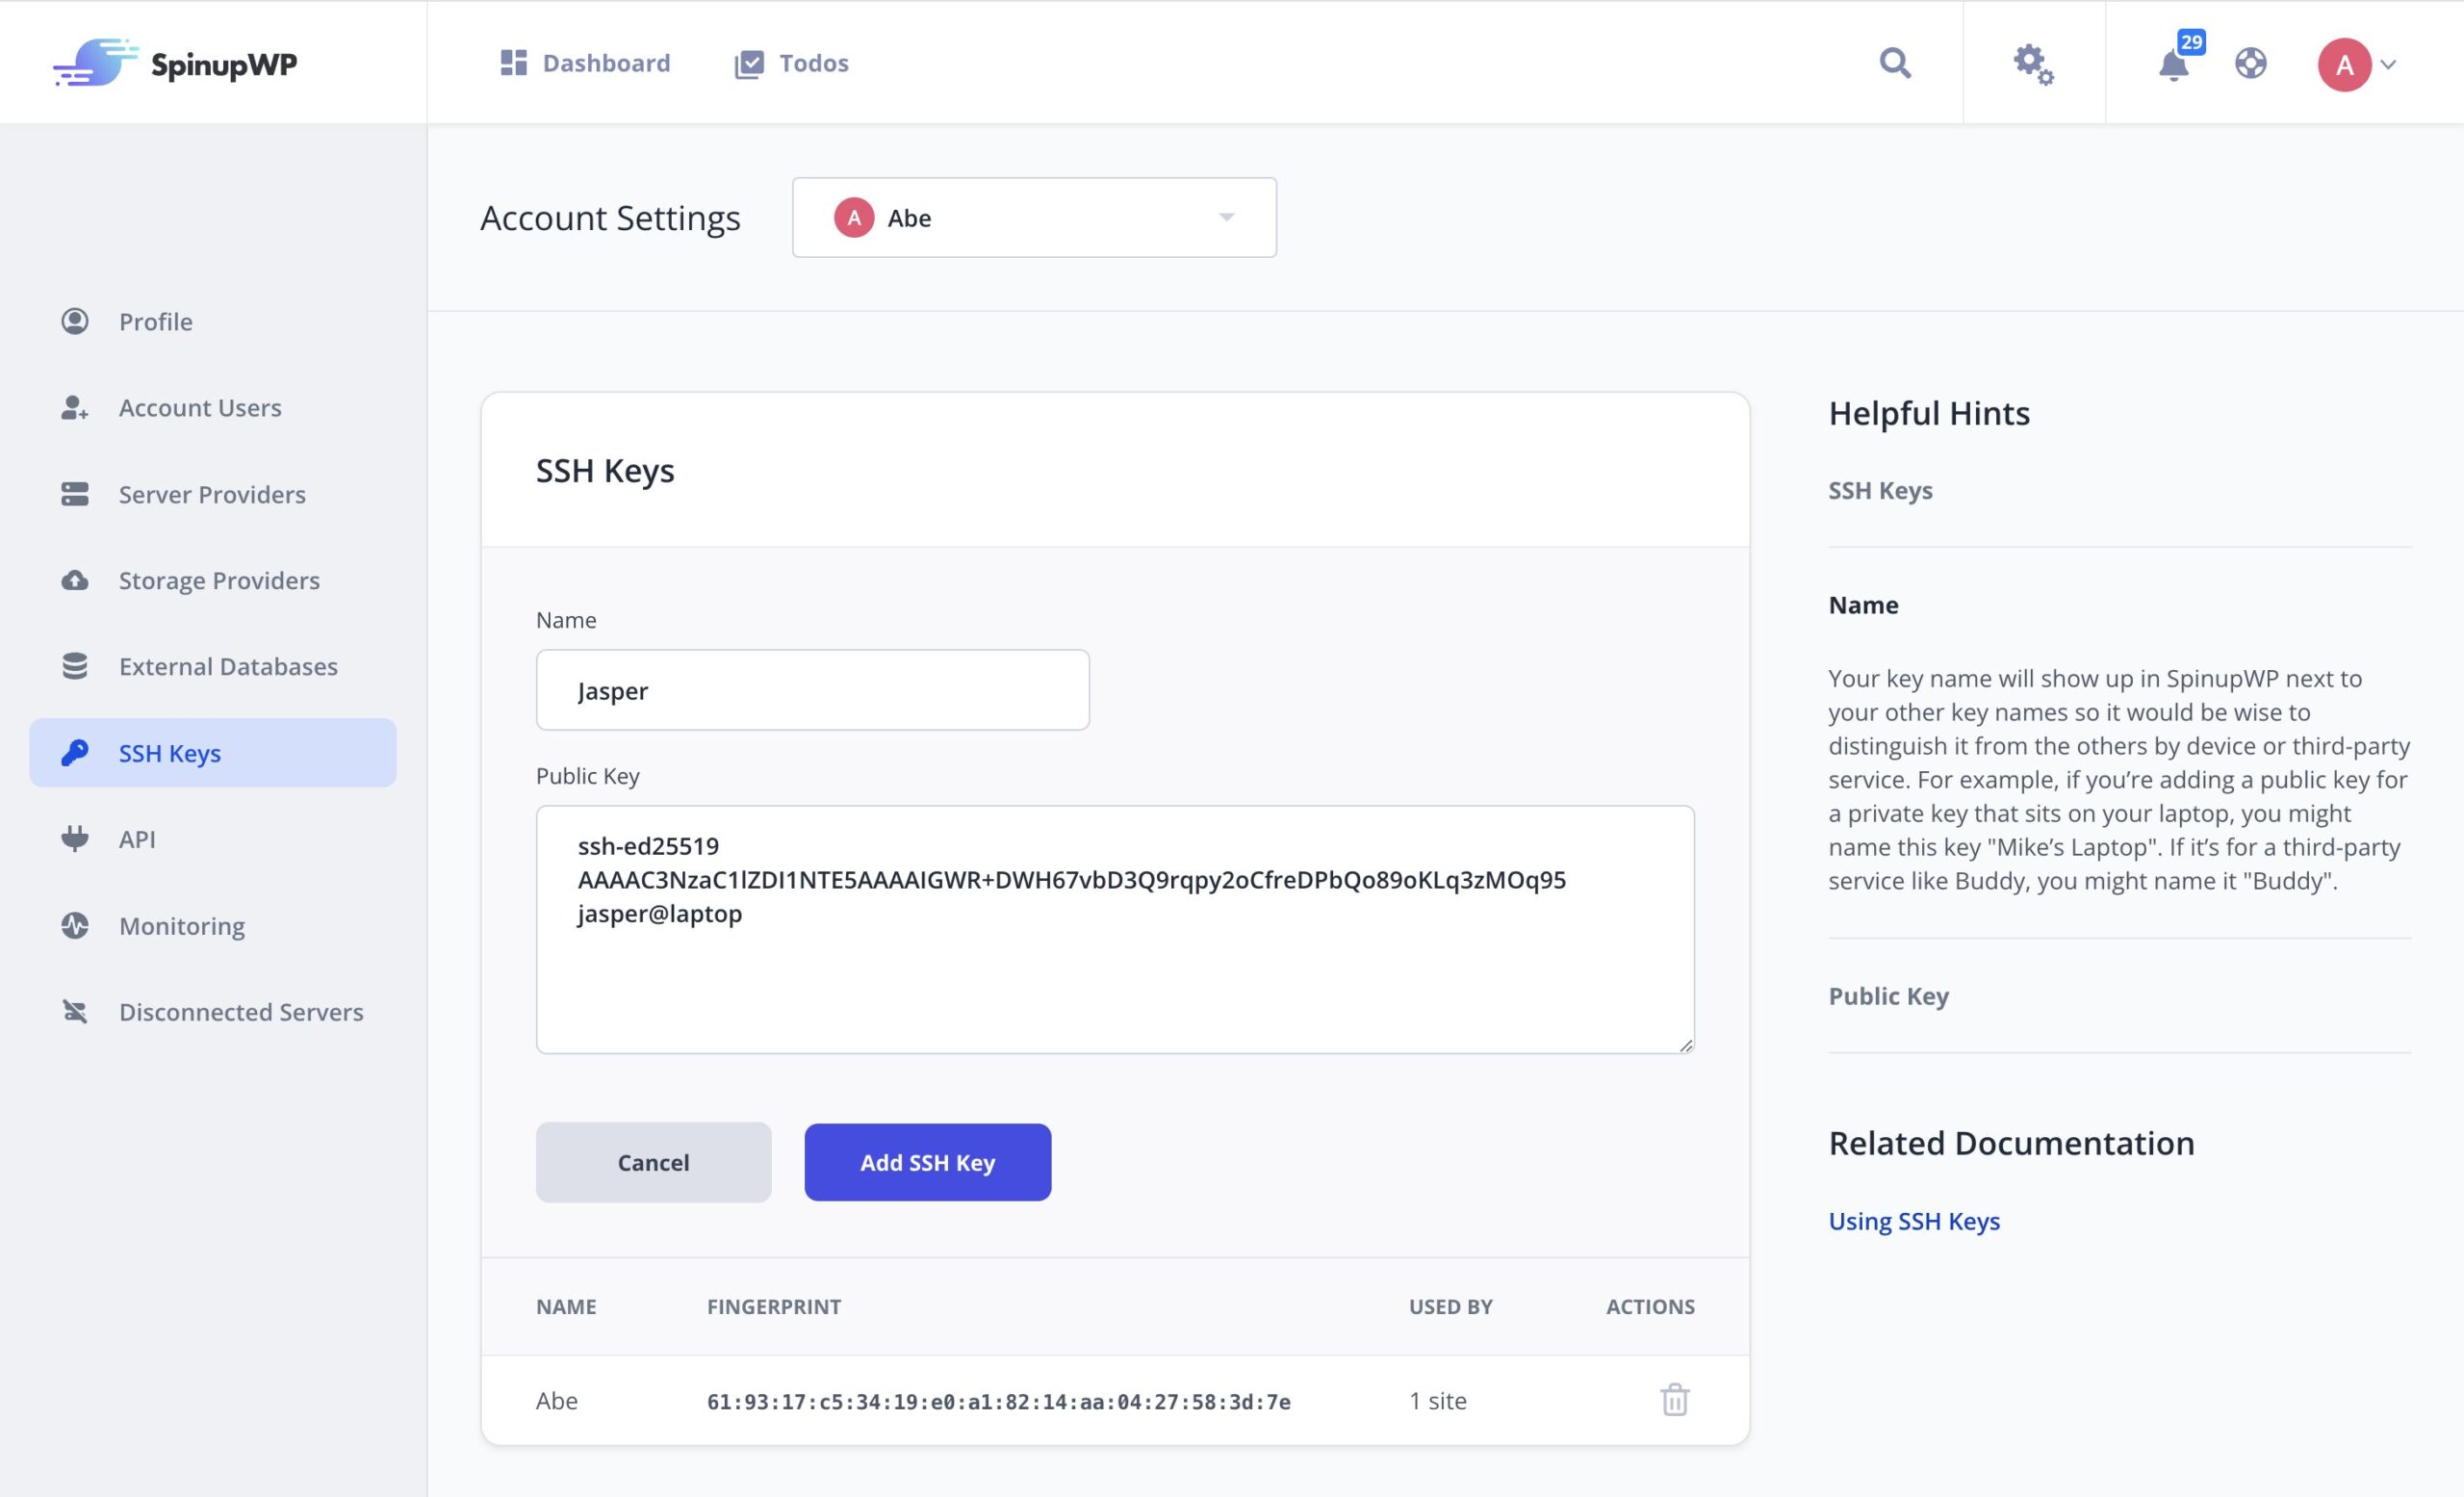
To add your SSH public key to SpinupWP first you need to copy it to your clipboard:
pbcopy < ~/.ssh/id_ed25519.pub
If you’re using Windows you can use the clip command instead of pbcopy. If pbcopy/clip isn’t working, you can locate the hidden .ssh folder, open the file in your favorite text editor, and copy it to your clipboard. Note that it’s important to copy your public key (id_ed25519.pub) and not your private key (id_ed25519). Your private key should be treated as a password and never shared with anyone.
Then, give your key a unique name, and paste your SSH public key in the relevant field:

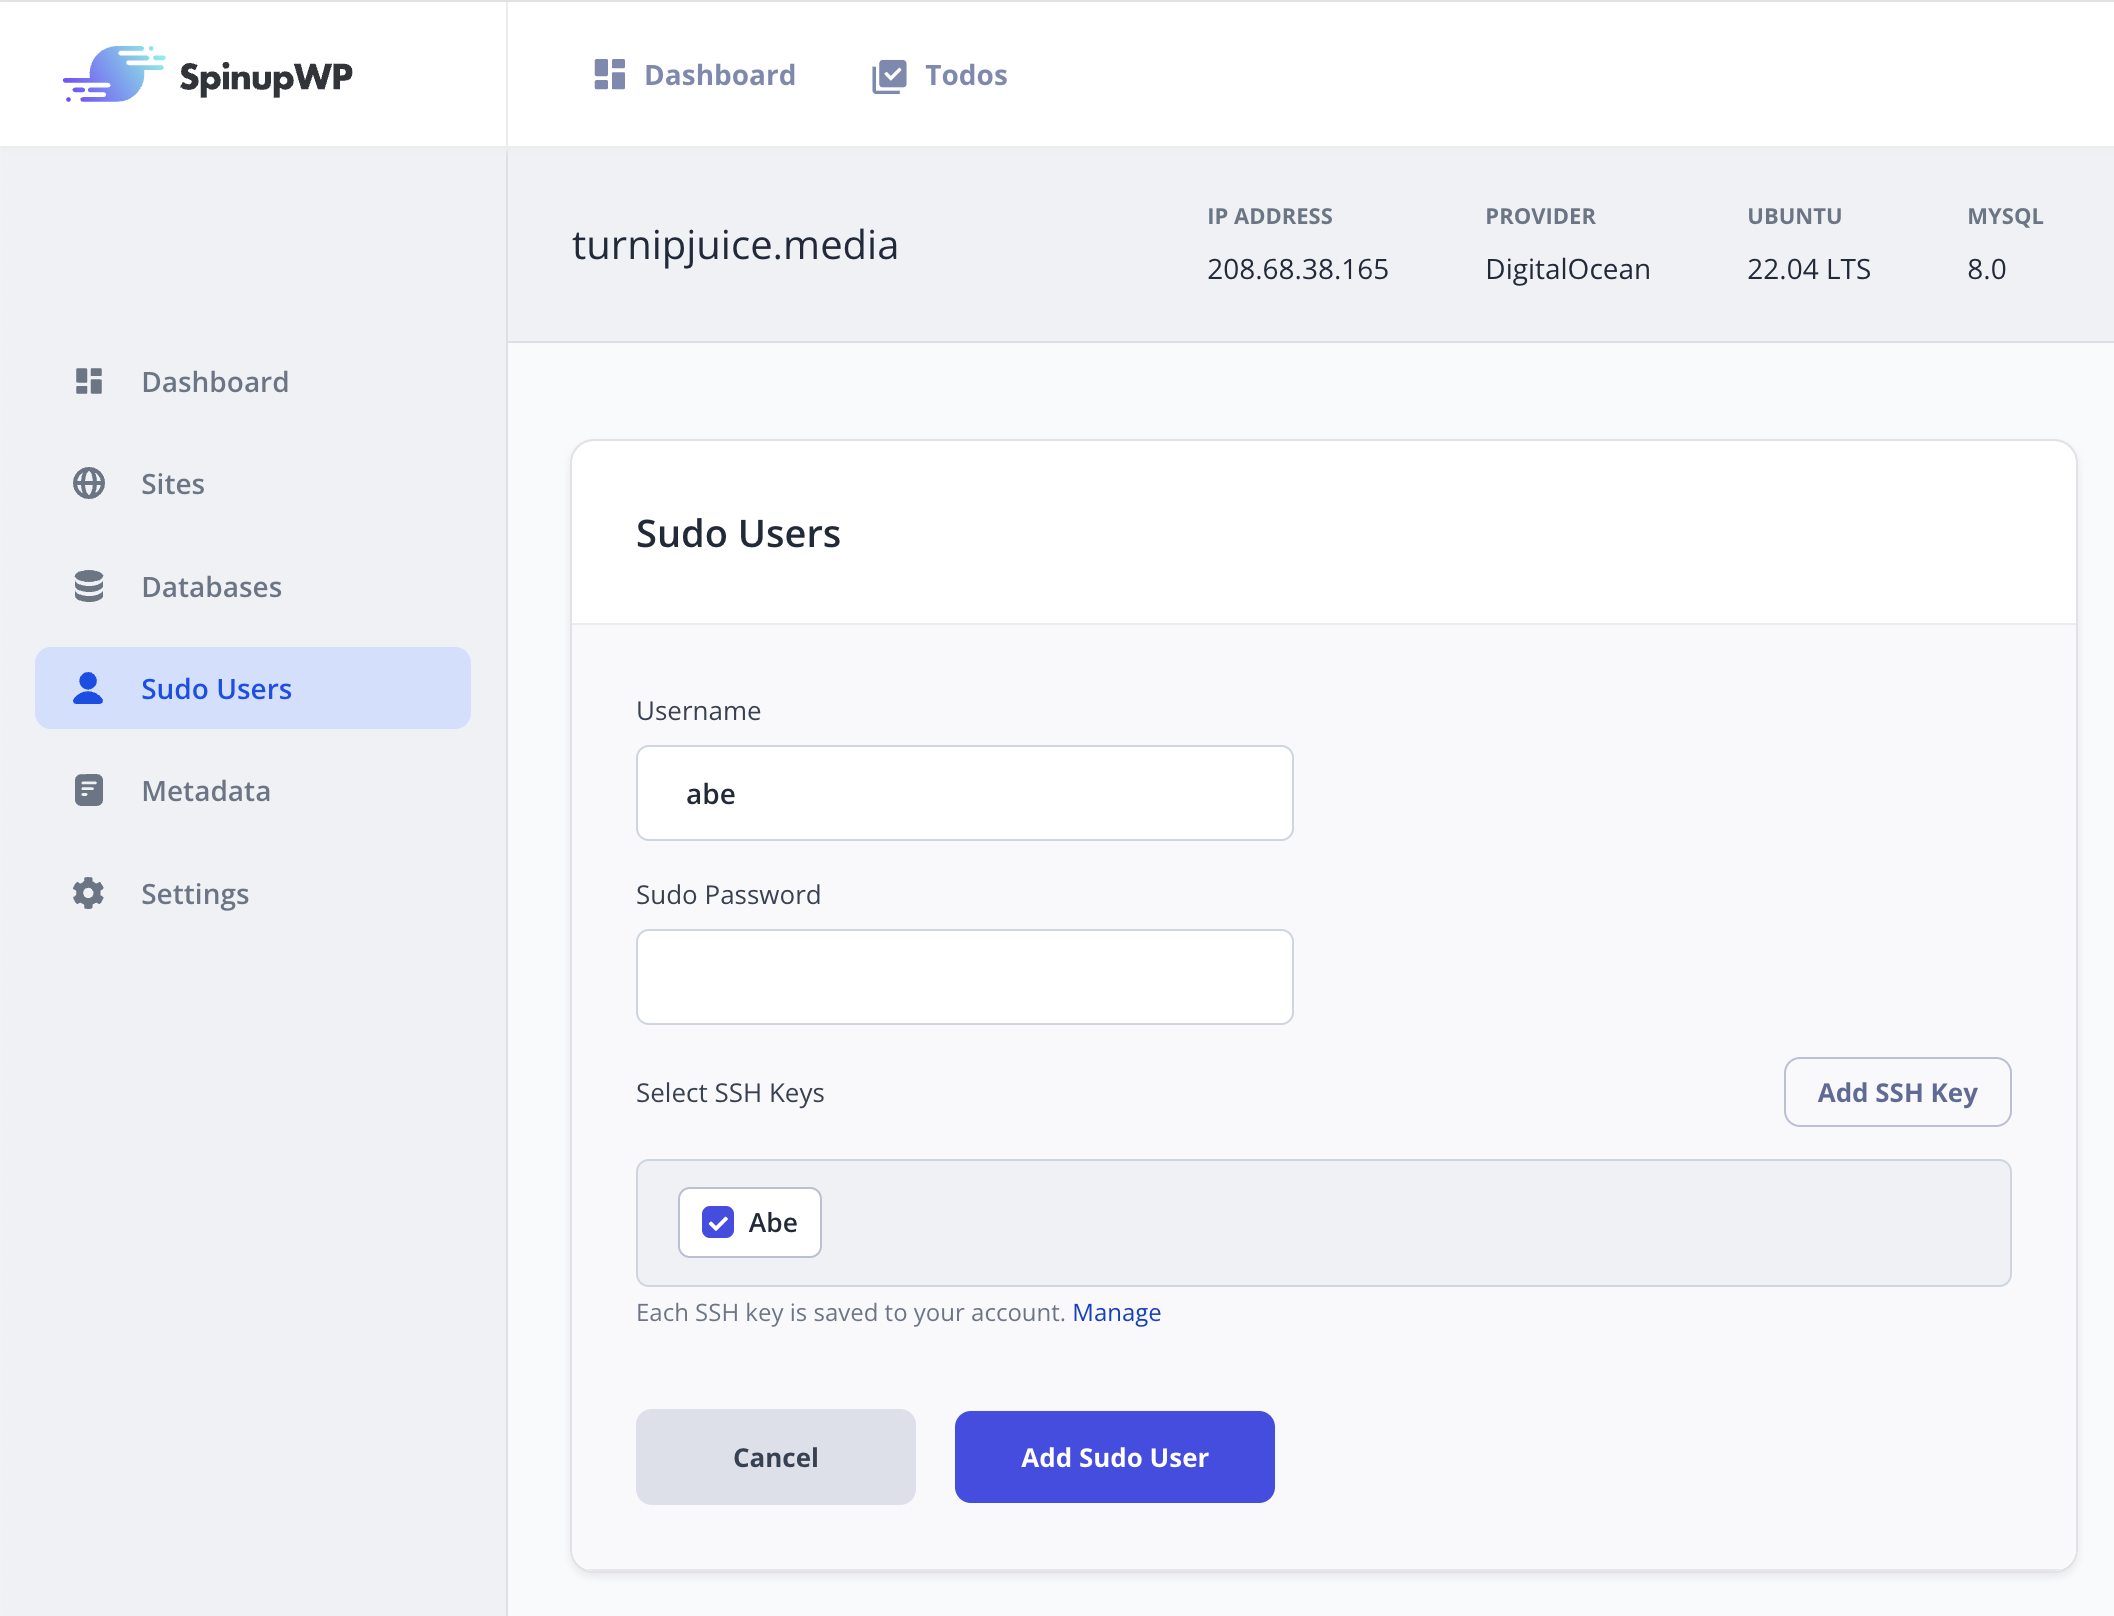
Once added, SSH keys can be attached to Sudo Users or Site Users using the SpinupWP dashboard.

Account Admins can attach any SSH keys available in the account, while Site Admins and Server Admins can only attach keys they’ve added themselves.
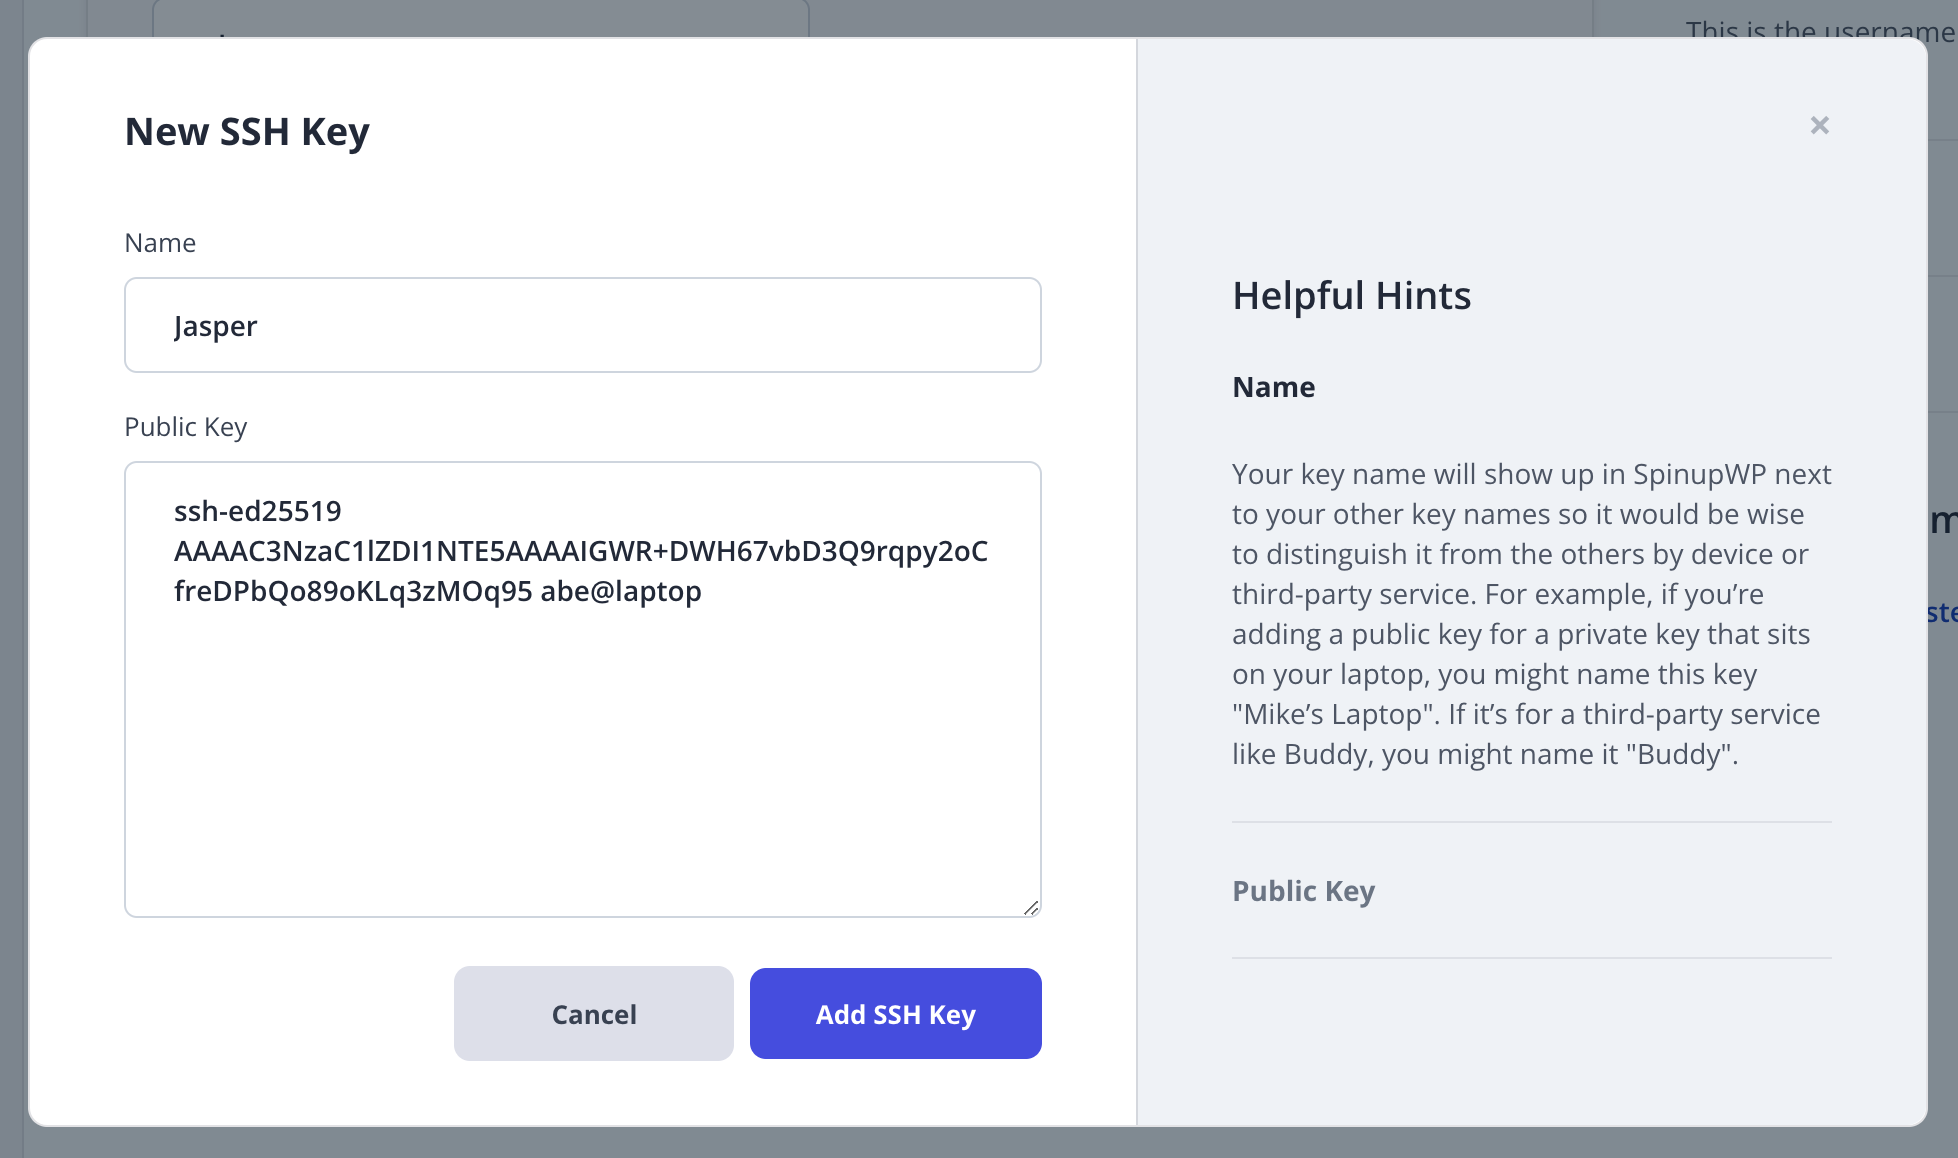
Alternatively, when adding a sudo user or editing a site user, you can also add an SSH key, by using the Add SSH Key button on the top right of the keys list. This will open a modal window, allowing you to add your SSH key.

Whichever way you add your SSH key, this will allow you to connect to the server via SSH as the relevant sudo or site user:
ssh abe@123.456.78.91