Setting Up Site Email for WordPress
WordPress will often need to send emails to you or your users. These emails are known as transactional email, and common ones include:
- Admin notifications
- New user signups and password resets
- Purchase receipts and order updates (WooCommerce, Easy Digital Downloads, etc.)
- Form submission emails from form plugins
Email servers are notoriously difficult to set up. Not only do you need to ensure that emails successfully hit your recipient’s inboxes, but you also have to consider how to handle spam and viruses (sent as email attachments). For that reason, SpinupWP does not configure your server to send or receive emails. Instead, we recommend that you use an email sending service, such as Mailgun or Amazon SES.
This article will outline how to configure your WordPress site to send transactional emails via popular email providers:
Mailgun
Mailgun is a popular email sending service which offers a free trial for 3 months that includes 5,000 email sends per month.
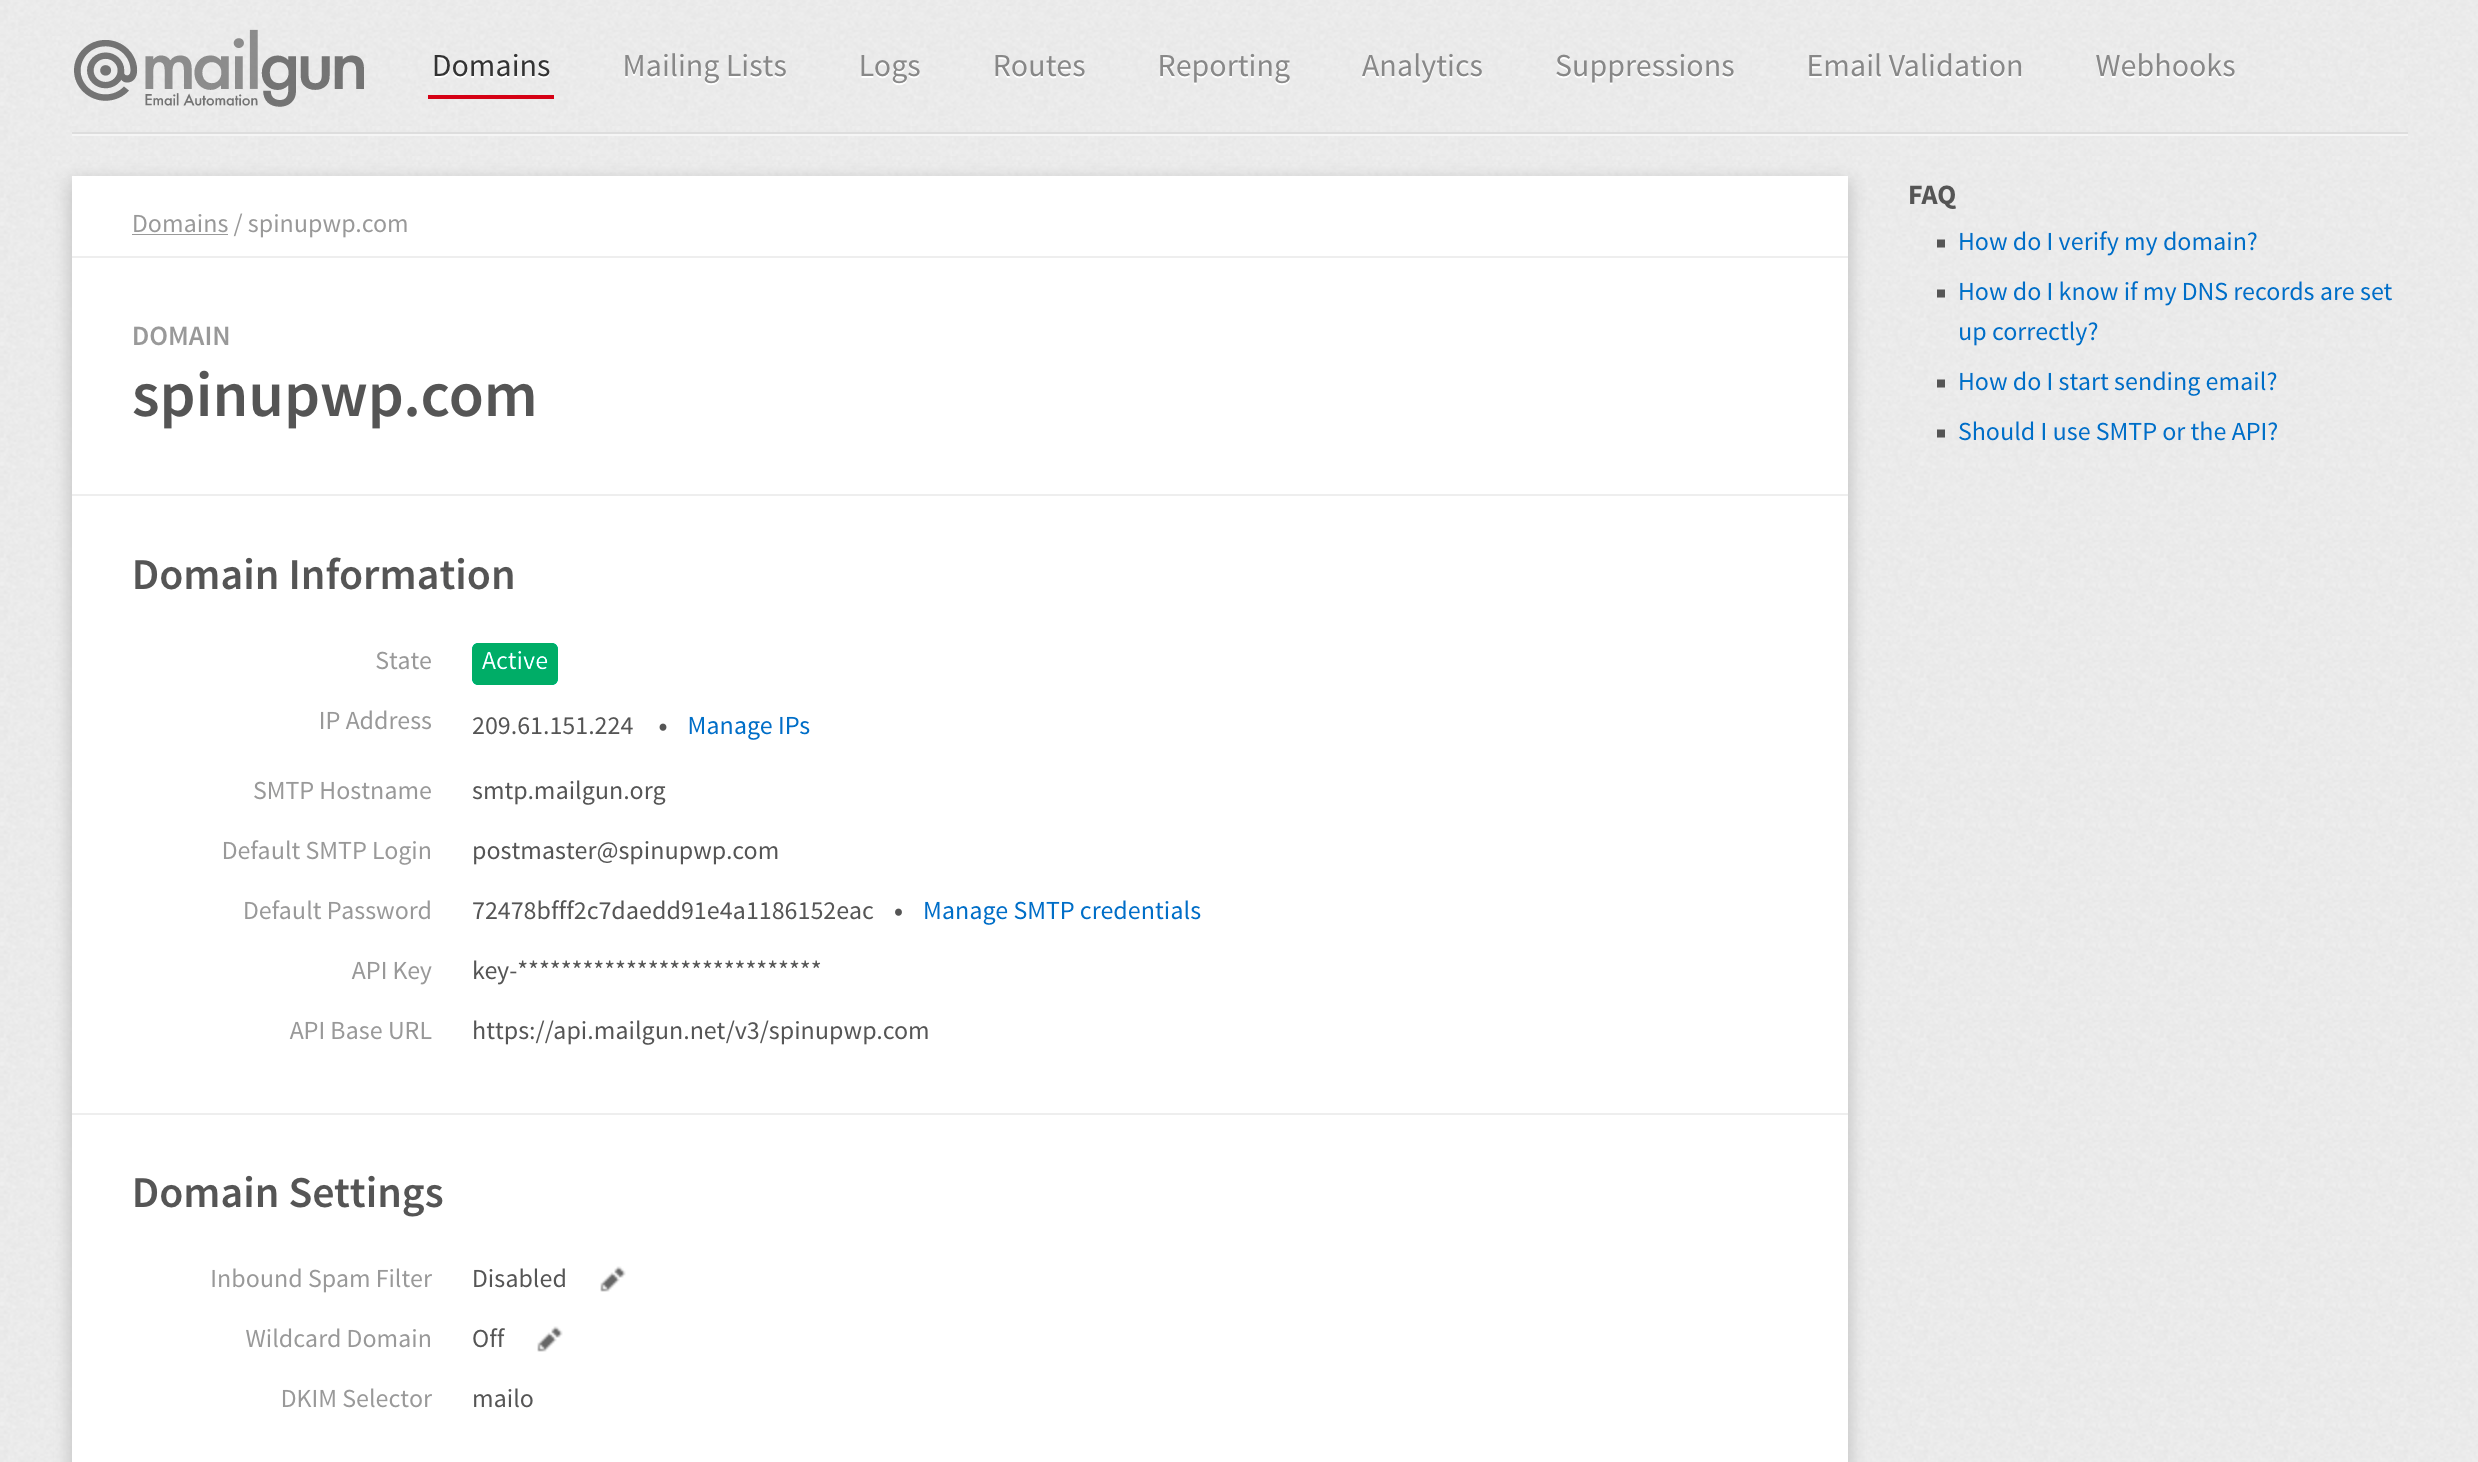
Start by signing up for a free account. Then verify your domain, as detailed in the Quickstart Guide. Once the domain has been verified your API key will be revealed.
Login to your WordPress site and head over to the Add Plugins page. Search for “Mailgun for WordPress” and install the plugin. Navigate to the Mailgun screen from within the Settings menu.
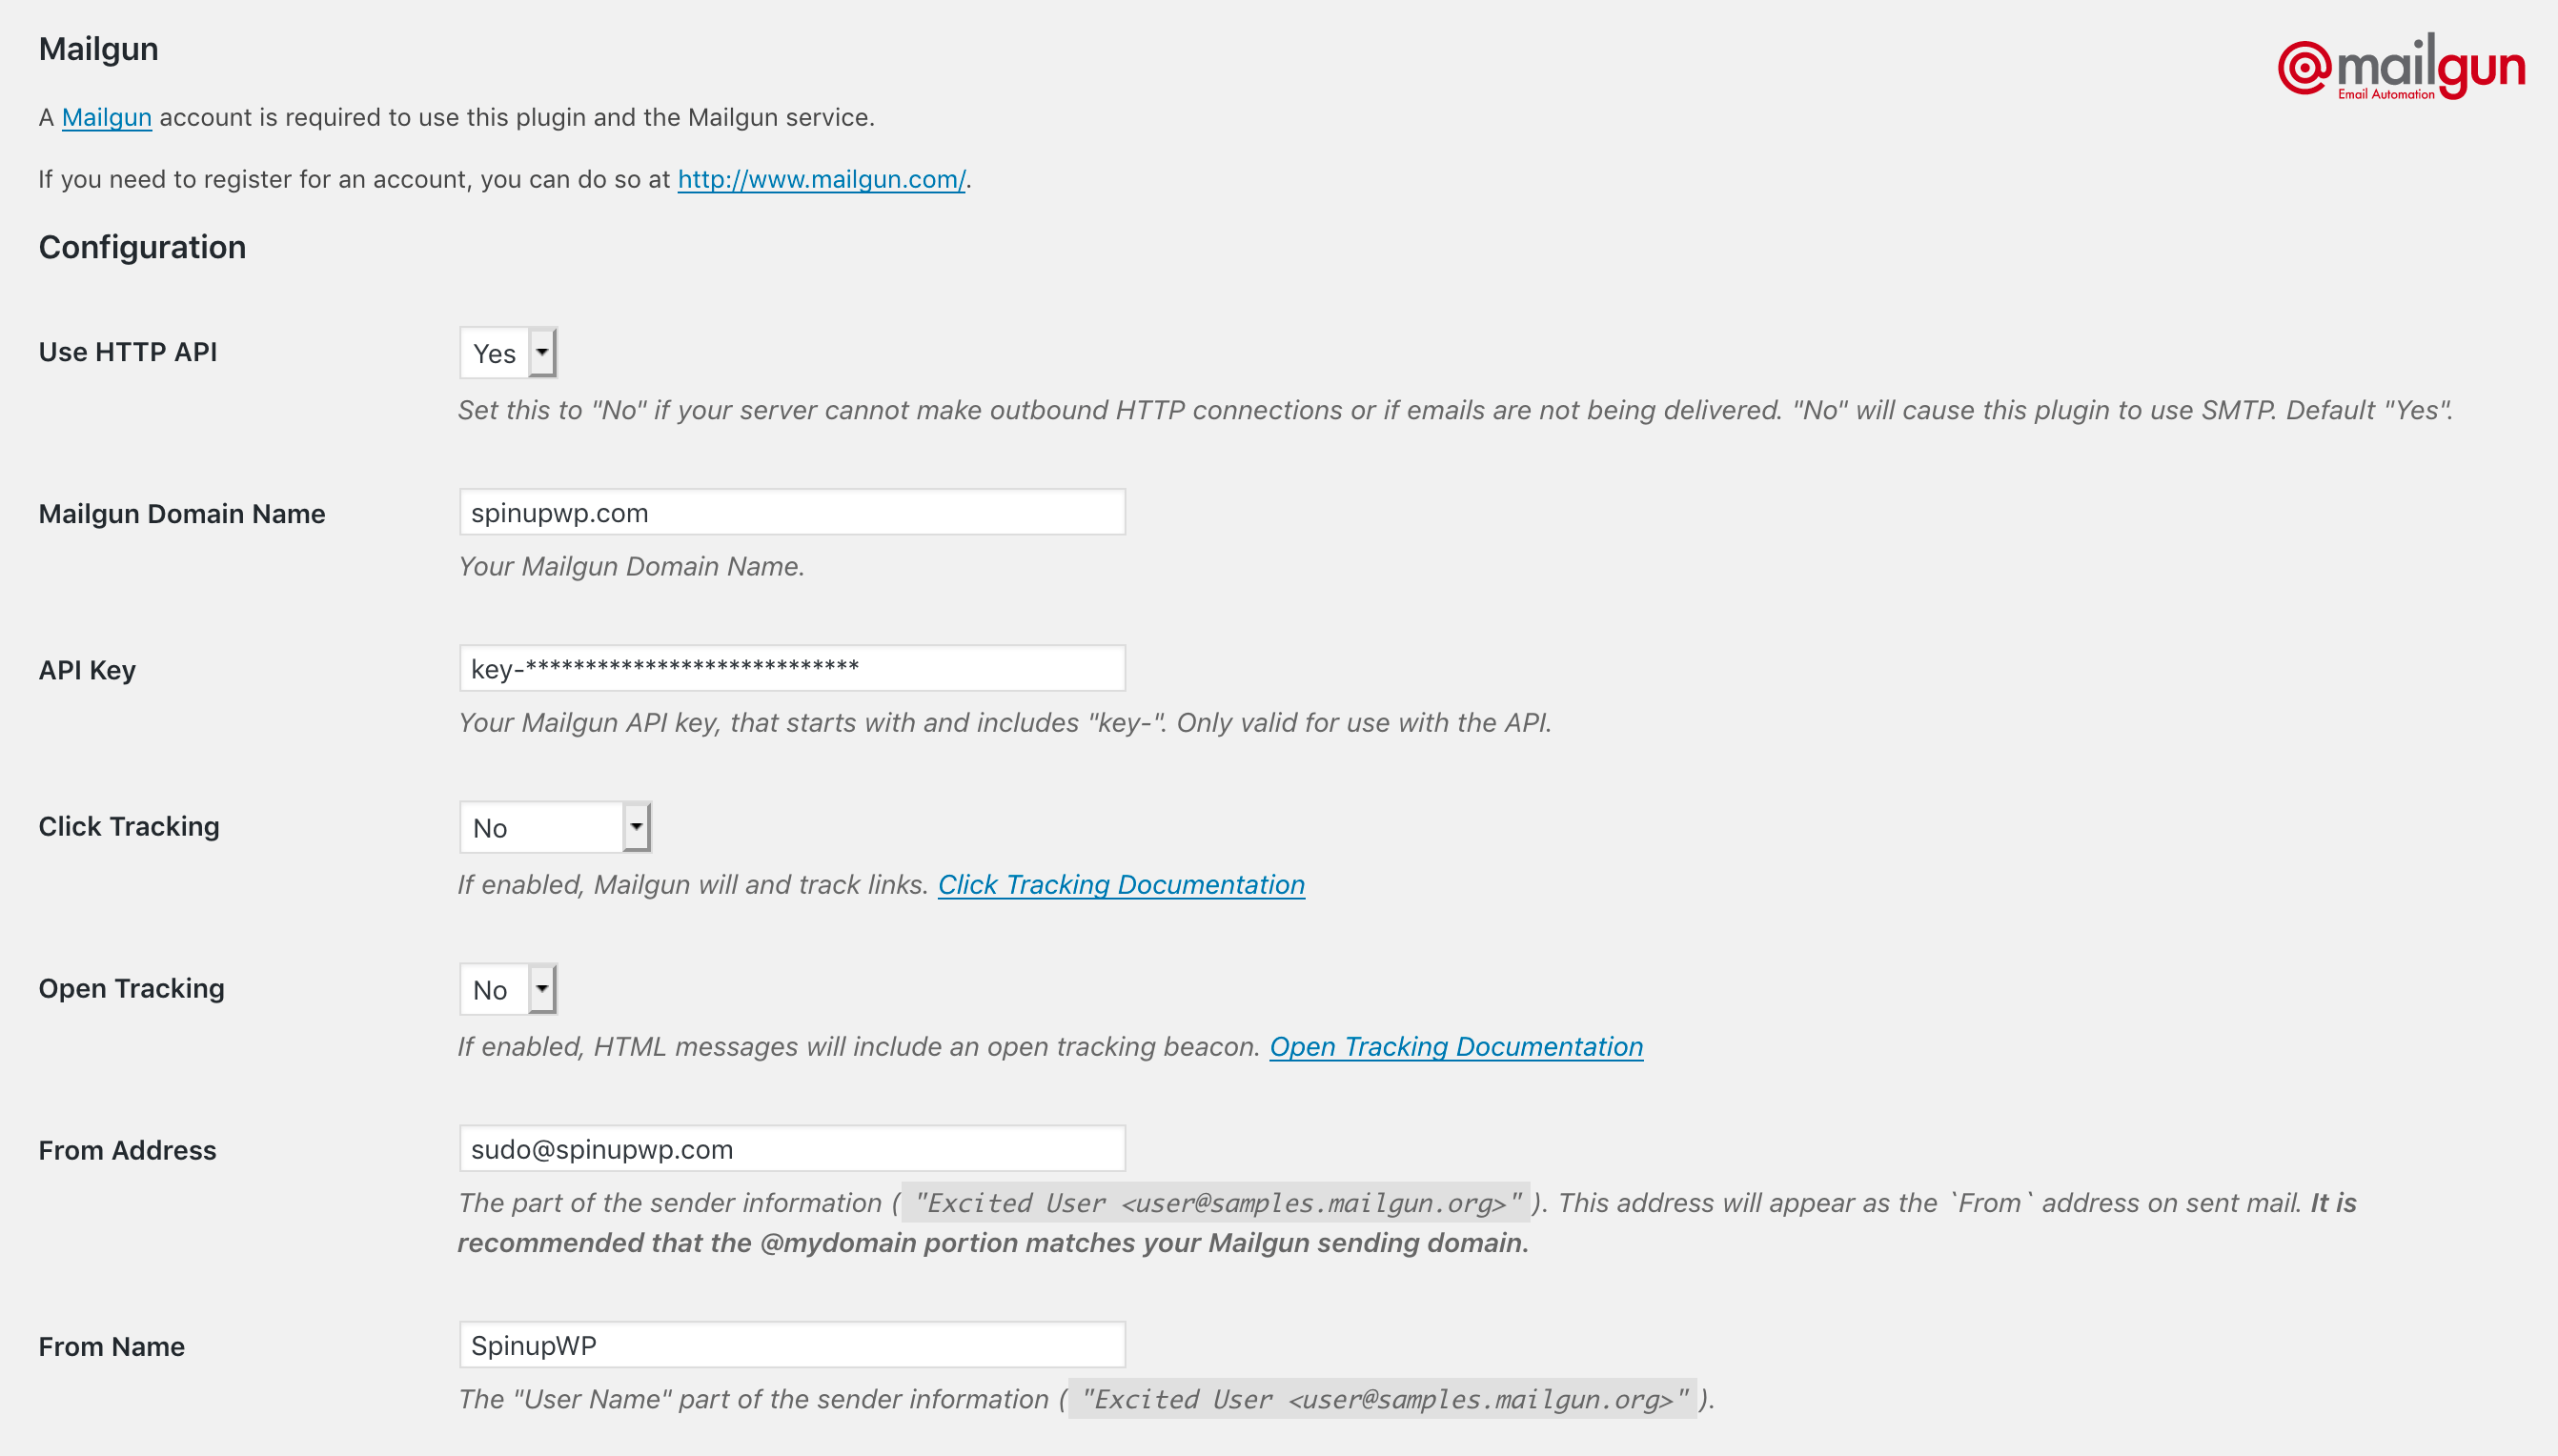
- Set Use HTTP API to Yes
- Enter the sending domain into the Mailgun Domain Name field
- Copy and paste the API key into the API Key field
Save the changes, then click Test Configuration to send a test email.
Amazon SES
Amazon SES is another popular email sending service which can be very cost effective when sending a large volume of emails.
Create a new IAM user and verify your sending email address, as detailed in the WP Offload SES installation instructions.
Login to your WordPress site and head over to the Add Plugins page. Search for “WP Offload SES” and install the plugin. Navigate to the WP Offload SES screen from within the Settings menu.

- Enter the sending email address into the Sender Email field and the sending name into the Name field
- Copy and paste your key and secret key into the Access Key ID and Secret Access Key fields
Save the changes, then click “Send Test Email” to send a test email.