Backblaze Storage Provider
This guide aims to help you set up Backblaze for storing site backups.
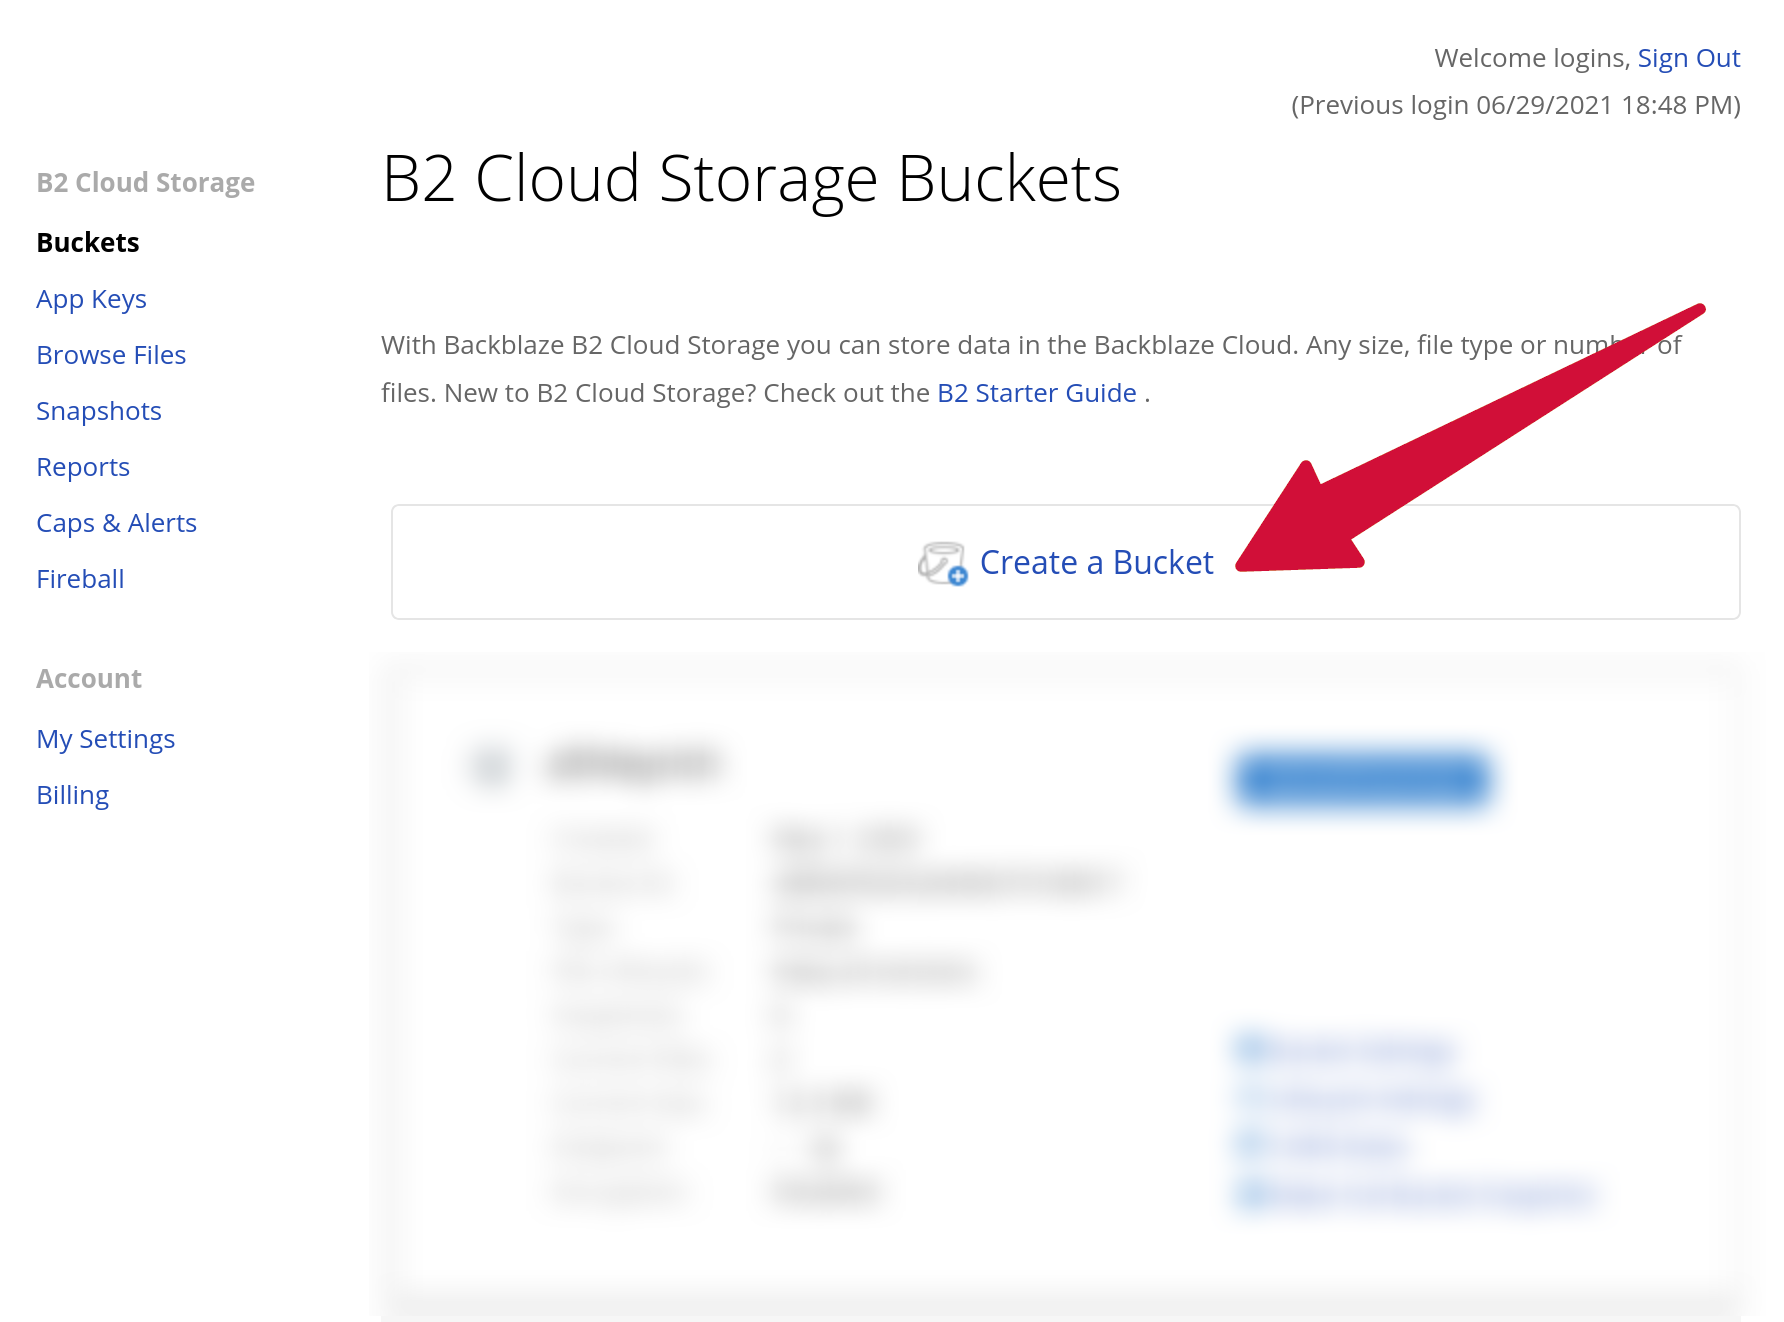
Start by signing in to Backblaze. Once logged in, it will take you to your list of B2 Cloud Storage Buckets.
Create Bucket
Click Create a Bucket.
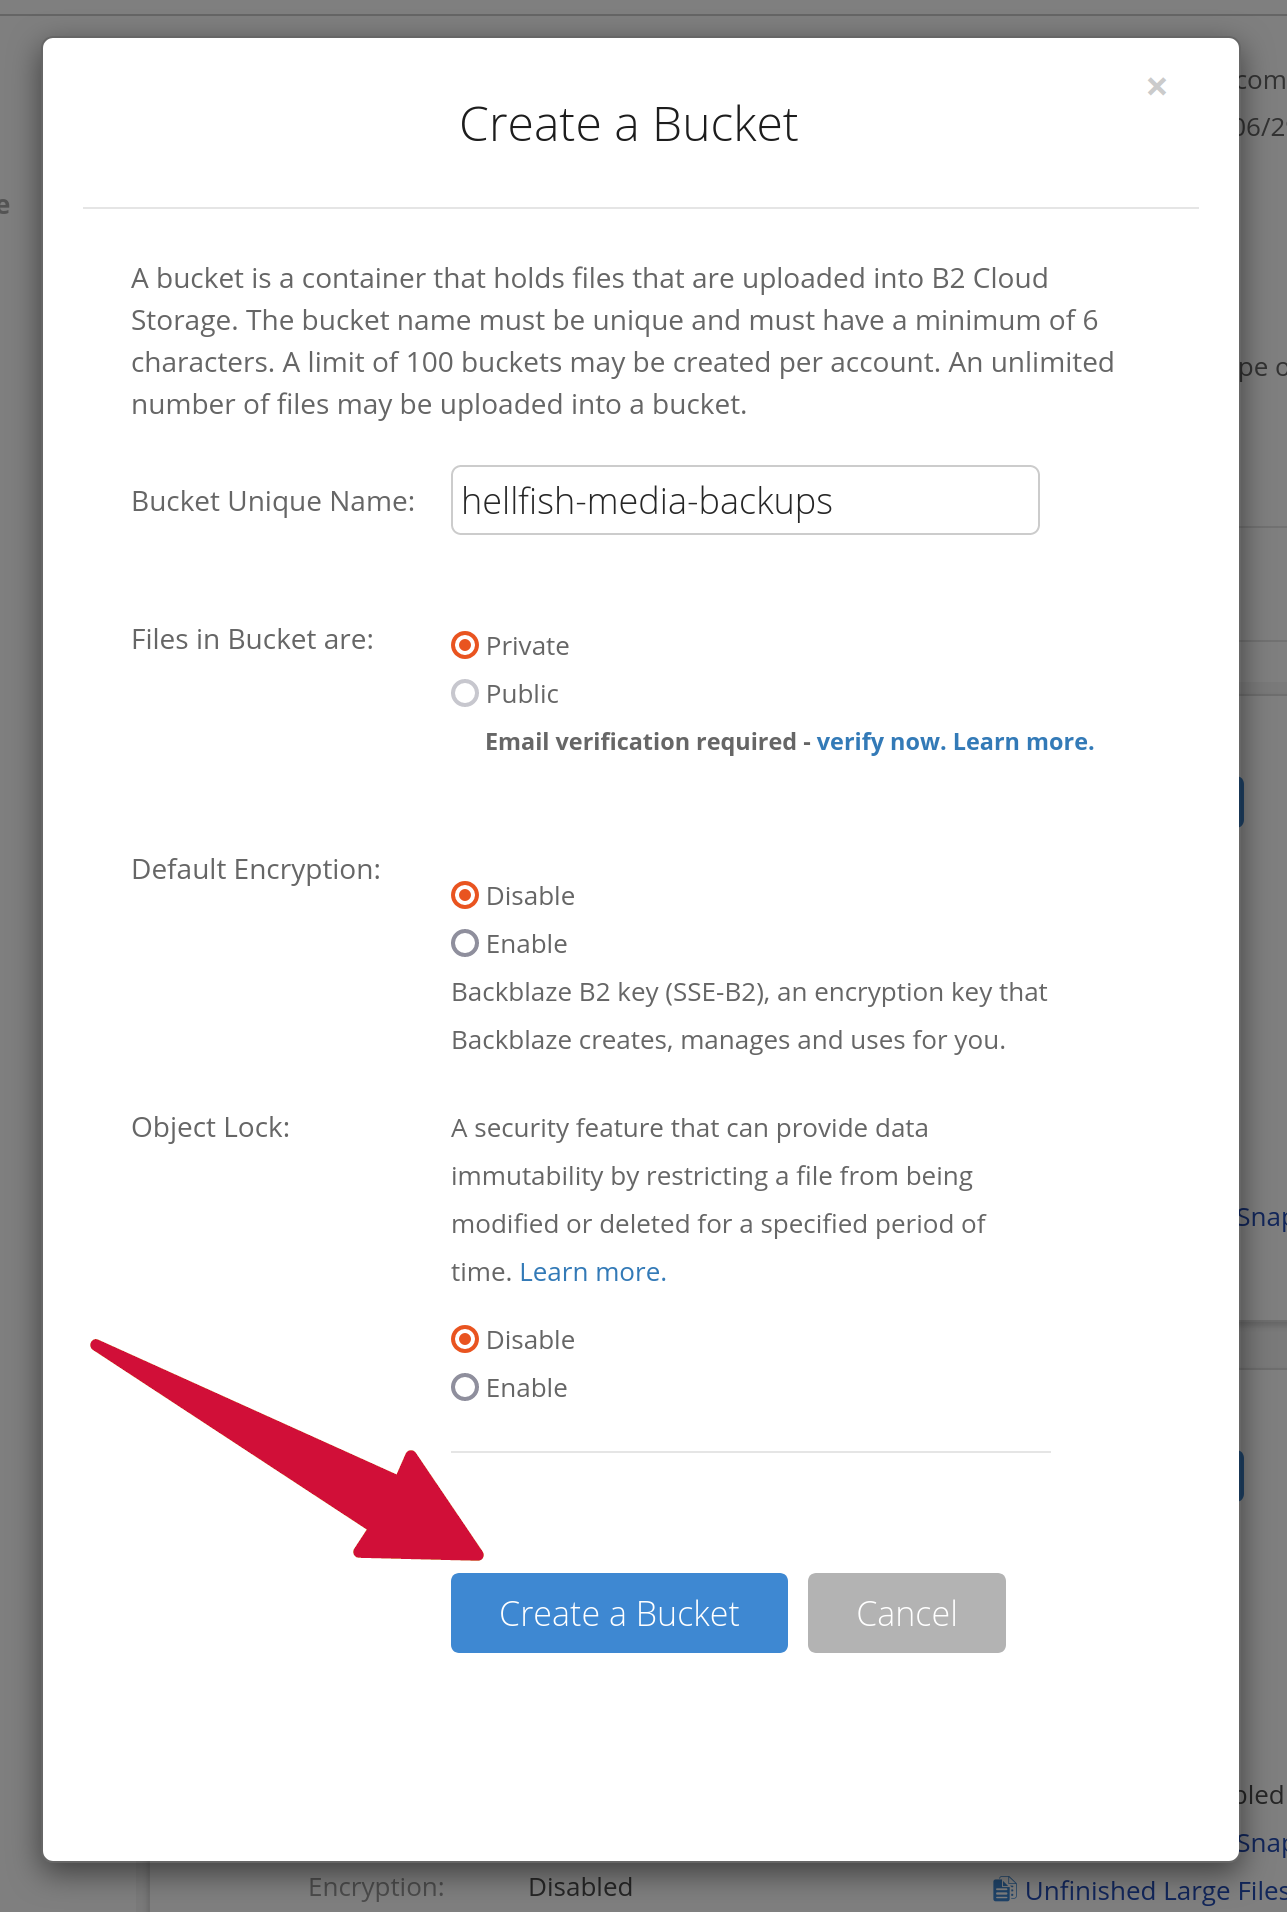
Give the bucket a unique bucket name. A good naming scheme is “domain-name-backups”, for example, “hellfish-media-backups”.
All other options can be left as the default values, and click Create a Bucket to create it.
Create an App Key
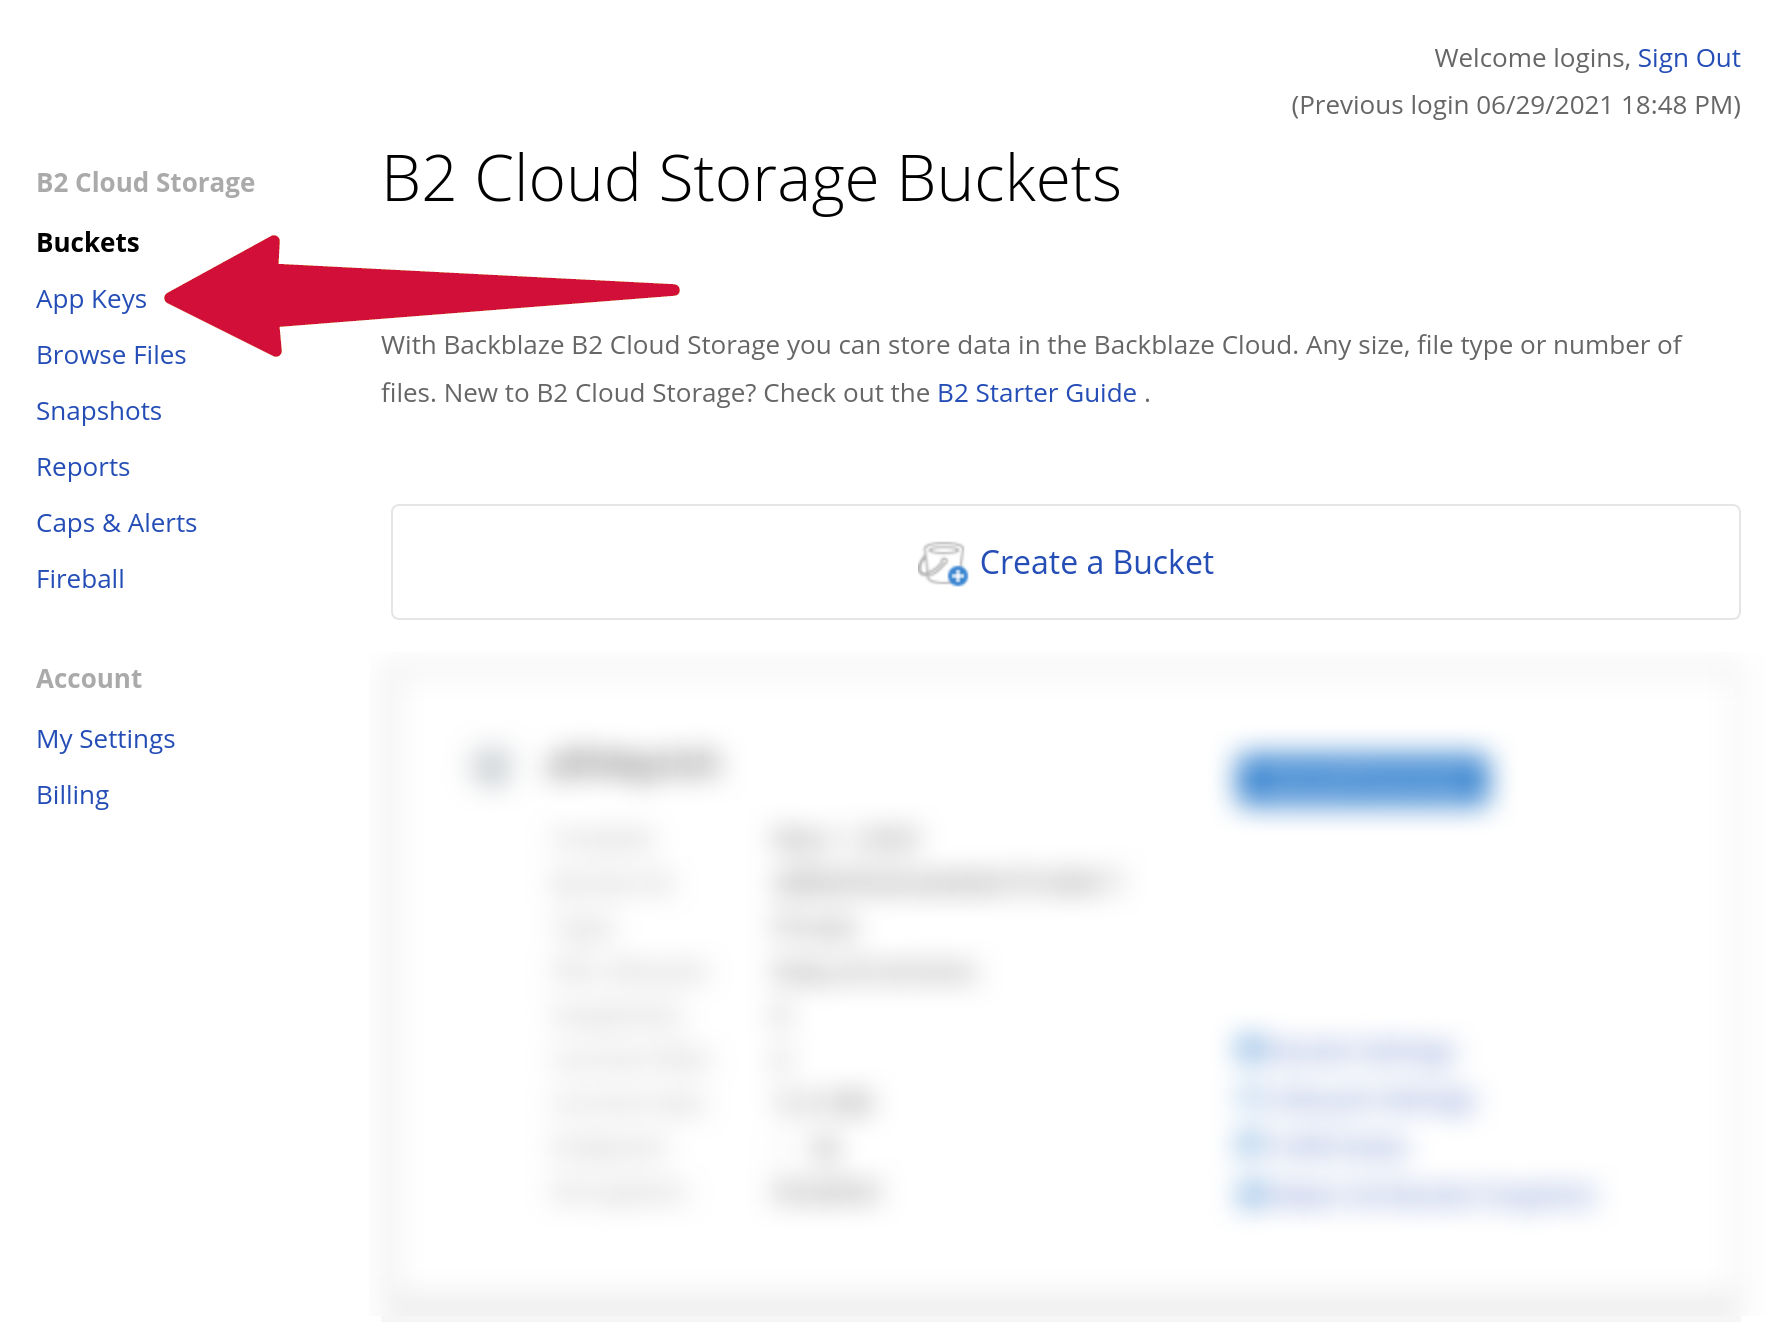
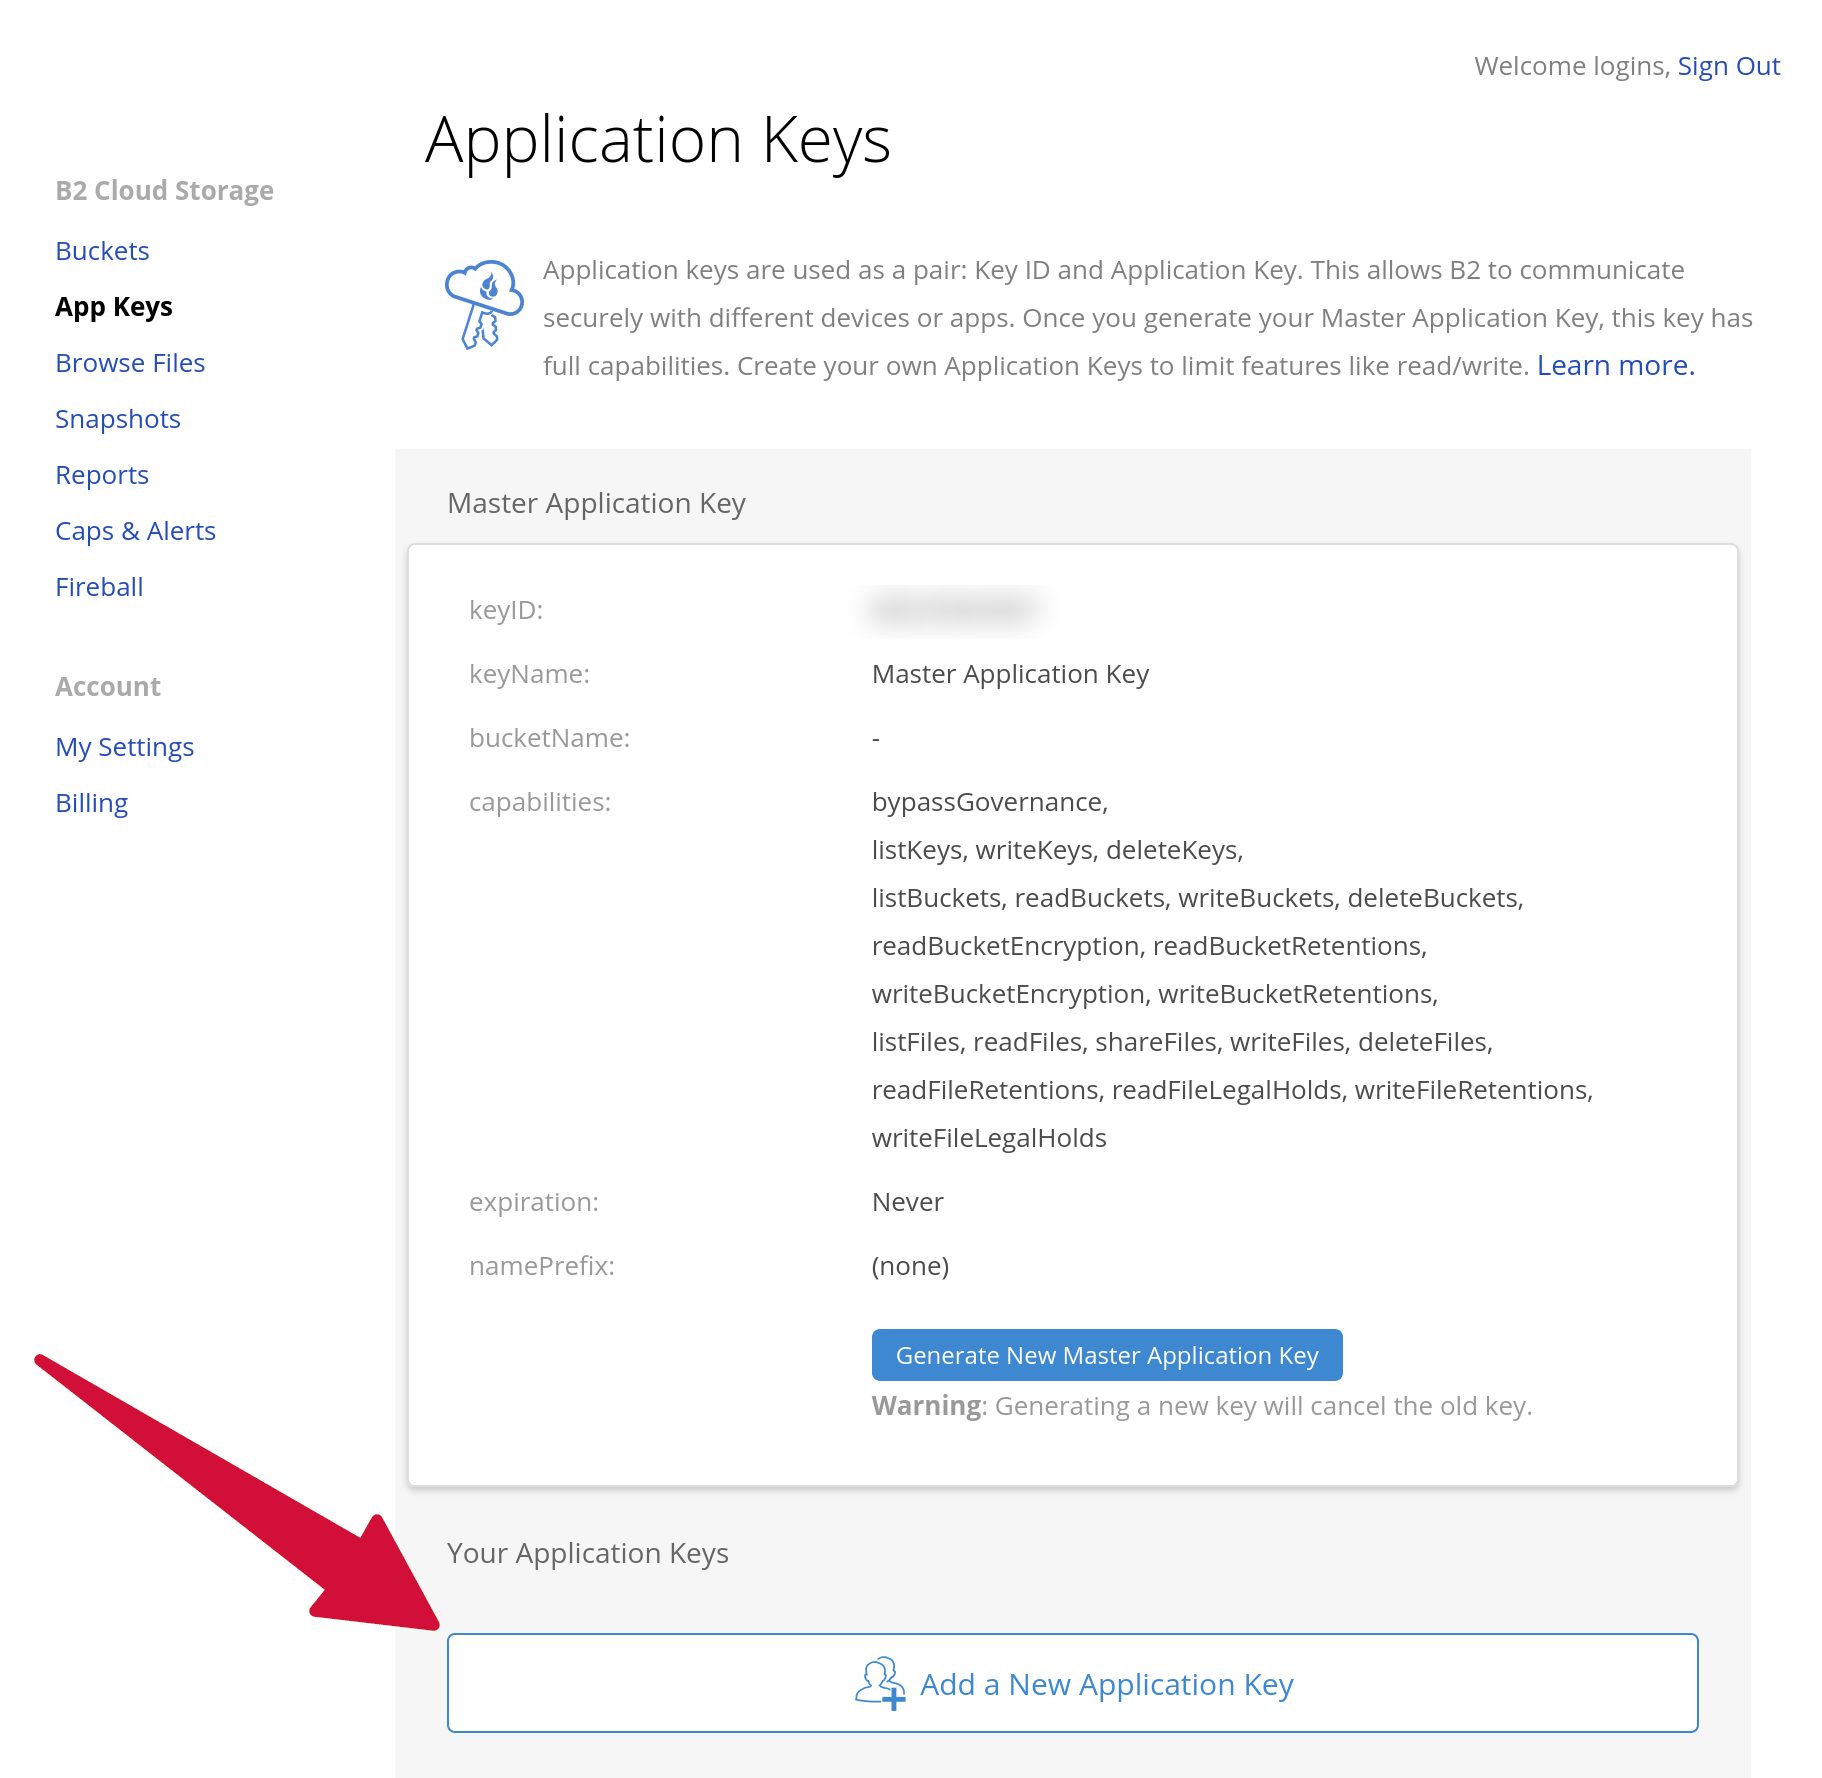
Next, you will need to create an App Key and assign it to the bucket you just created. This ensures that the app key only has access to the content in the bucket. Click on App Keys in the Backblaze menu.
Click Add a New Application Key just below the “Master Application Key” section.
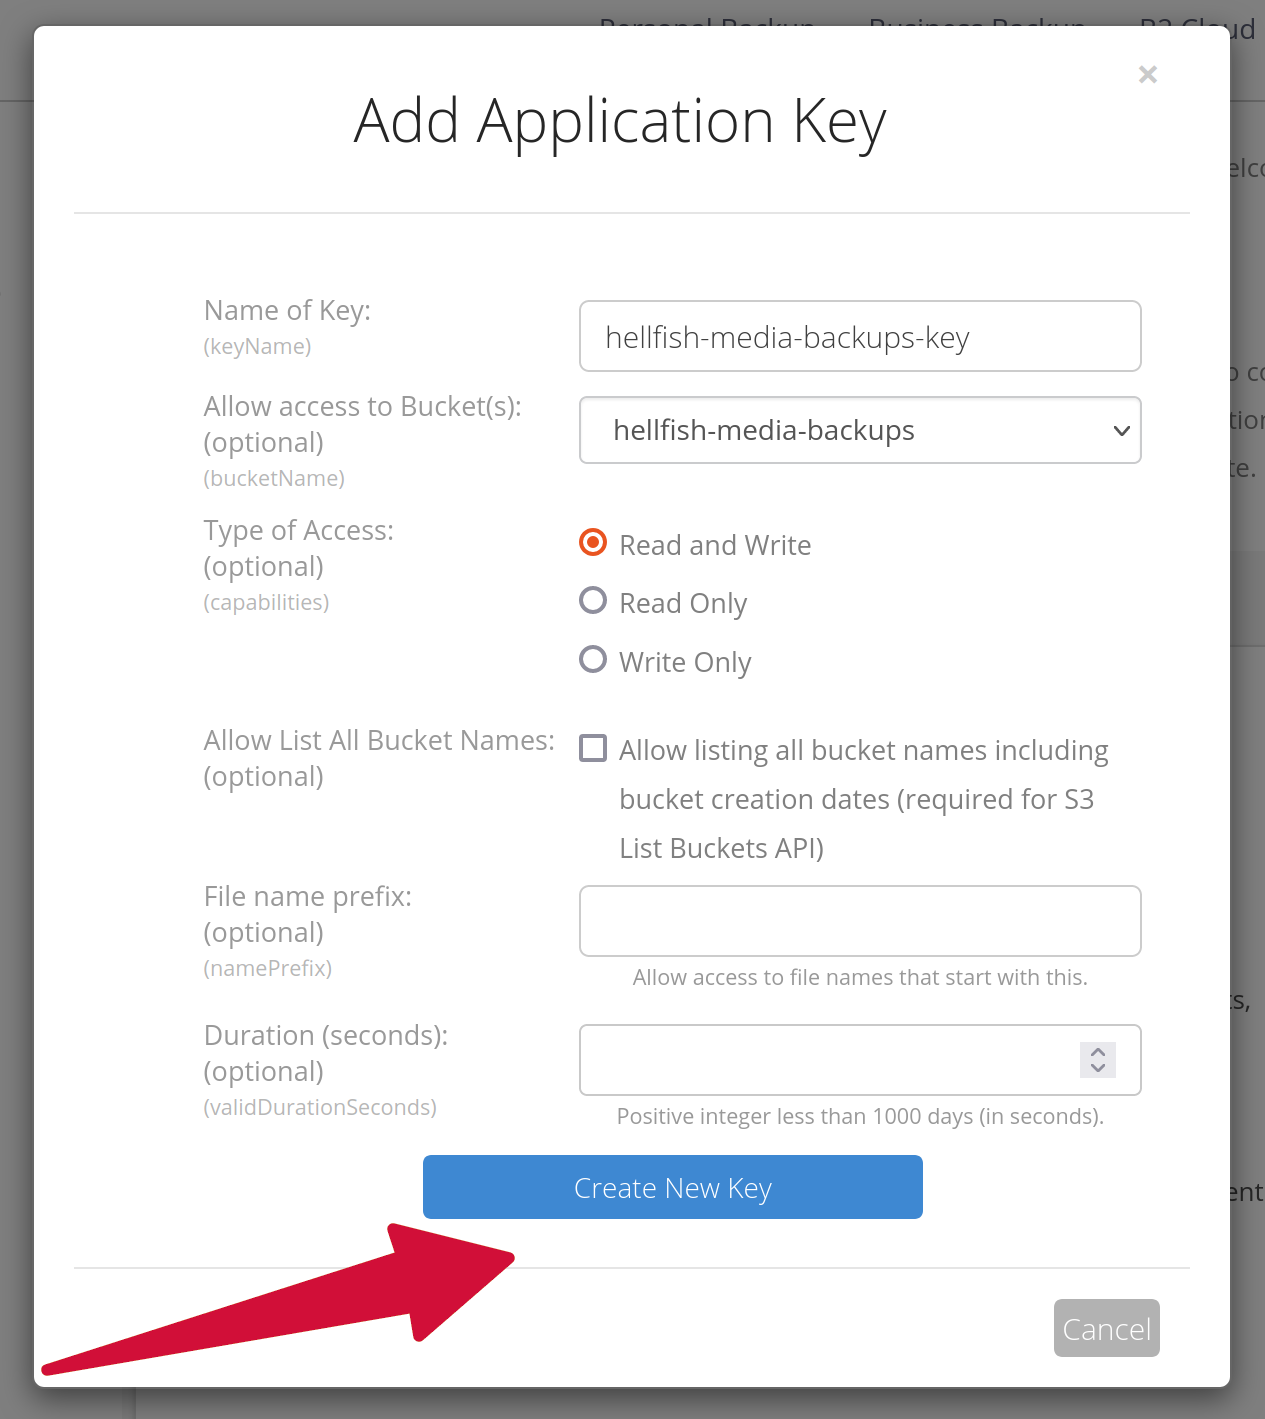
Give a key a unique name and then select the bucket you created in the previous step from the list of available buckets. The options can be left as the default values. Click Create a New Key to create the key.
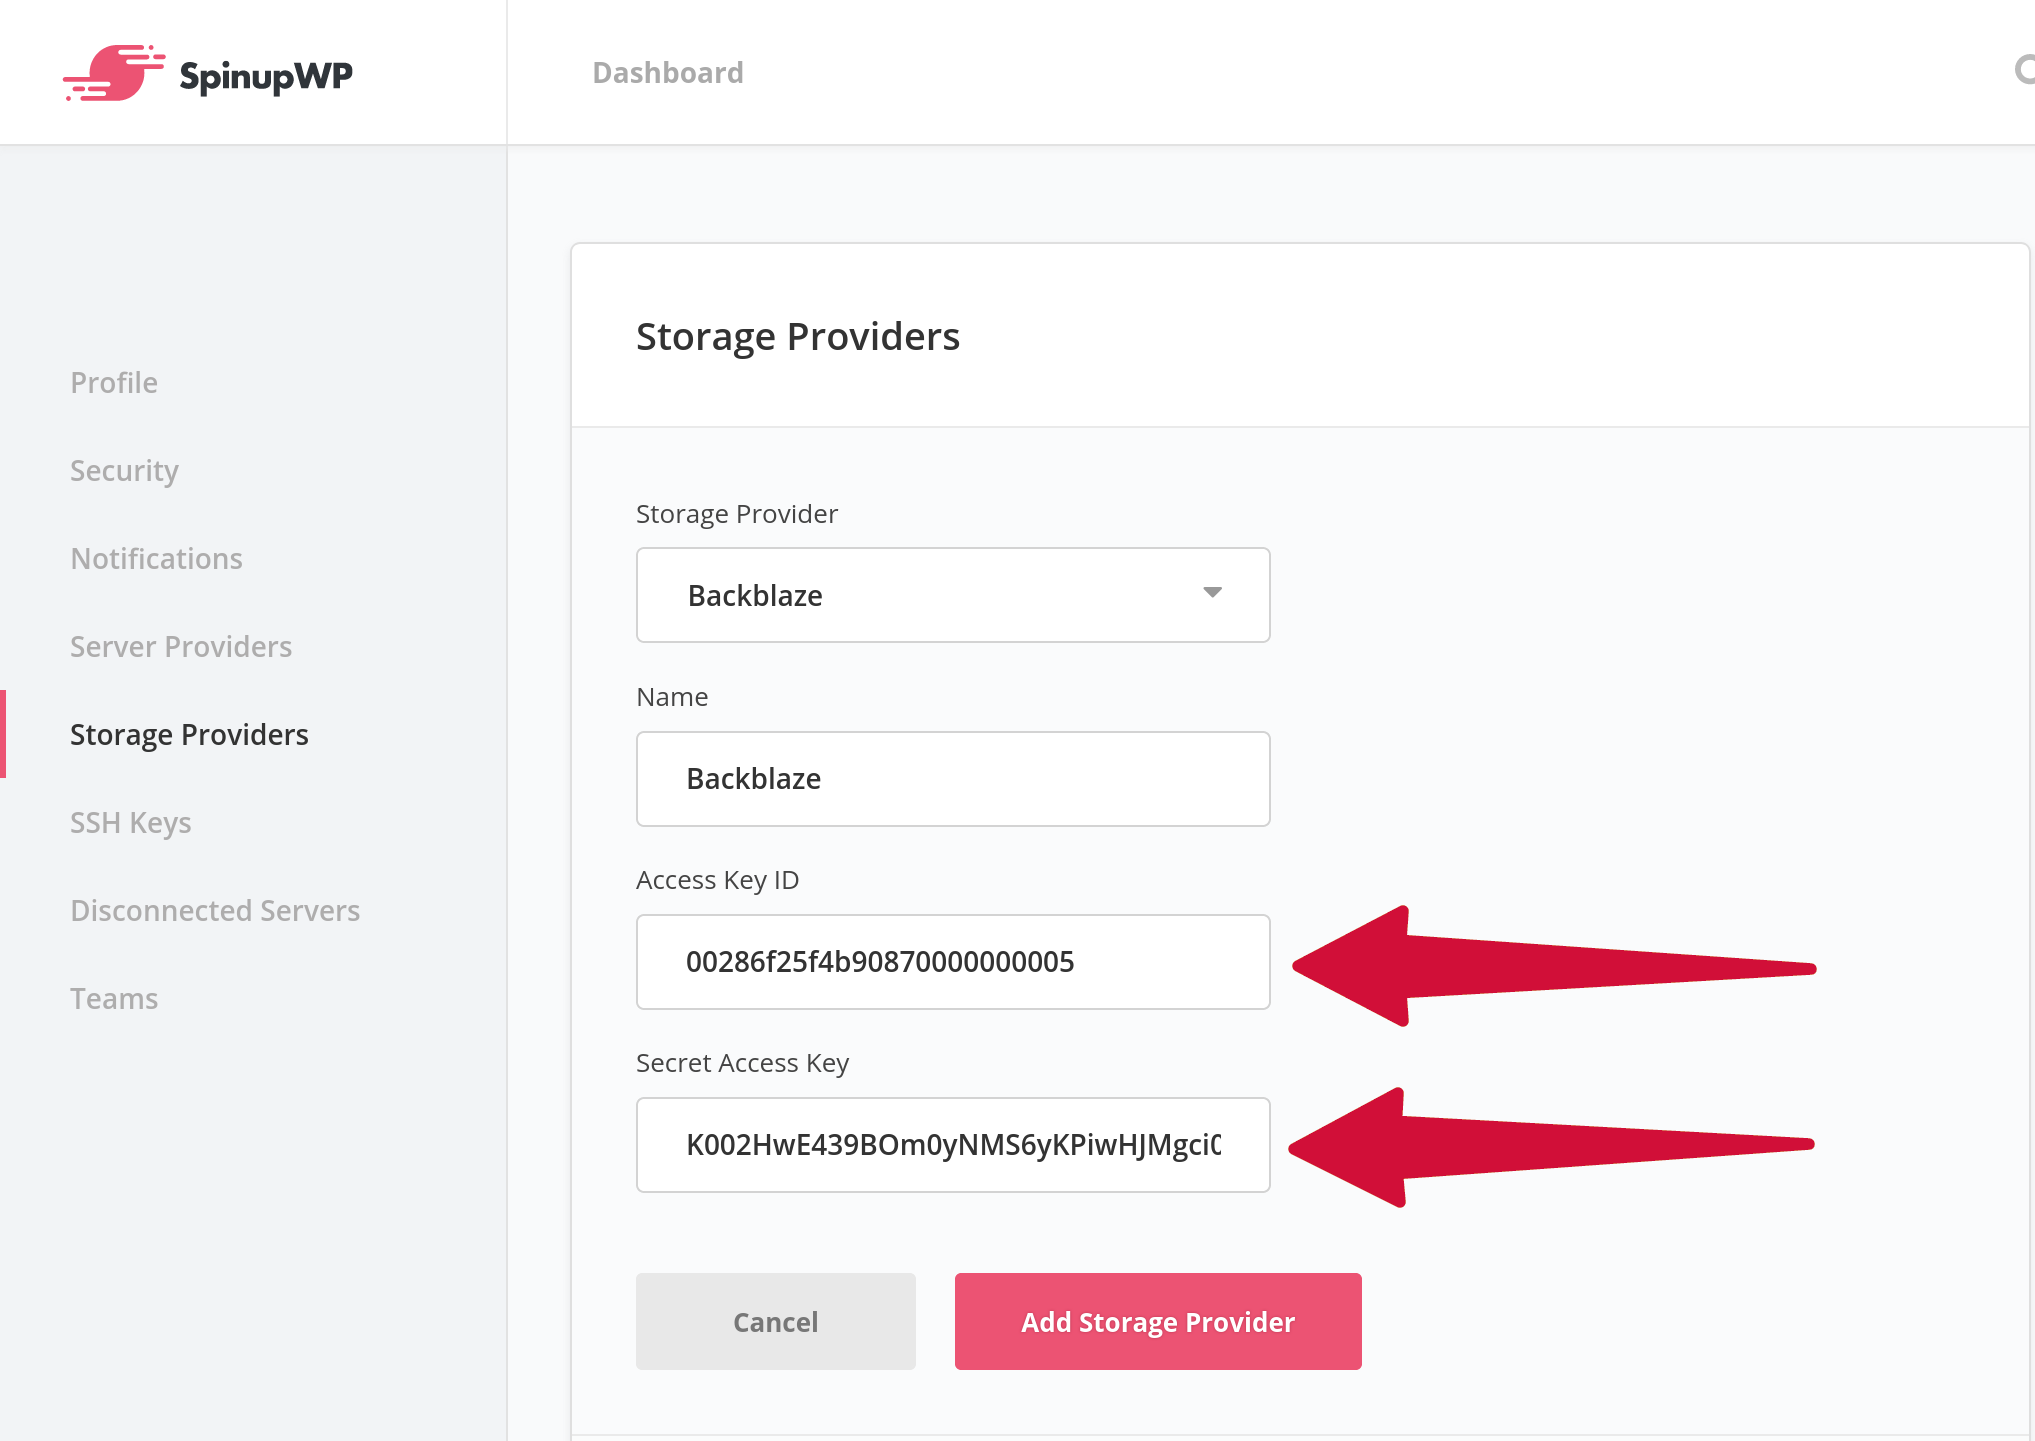
Once the key is created, it will appear just below the “Master Application Key”. Copy the keyID and applicationKey values.
Use the keyID and applicationKey in the “Access Key ID” and “Secret Access Key” fields, when adding Backblaze as a storage provider in SpinupWP.
Backblaze Lifecycle Rules
The API that SpinupWP uses to delete backups on Backblaze does not remove the file from Backblaze, but instead soft deletes the file based on the bucket’s Lifecycle Rules. This process marks the file as hidden but does not physically remove it from the bucket.
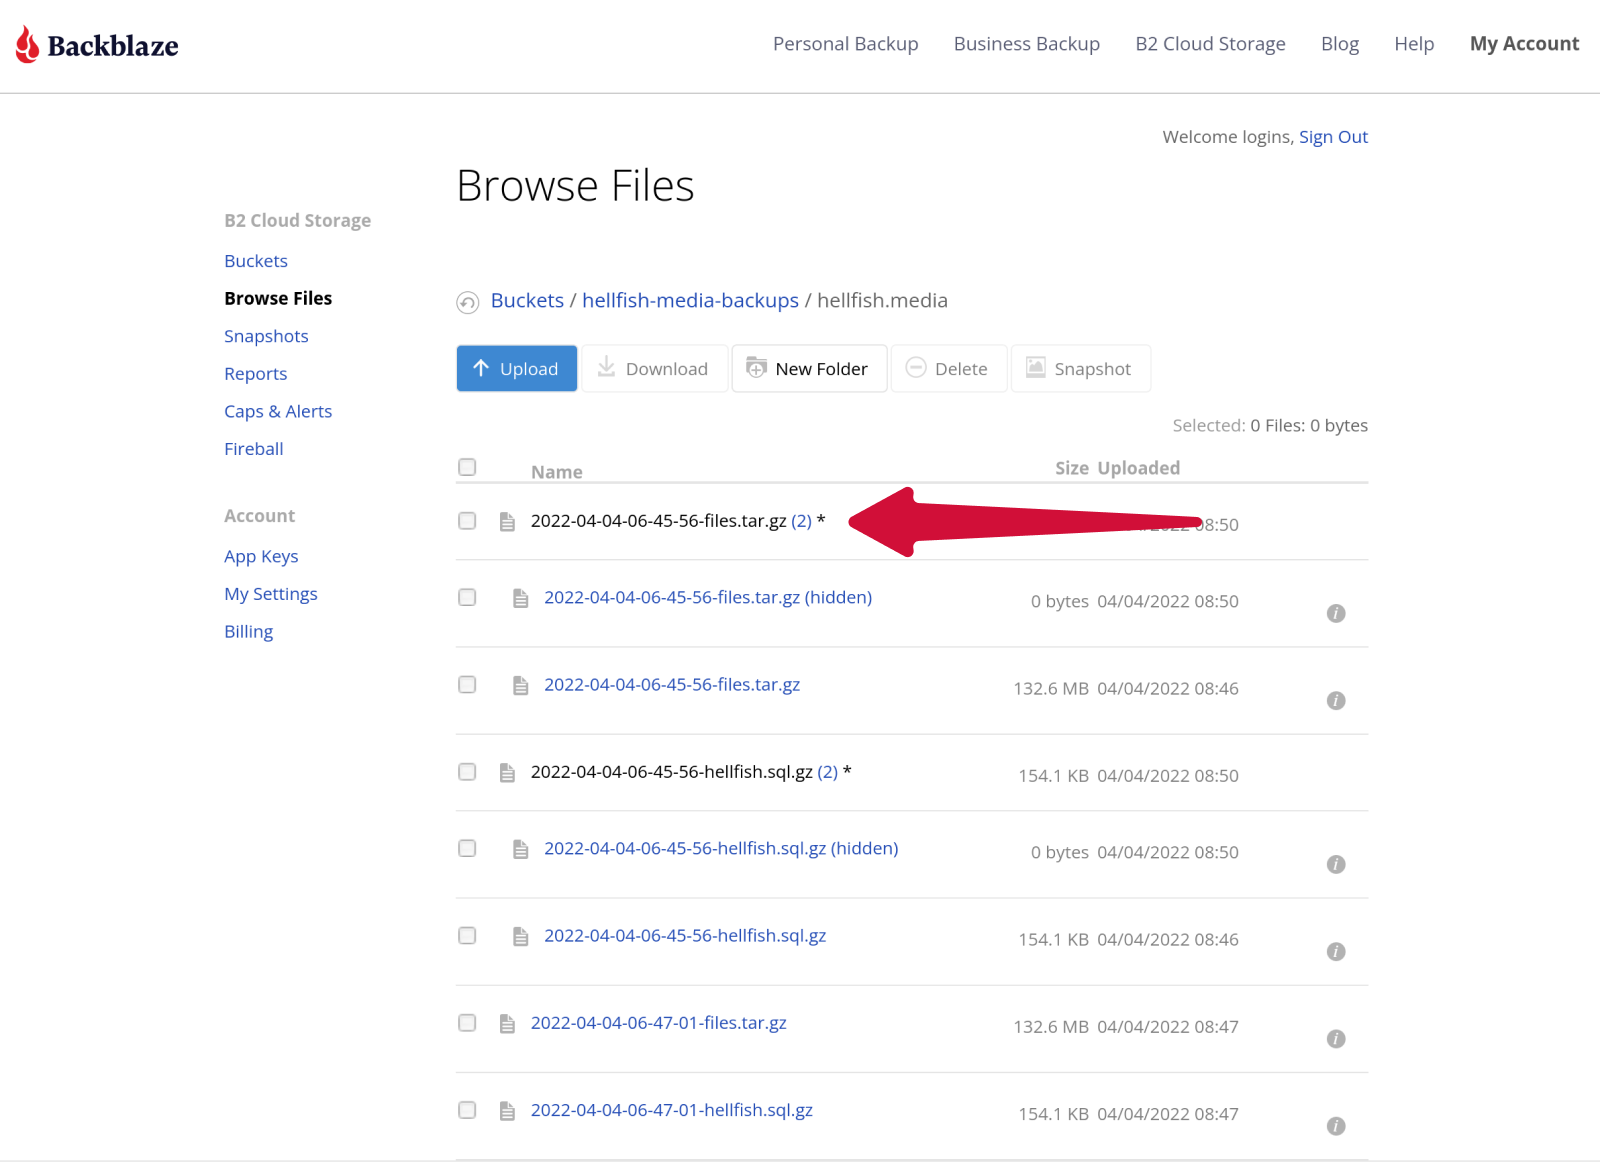
If you view the files in the bucket in the Backblaze interface, they will still appear in the list. However, it’s not possible to download the files and they are marked with a number of file revisions and an asterisk. This indicates that there are previous versions of the file in the bucket. Clicking on the number of revisions next to the filename displays the current hidden version, which has a size of 0 bytes, as well as the previous version. This previous version will take up space on your Backblaze bucket, and you’ll be charged for it.
To fix this, you can edit your bucket’s Lifecycle Rules to delete “hidden” files after one day.
To do this, click on the Lifecycle Settings link for your bucket:
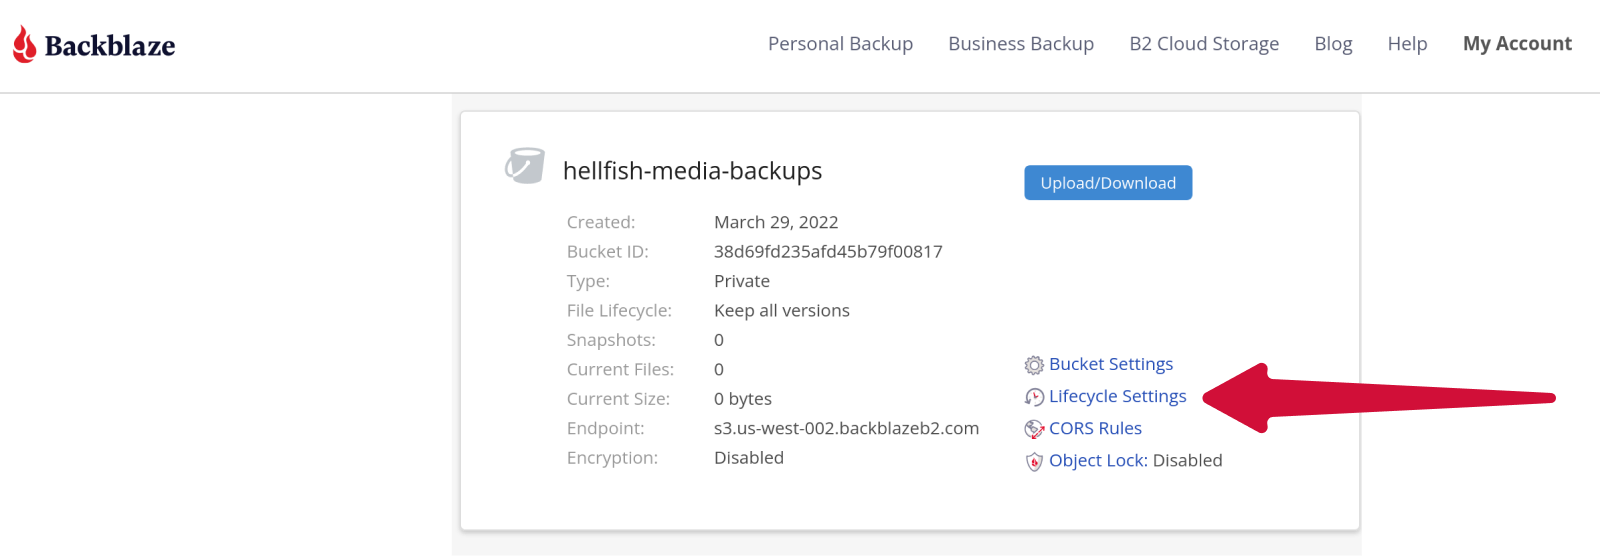
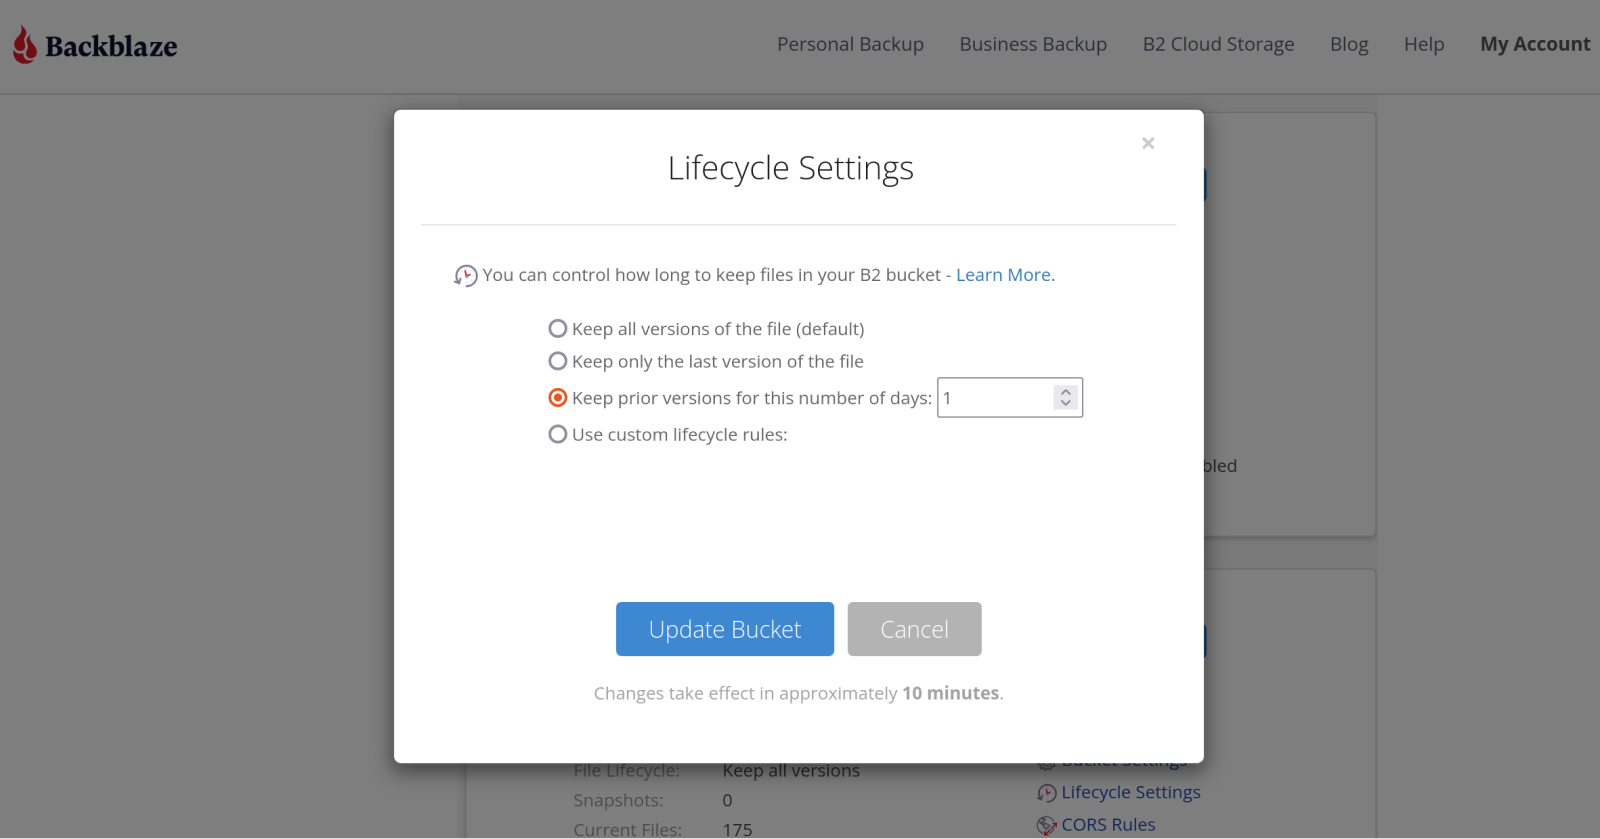
In the Lifestyle Settings modal, select Keep prior versions for this number of days:, enter 1 in the text field, and click the Update Bucket button to save the settings.
