If you’re a developer who likes to manage WordPress sites using version control like Git, you’ll want to automatically push changes to your live site once they’re accepted and merged.
SpinupWP’s push to deploy feature makes this a straightforward process. But unless you’re prepared to do a lot of scripting, setting up your software requirements and dependencies, integrating third-party services, or performing atomic deployments is beyond the capabilities of SpinupWP. Pairing Buddy with SpinupWP gives you greater control during more complex deployment scenarios where you need to run asset build tasks, set up automated notifications, or migrate your database through SSH.
In this post, we’re going to look at how to enhance your automated deployment process using Buddy instead of SpinupWP’s push to deploy feature.
What is Push to Deploy?
Push to deploy allows you to automatically update the code (PHP, HTML, JavaScript, and CSS) on your SpinupWP site whenever you push updates to a Git repo. It’s vastly superior to logging in to your server via FTP every time you need to make an update. If you’re not already automating your site deployments, we have a detailed guide on how to deploy WordPress automatically, which highlights the benefits. In short, automated deployments allow you to deploy your code in a repeatable manner that is consistent and reliable.
Sometimes Push to Deploy Isn’t Enough
Push to deploy is perfect for the majority of situations where you need to deploy a site from Git to your live server. However, there are times when you might need a more complex deployment solution. For example, if you’re using Git to manage and deploy your site, you probably have some software requirements. In our post on using Gatsby alongside SpinupWP, we needed Git, Node, npm, and the Gatsby CLI – which we had to install on the server manually.
You will also have a set of commands that need to be run every time, for example running code linting or automated tests before attempting a deployment, installing or updating dependencies needed by your WordPress installation, or building front end assets. While this is possible with a bit of command line knowledge and the post deploy script functionality, it’s a lot of hassle to set up for each new project. Not only is it a hassle, but you’re installing software on your production server that really doesn’t need to be there. In fact, it shouldn’t be there if you care about security. And you’re executing these build processes, tests, etc., on the production server, with the potential to negatively impact the production site.
There are other situations when you may find you need to go beyond what push to deploy offers:
- It’s not possible to stop a deployment if you realize you need to. Additionally, you can’t easily configure checks that would prevent a deployment if they don’t pass (for example, when automated tests fail).
- If you want to integrate third-party services (e.g. a Slack notification or a New Relic event), you’ll have to include some scripts that are deployed to your server, and then executed via the post-deploy script.
- You can’t set up atomic deployments to reduce the ‘maintenance window’ for your app and make it available to the user at all times. An atomic deployment will deploy your site to a temporary location, and only once the deployment completes will it update the live location with the newly deployed code.
The good news is that Buddy can fill in these gaps. Not only does it have solid support for WordPress, but it offers a wide variety of solutions to these (and other) automated deployment hurdles. We’ll dive into how this works later on, but for now, let’s look at implementing Buddy for your SpinupWP site deployment.
Implementing Buddy on a SpinupWP Site
There’s always a worry about introducing another tool to your workflow. After all, the more cogs there are, the greater the chance of one seizing up. However, Buddy is straightforward to use and rock solid, which is why we use it ourselves for more complex deployment scenarios.
There are three key steps to setting up Buddy with a SpinupWP site:
- Choose a Git repository.
- Add a pipeline.
- Deploy the app to the server.
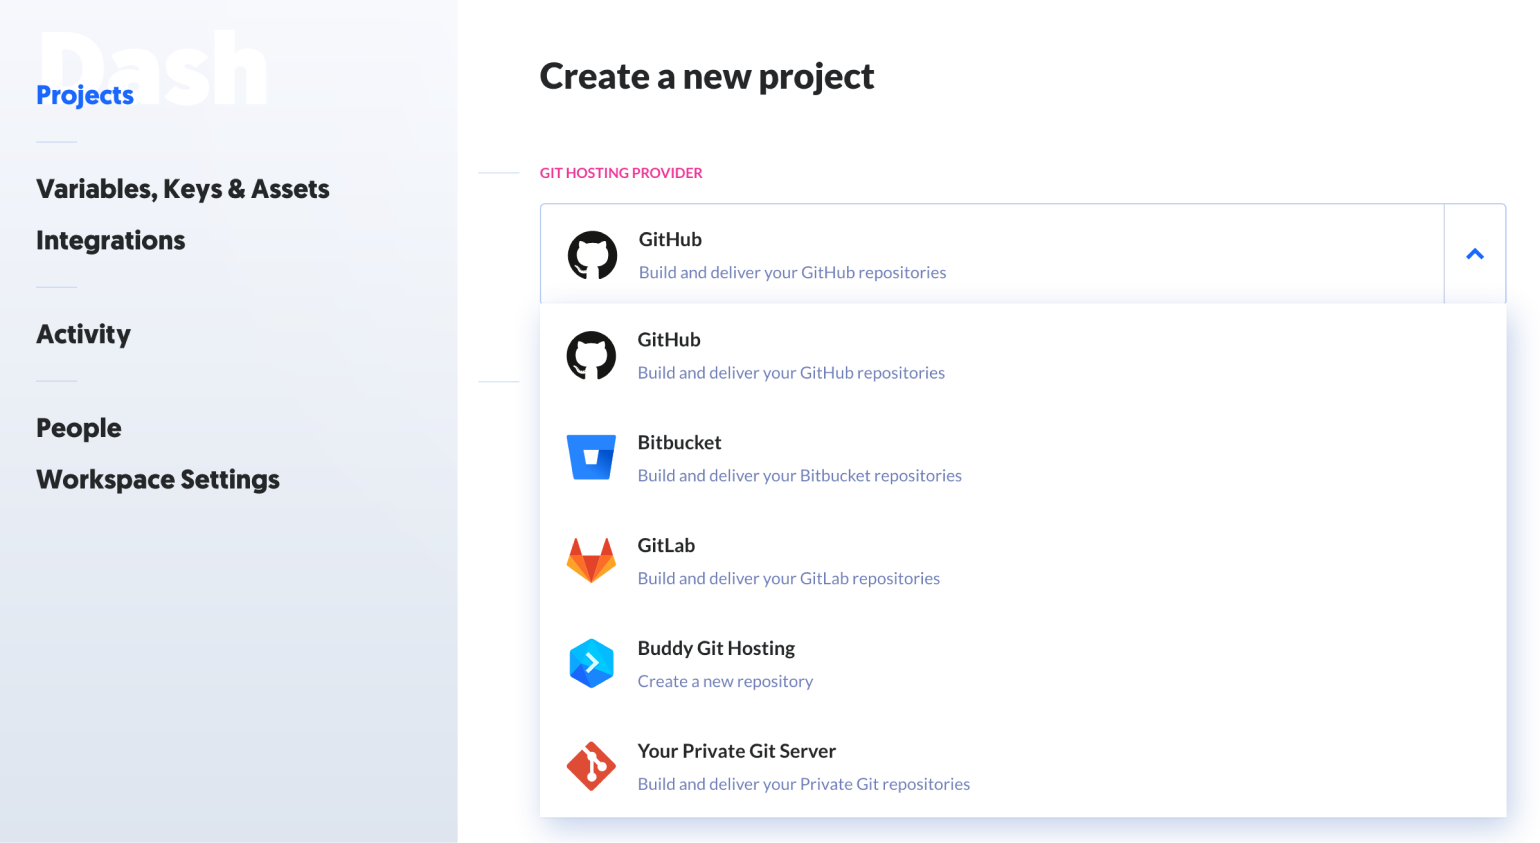
To begin, log into Buddy (you can try the service free for 14 days), click the Create a new project button to create a new project, then select your Git host:
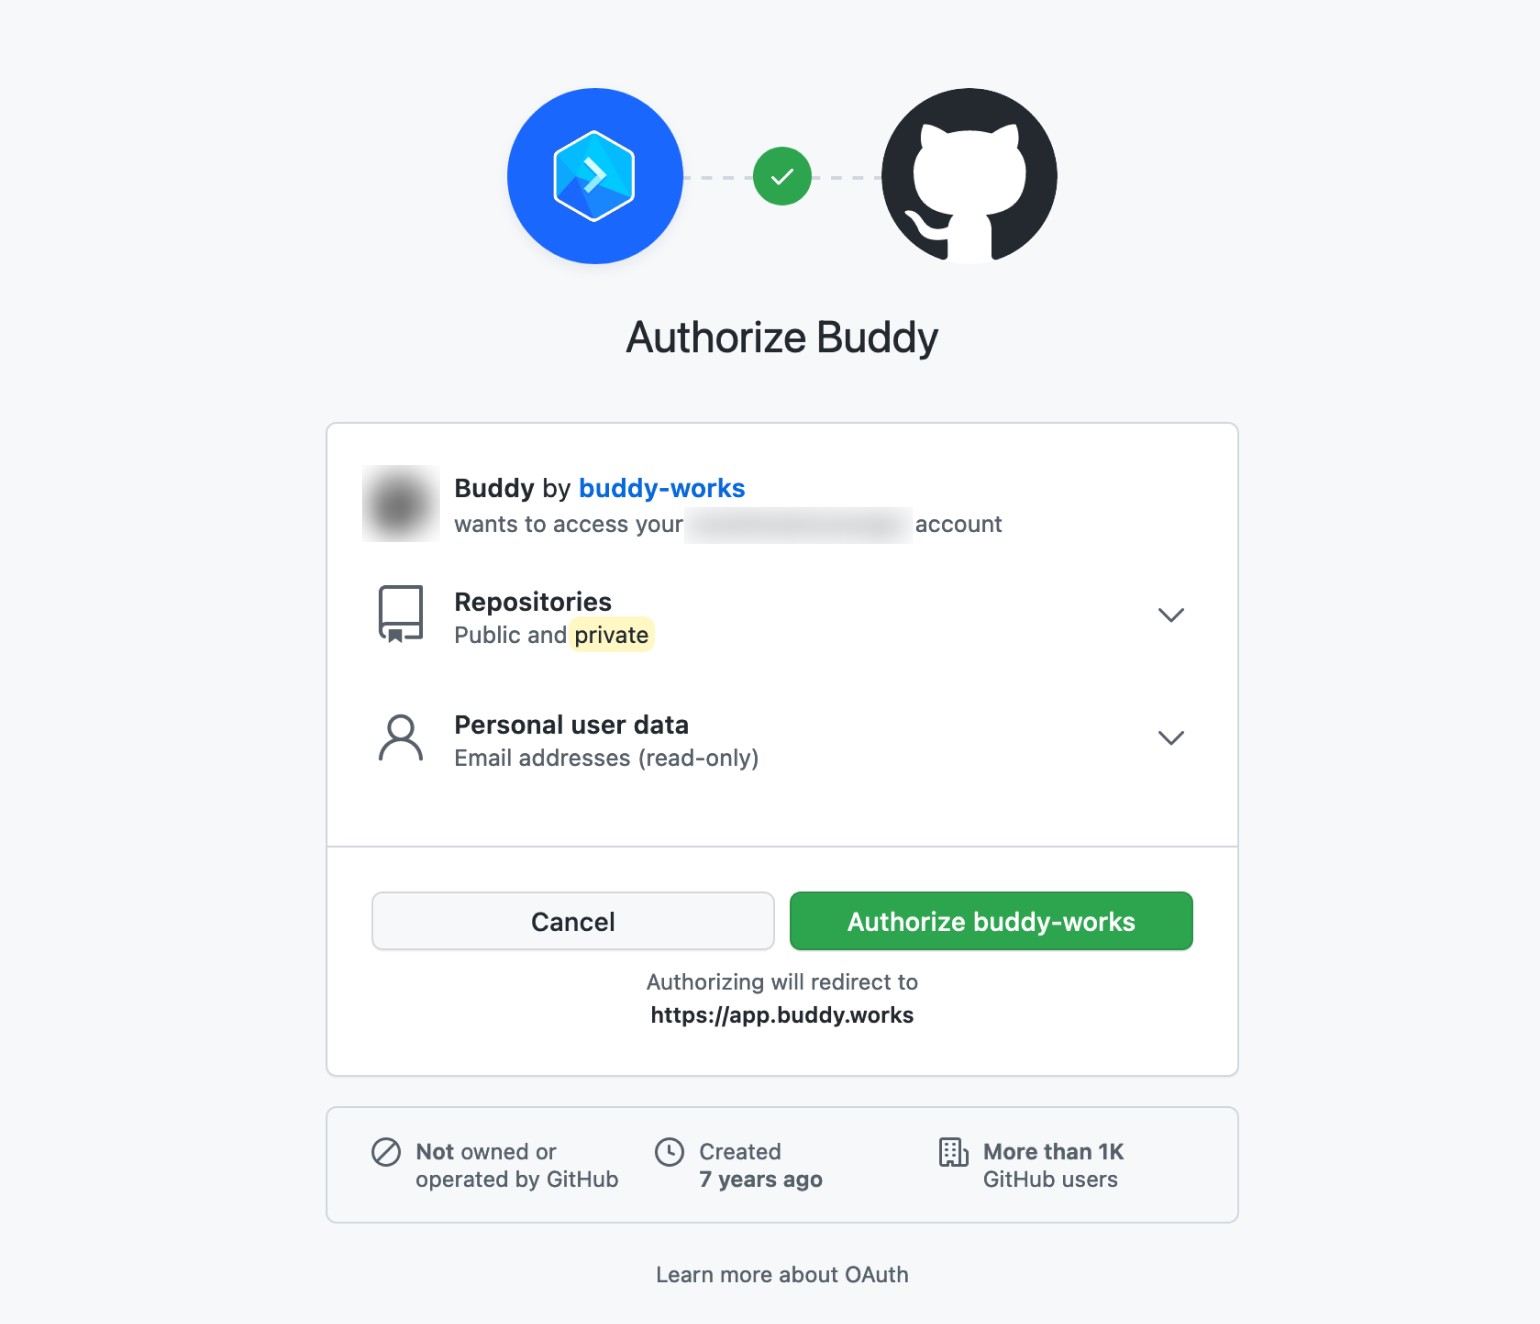
You may need to authorize your Buddy account with your Git host, so that it can access your Git repositories:
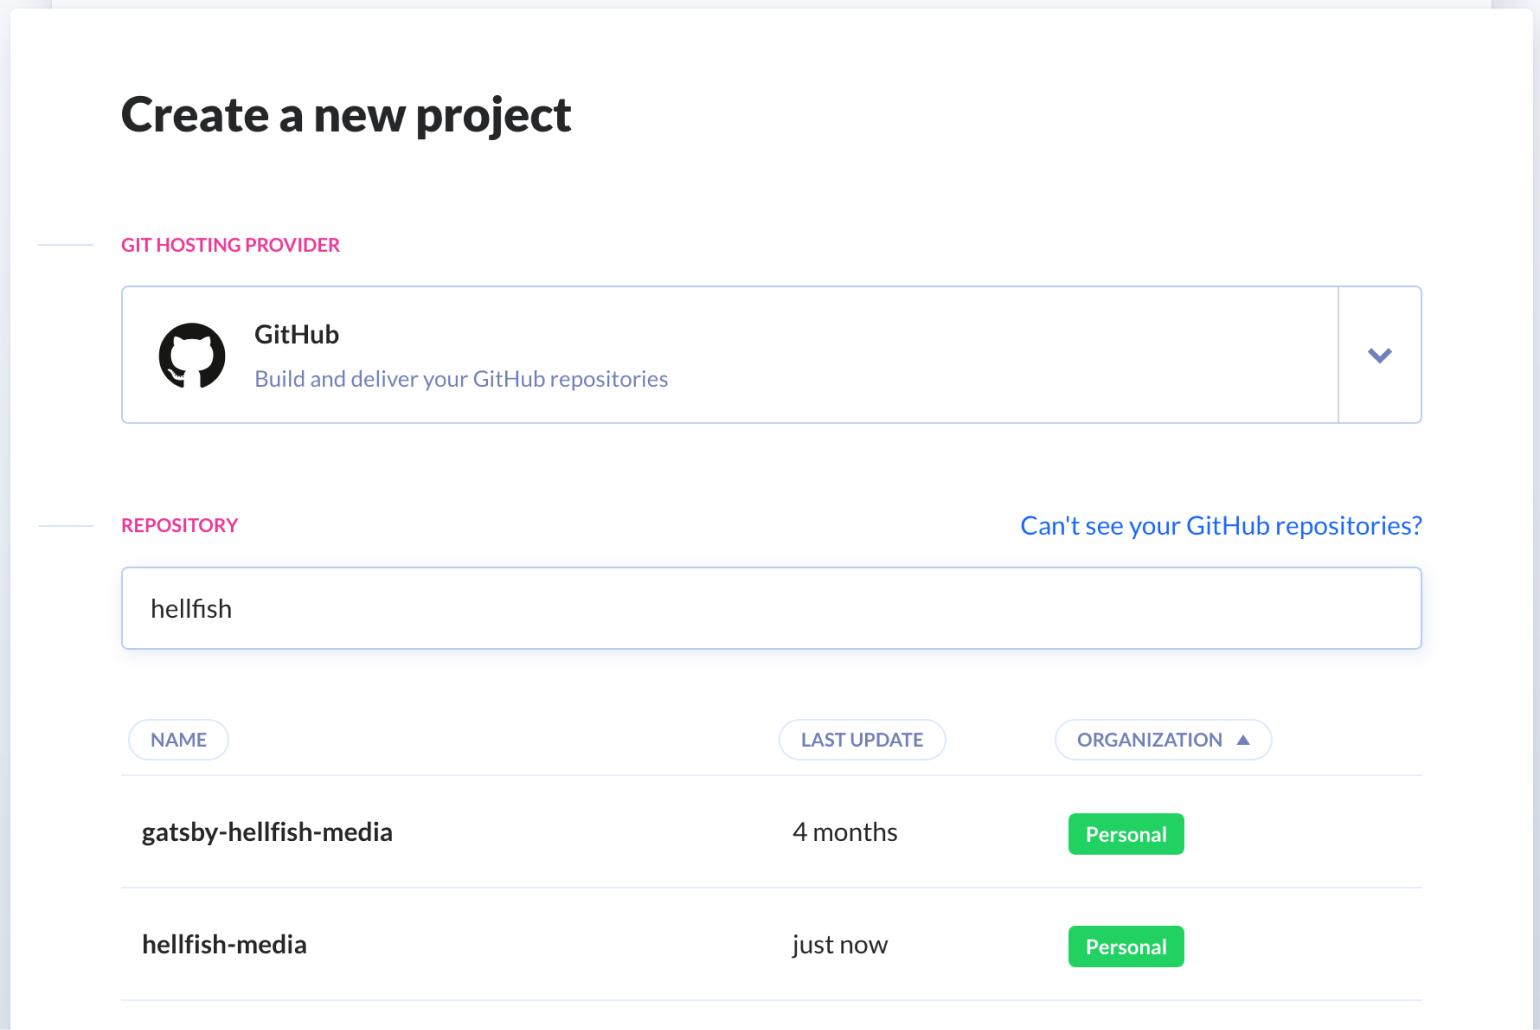
Once you’ve selected your Git host, Buddy will present you with a list of your available repositories. Click the name of the repository that you want the Buddy project to use for this deployment:
This will create your new project, at which point you can start adding a new pipeline, by clicking the Add a new pipeline button:
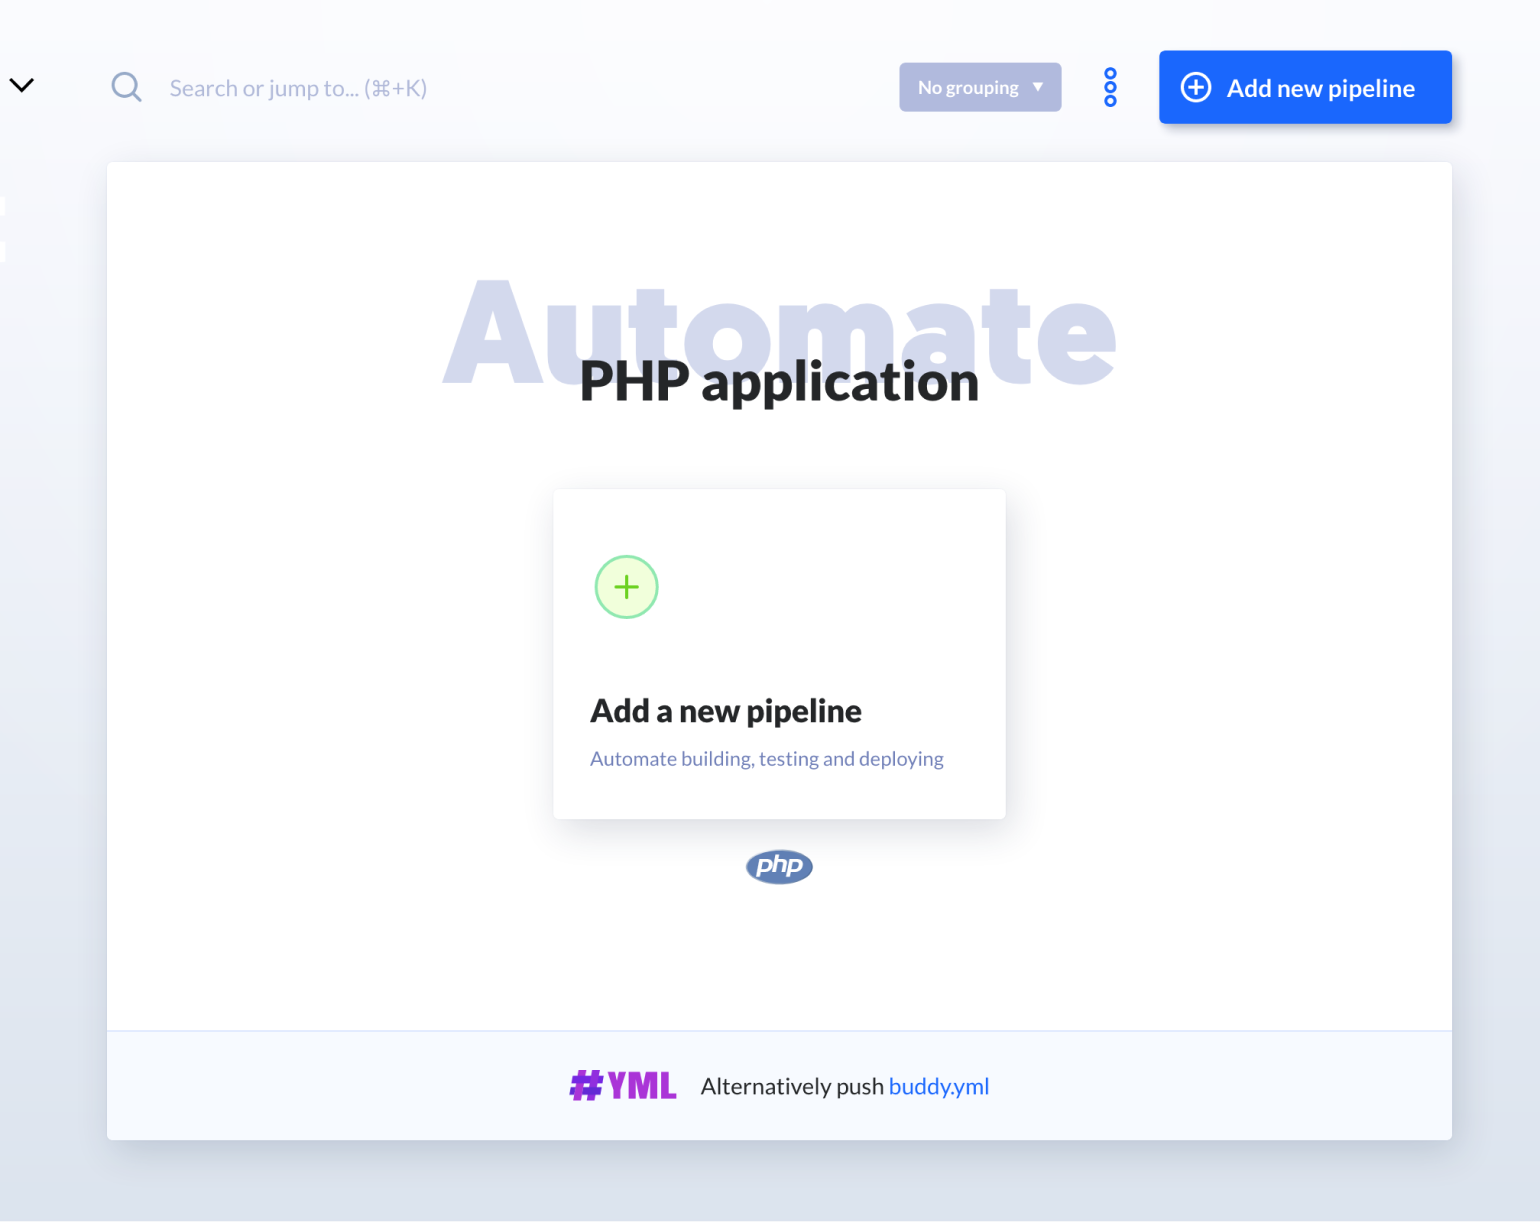
Pipelines are made up of a series of different actions that are run on your code to perform a variety of different tasks. This is where the benefits of Buddy start to shine.
First, any actions you add to a pipeline are run in containers on Buddy’s infrastructure. As these containers are separate from your production server, you don’t have to worry about installing any additional software on your server needed to build and deploy your code. You set up the Buddy container environment once, and Buddy will build and then reuse the same container each time the pipeline is run.
Second, while SpinupWP offers a simpler version of pipeline actions via the “Deploy Script” functionality, Buddy allows you to create separate actions for each step of the process giving you greater control over failures and feedback. Let’s say your SpinupWP deploy script runs composer install to install any PHP dependencies, phpunit to run the unit tests, npm install to install any front end dependencies, and gulp build to build any front end assets. With Buddy, you could create a separate action for each of these steps. Additionally, Buddy allows you to configure separate actions to run, or even stop the entire process, if any of your pipeline actions trigger a warning or fail entirely.
You can create multiple pipelines.For example, you could have one pipeline which automatically runs your tests every time code is merged to the develop branch, and then another to deploy the code when the main branch is updated. For this demo, we’re only going to add one, to install composer dependencies and then deploy the code to the server:
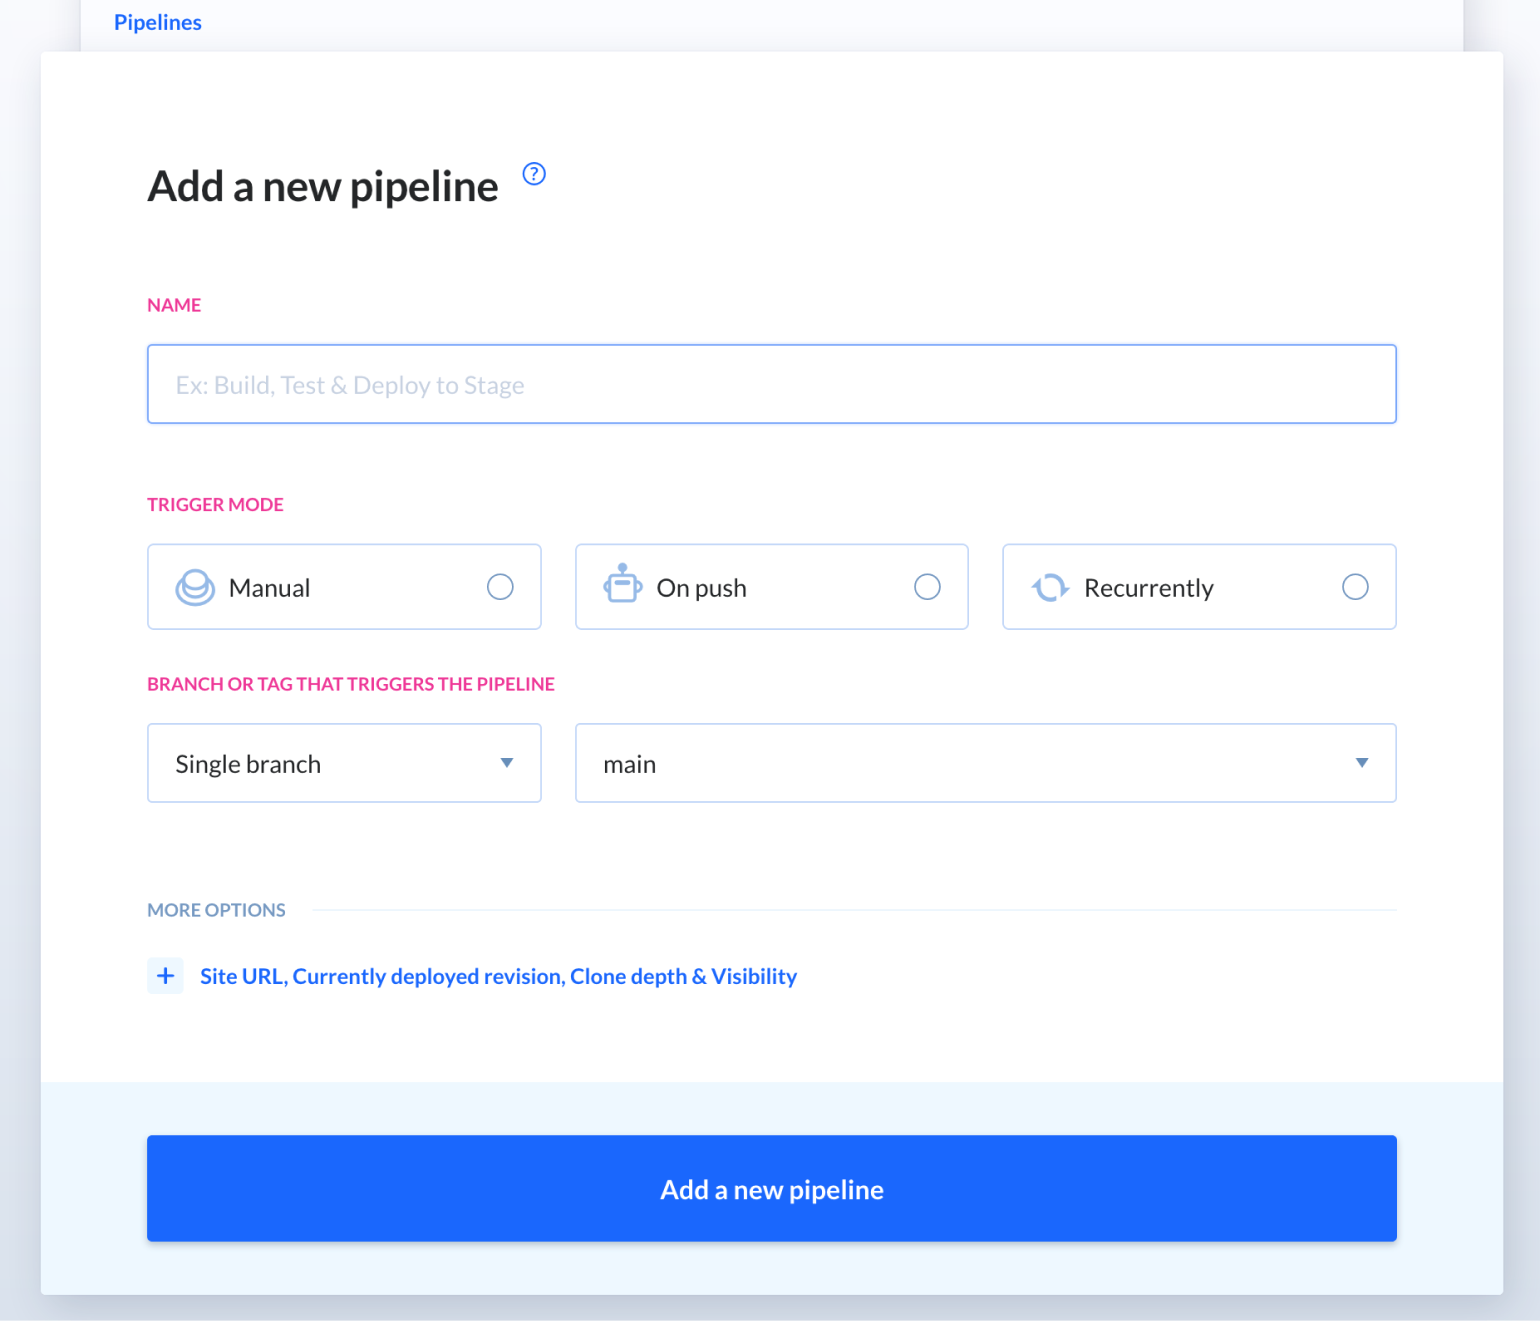
For the fields here, enter the following:
- Name: Give your pipeline a descriptive name.
- Trigger mode: For this, choose On push. This will trigger whenever you push to your repo, while the others will only trigger on click and on a time interval respectively.
- Branch or tag that triggers the pipeline: Buddy will deploy from this branch, so it should be the same as your desired branch within your Git repo.
When you’re ready, click the Add a new pipeline button:
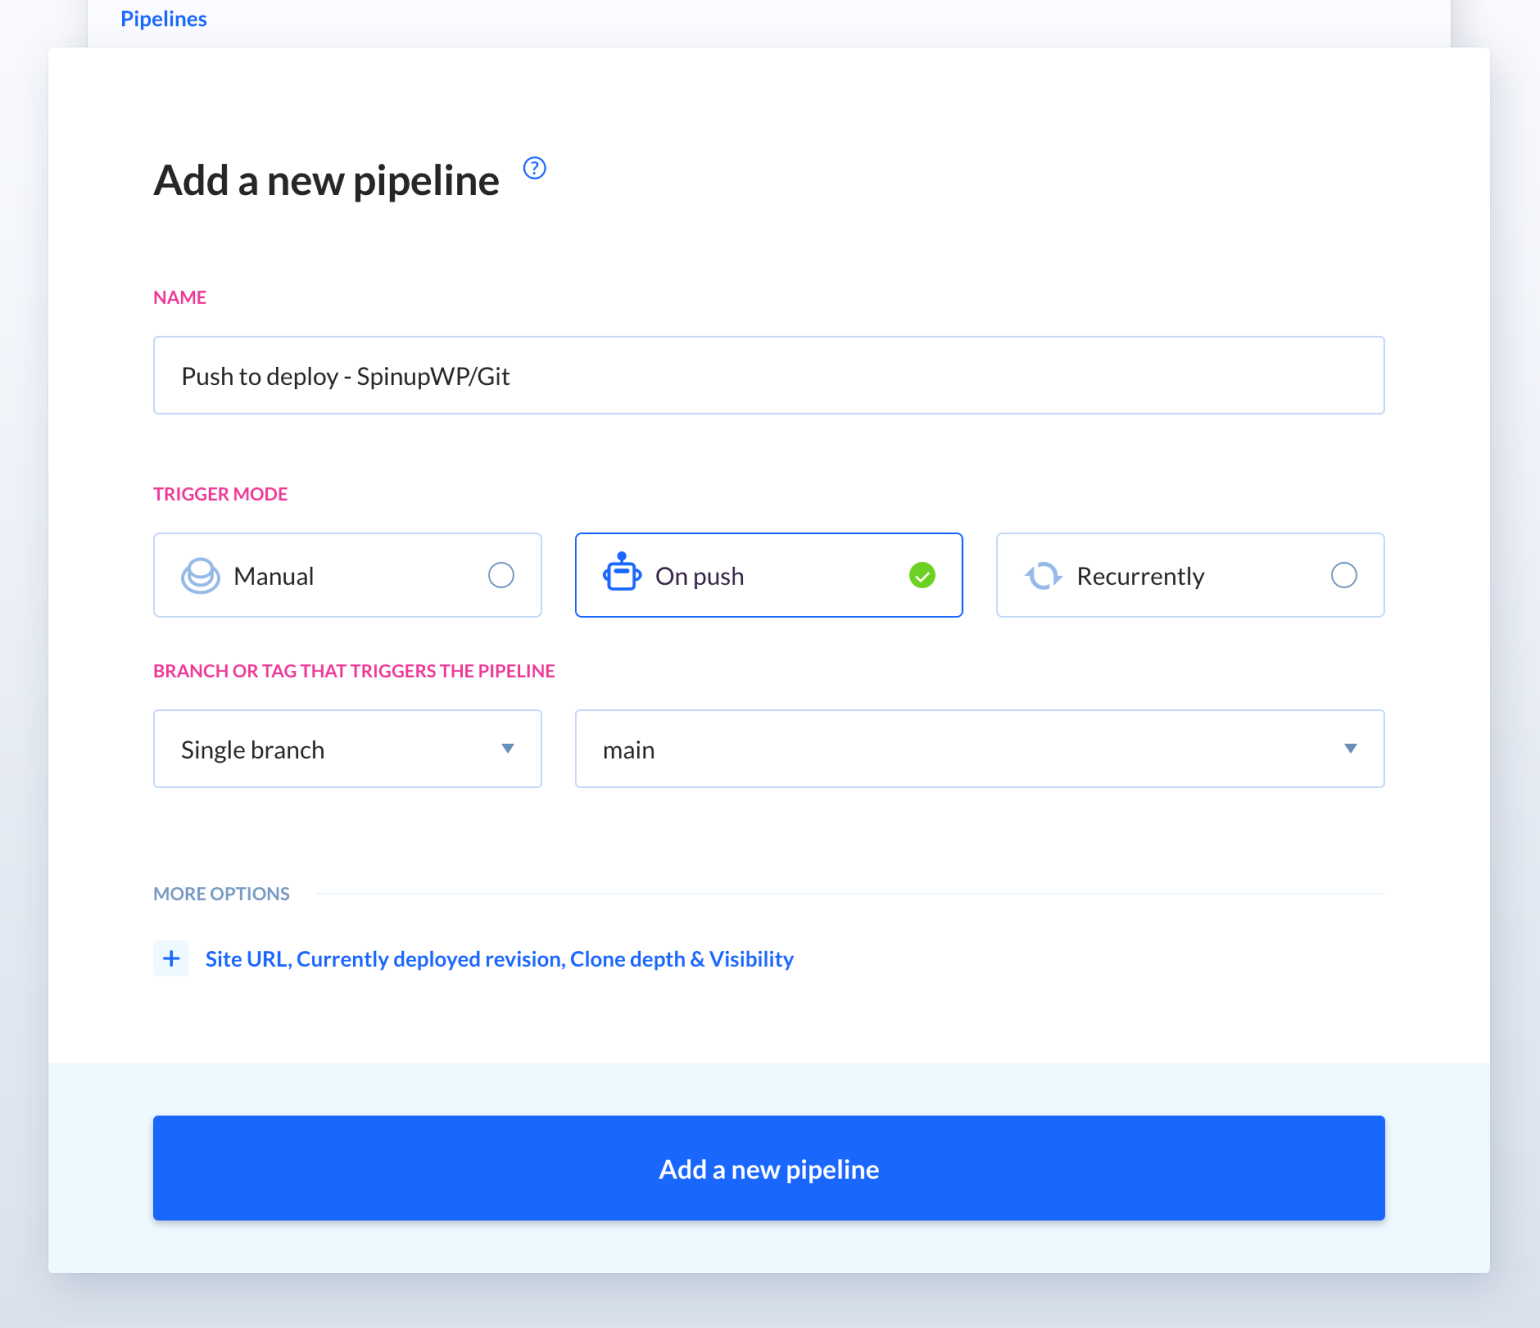
From here, we can add actions to our pipeline to help us deploy our site. Buddy will currently be on the “Add a new action” screen, so search for “PHP”:
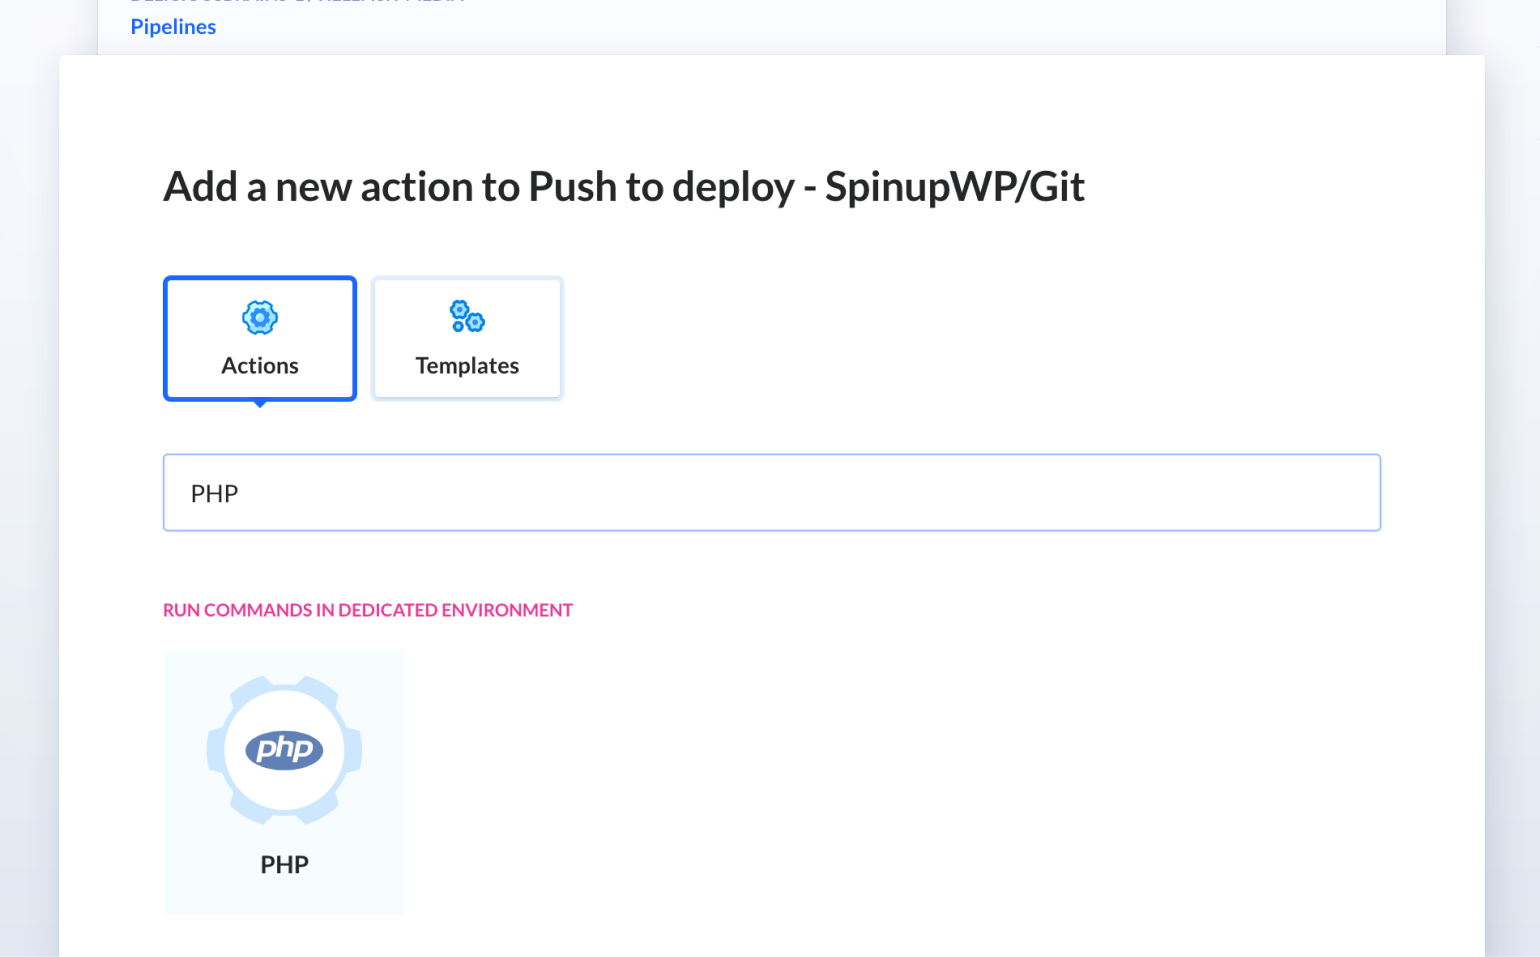
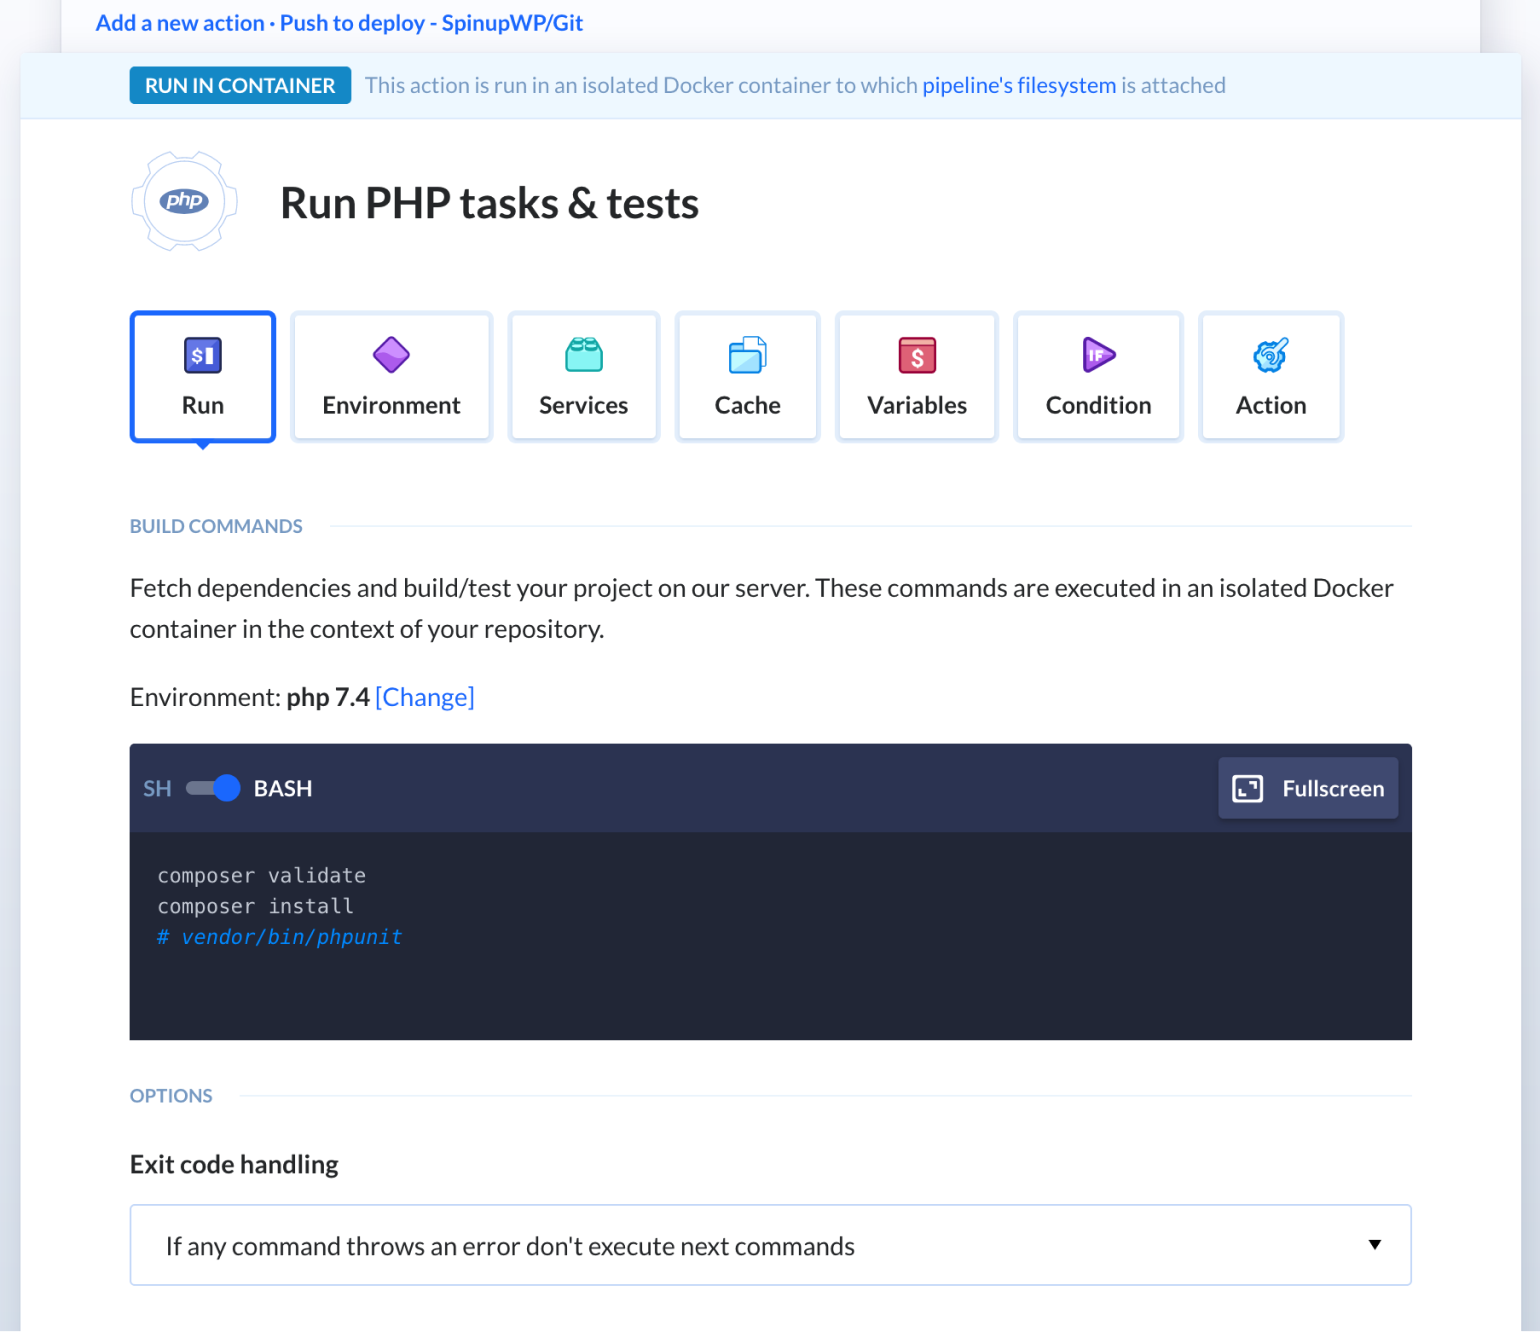
You can click this action to add and configure it. In the Run tab, you can amend the script in the bash environment to run any commands you require. For our example, we just need composer install.
While you’re here, take a look at the Environment configurations, specifically that your PHP version matches that of your SpinupWP site:
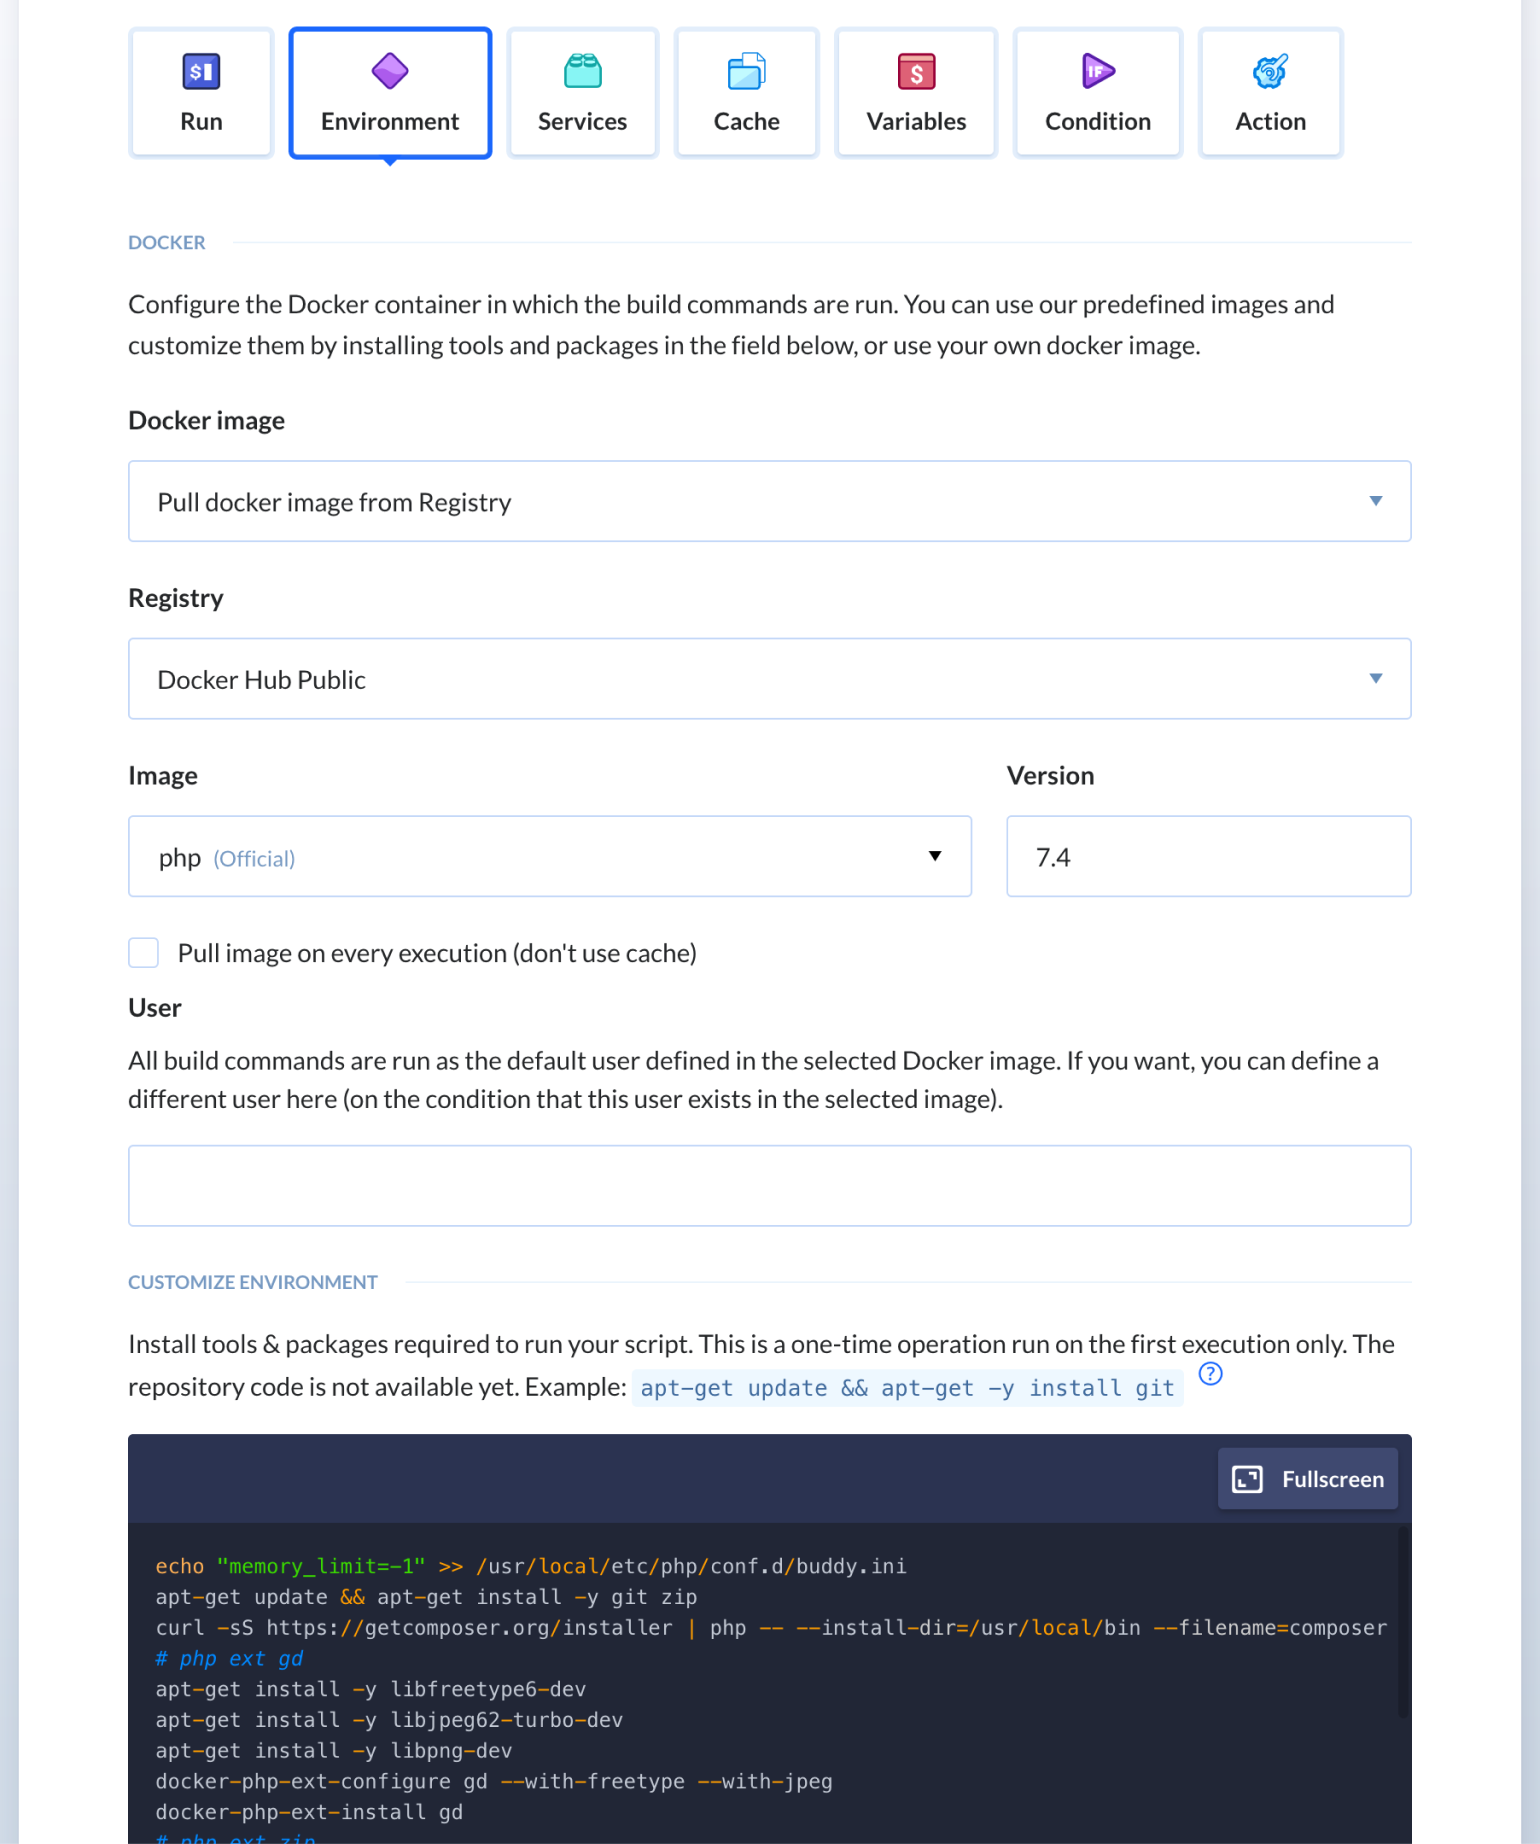
At the bottom of this screen, you can also see all the commands that Buddy runs to create the container environment. You can amend these as needed, but mostly they can be left as the default.
When you’re done, click the Add this action button. You’ll see a visual display of your current actions. Clicking on the plus icon above or below the current action will let you add more actions to the pipeline:
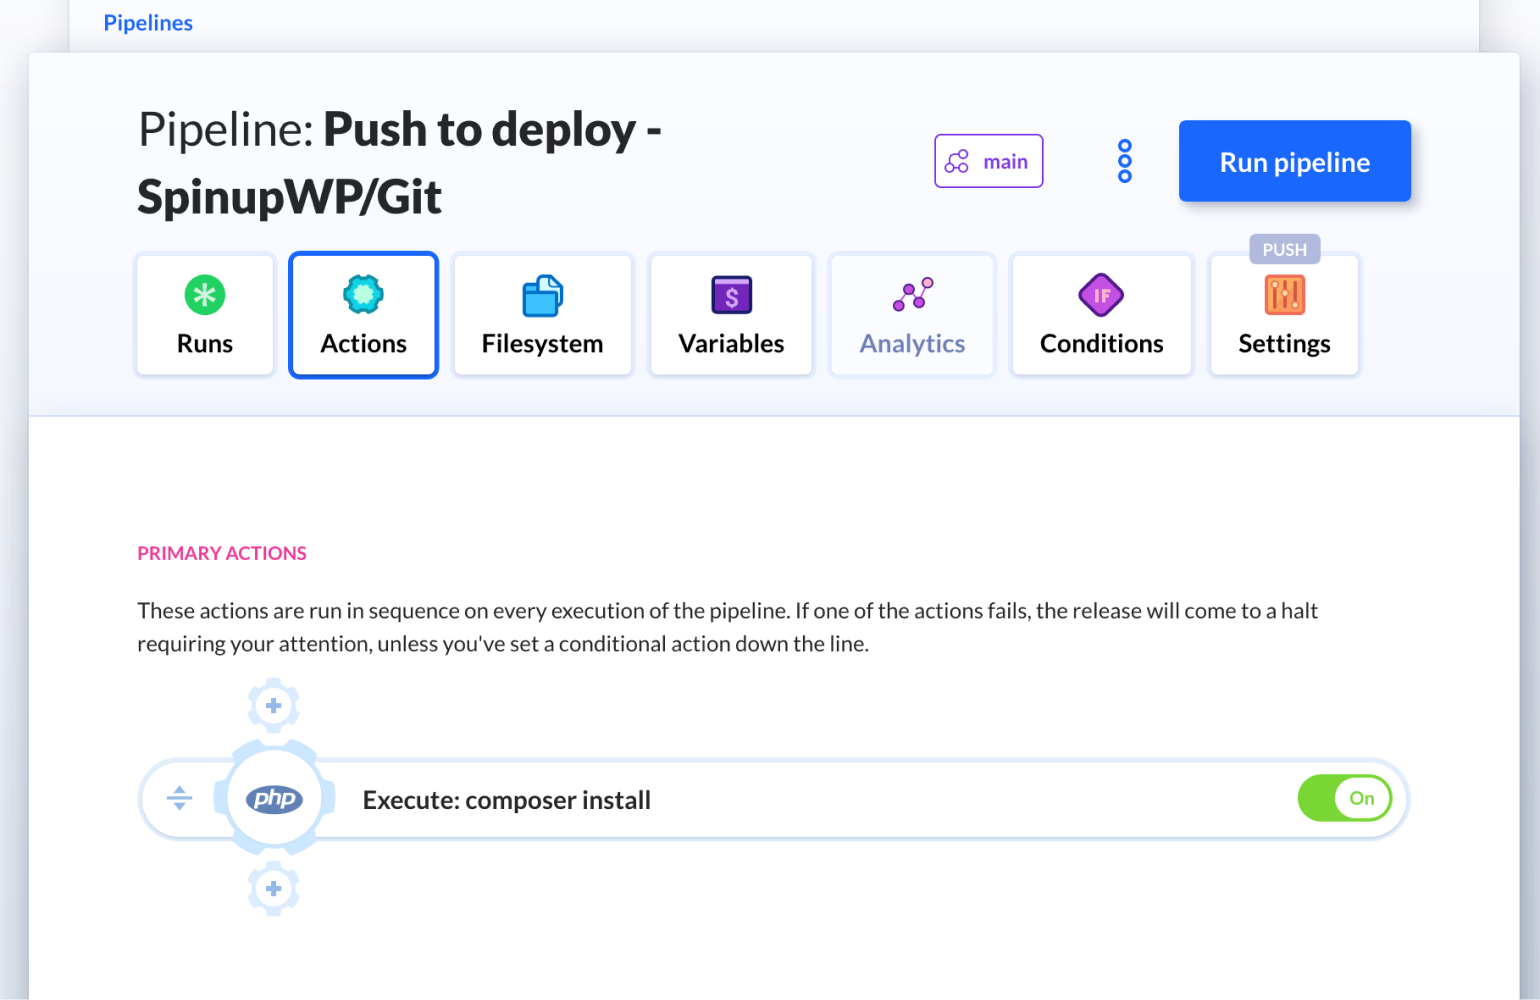
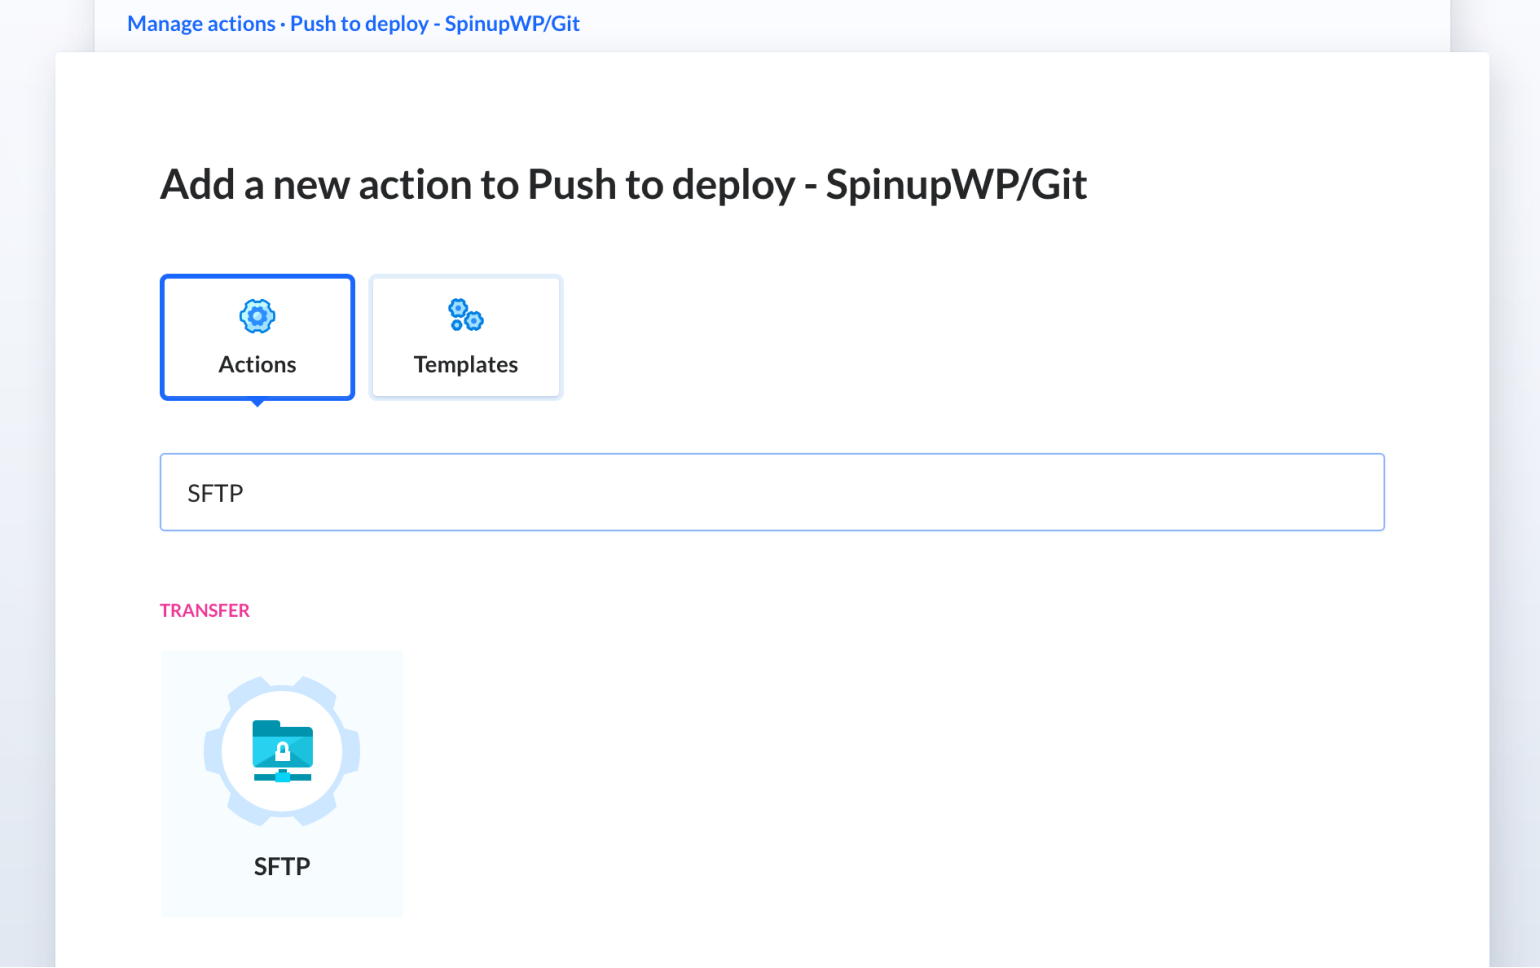
Once you’ve configured the tasks you need, you can create an action to copy the production-ready files from the container to the server. To do this click the plus icon below the last action (in our case the “PHP” action we just created) and then select the SFTP action:
Within this setup screen, select the Pipeline Filesystem option, which in this case transfers any files generated by the previous pipeline actions (cloned from the Git repository, and anything added via composer install, or anything else you’ve configured). Next, we’ll fill in the “Where to Upload” section:
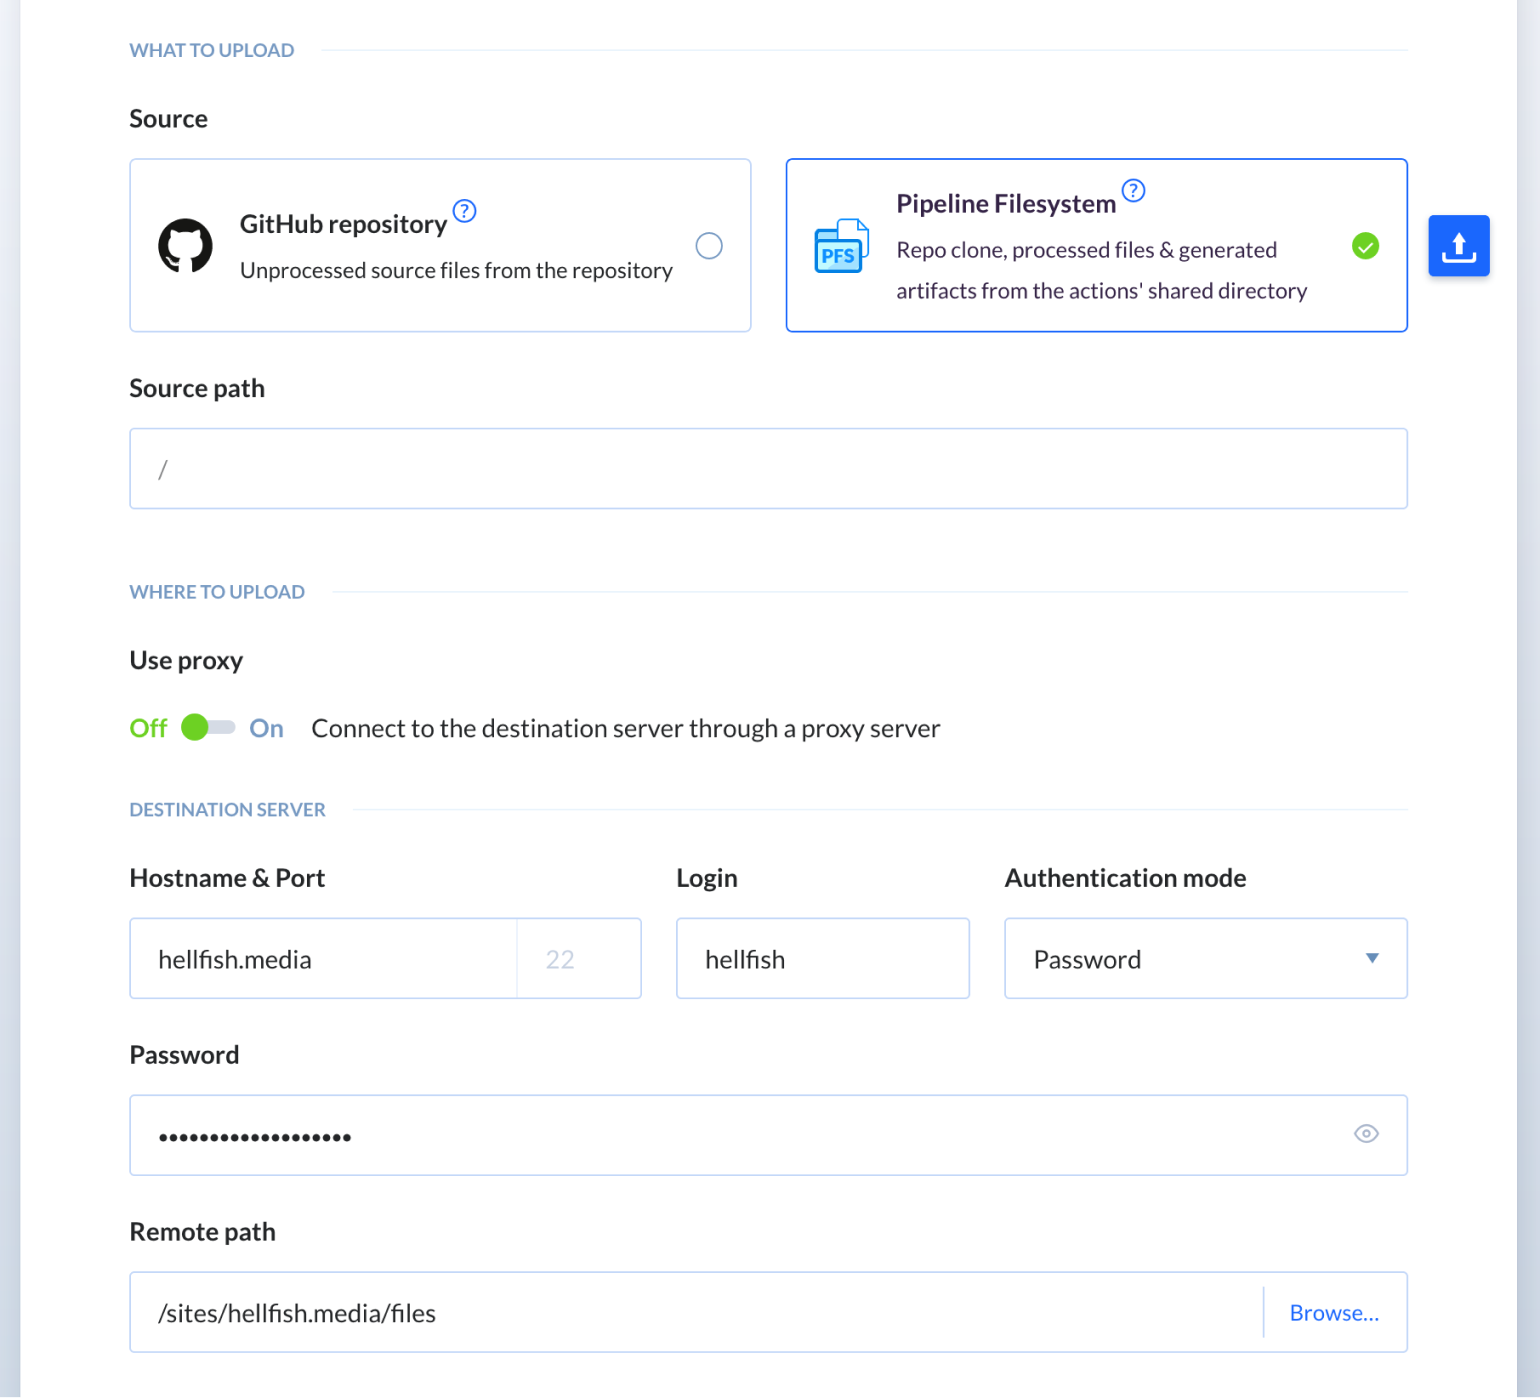
Add the details for your destination server. In our case, we use the IP address or url and site user for the SpinupWP site we’ve already set up. You’ll need to choose the authentication mode, depending on whether you’ve set your site user to authenticate via a password or SSH public key. You can also browse your server using the “Remote path” section, to select the correct location (for a SpinupWP site, this is typically the files directory).
Again, you can click to add the action when you’re ready. To begin the deployment process, choose the Run pipeline button on the right-hand side:
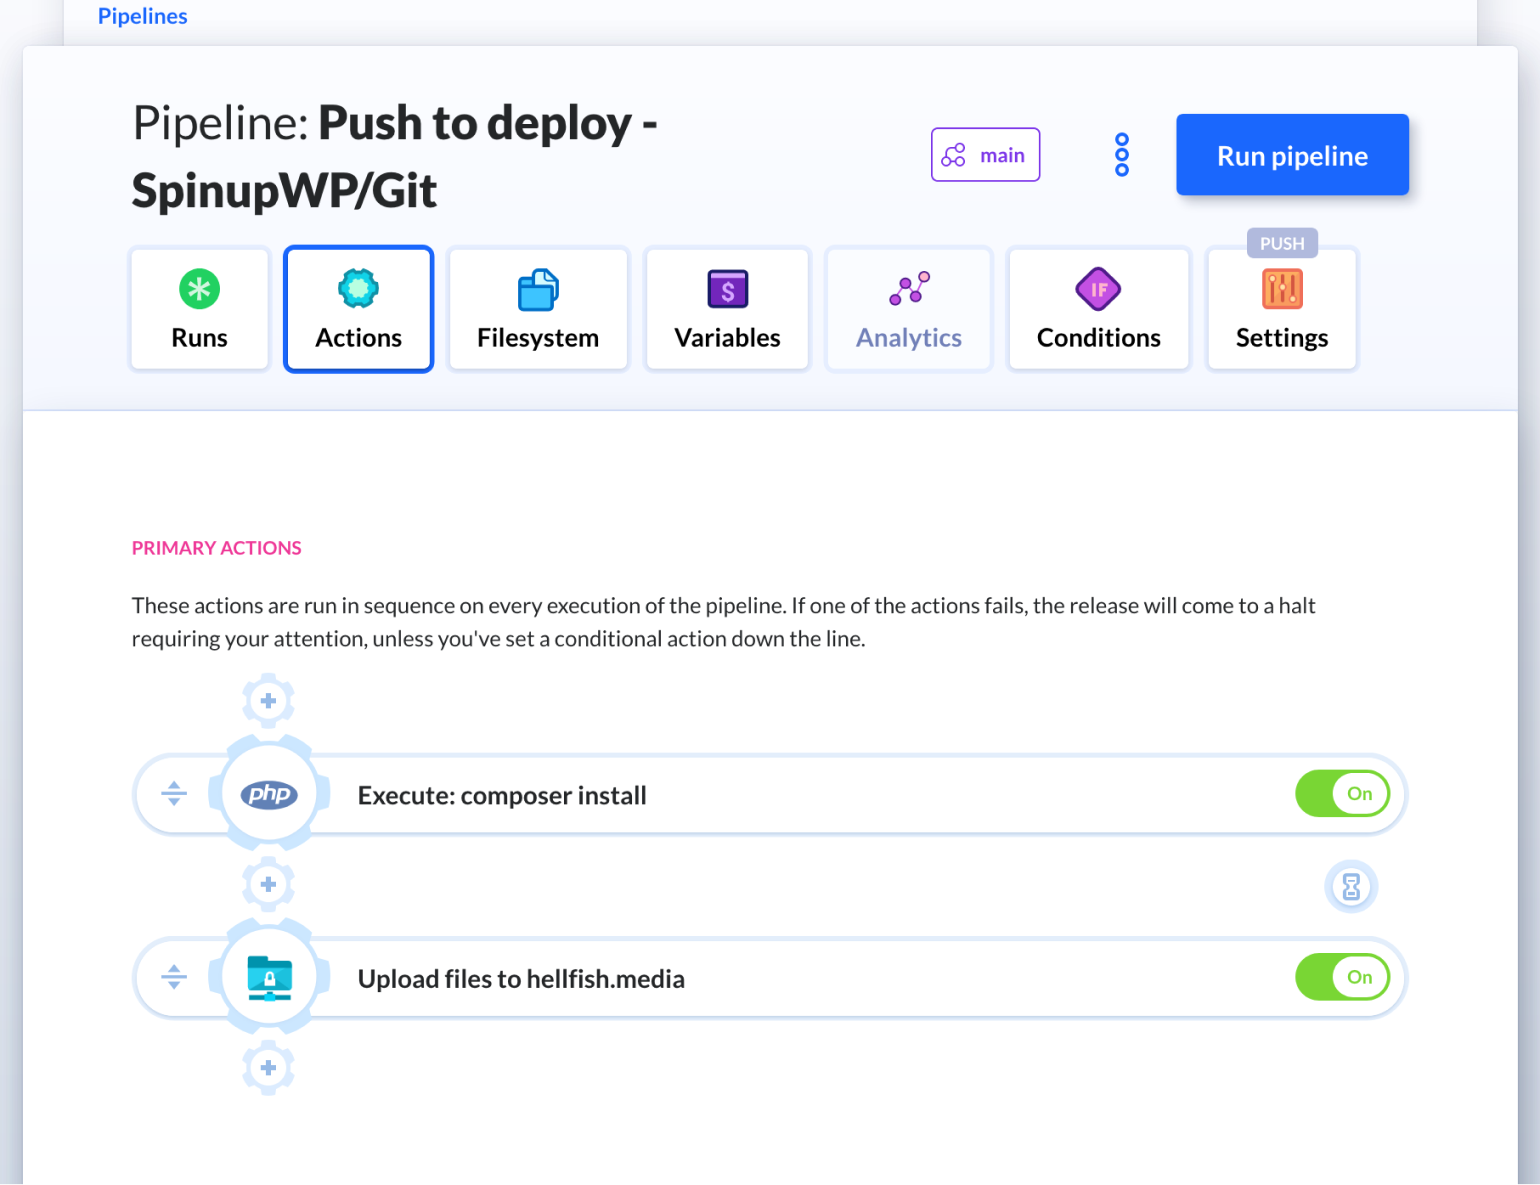
This is the crux of how to implement push to deploy functionality with Buddy, but there’s more you can do with these tools. Let’s check out those capabilities next.
Do Even More With Buddy and SpinupWP
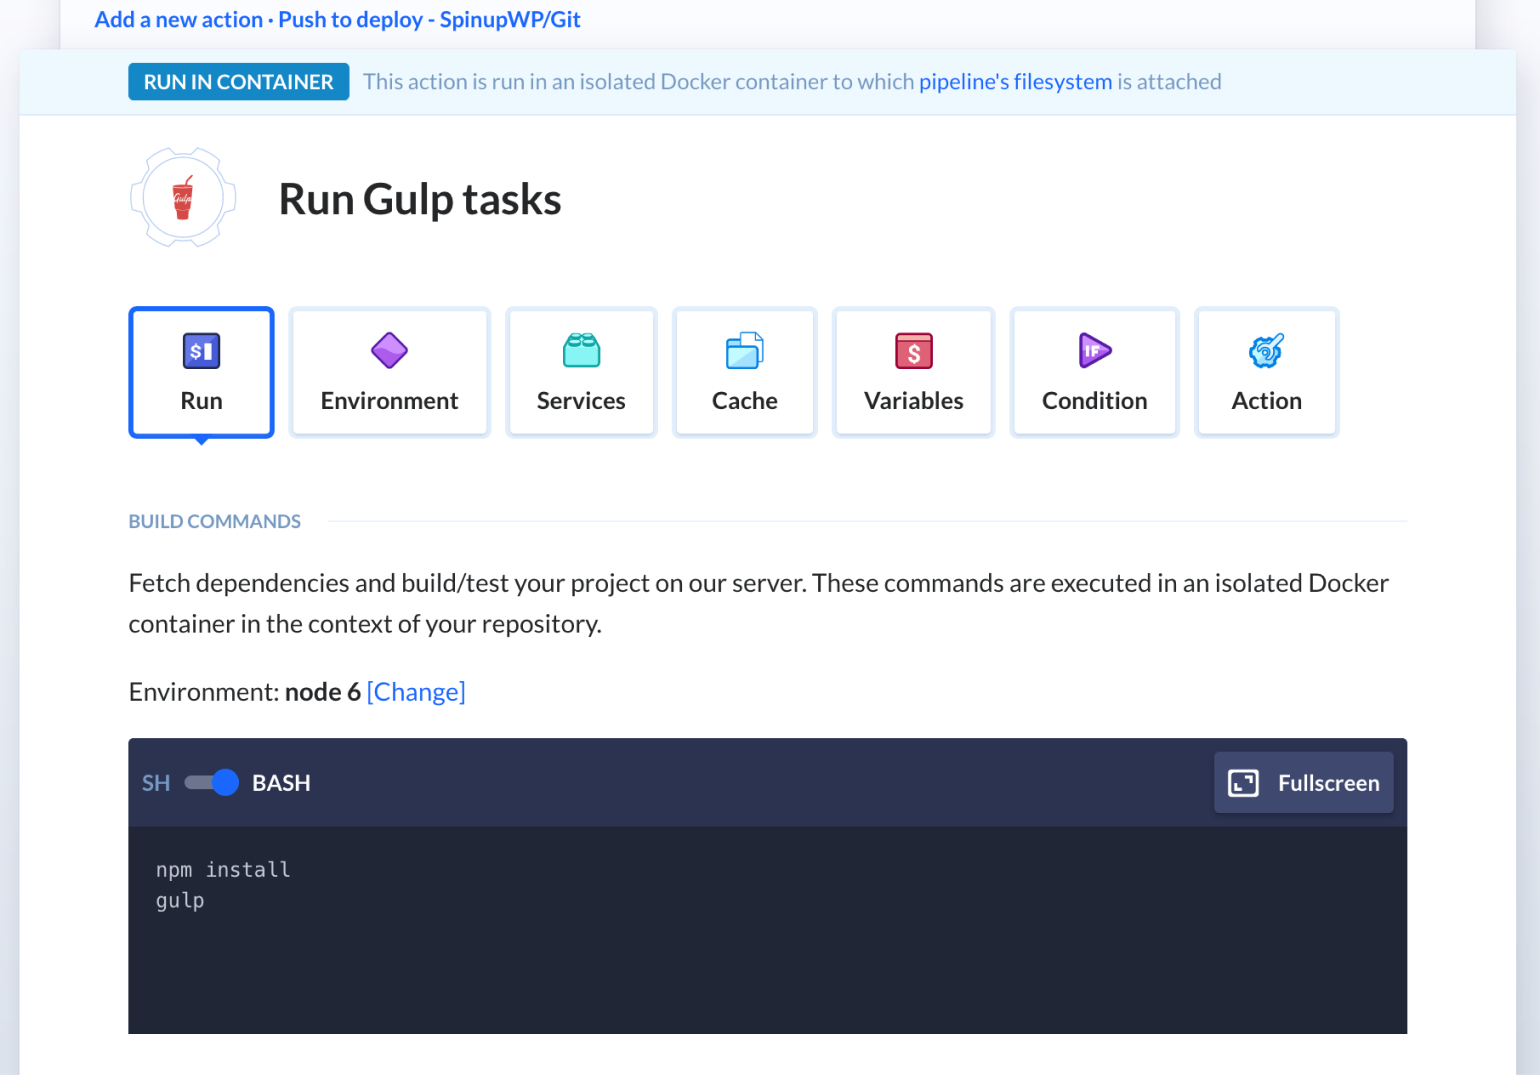
There are a variety of additional pipeline actions you can use. For example, a popular tool developers use to run front end asset build tasks is Gulp, and Buddy has a separate action for Gulp tasks:
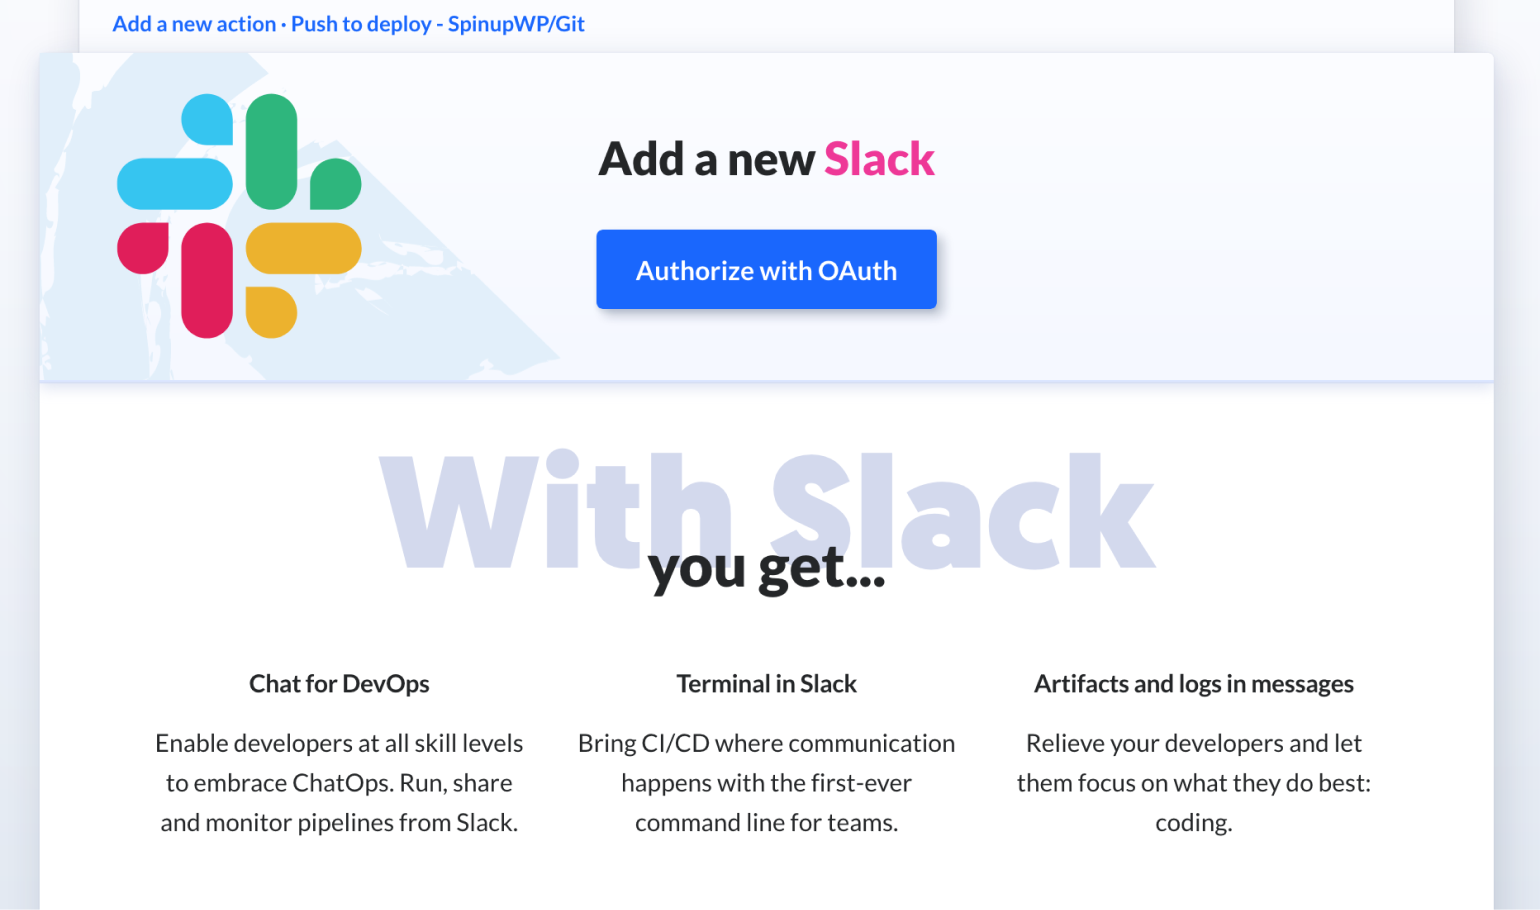
If you decide to explore the actions list within Buddy, you’ll notice there are many dedicated to third-party services. For example, we can set up Slack notifications and automate them within the pipeline:
There are at least two more actions worth noting. First, you can run anything from database migrations to npm build scripts, even installing WordPress plugins, using the SSH action. This gives you a blank terminal window to enter in whatever terminal commands you need to run, along with space to enter authentication details:
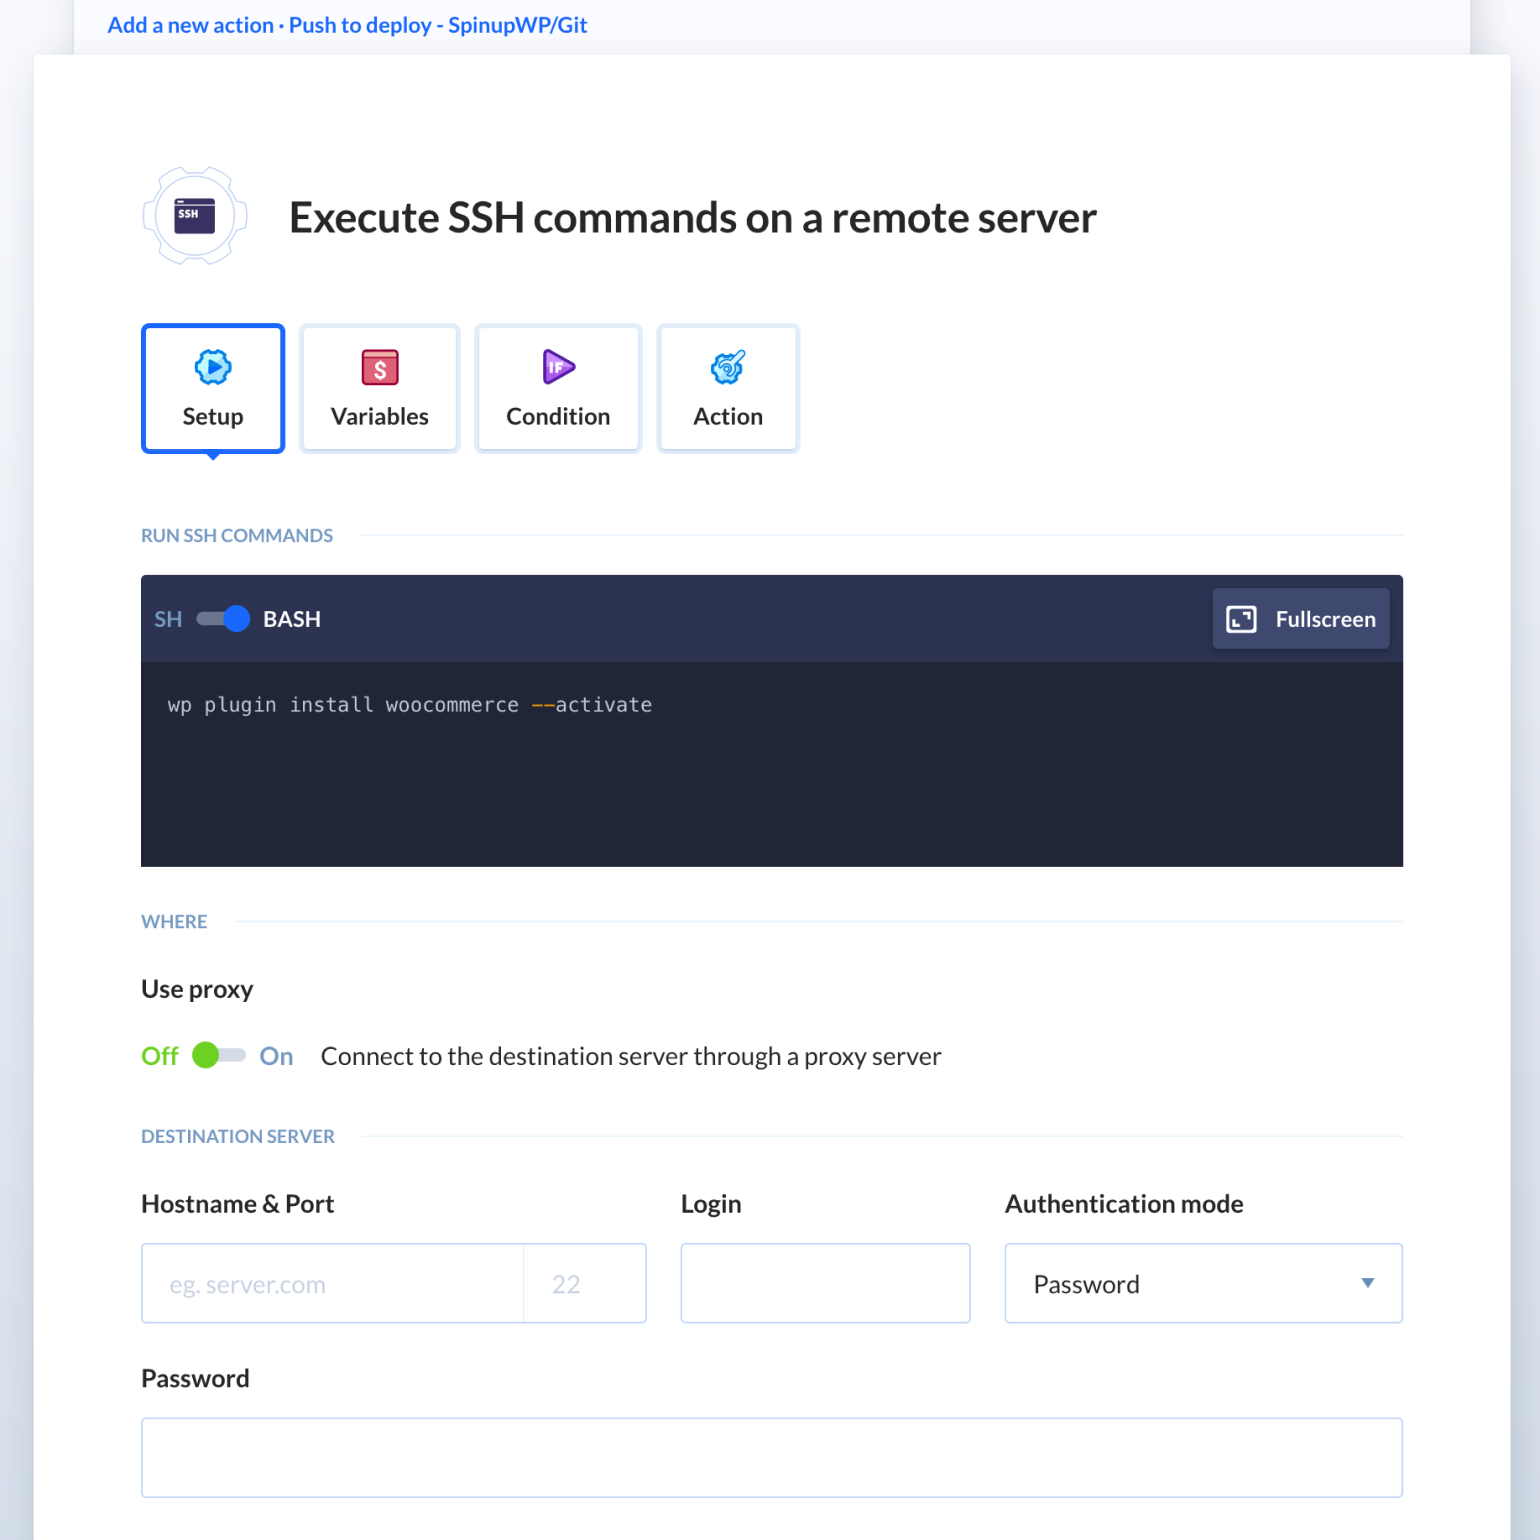
You can also run tests on your site using the PHP action. We used this earlier to install our Composer dependencies, but you can run phpunit too. On the whole, Buddy can integrate with your workflow and pipeline as much as you need. This makes it a good companion to SpinupWP, rather than a direct replacement for it.
Setting up Atomic Deployments
One of the biggest advantages of Buddy is that you have full support for atomic deployments.
To set this up, you can choose from an action template at the point you create a new pipeline:
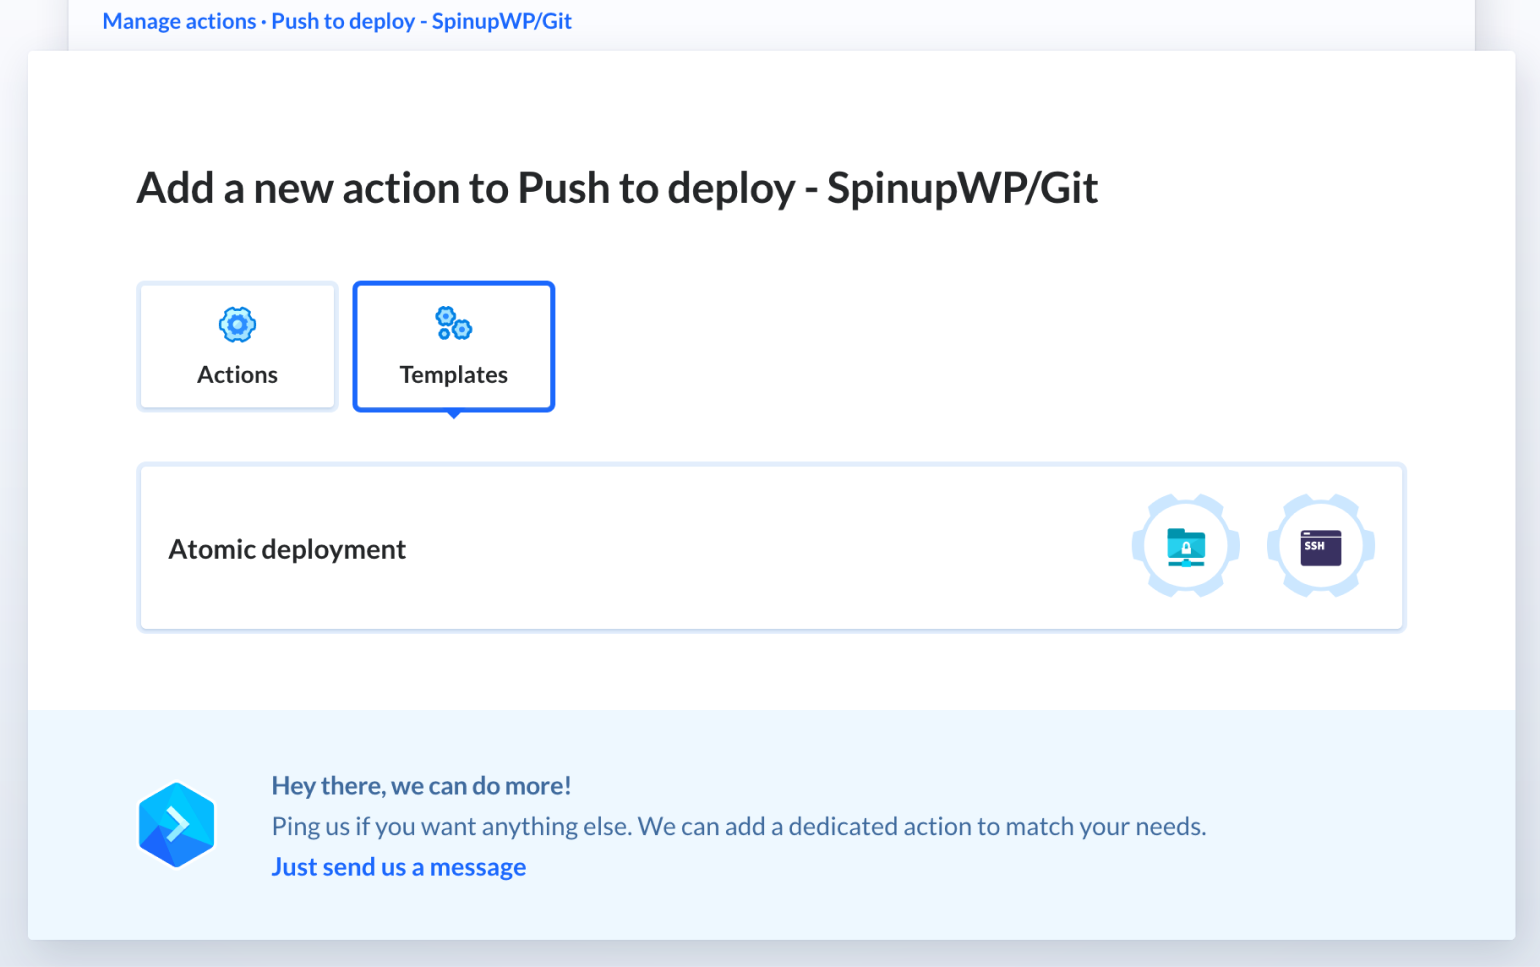
This action will create three new directories on the server, and execute the following:
- The
/deploy-cachefolder will receive the new version of your site during deployment - This directory is copied to the
/releasesfolder, inside a dedicated directory for revisions - The
/currentdirectory is switched to the/releases/${revision}folder, as a symbolic link
Not only does this enable zero downtime deployments, it also allows us to rollback to a previous version of the site quickly and easily if we discover a problem after a deployment.
Third-Party Integrations With Buddy
There are lots of things to like about Buddy, but one of our favorites is the flexibility of the platform, allowing for all kinds of integrations. This means you can bolt on even more functionality to create a full custom pipeline for your projects and deployments.
We’ve already mentioned New Relic, a server/site monitoring and analysis platform, which integrates with Buddy to help you optimize the performance of your site and server. There are other, similar integrations too:
- Ghost Inspector provides a number of automated testing and monitoring processes for your site, run from within the browser
- Datadog offers a way to analyze your deployment performance metrics to find weak points and their sources
When automating your pipeline delivery process, you’ll also want to automate some of the notifications you get along the way. Loggly lets you create alerts based on your thresholds and metrics, to let you jump into action before a problem arises. You can also set up alerts based on specific search patterns.
The Rollbar integration performs in a similar way, in that you can schedule notifications to send at various points along the deployment process, and act on the results. Of course, these notifications are automated and available within your Rollbar project.
Buddy integrations also include a number of more typical notification setups. Lots of projects will use Slack, and as we mentioned above, there’s a Slack integration. You’re able to send messages to a specific channel about finished builds and deployments, while also calling on the status of your pipelines using slash commands.
The Telegram integration is also interesting, as it’s a privacy-focused messaging service that sees a lot of support within the blockchain community. With this service, you can set up automatic messaging for finished builds and deployments. What’s more, you can send them to individual profiles, channels, and groups. This makes Telegram a top fit with Buddy, as you can notify individuals without flooding a team channel with messages.
We also like the Cloudflare integration, as it’s a natural fit for many web development projects. Clearing the cache is usually a monotonous task. This integration adds a specific action to the end of your pipeline to clear the cache for every deployment. It’s a simple integration that stands to save you time that can go towards other areas of your pipeline.
While there are a lot of integrations to choose from, they might not cover all of your needs. This is why Buddy lets you use webhooks to create your own custom integration or bring in other third-party services.
With this, most (if not all) of your bases are covered. SpinupWP can take care of your site and server management, while Buddy can look after your CD/CI pipeline. Adding a few choice integrations along the way solidifies your whole pipeline and lets you deploy faster with a reduction in errors.
Conclusion
For many projects, it is important to have an efficient and resilient deployment system. This is especially the case if you choose to deploy from a Git repo, as your deployment solution will need to have specific features to reduce or eliminate downtime.
While SpinupWP includes a convenient, simple, and intuitive push to deploy system, it needs friends to help with complex deployment scenarios. Buddy is an ideal CD/CI pipeline delivery manager that works with SpinupWP to provide an excellent division of labor in the right circumstances:
- For simple deployment scenarios, SpinupWP push to deploy will be all you need
- For more complex deployments, Buddy can take over deployment, while letting SpinupWP manage your sites and servers
Do you think Buddy is the ideal CD/CI tool for SpinupWP sites? Let us know your thoughts in the comments section below!
