Setting Up a Vultr Managed MySQL Database and Adding It to SpinupWP
This guide will help you set up a Vultr managed MySQL database for use with new servers set up by SpinupWP. By the end of this tutorial, you will have the database hostname, port, username, password, and database name you need to configure the managed MySQL database as an external database in SpinupWP.
- Setting Up an Amazon Lightsail Managed MySQL Database and Adding It to SpinupWP
- Setting Up a DigitalOcean Managed MySQL Database and Adding It to SpinupWP
- Setting Up an Akamai/Linode Managed MySQL Database and Adding It to SpinupWP
This article covers the following steps:
Creating a New Vultr Managed MySQL Database
To create a new Vultr database, log into your Vultr account and click the Products > Databases on the left-hand navigation.
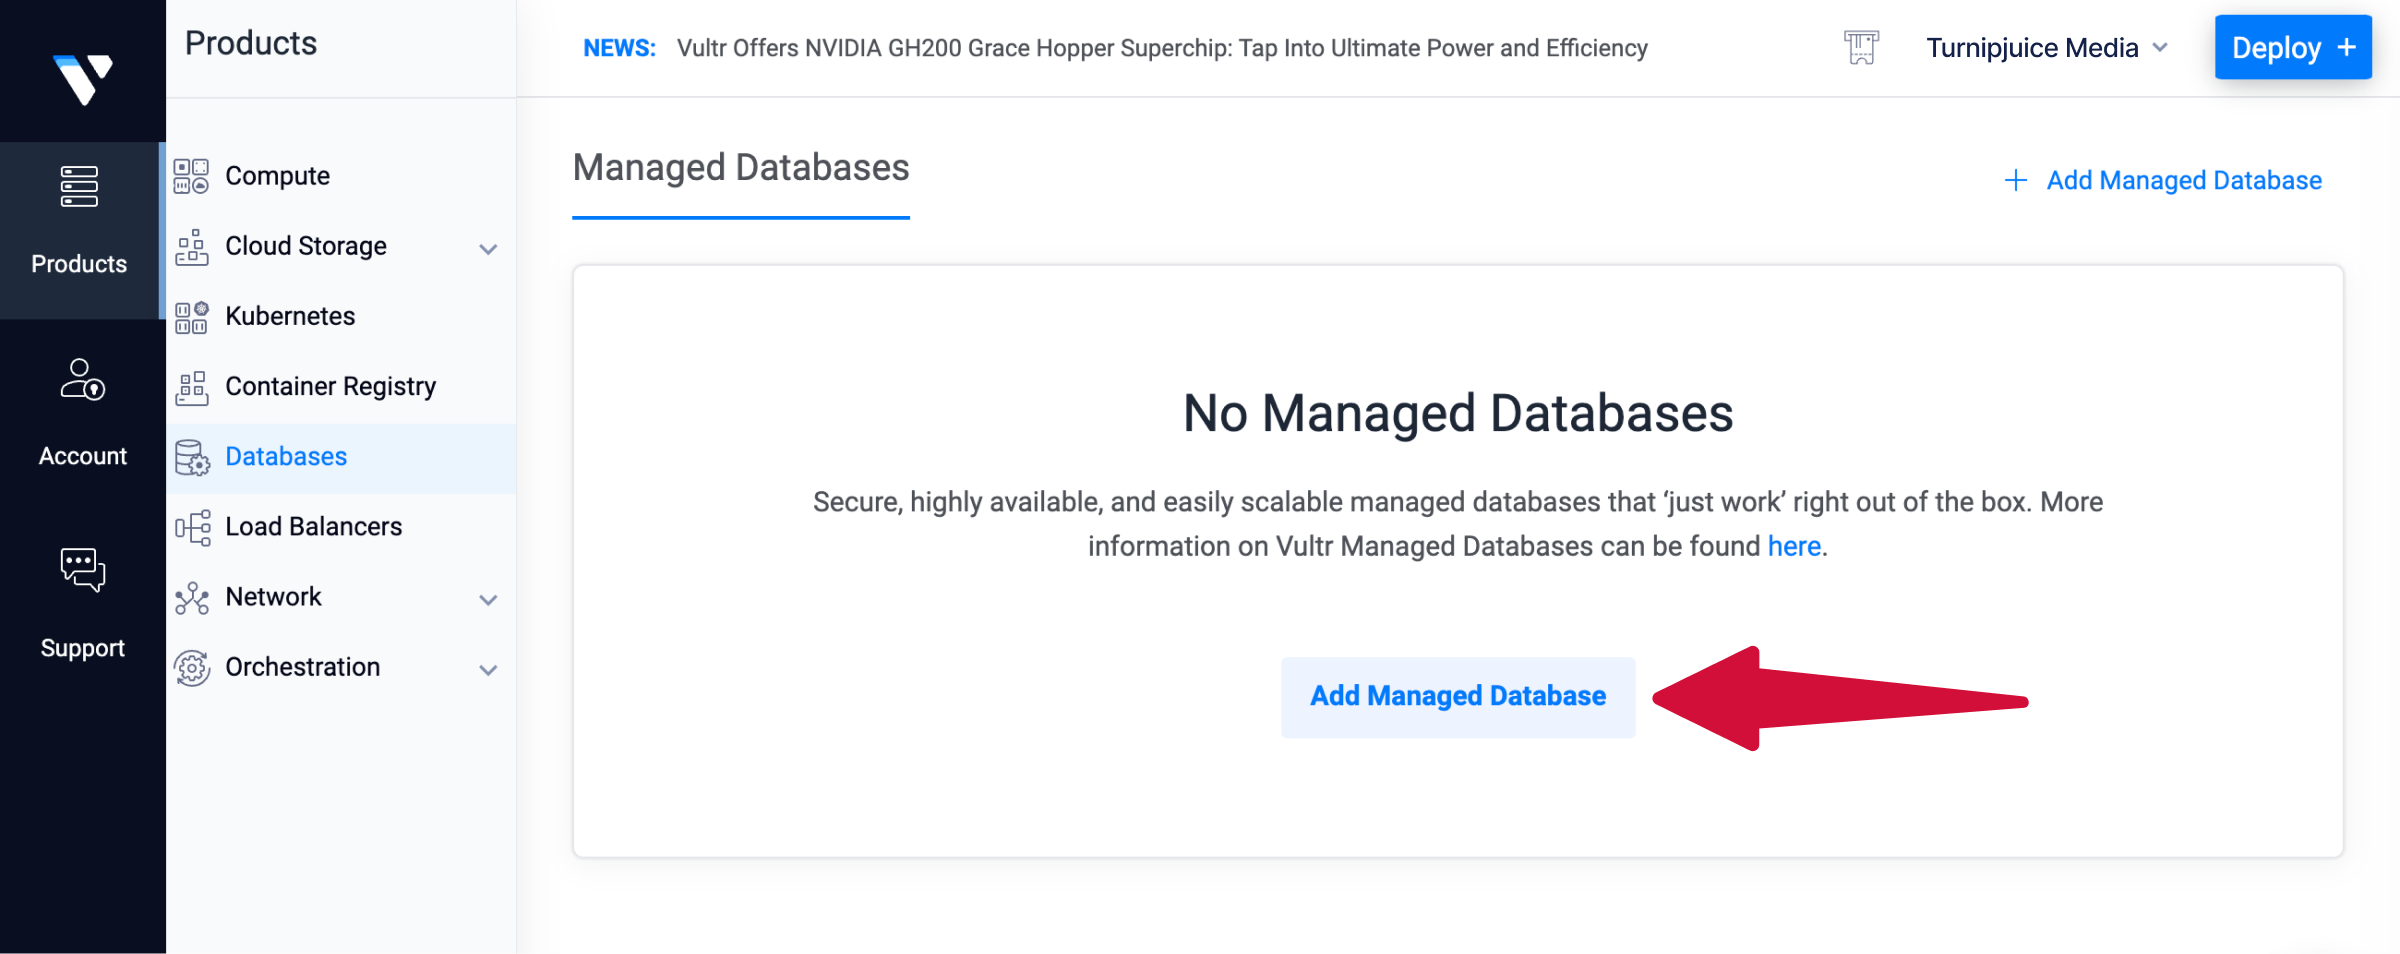
This will open the “Managed Databases” page, where you can click Add Managed Database to get started.
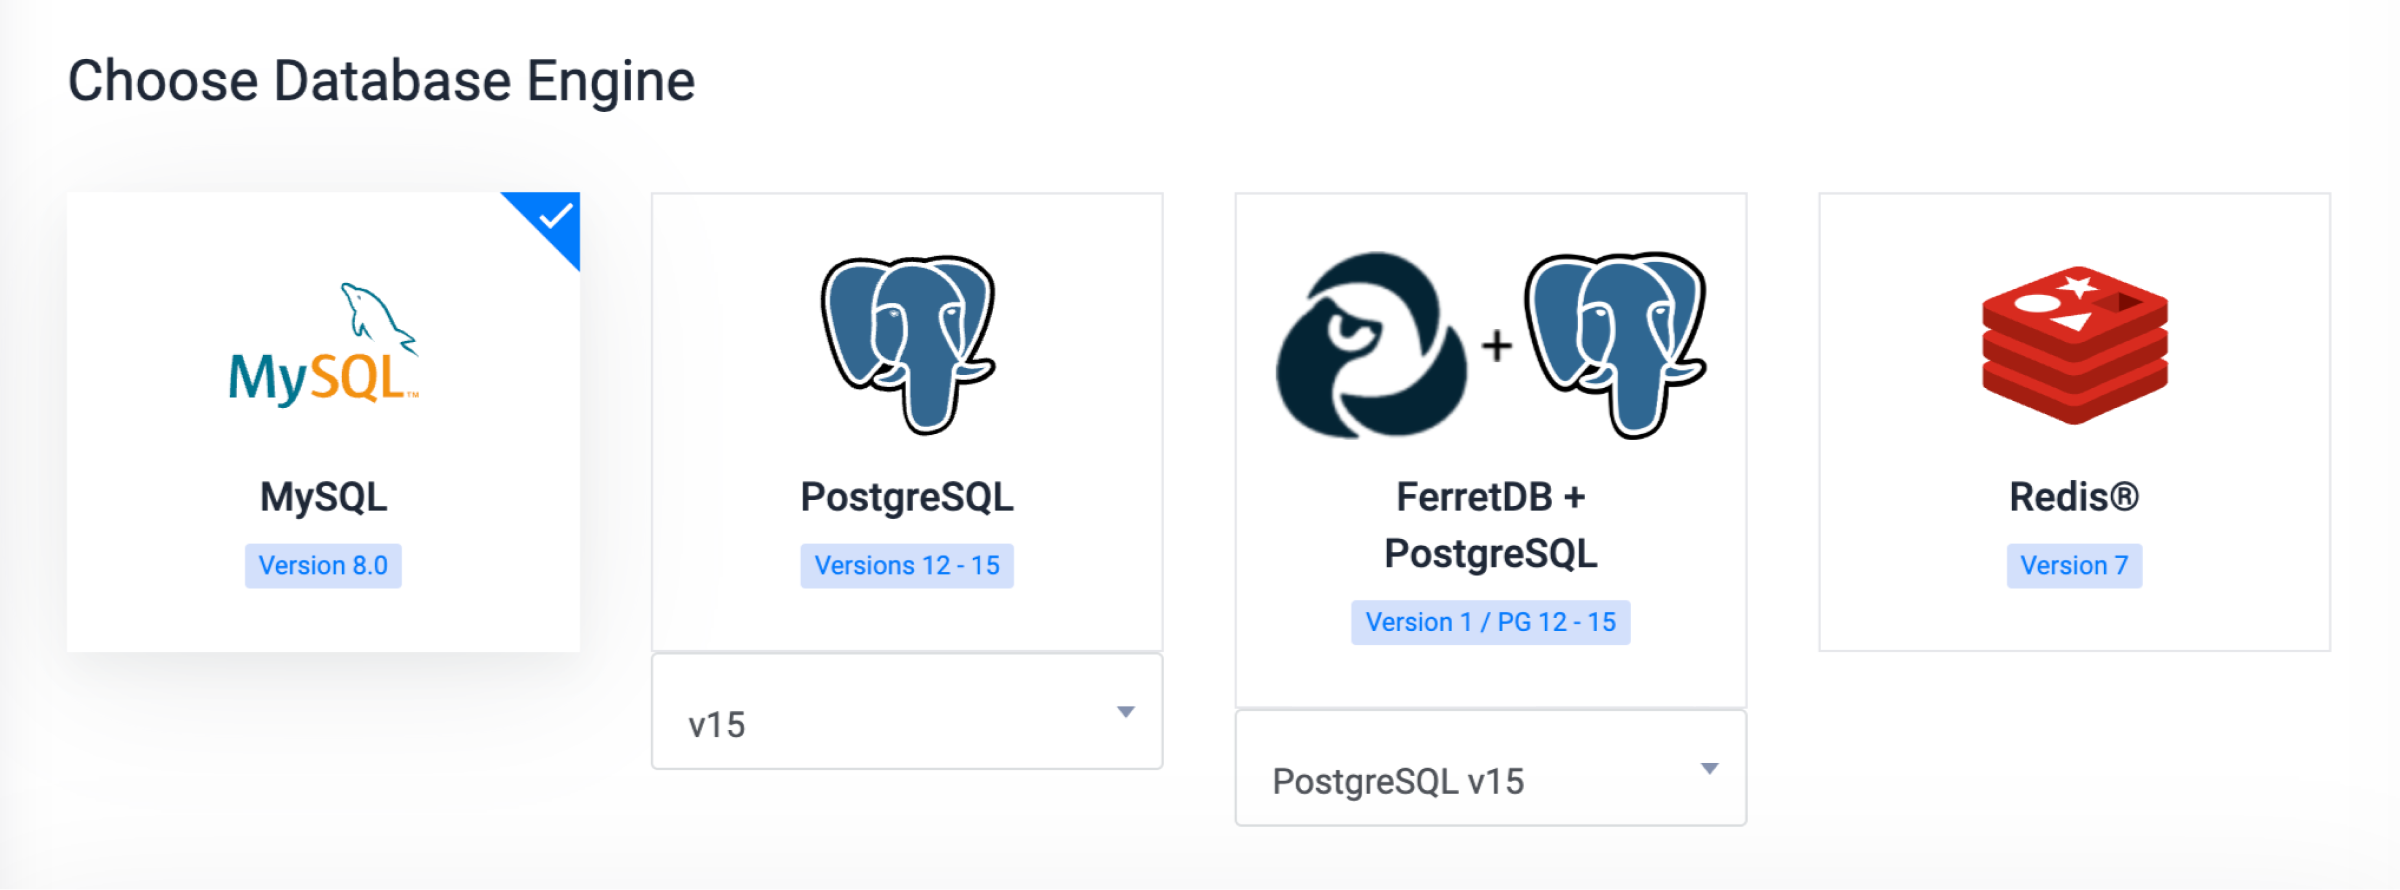
Your first step is to choose a database engine. Make sure to choose MySQL. It should be selected by default.
Next, select a server configuration. You may want to select a high-performance option for very high-traffic sites, but the default ‘Optimized Cloud Compute – General Purpose’ should be a great starting point. You can always upgrade later if need be. The specifics for the selected option, including the monthly price, are displayed below the dropdown.
You will also have the opportunity to increase the number of Replica Nodes. It is recommended to leave that at 1 for now and consider updating it later for extremely high-traffic needs.

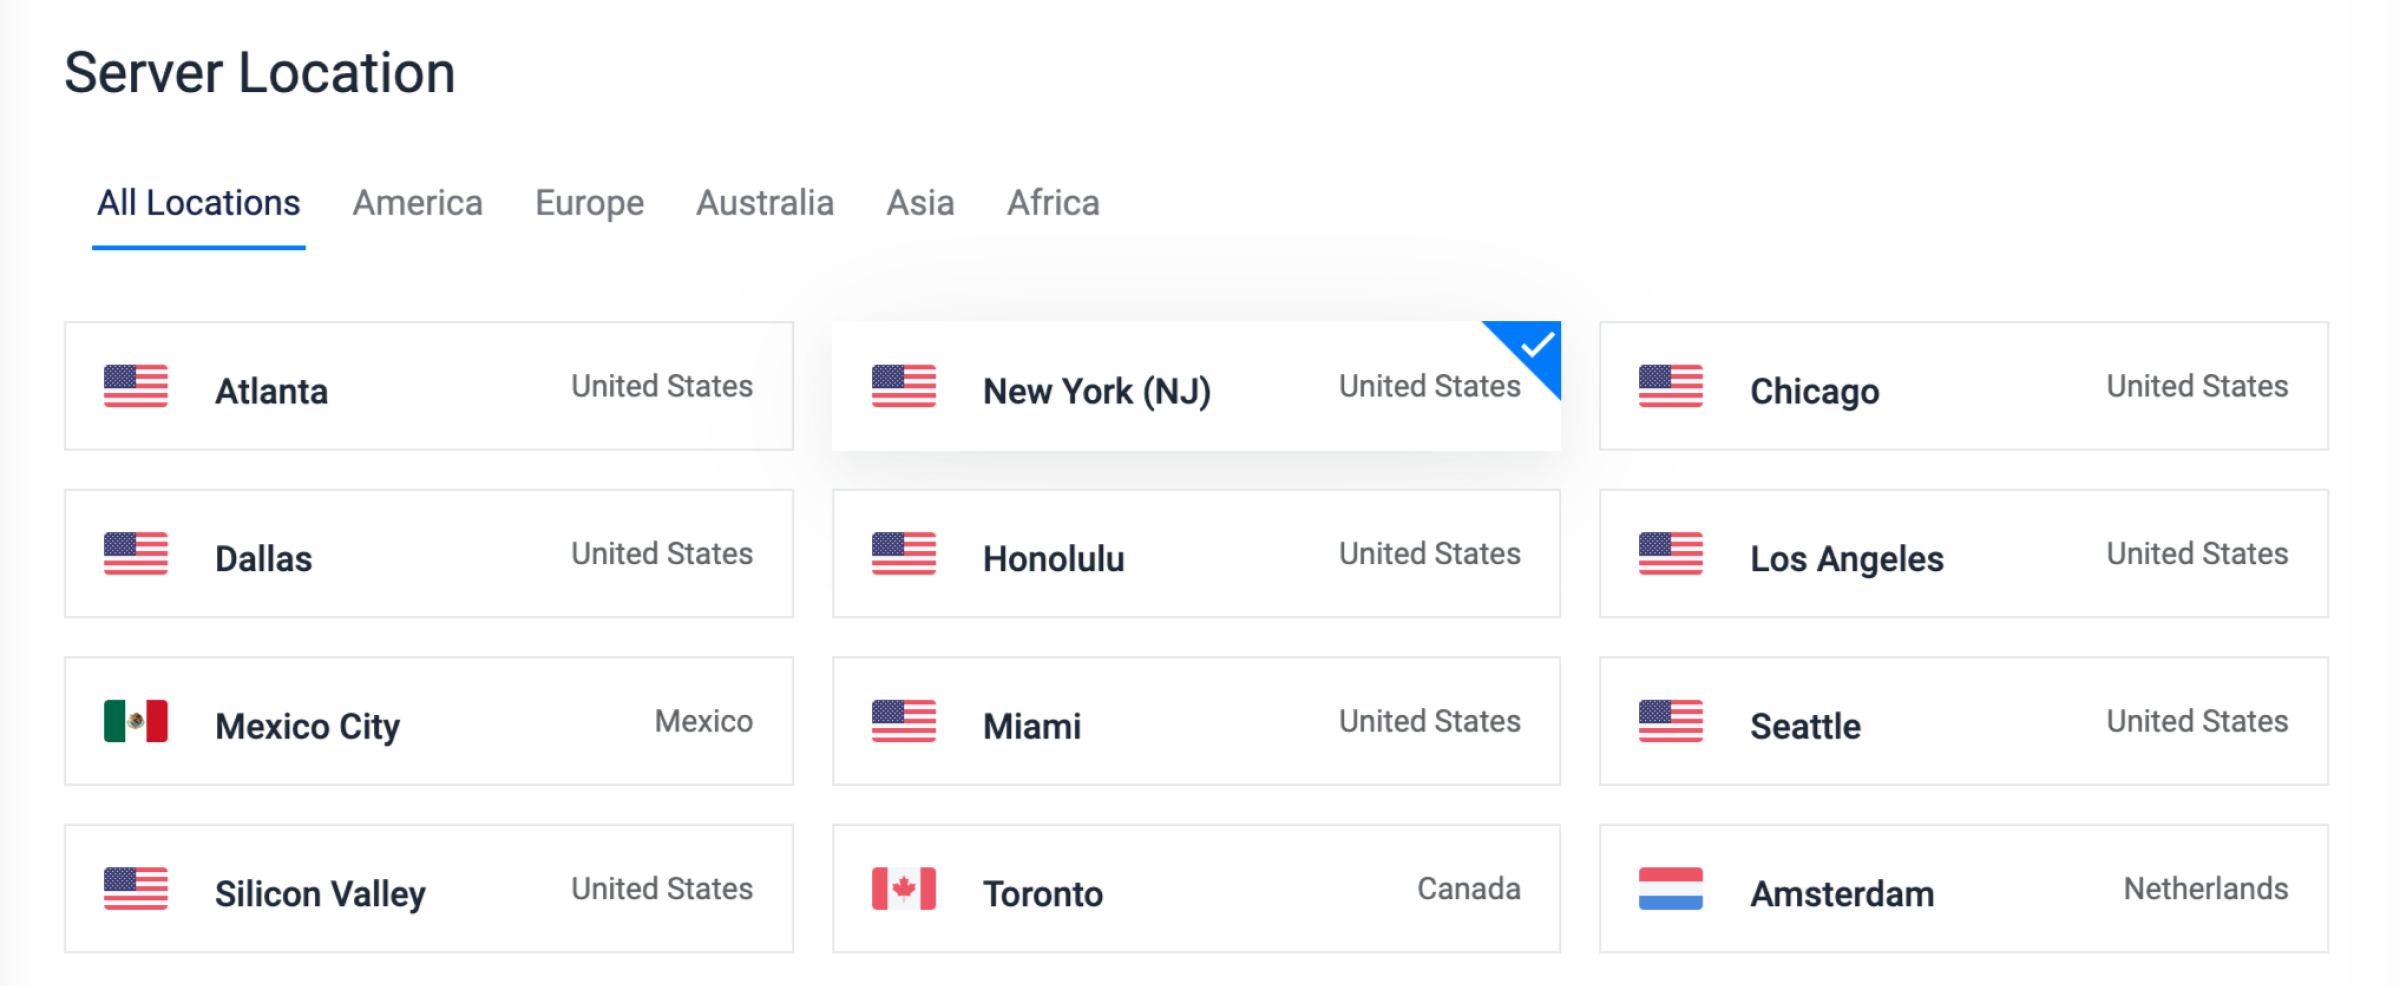
You will then need to select a server location. It’s best to select the same location being used for the webservers which will connect to this database server. This reduces latency between them.
You will also see an option to select an existing VPC network, or to create a new one. Placing the database server and web server within a VPC network together allows them to communicate more directly and speed things up considerably. This is optional, but highly recommended if your webserver is also hosted at Vultr.

Finally, you will need to enter a label for the database. The label is used only for your own reference to identify the database. We typically use the domain name of the server for our server names, but you can use whatever you like.

That’s it, you are ready to press Deploy at the bottom right and kick things off.
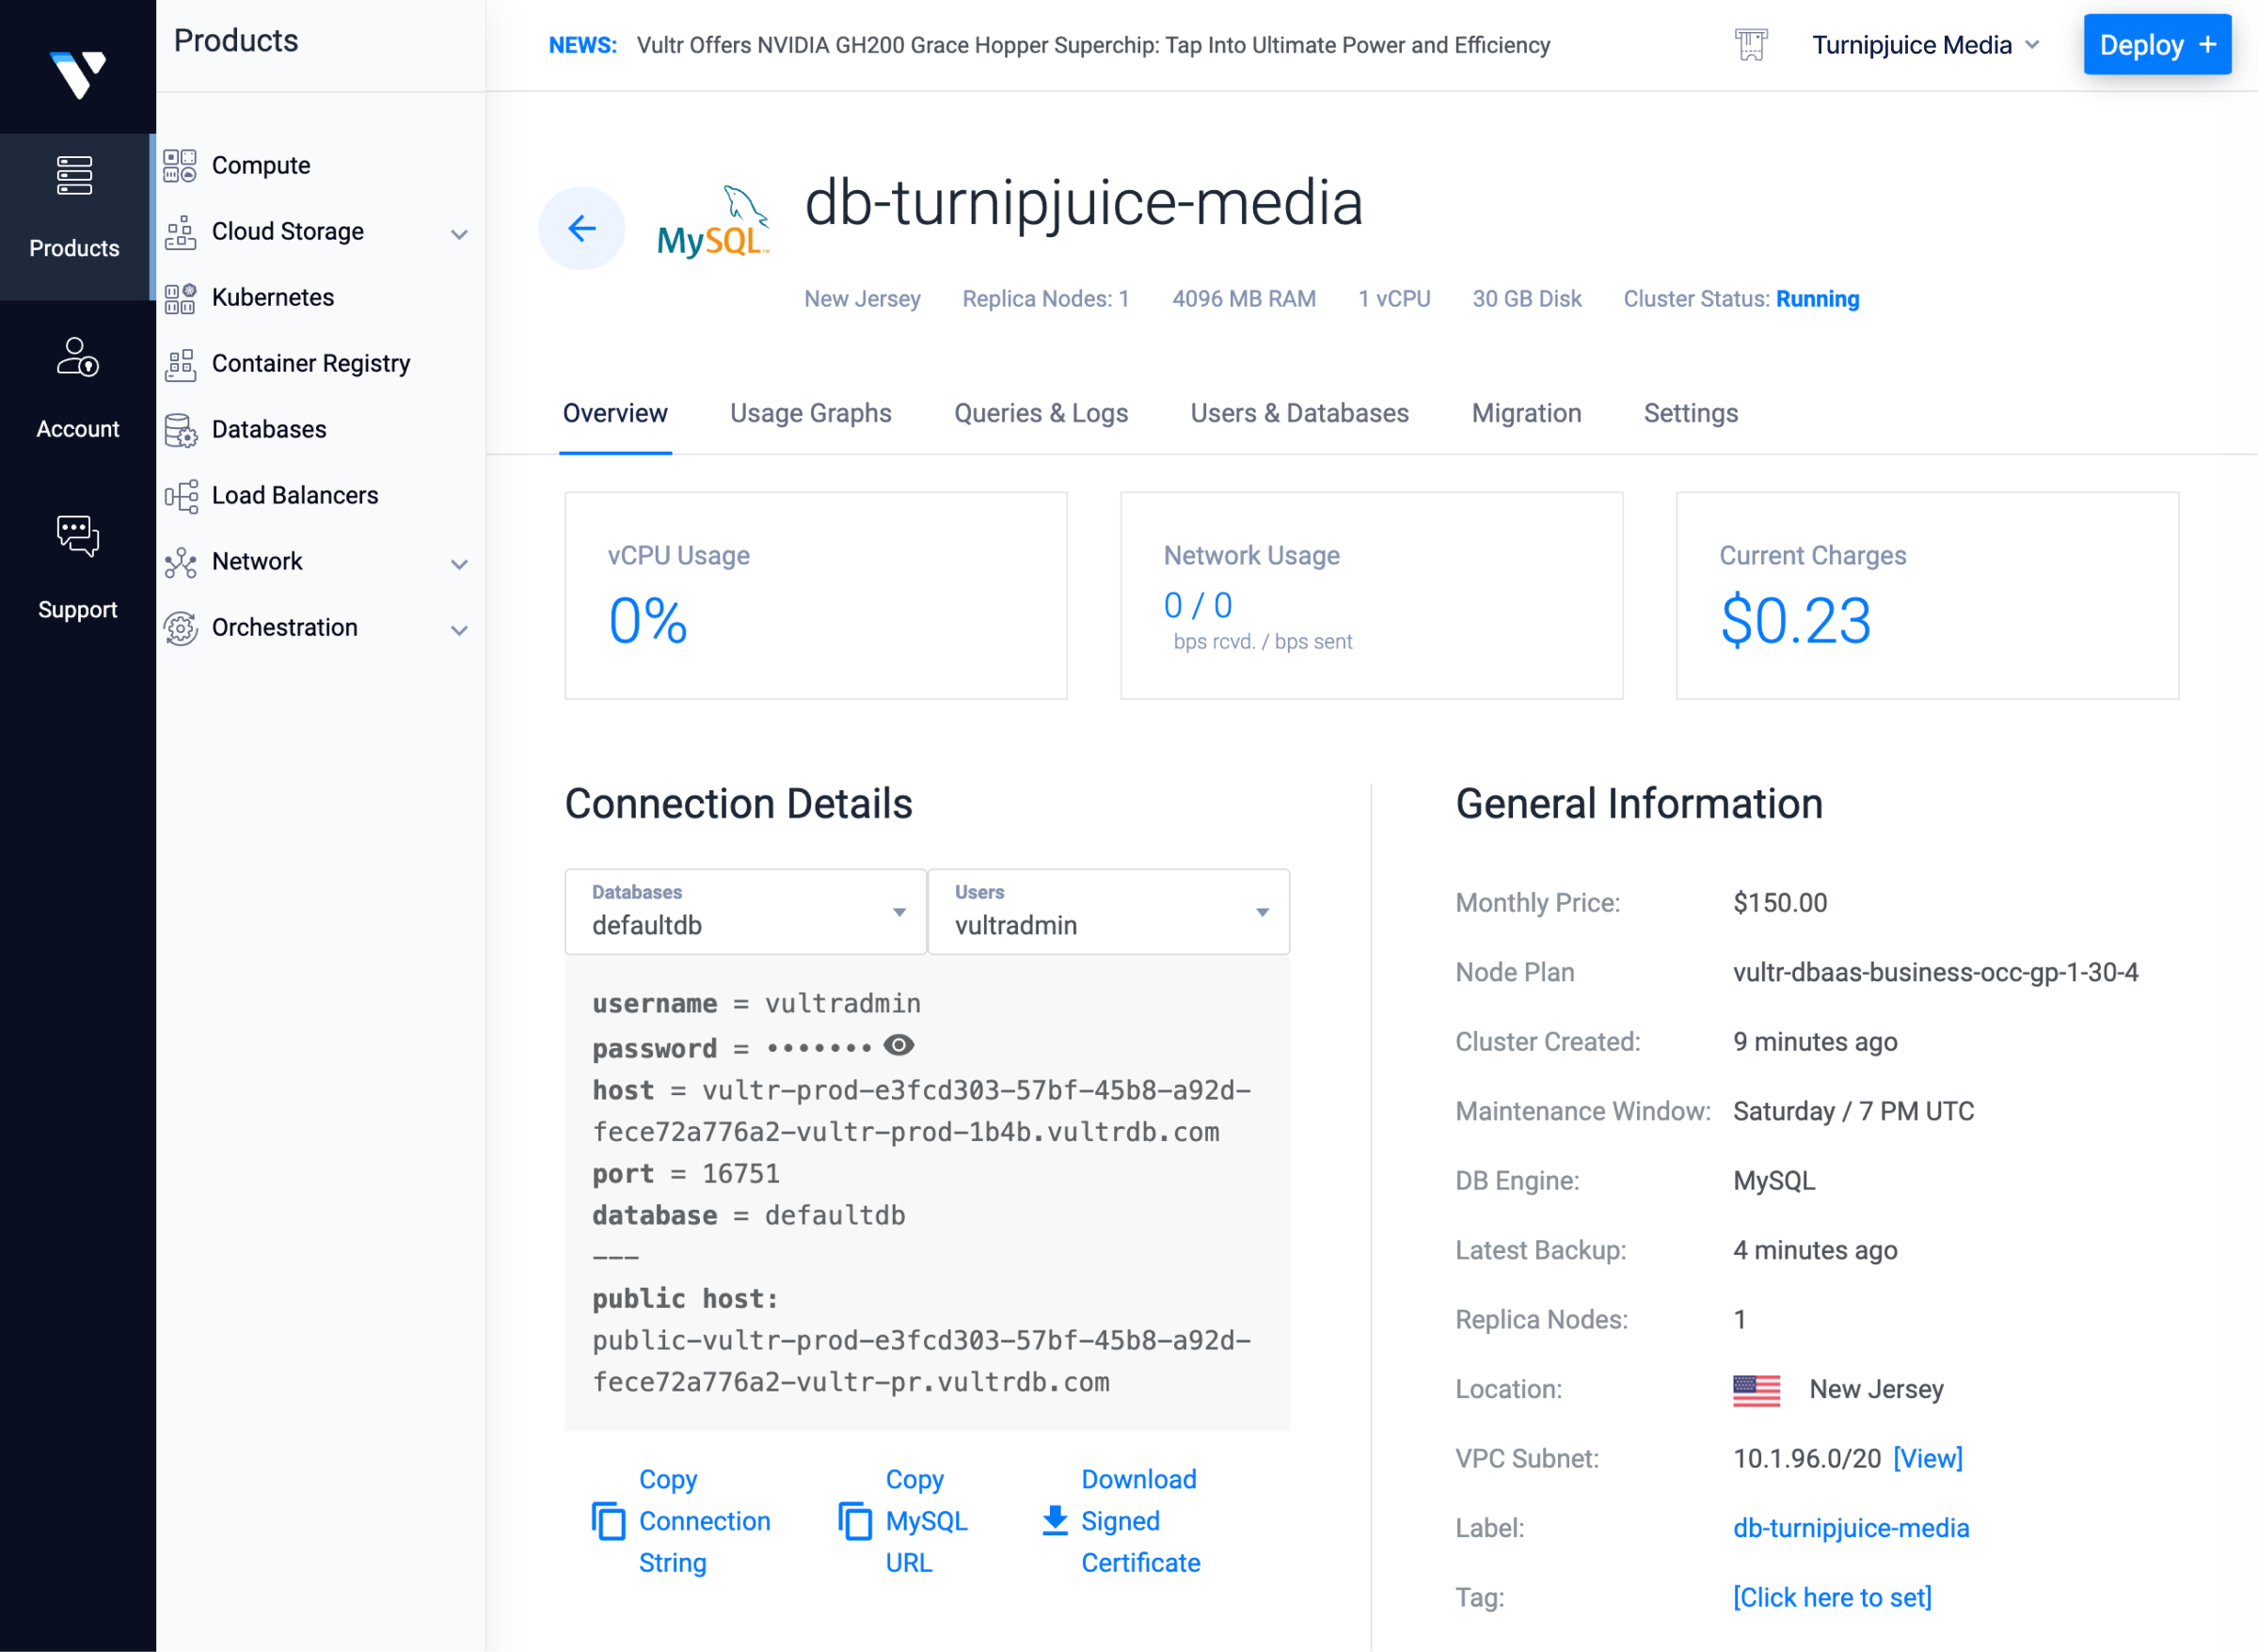
Once the database server creation has completed, you can view the Connection Details on the database’s Overview tab to find the username, password, host, and port needed to add the database server as an external database to SpinupWP. Remember, be sure to use the ‘host’ connection parameters and not the ‘public host’ connection parameters.
Adding your web server to the VPC Network
If you are using a VPC, you can easily add your webservers to your VPC network from the VPC’s Settings tab.
First, pull up the dashboard for the VPC you would like to link the database and click on Enable VPC at the bottom the of the IPv4 sub-tab.
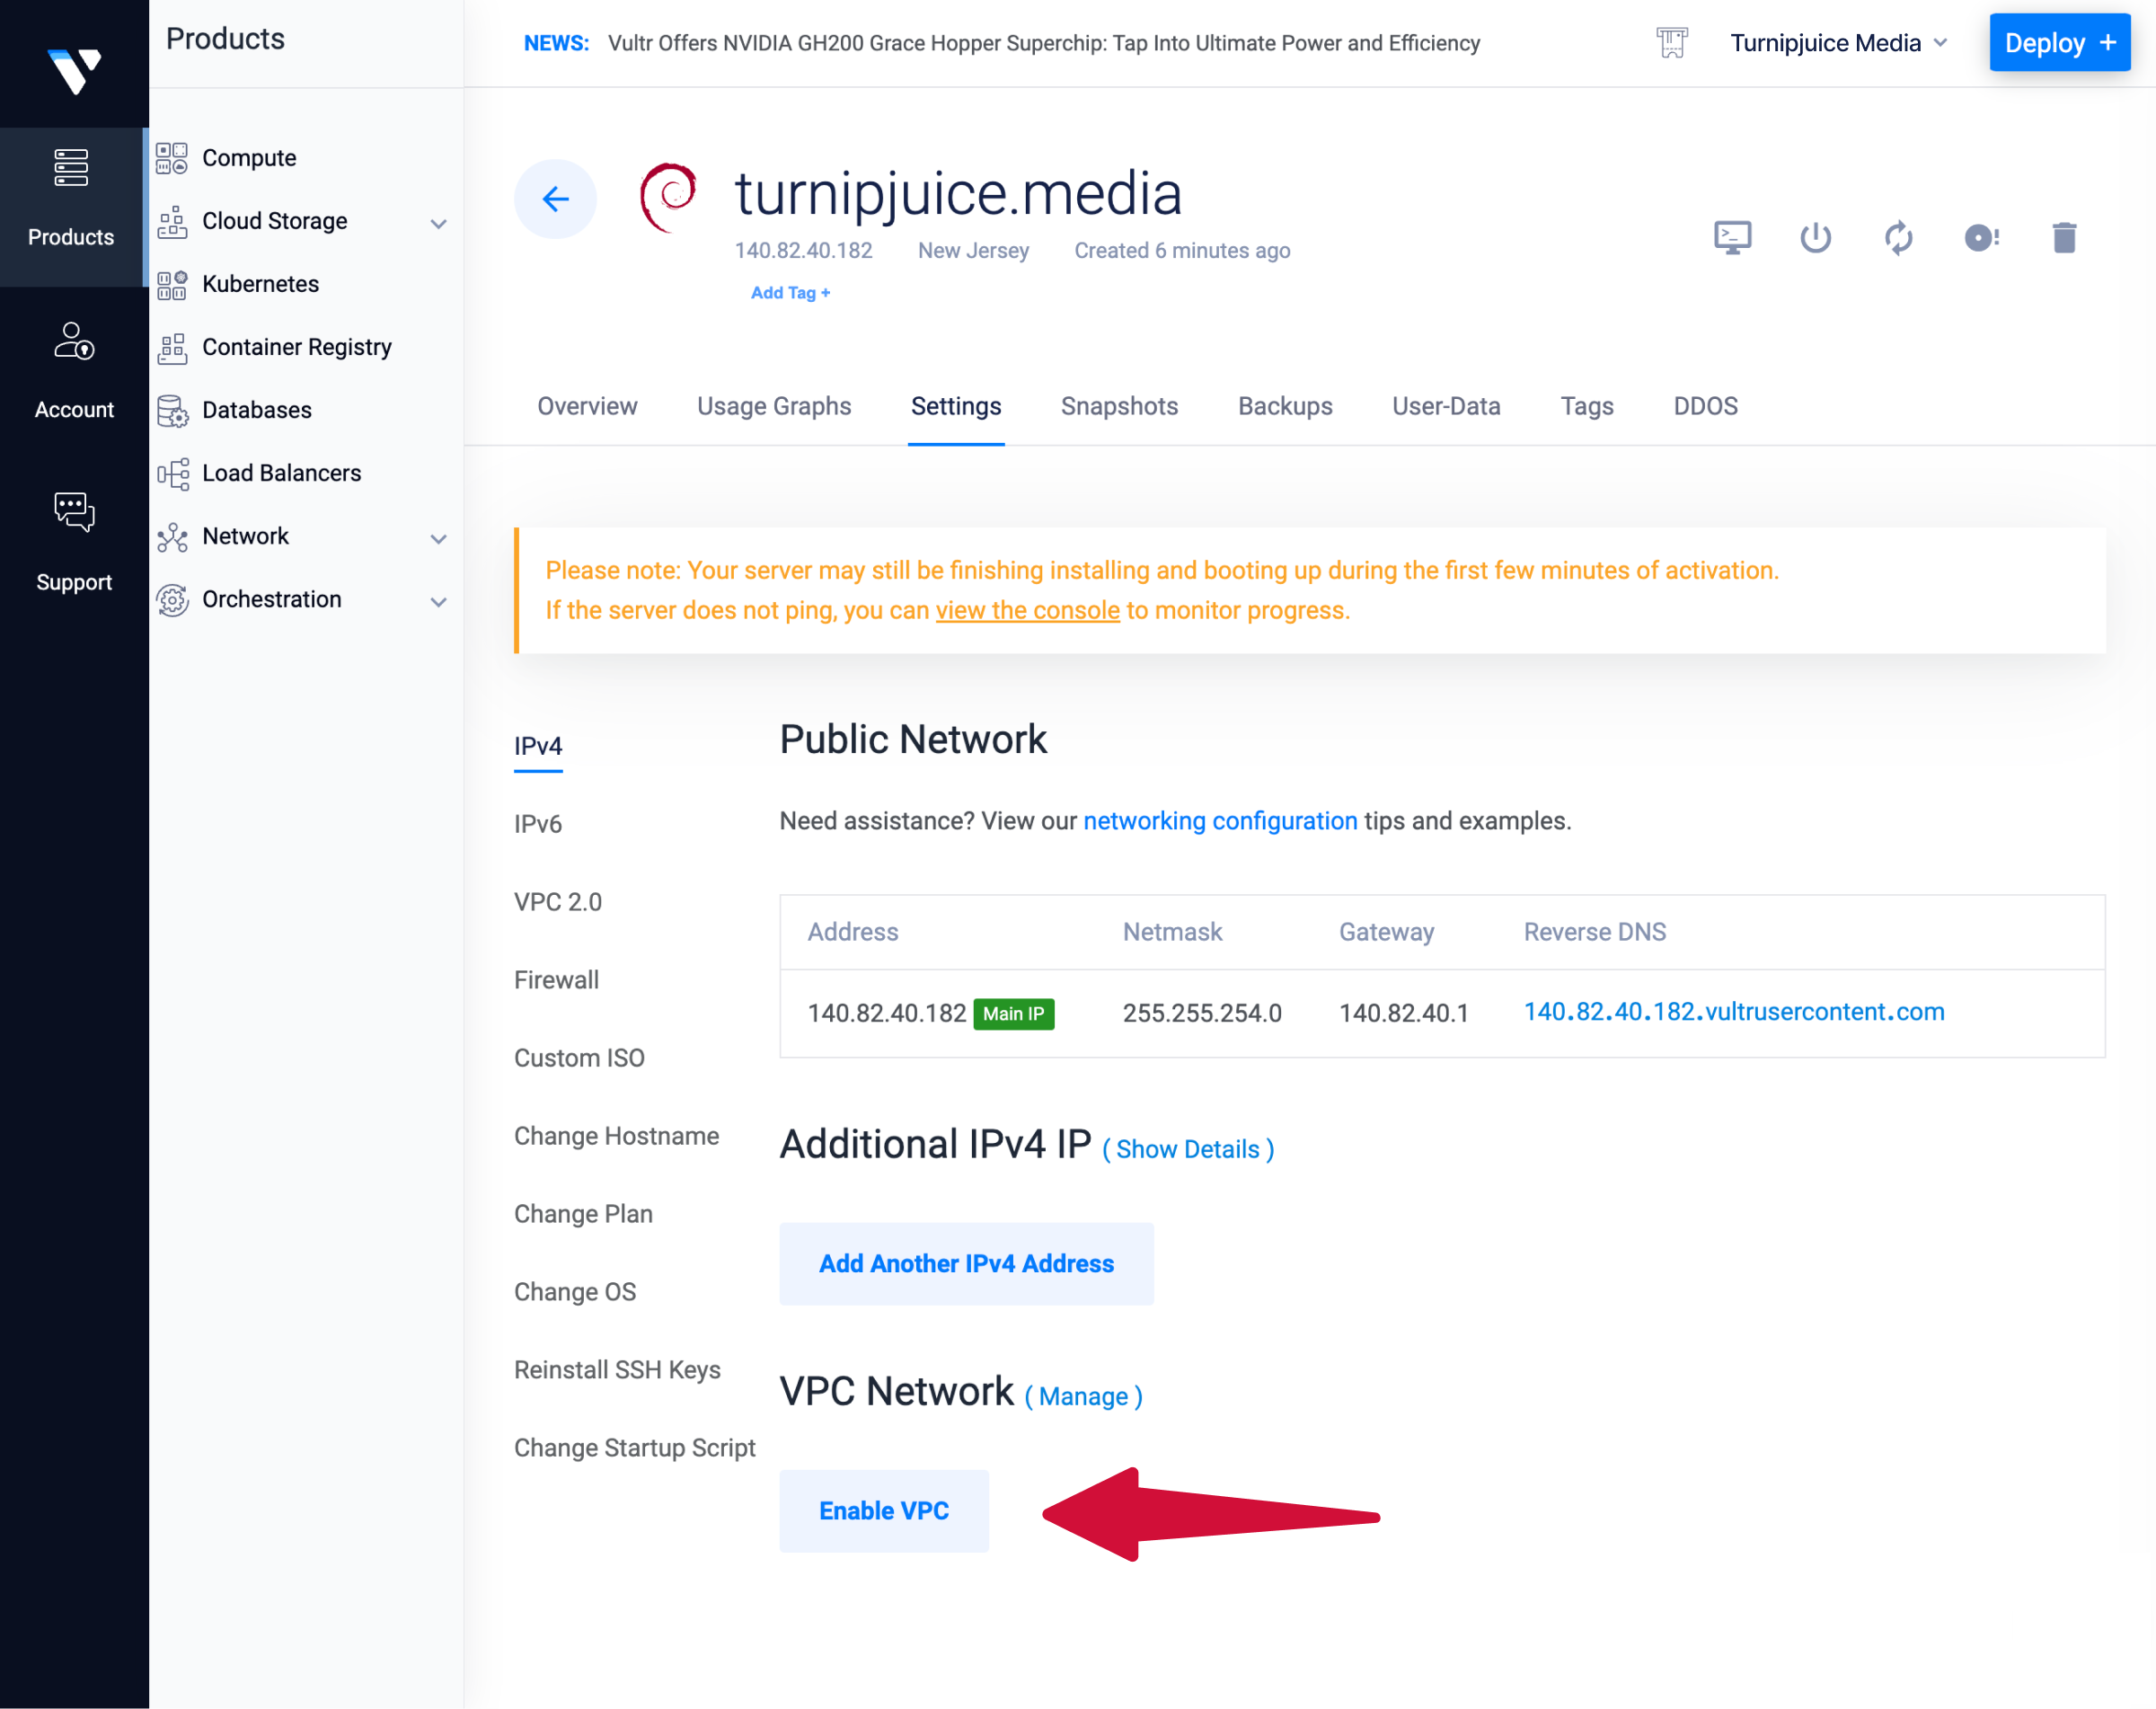
Once this completes processing, it will be added to the first VPC for the location with an option to switch to any others. If the VPC is not in the list, ensure that the database and webserver are in the same location.
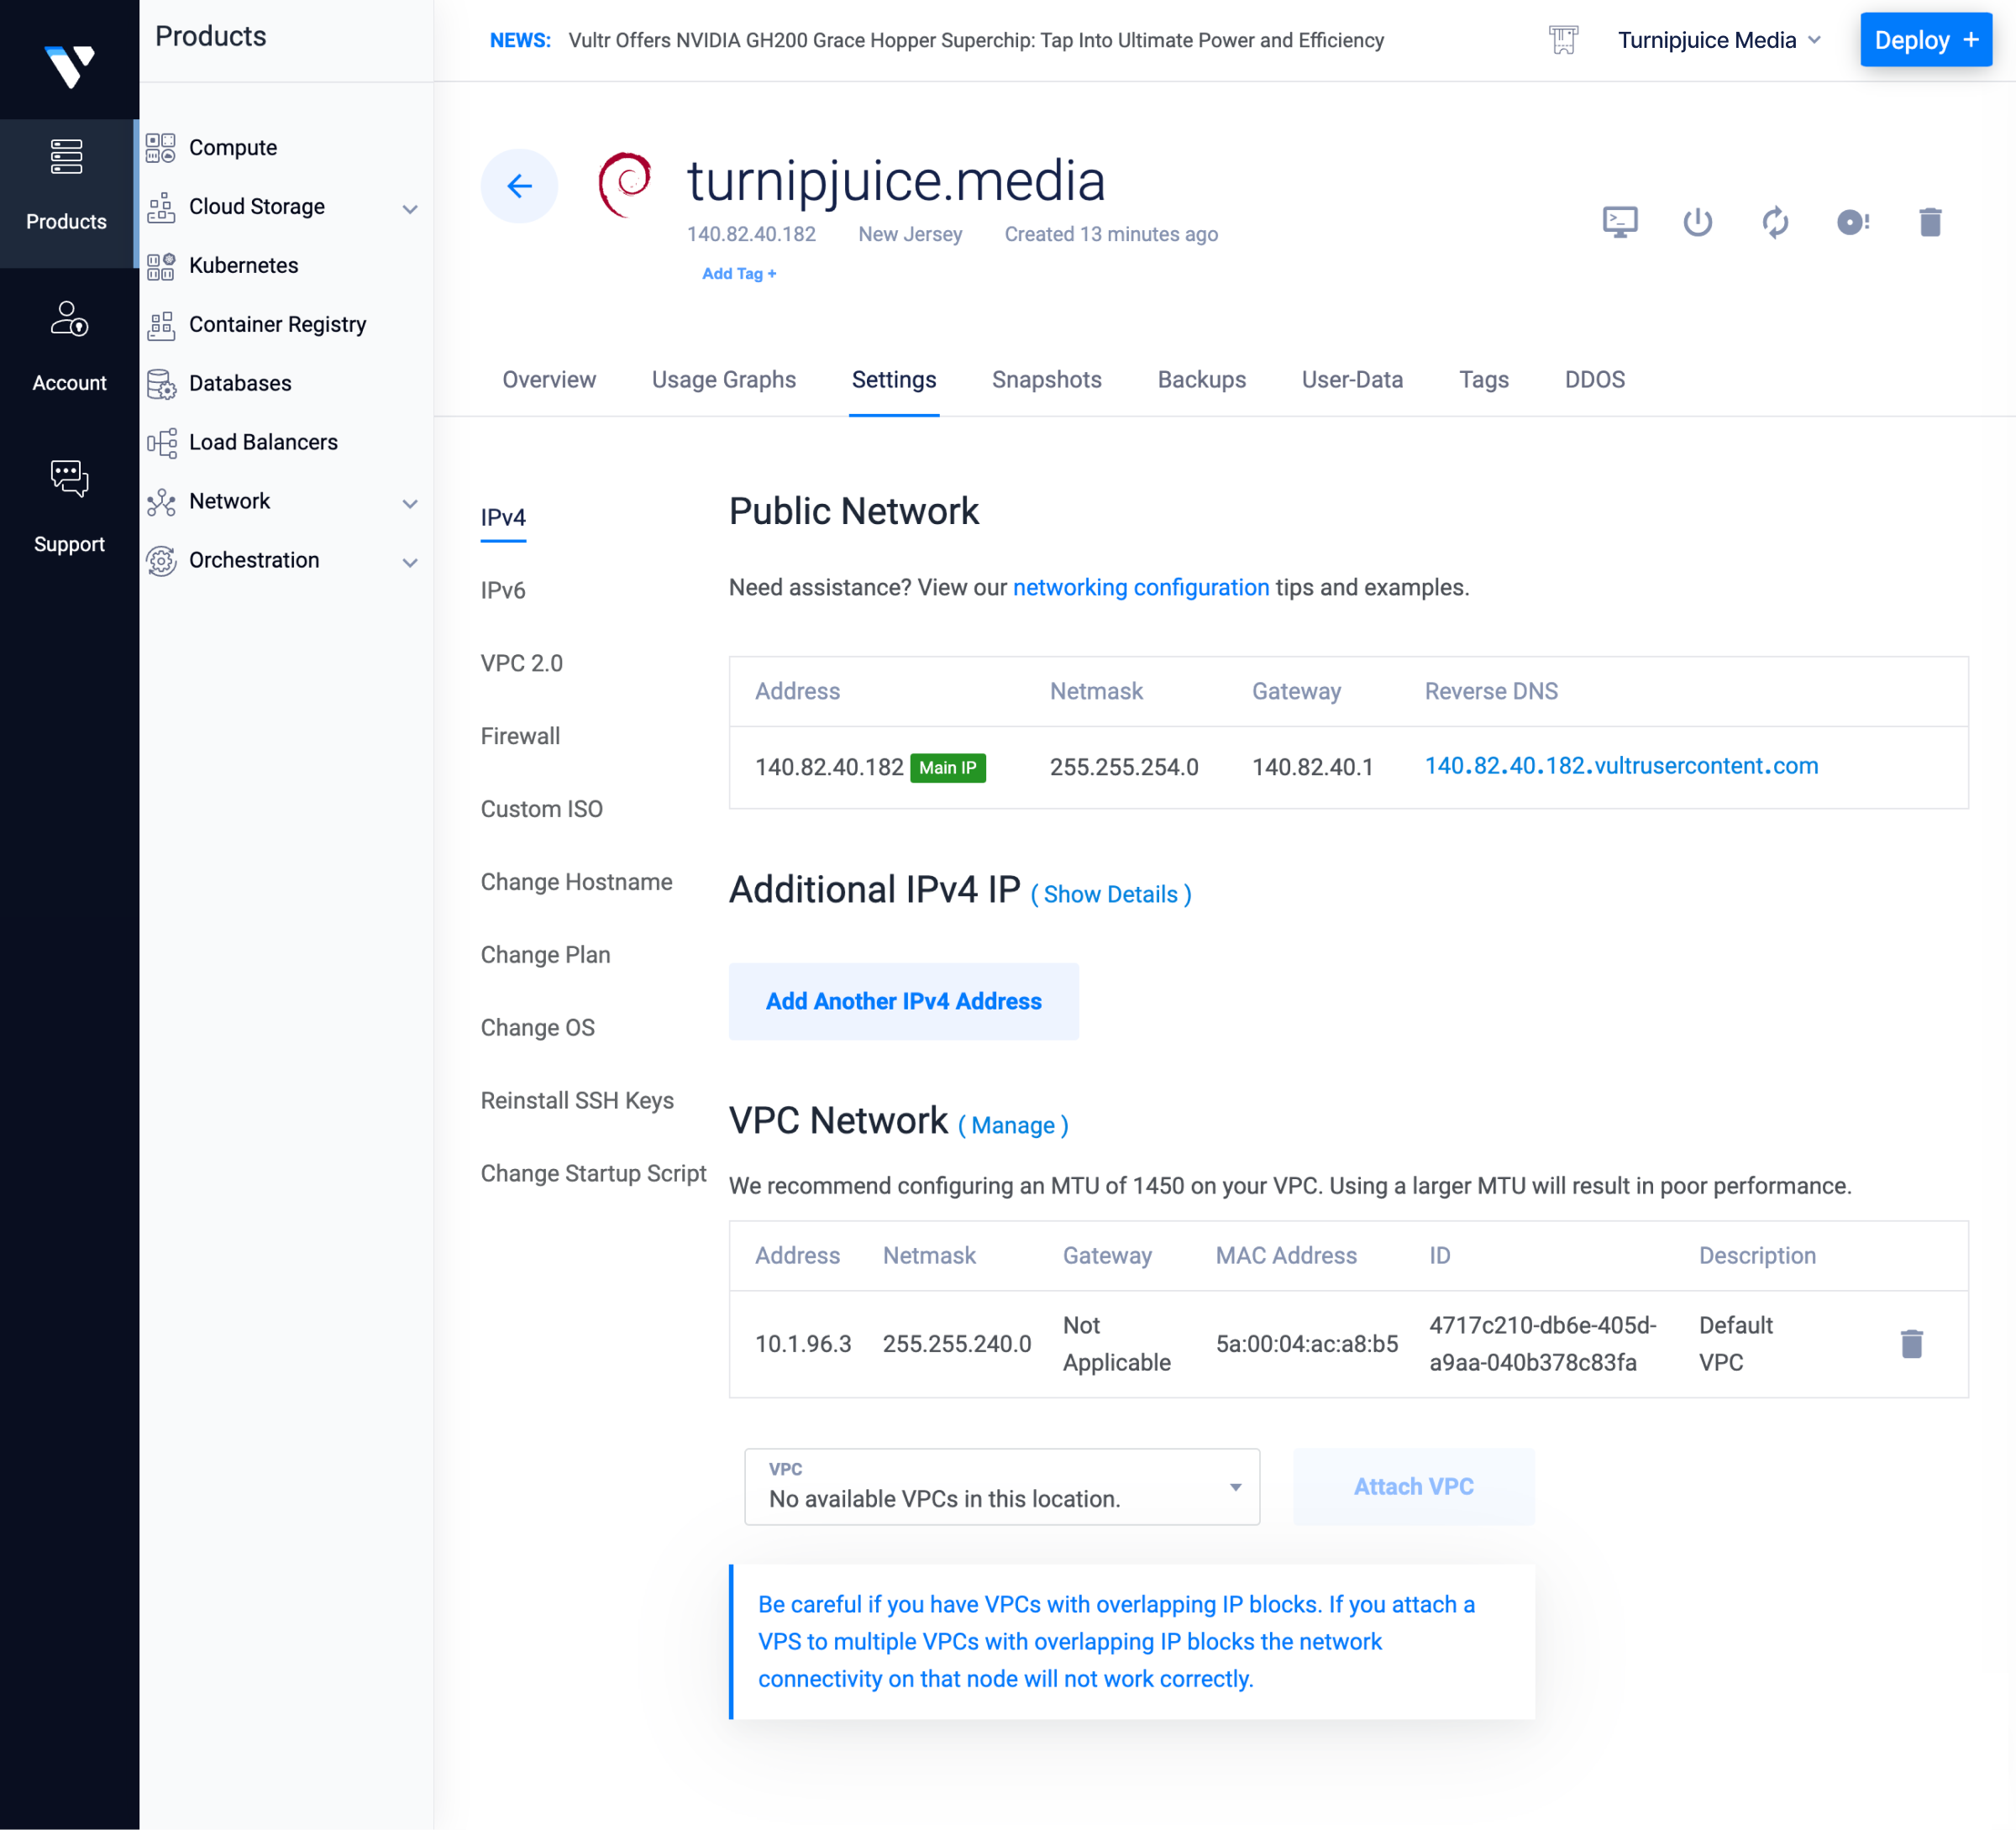
Once the VPC has access to the new database server on the VPC Network, it can communicate with it more directly, efficiently, and securely. You should be able to interact with the server as normal from the SpinupWP dashboard.