In the previous chapter, I walked you through WordPress caching. In this chapter I will demonstrate how to configure WordPress cron and set up outgoing email.
Cron
WordPress has built-in support for task scheduling, which allows certain processes to be performed in the background at designated times. Out-of-the-box WordPress performs the following scheduled tasks:
- Automatic updates which are pushed out by the WordPress core team to fix security vulnerabilities
- Check WordPress is running the latest stable release
- Check for plugin updates
- Check for theme updates
- Publish any scheduled posts for future release
However, the cron system built-into WordPress isn’t the most performant or precise on its own. Scheduled tasks in WordPress are triggered during the lifecycle of a page request, therefore if your WordPress site doesn’t receive any visits for a period of time, no cron event will be triggered during this time.
This is especially true of sites that use page caching, such as Nginx FastCGI cache introduced in the previous chapter. With page caching enabled, WordPress is no longer processing each page request if the page cache is hit. This means that cron will not fire until the page cache expires. If you have configured the cache to expire after 60 minutes this may not be an issue, however, if you are caching for longer periods of time this may be problematic.
Using page requests to execute the cron is also problematic on sites without page caching that receive a lot of traffic. Checking if the cron needs to be executed on every page request is hard on server resources and several simultaneous requests could cause the cron to execute multiple times.
To overcome these issues cron should be configured using the operating system daemon (background process), available on Linux and all Unix-based systems. Because cron runs as a daemon it will run based on the server’s system time and no longer requires a user to visit the WordPress site.
Before configuring cron it’s recommended that you disable WordPress from automatically handling cron. Add the following line to your wp-config.php file:
define('DISABLE_WP_CRON', true);
Introducing Crontab
Scheduled tasks on a server are added to a text file called crontab and each line within the file represents one cron event. If you’re hosting multiple sites on your server, you will need one cron job per site and should consider staggering the execution of many cron jobs to avoid running them all at the same time and overwhelming your CPU.
Begin by connecting to your server.
ssh [email protected]
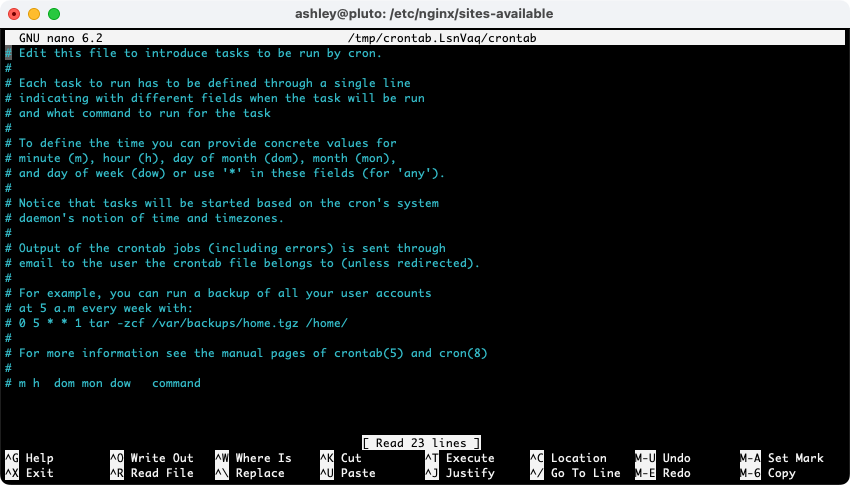
Open the crontab using the following command. If this is the first time you have opened the crontab, you may be asked to select an editor. Nano is usually the easiest.
crontab -e
I’m not going to go into detail on the crontab syntax, but adding the following to the end of the file will trigger WordPress cron every 5 minutes. Remember to update the file path to point to your WordPress installation and to repeat the entry for each site.
*/5 * * * * cd /home/abe/globex.turnipjuice.media/public; /usr/local/bin/wp cron event run --due-now --quiet
Some articles suggest using wget or curl for triggering cron, but using WP-CLI is recommended. Both wget and cURL make requests through Nginx and are subject to the same timeout limits as web requests. However, you may want your new cron jobs to run for longer periods of time. There is no timeout limit when running WordPress cron via WP-CLI, it will execute until complete.
The --quiet flag ensures that no emails are sent to the Unix user account initiating the WordPress cron job scheduler.
Save the file by hitting CTRL + X followed by Y.
Cron is now configured using the Unix system cron tool. We’ll check that it’s running correctly later on.
Email servers are notoriously difficult to set up. Not only do you need to ensure that emails successfully hit recipient inboxes, but you also have to consider how you’ll handle spam and viruses (sent as email attachments). Installing the required software to run your own mail server can also eat up valuable system resources and potentially open up your server to more security vulnerabilities. This DigitalOcean article discusses in more detail why you may not want to host your own mail server.
I do not recommend that you configure your server to handle email and instead use a solid service provider, such as Google Workspace. However, WordPress still needs to send outgoing emails:
- Admin notifications
- New user signups
- Password resets
- Auto update notifications
And that’s just WordPress core. Add new plugins to the mix and the volume and importance of emails sent from your site can balloon. Think WooCommerce and order receipts.
Outgoing Email
We recommend choosing a solid WordPress plugin for email sending and pair it with your favorite transactional email sending service. Look for a plugin with a sending queue that handles failures better than just adding an entry to your error log.
WP Offload SES is a good choice, as is WP Mail SMTP. If your site sends very little mail, configuring SMTP using Gmail (or whatever provider you use for email) for sending site email via SMTP isn’t a bad option.
Testing Cron and Outgoing Email
In order to test that both cron and outgoing emails are working correctly, I have written a small plugin that will send an email to the admin user every 5 minutes. This isn’t something that you’ll want to keep enabled indefinitely, so once you have established that everything is working correctly, remember to disable the plugin!
Create a new file called cron-test.php within your plugins directory, with the following code:
<?php
/**
 * Plugin Name: Cron & Email Test
 * Plugin URI: https://spinupwp.com/hosting-wordpress-yourself-cron-email-automatic-backups/
 * Description: WordPress cron and email test.
 * Author: SpinupWP
 * Version: 1.0
 * Author URI: http://spinupwp.com
 */

/**
 * Schedules
 *
 * @param array $schedules
 *
 * @return array
 */
function db_crontest_schedules( $schedules ) {
    $schedules['five_minutes'] = array(
        'interval' => 300,
        'display'  => 'Once Every 5 Minutes',
    );

    return $schedules;
}
add_filter( 'cron_schedules', 'db_crontest_schedules', 10, 1 );

/**
 * Activate
 */
function db_crontest_activate() {
    if ( ! wp_next_scheduled( 'db_crontest' ) ) {
        wp_schedule_event( time(), 'five_minutes', 'db_crontest' );
    }
}
register_activation_hook( __FILE__, 'db_crontest_activate' );

/**
 * Deactivate
 */
function db_crontest_deactivate() {
    wp_unschedule_event( wp_next_scheduled( 'db_crontest' ), 'db_crontest' );
}
register_deactivation_hook( __FILE__, 'db_crontest_deactivate' );

/**
 * Crontest
 */
function db_crontest() {
    wp_mail( get_option( 'admin_email' ), 'Cron Test', 'All good in the hood!' );
}
add_action( 'db_crontest', 'db_crontest' );
Upon activating the plugin, you should receive an email shortly after. If not, check your crontab configuration and WP Offload SES settings.
That concludes this chapter. In the next chapter we’ll look at configuring automatic backups for your WordPress websites.


