Staging Sites
Staging sites play a crucial role in web development, offering a testing ground for new features, updates, and bug fixes before they go live. They mirror the live environment, allowing developers to review changes in a safe, controlled setting. This minimizes risks associated with direct modifications to the live site, such as downtime or user experience issues.
There is no feature labeled “Staging” in SpinupWP, rather staging sites are created and maintained by a couple of tools: Clone Site and Refresh Site. You can also configure Git Push-to-Deploy for automatic deployment to your staging sites.
Create a New Staging Site
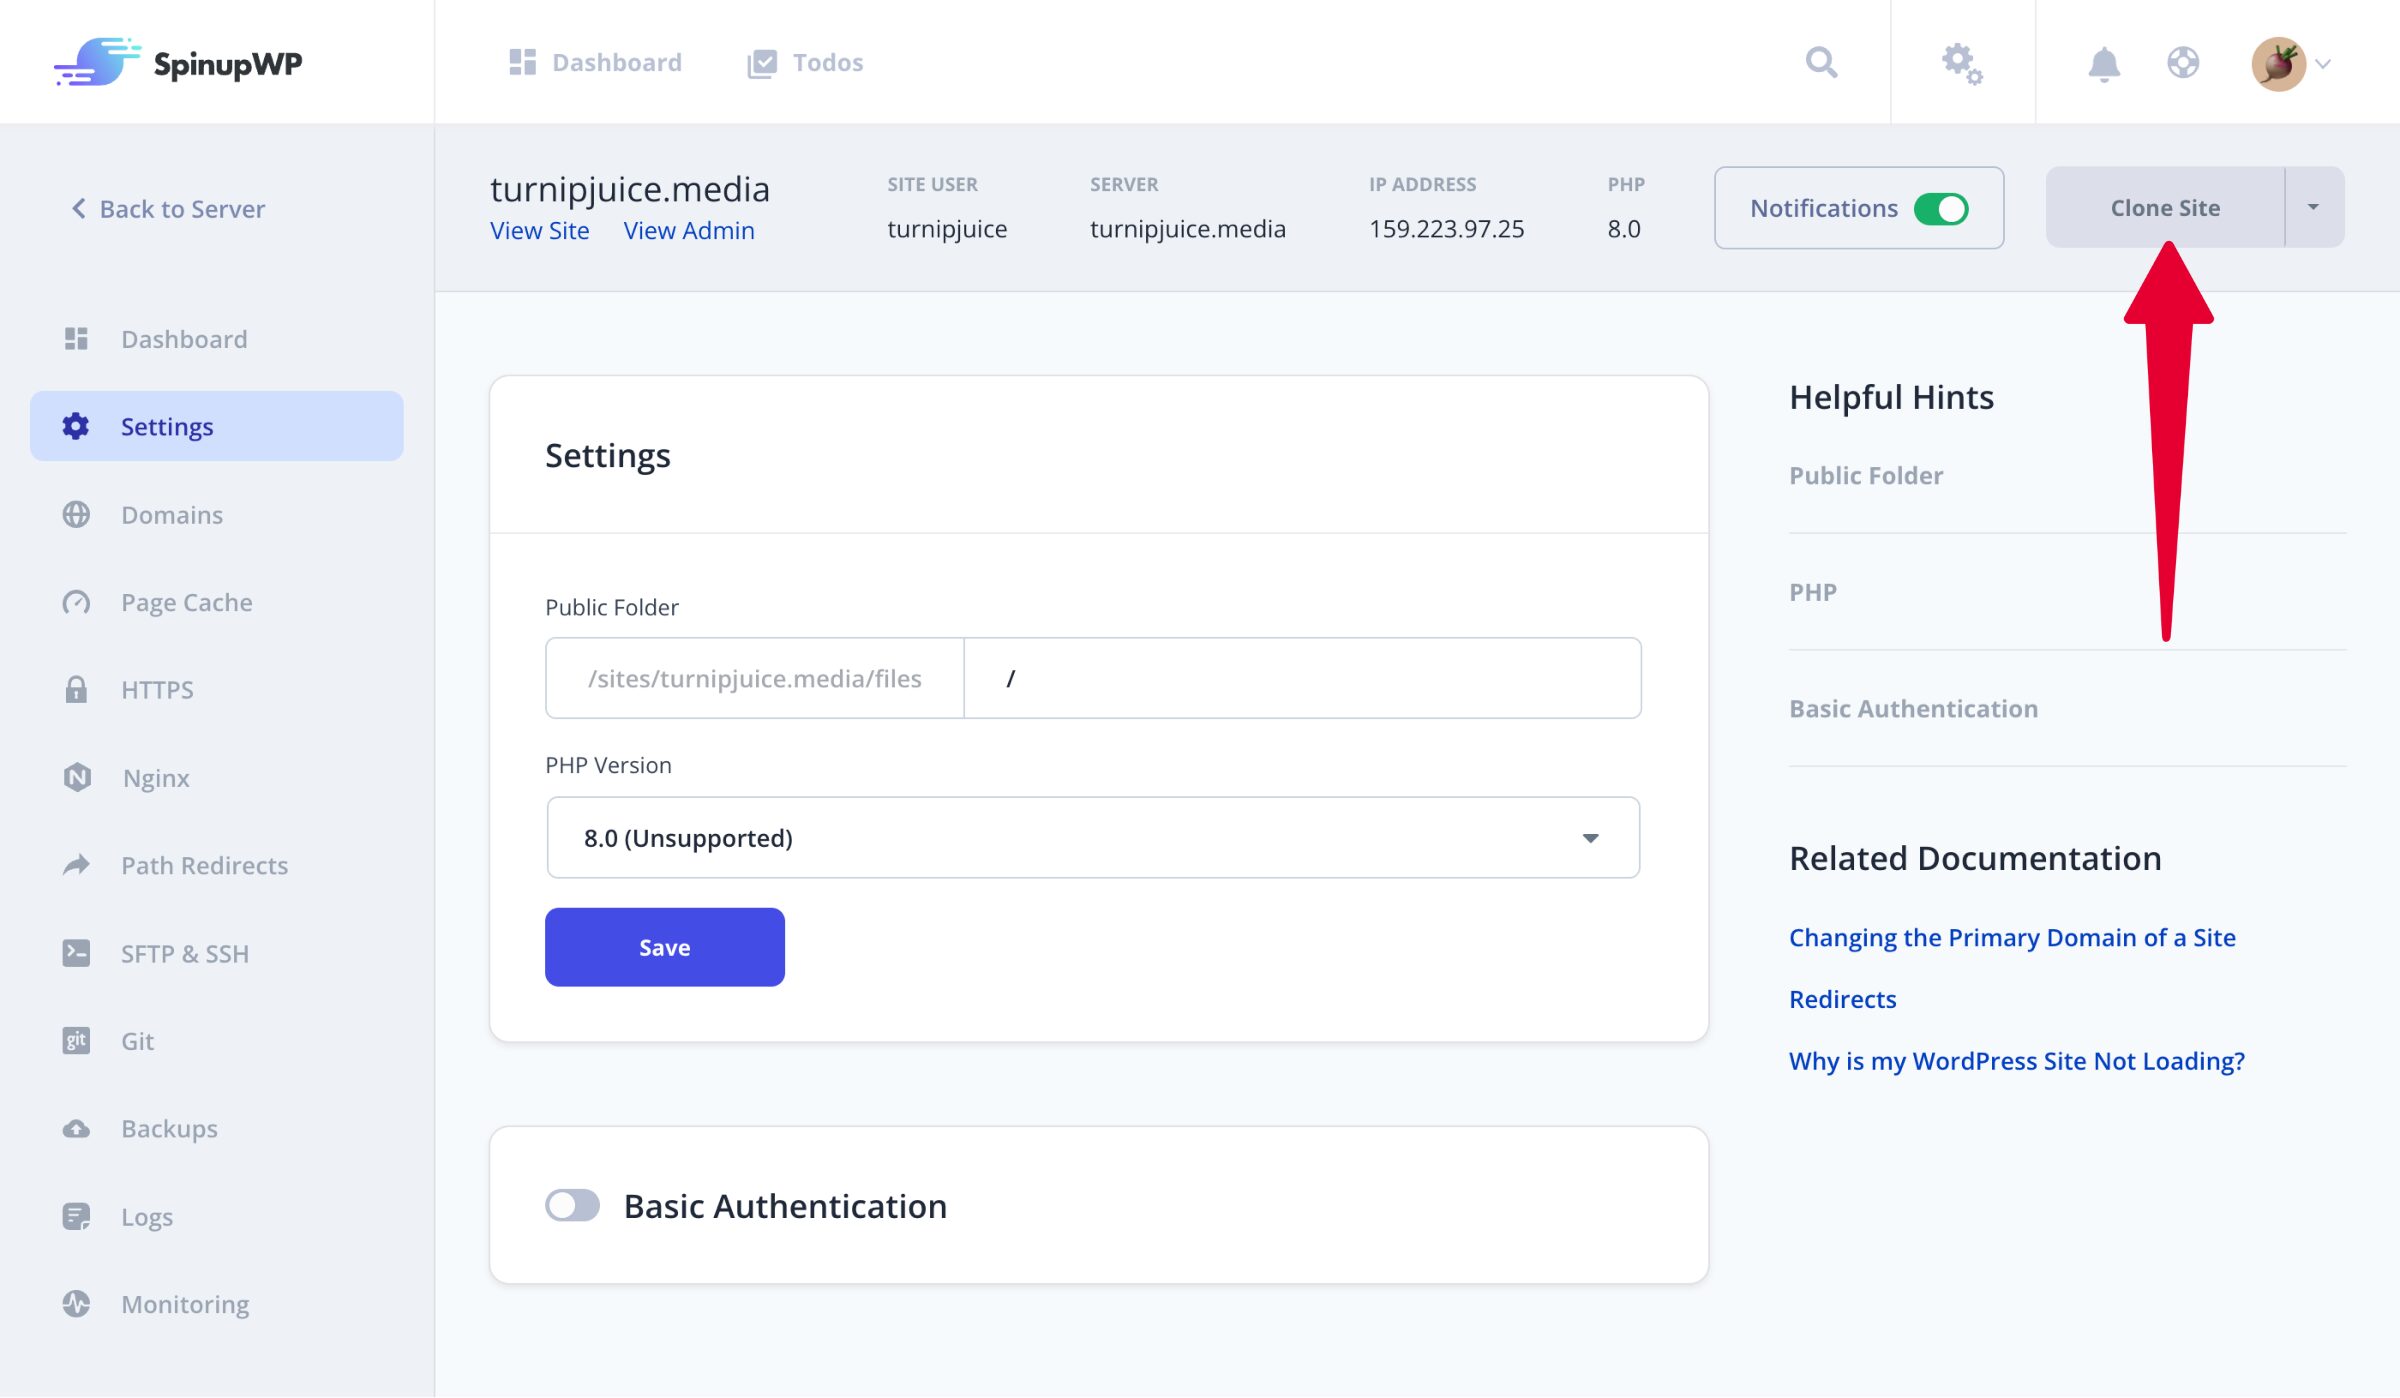
To create a new staging site from an existing site, go to the existing site in SpinupWP and select the Clone Site option from the top right menu:
Next, you can configure the new domain name, database, and site settings (PHP version, page cache, etc). For git-based sites, you can also select a new branch to use for deployment and enable push-to-deploy. If you’d like to modify the deploy script, you can do that too.
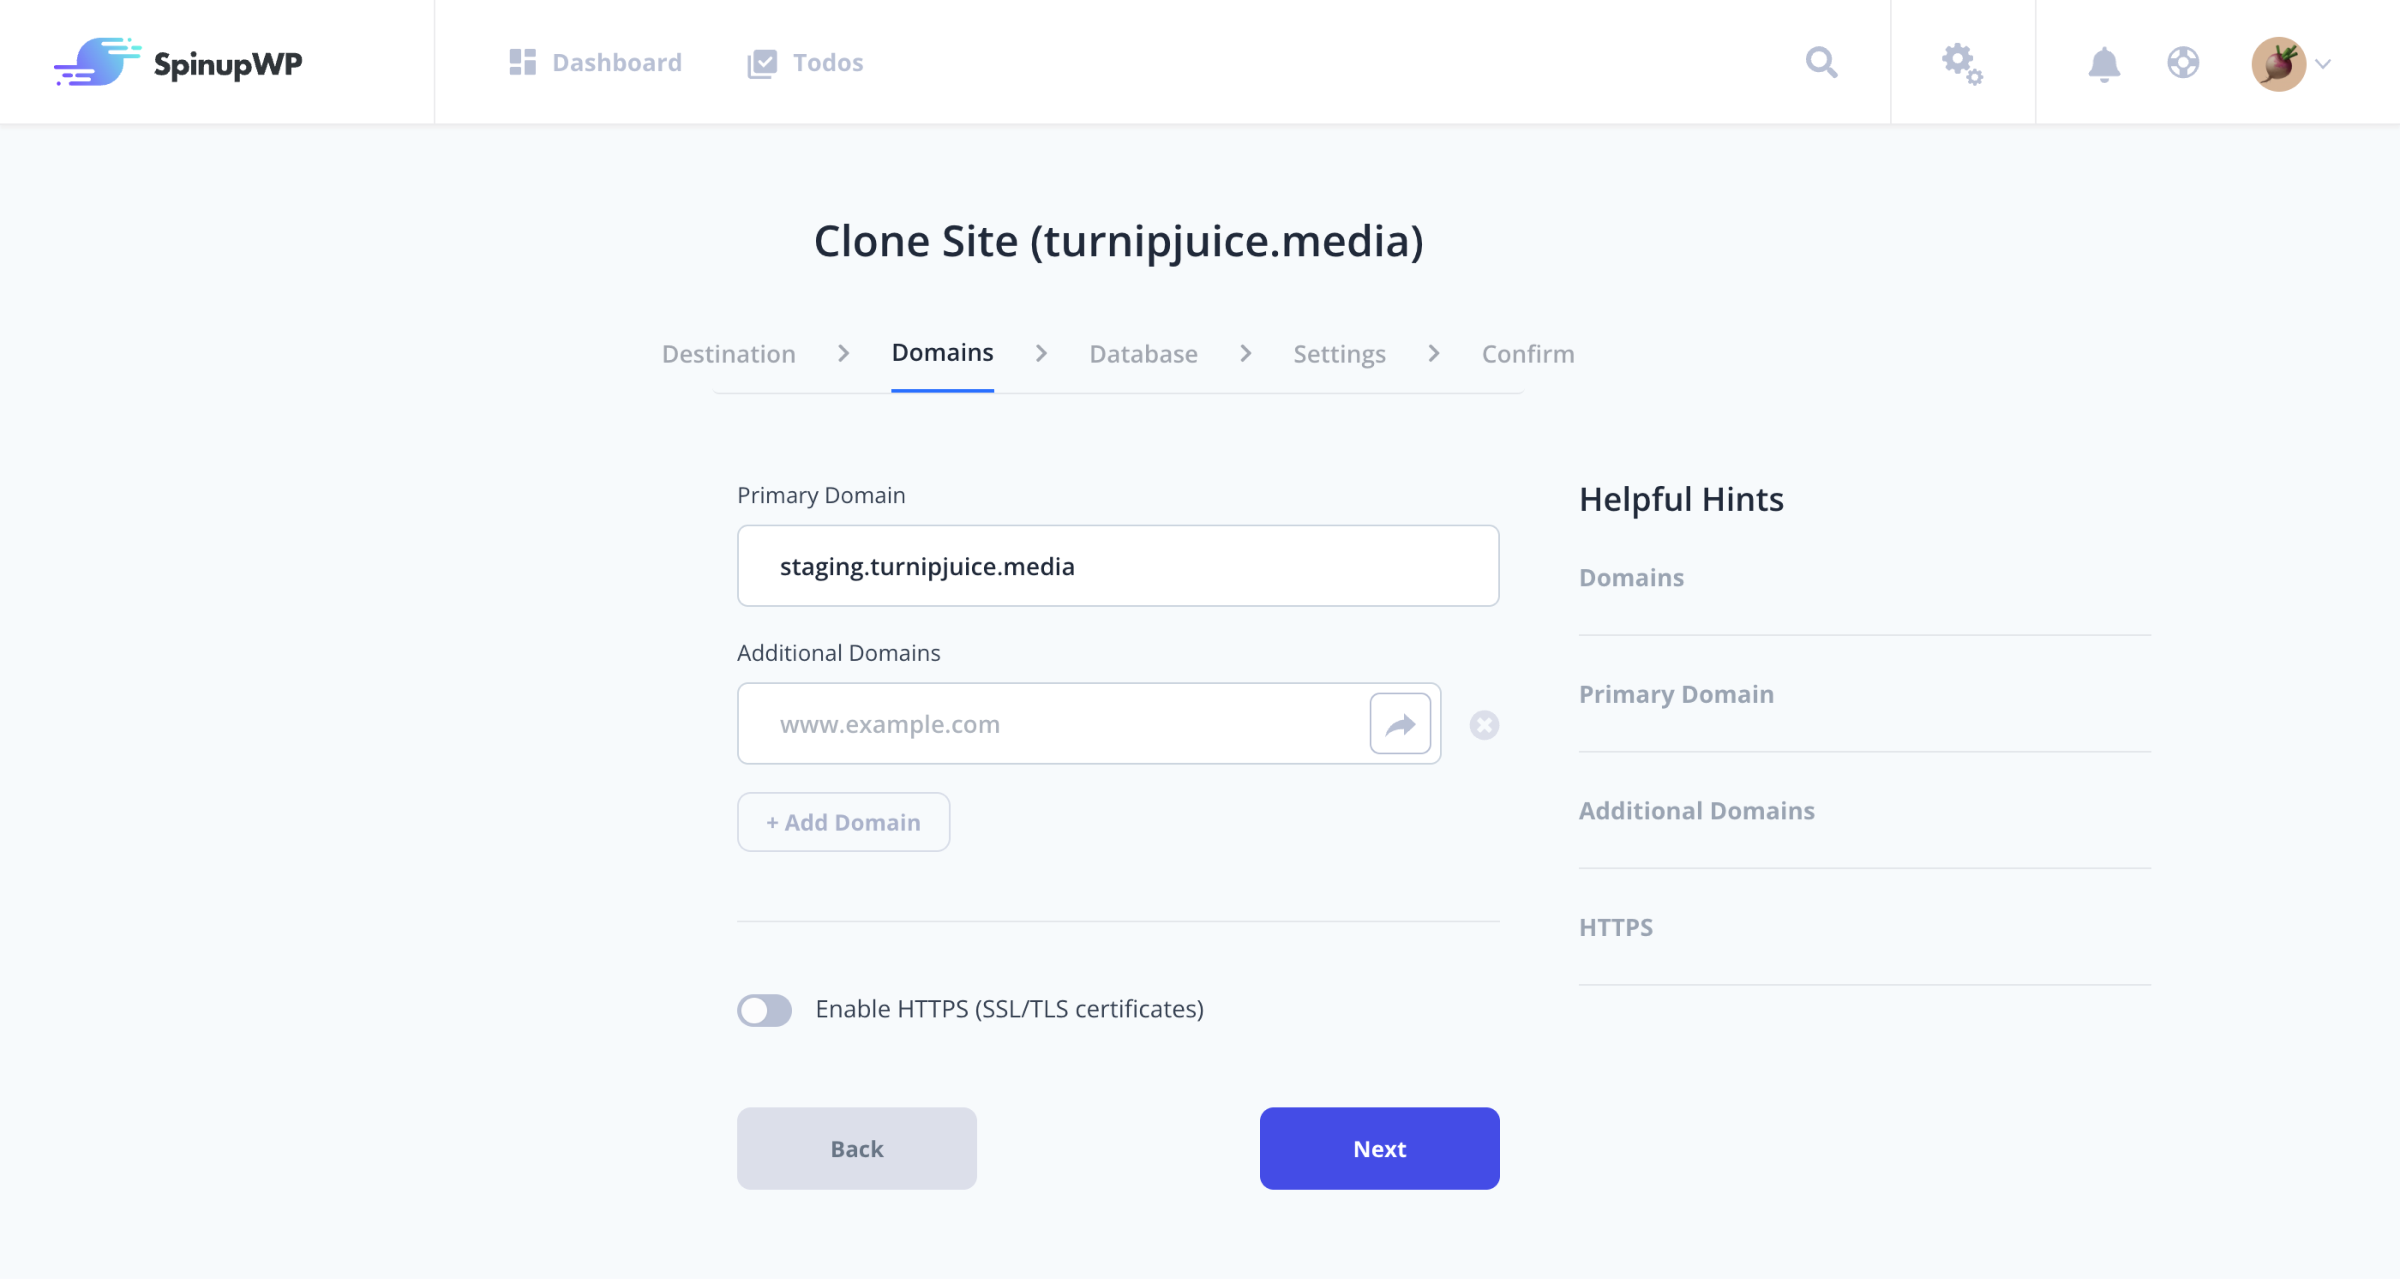
For more details, visit the Clone Site doc.
Deleting a Staging Site
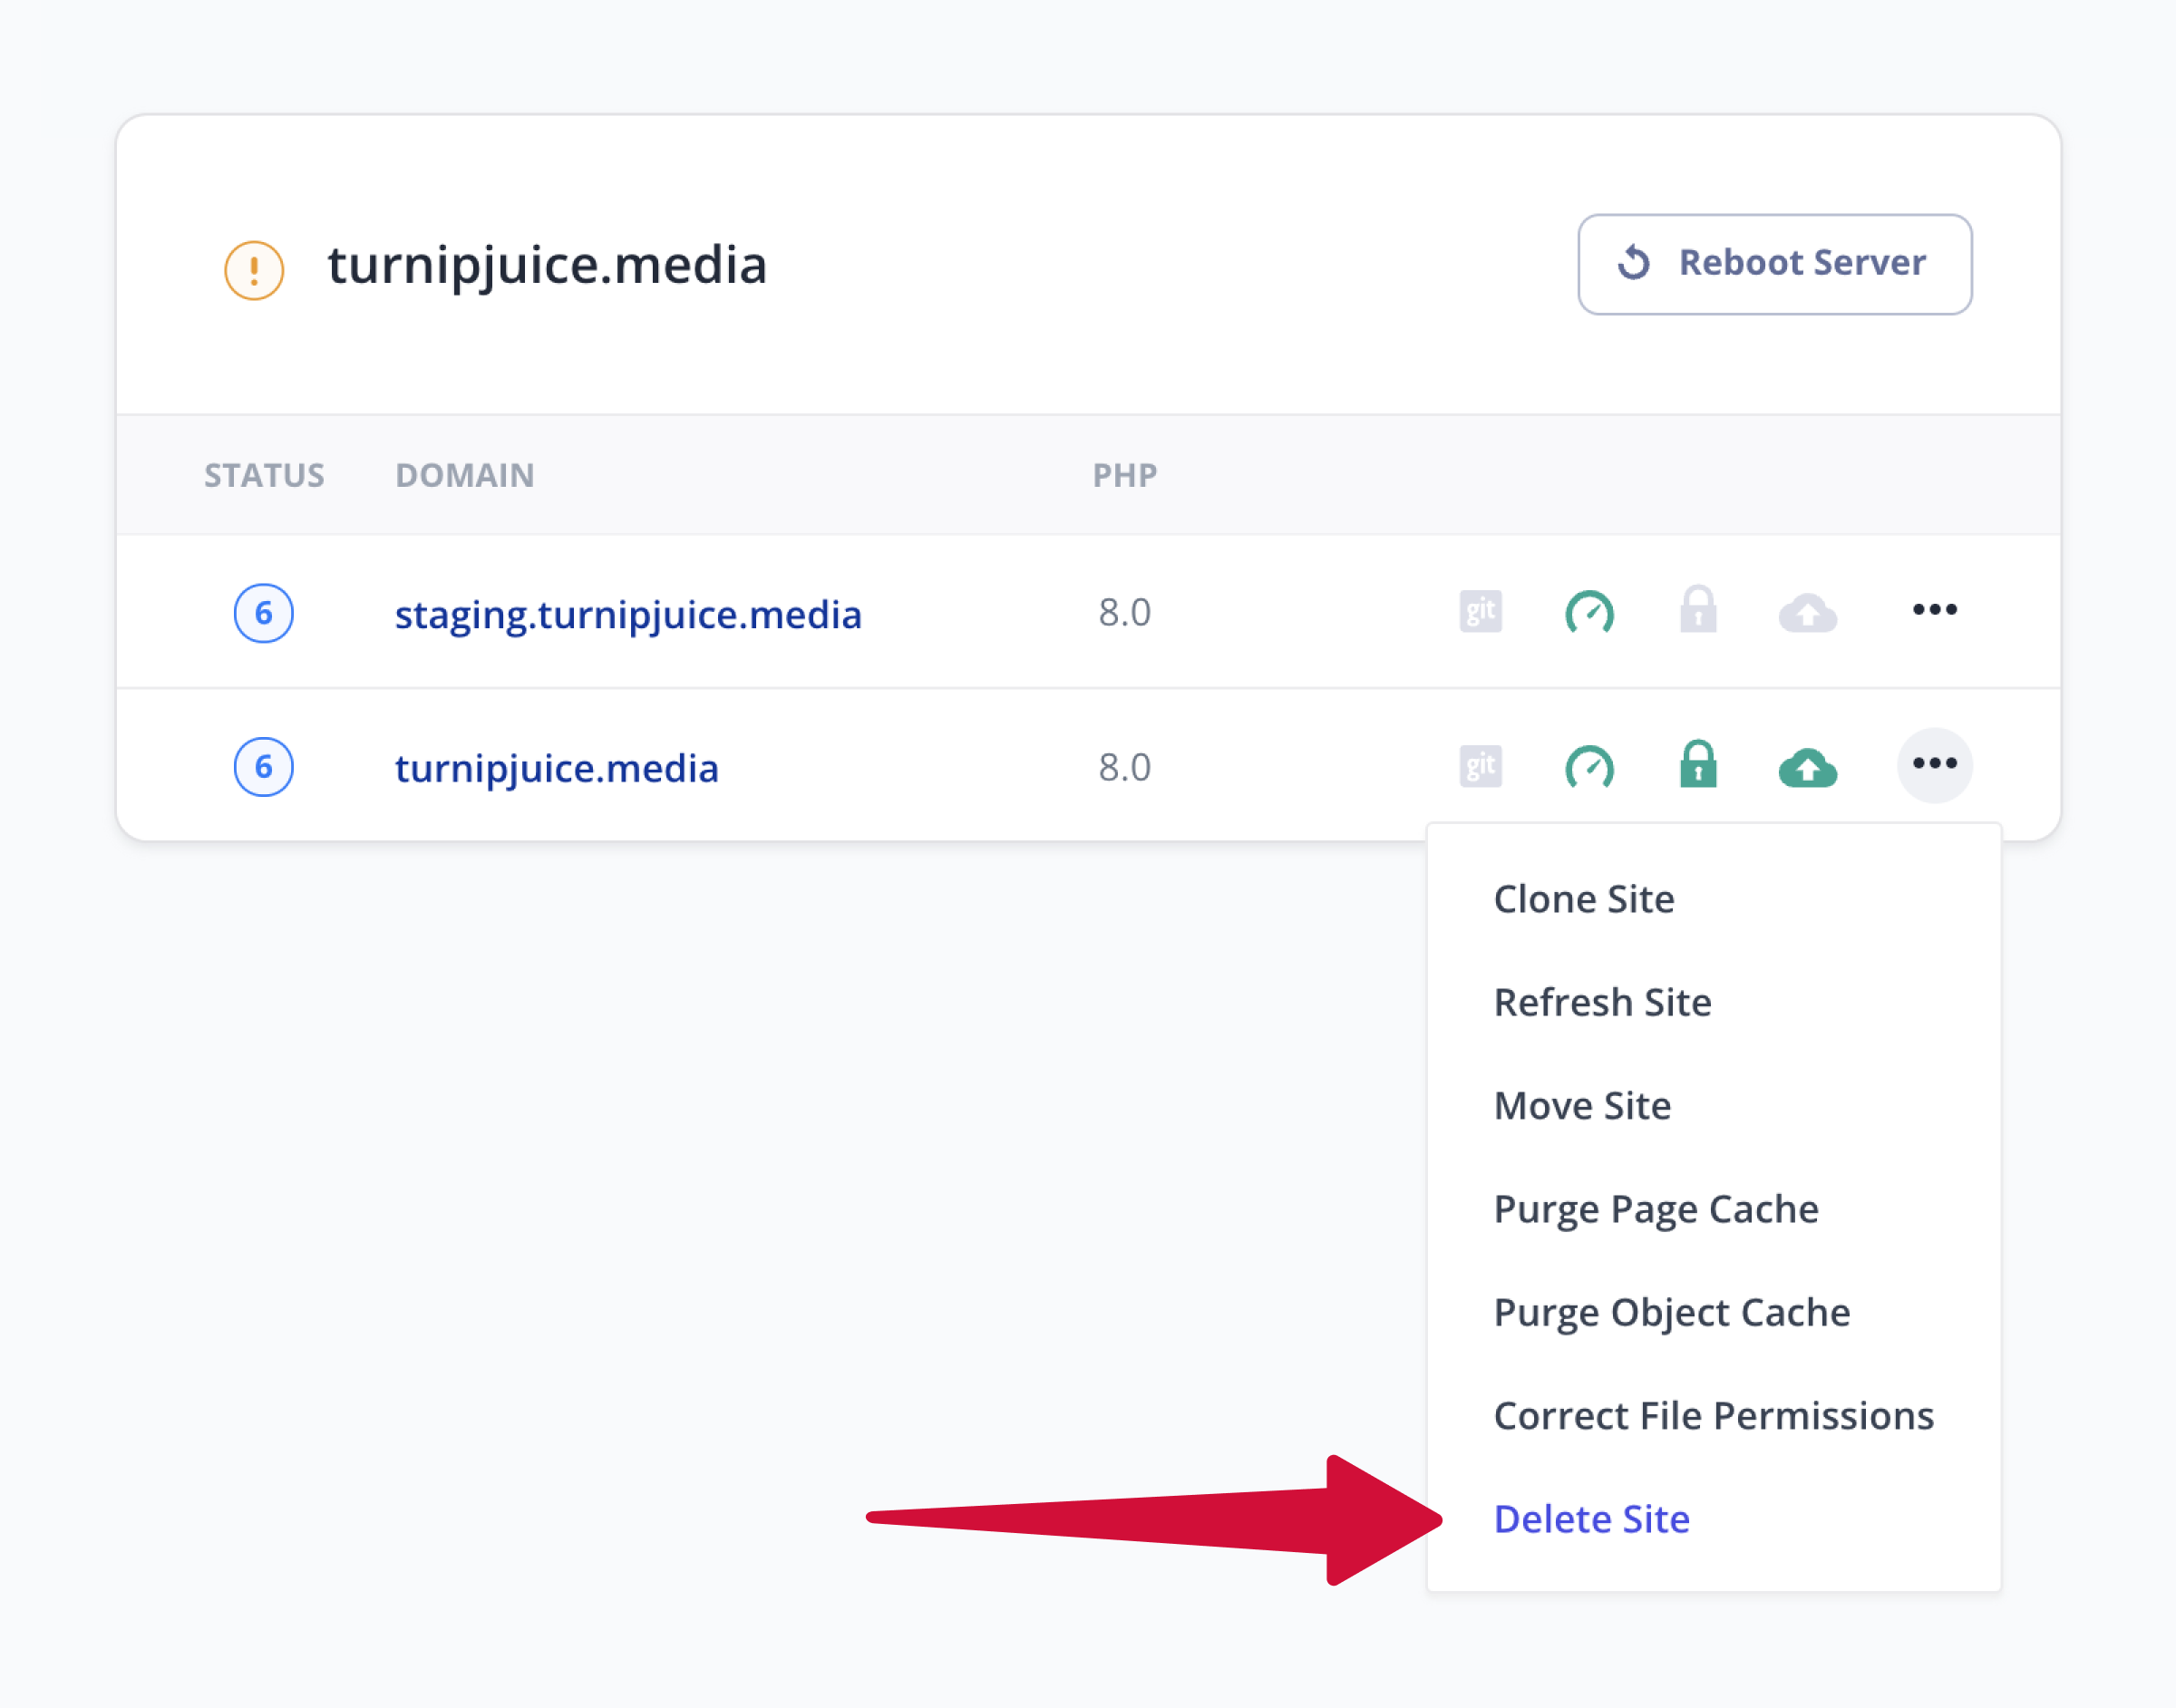
Destroying a staging site is as simple as locating the staging site in the SpinupWP dashboard and selecting Delete Site from the dot menu:
Updating an Existing Staging Site
If you’re like most developers, you’re not creating and destroying sites all the time. You create a staging site once and then update it over and over again. This is where SpinupWP’s Refresh Site tool comes in handy.
To update a staging site’s files and/or database with the latest from the production site (or any other site), locate the staging site in SpinupWP and select Refresh Site from the menu:
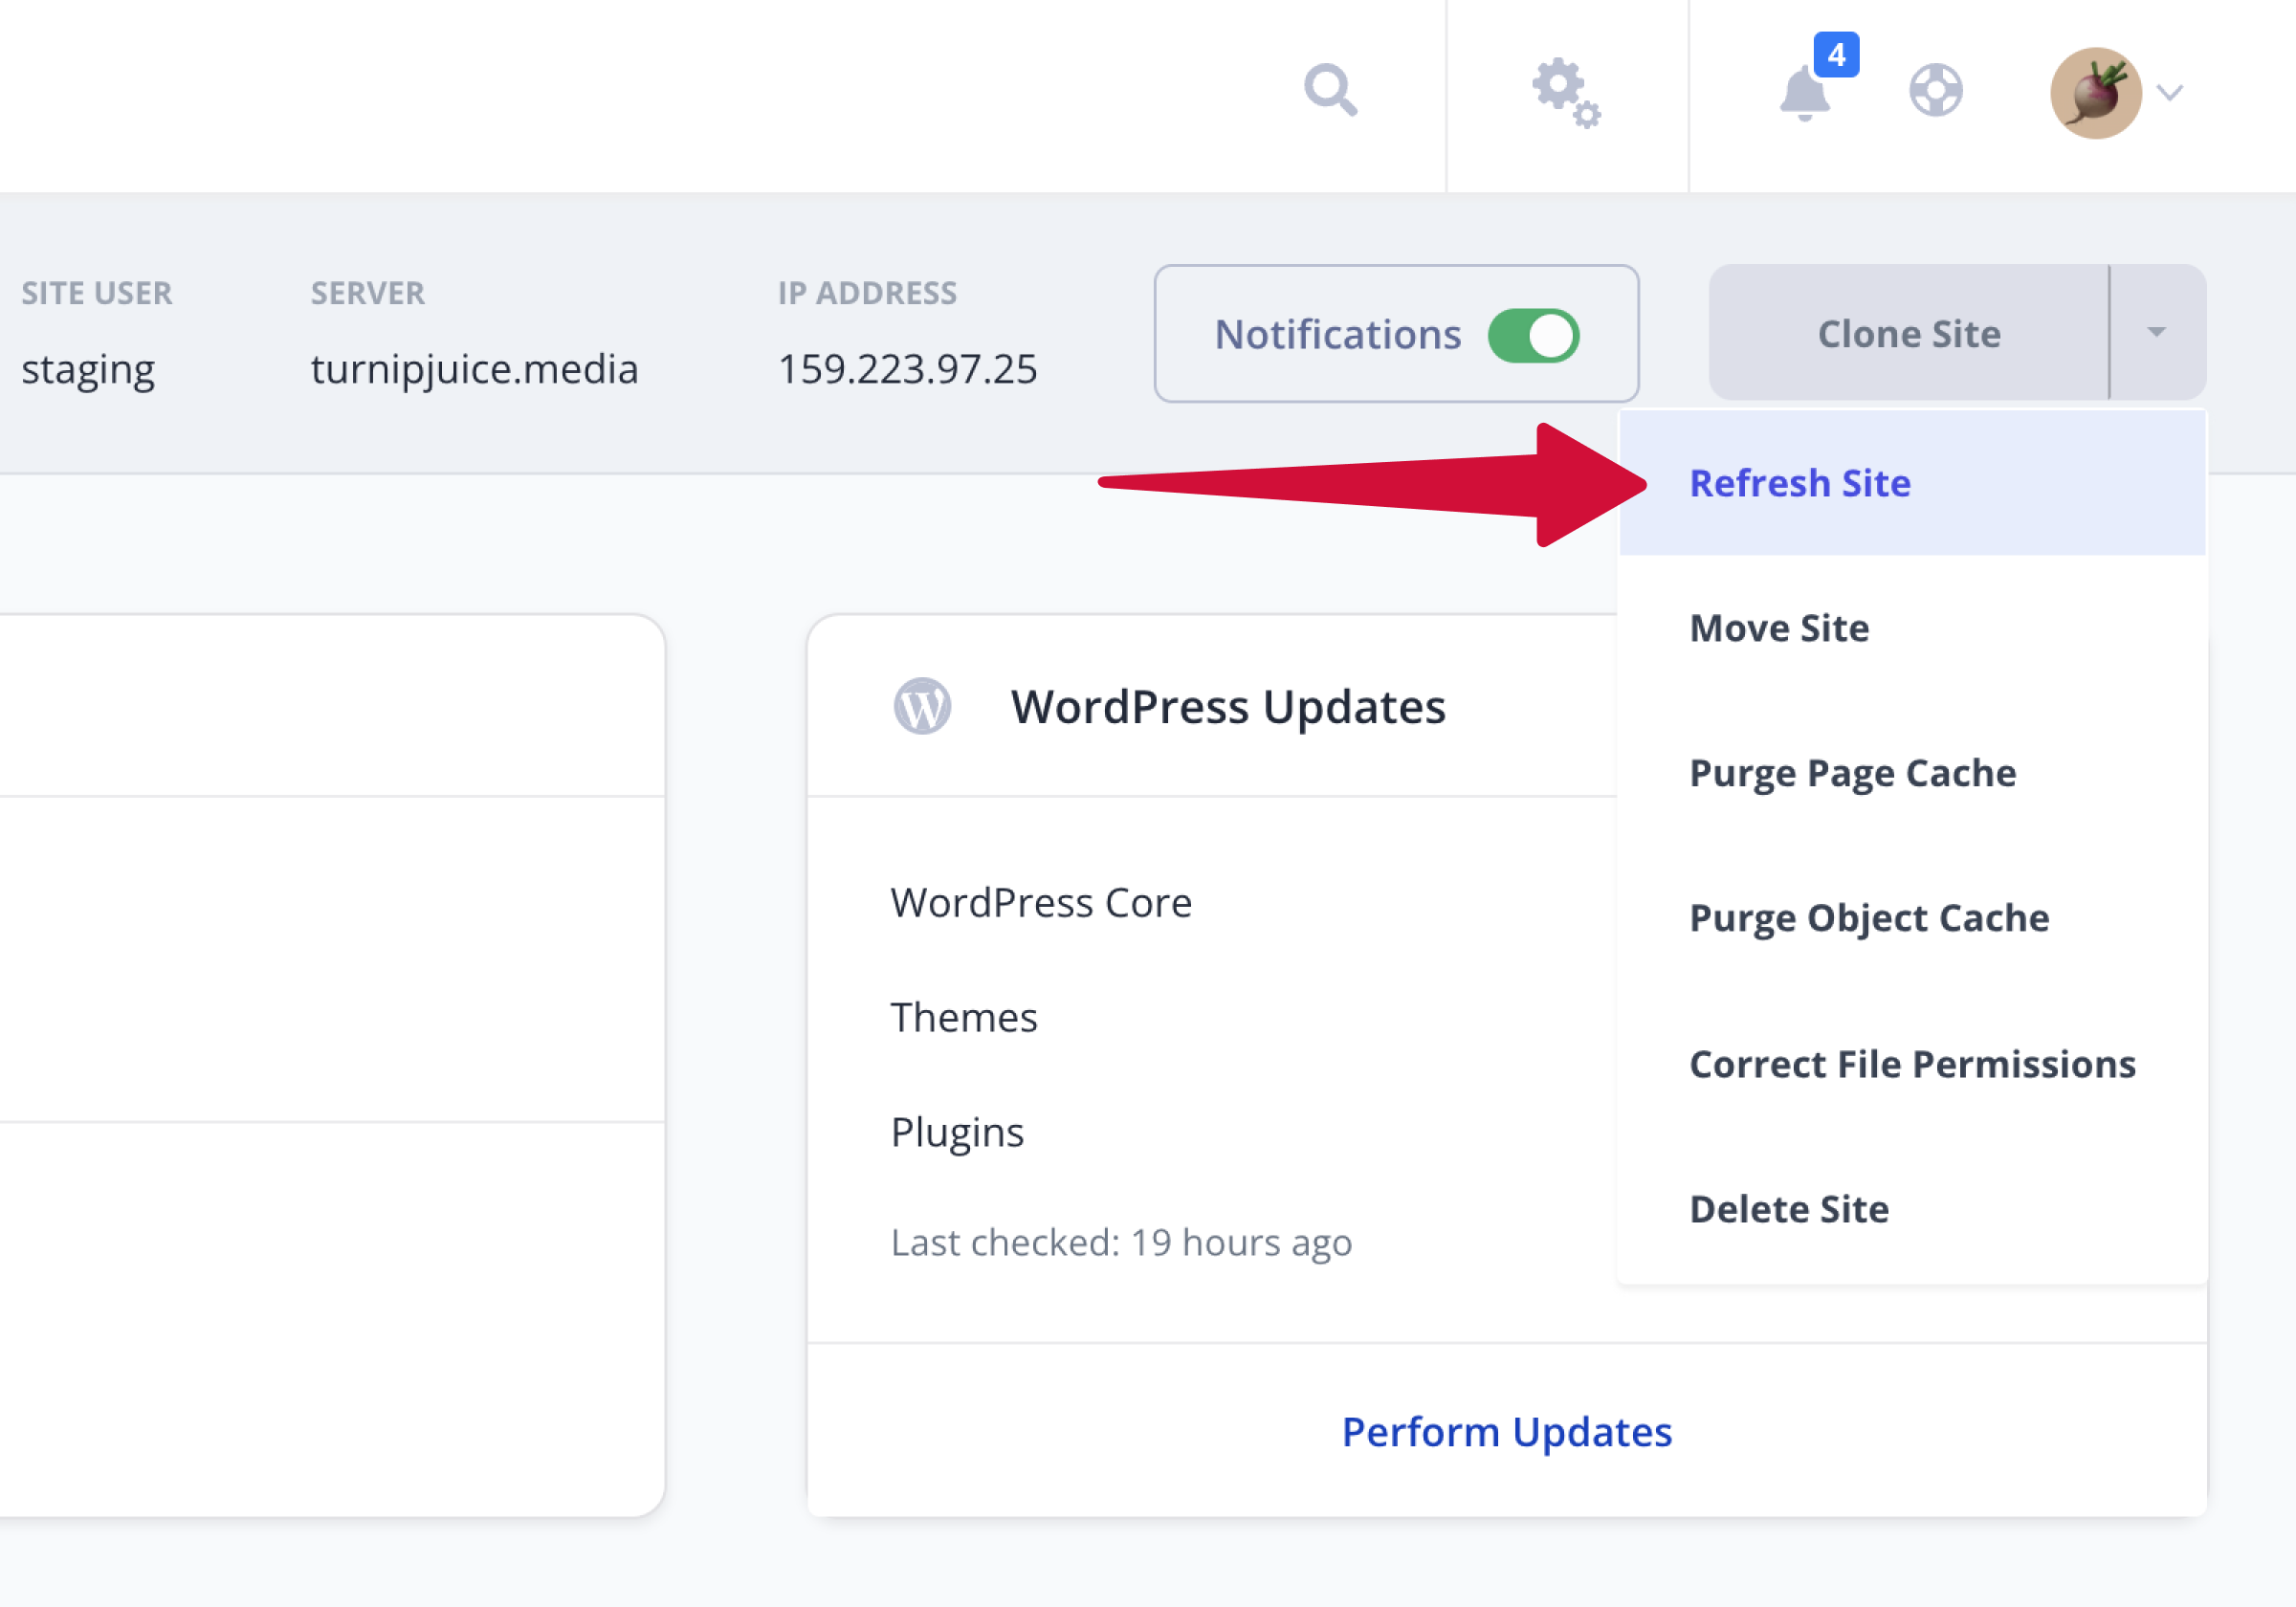
Next you choose what to update, which site to copy from, and whether to create a backup first.
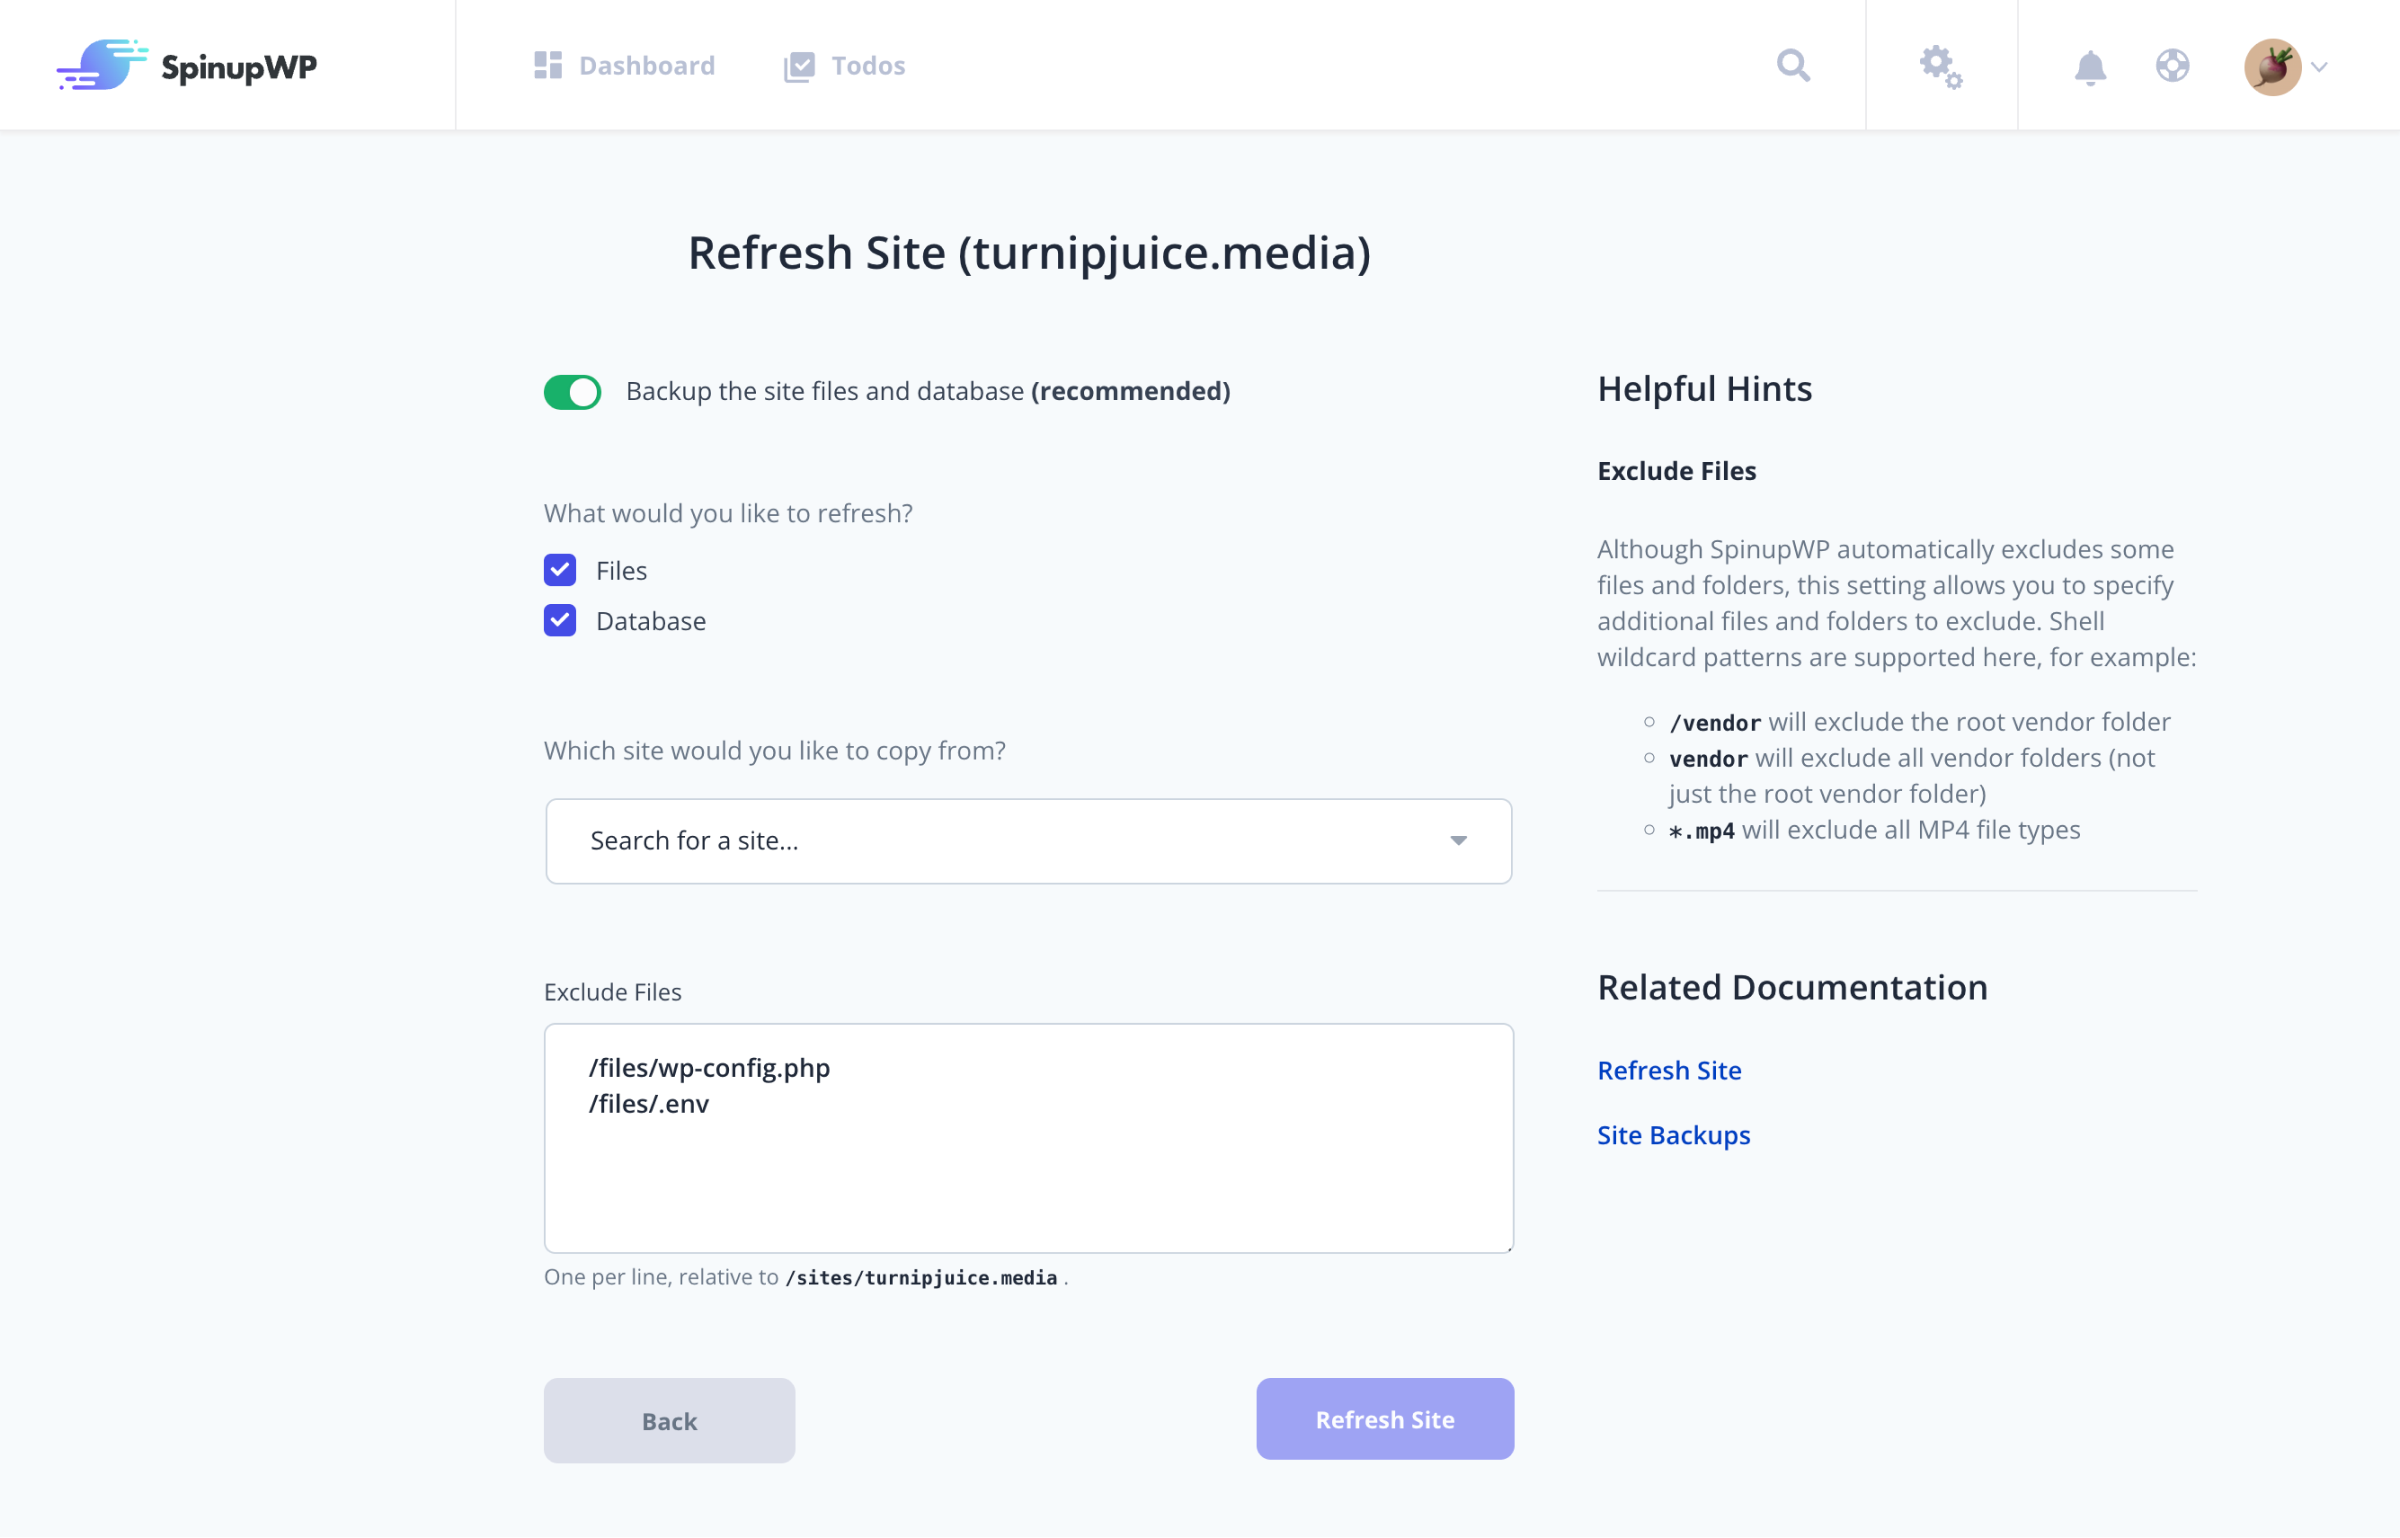
For more details, visit the Refresh Site doc.
Replacing Production with a Staging Site
If you want to replace a production site with a staging site, can’t afford hardly any downtime, and want the ultimate safest approach, you should clone the staging site to a server that doesn’t contain the production site (you can’t have two sites with the same primary domain on the same server). Now you have a clone of the staging site that you can set up as a new production site, test it, and when ready, update the DNS to point at it.
If that’s overdoing it for this site, a quicker way to swap a production site with a staging site would be to swap domains. That is, change the primary domain of the staging site to the production domain. However, we don’t recommend this as changing the primary domain of a site is prone to error and could result in considerable downtime as you try to figure out what went wrong. (Review the long list of filesystem operations and find & replace operations and you’ll get an idea of why changing the primary domain is error prone.)
Instead, if you’re looking for a quick way to replace production with a staging site, we recommend the more reliable approach of updating the files and/or database. To accomplish this, you locate the production site in SpinupWP and select Refresh Site from the menu. Then choose the staging site as the site to copy from. It’s probably a good idea to toggle on that backup switch before this one as well.