We're always adding new features and improvements to SpinupWP.
See below for the latest enhancements and email us if there’s a feature you'd
like to see next.
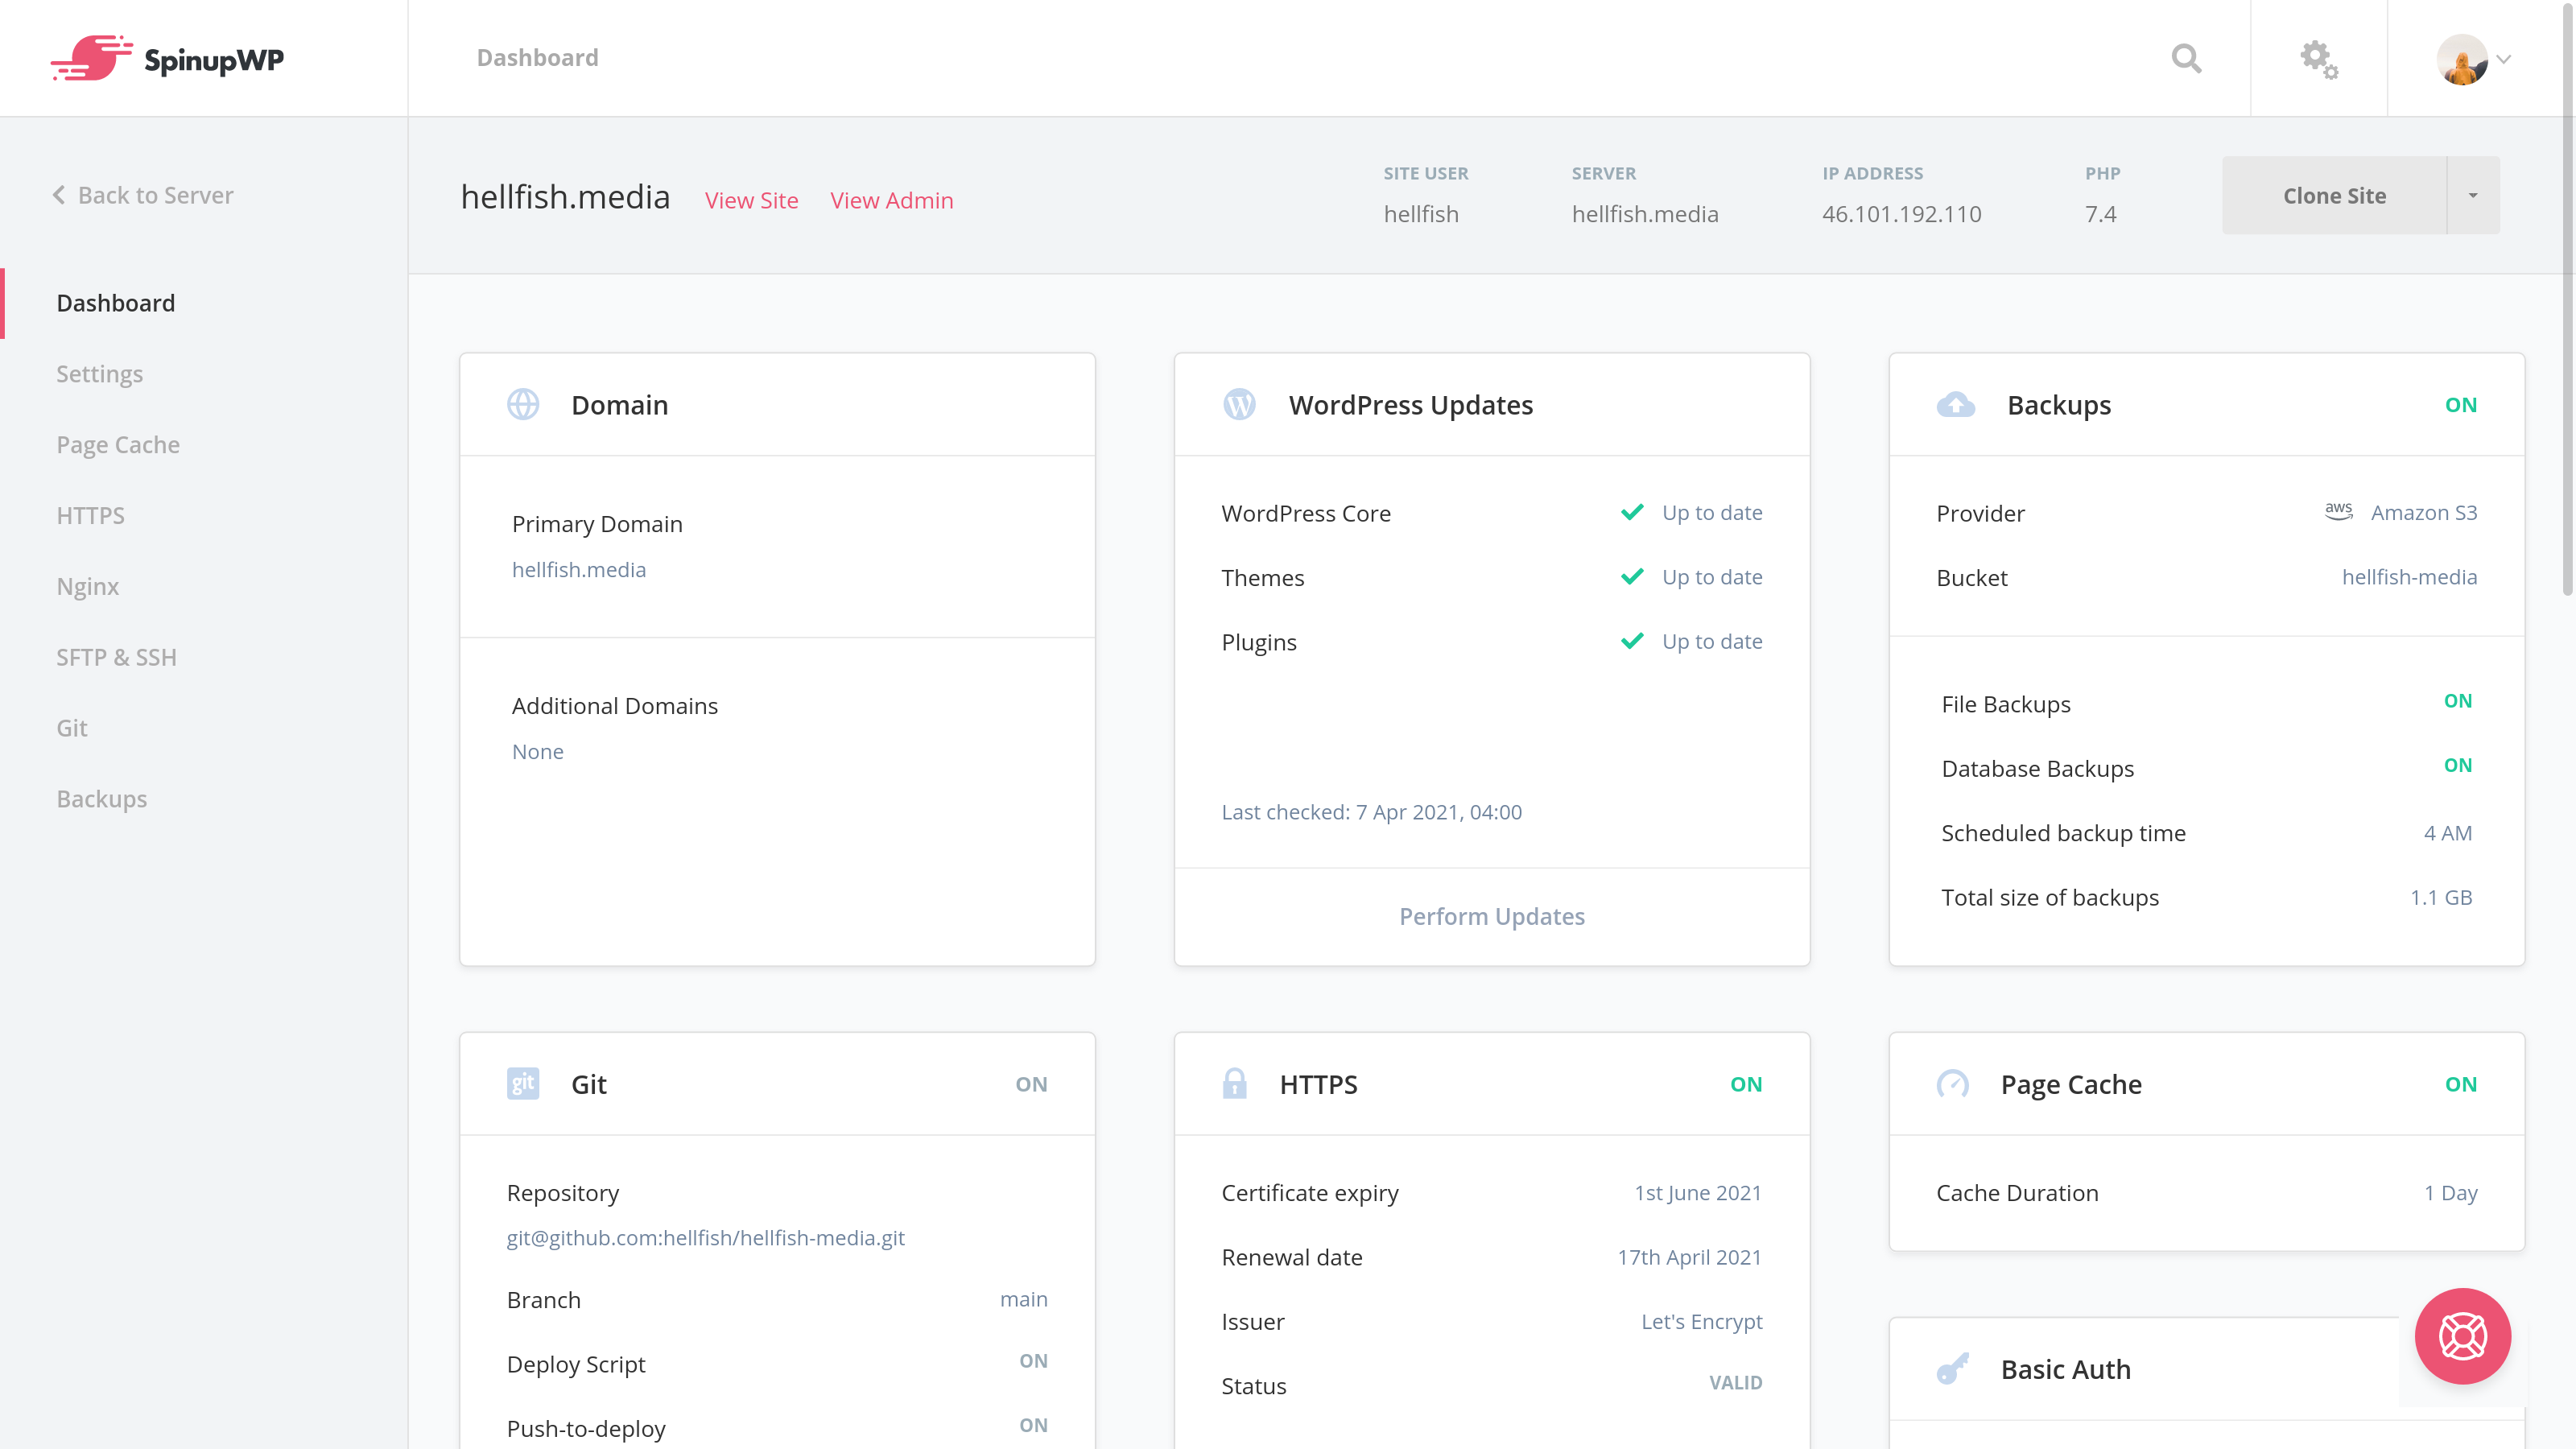
SpinupWP automatically checks for updates to WordPress core, themes, and plugins once every 24 hours using WP-CLI. You also have the ability to run these updates directly from SpinupWP. When pending WordPress updates are found, you’ll see a notification icon with the number of updates available next to the site on your dashboard:
You can click on this icon to bring up the WordPress update options.
SpinupWP now automatically checks for WordPress core, plugin, and theme updates for you once a day! You can also run these updates right from SpinupWP’s dashboard. If you have updates available, you’ll now see an icon on your dashboard that represents the number of pending updates.
Clicking on this icon will bring up our new WordPress update modal. If your site has git enabled, you’ll be presented with a warning about making WordPress updates outside of your git repo.
If you don’t have git enabled or you choose to proceed with updating anyway, you’ll then see the WordPress update options.
If you’ve already set up backups for your site, you’ll have the option to make a backup before running any WordPress updates.
Simply select the backup option along with the WordPress items you wish to update and submit. SpinupWP will handle the backup and update WordPress for you in the background. You can monitor the status of this process via the events dropdown.
Selecting “View” on a completed WordPress update task will show the detailed output of the process. This is useful for viewing what plugins and themes were updated.
Don’t forget to test once the backup and updates have completed. If interested, you can learn more about updating WordPress in SpinupWP.
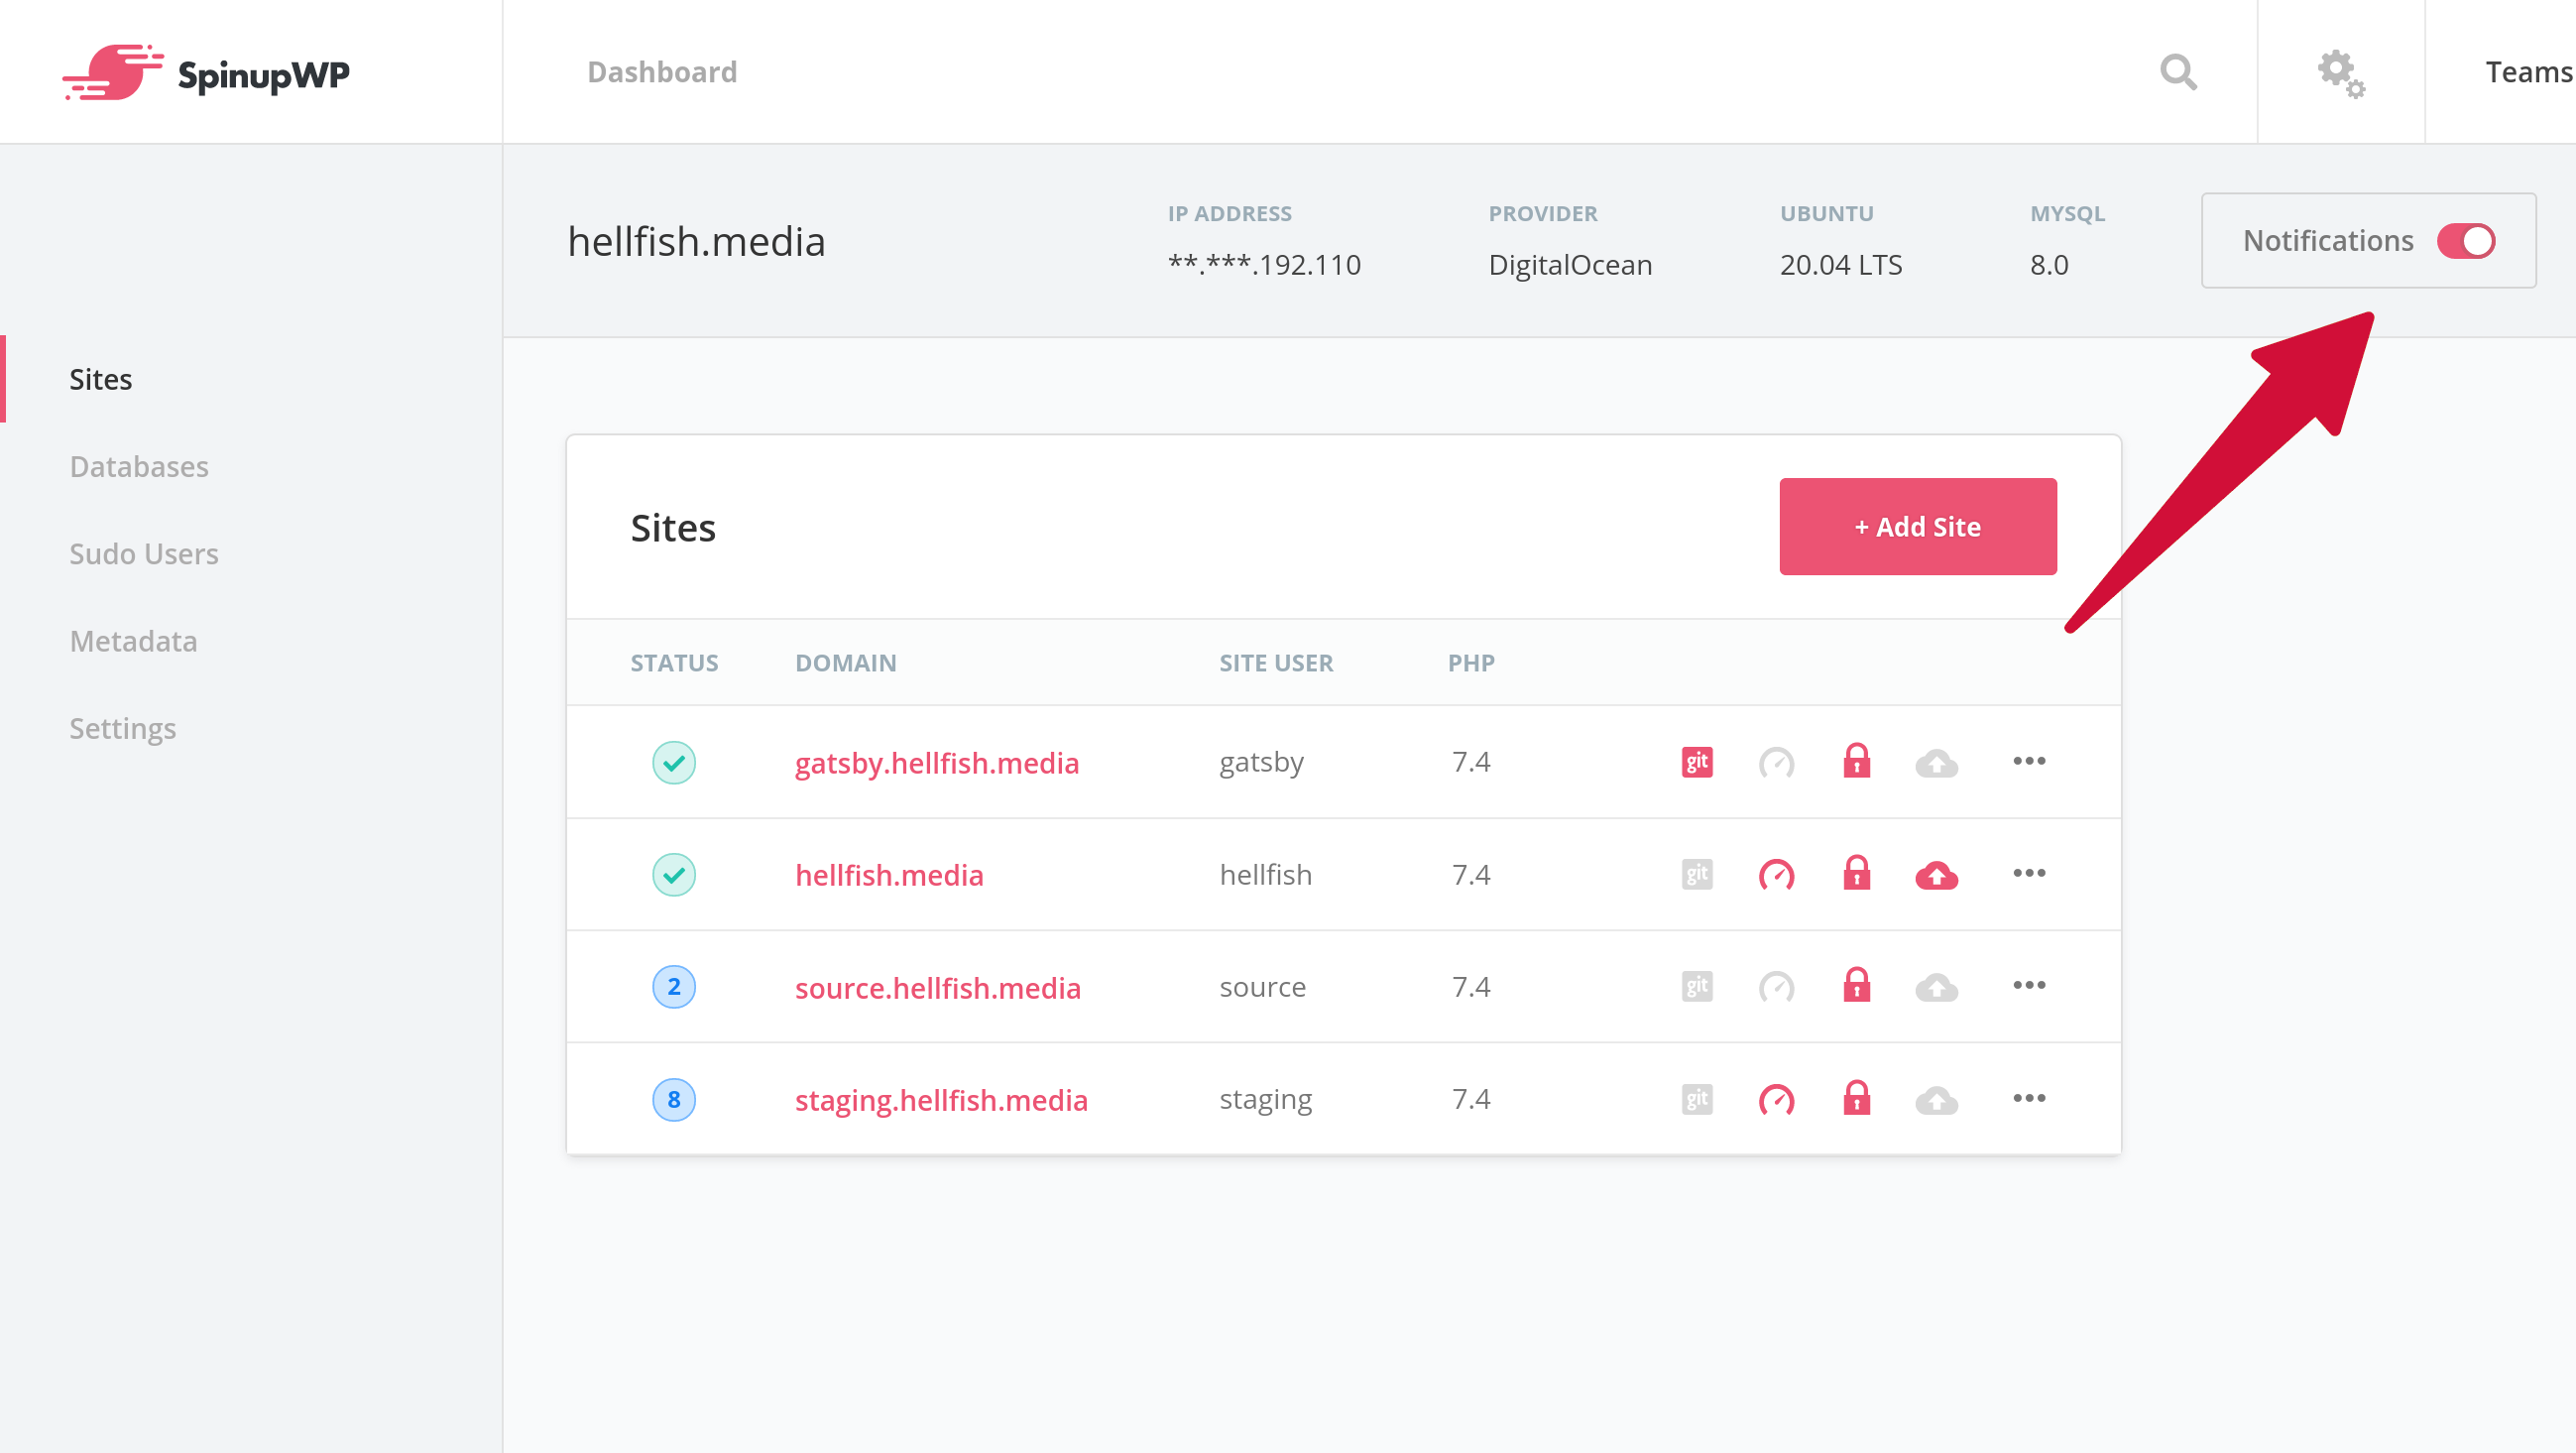
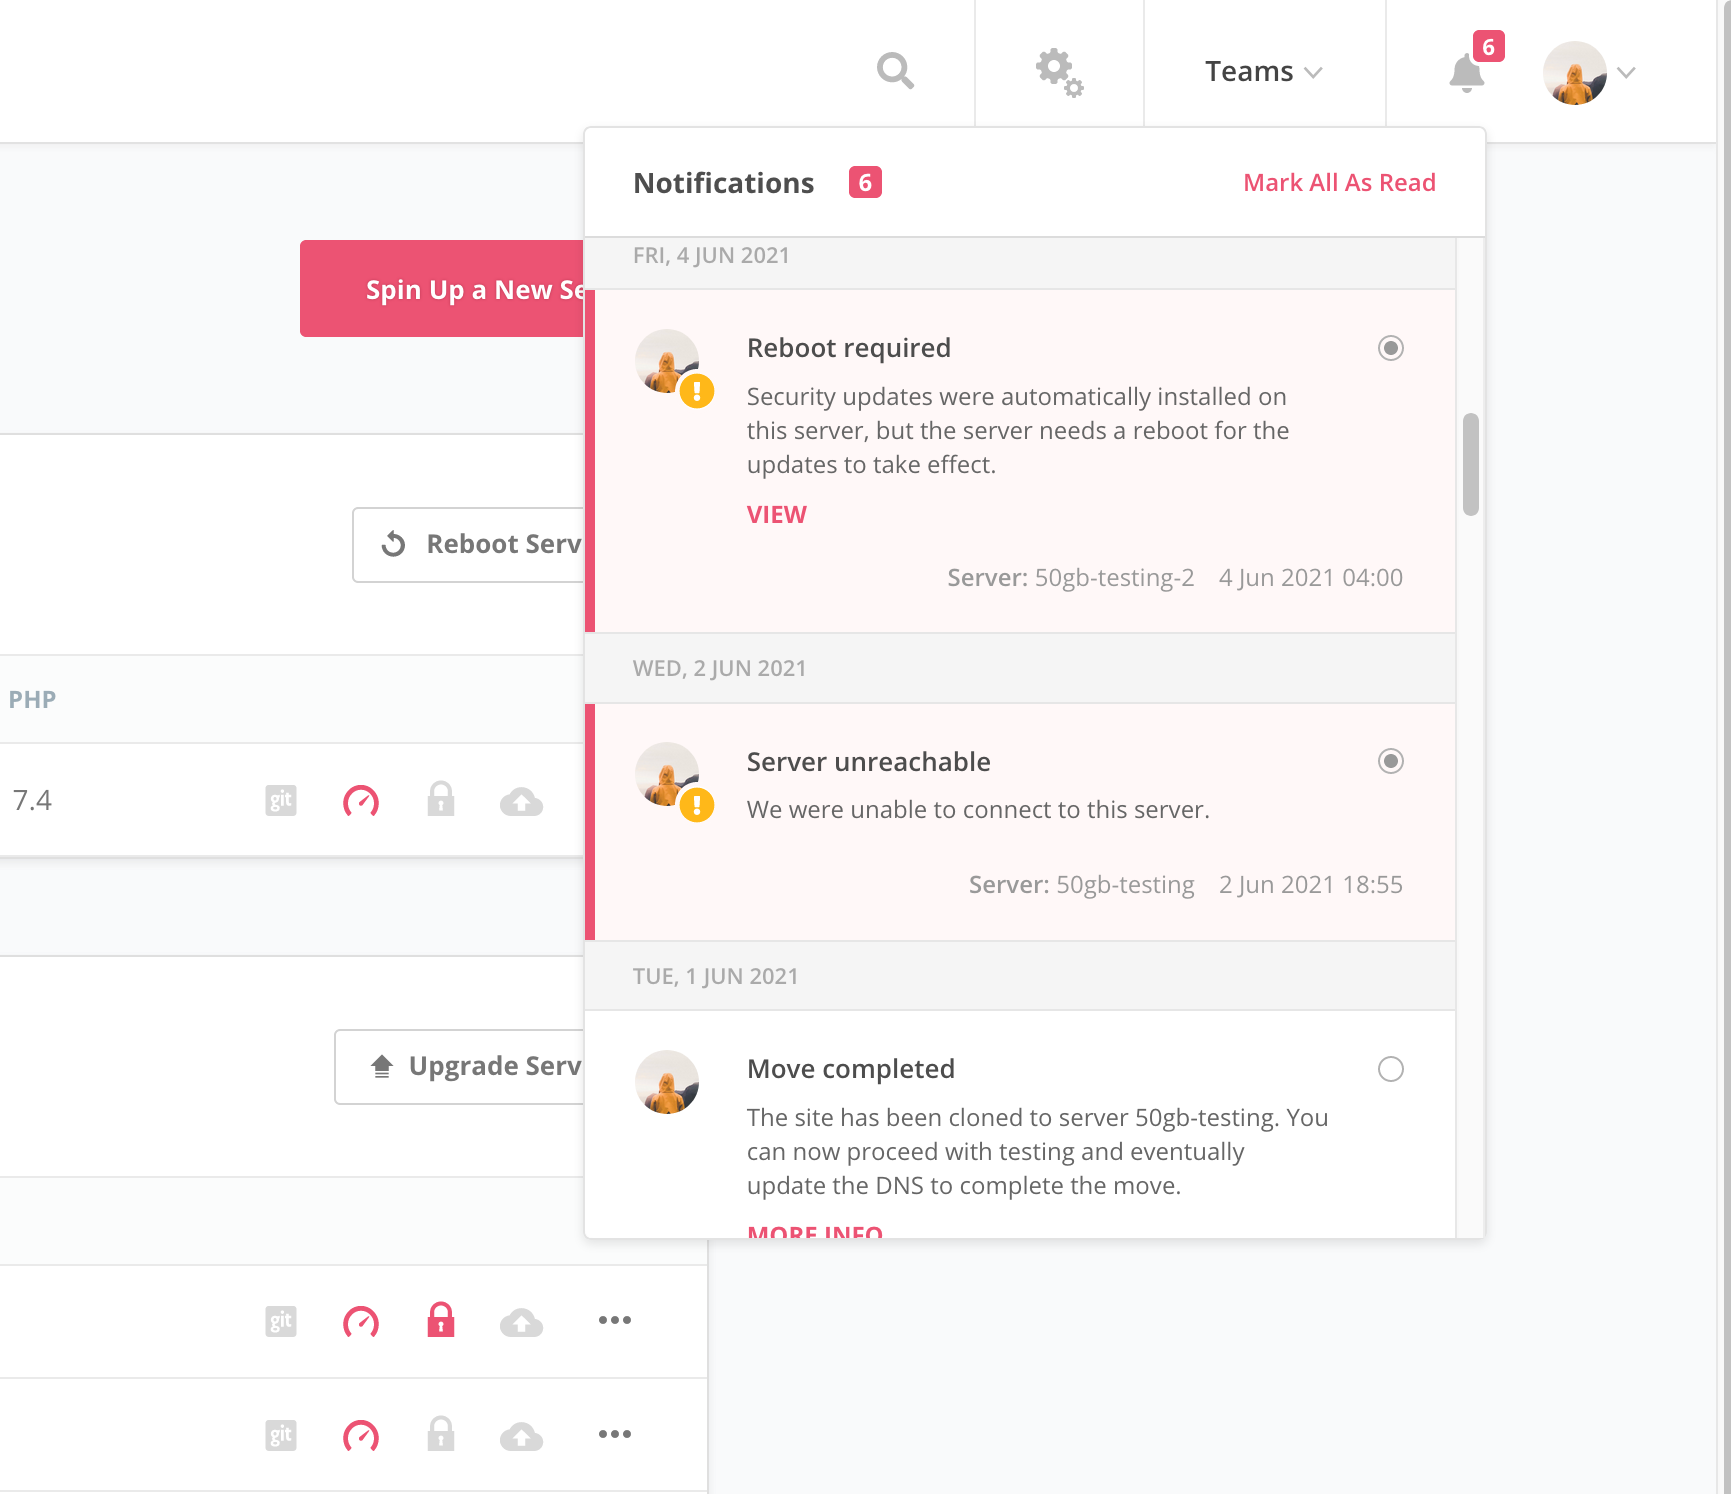
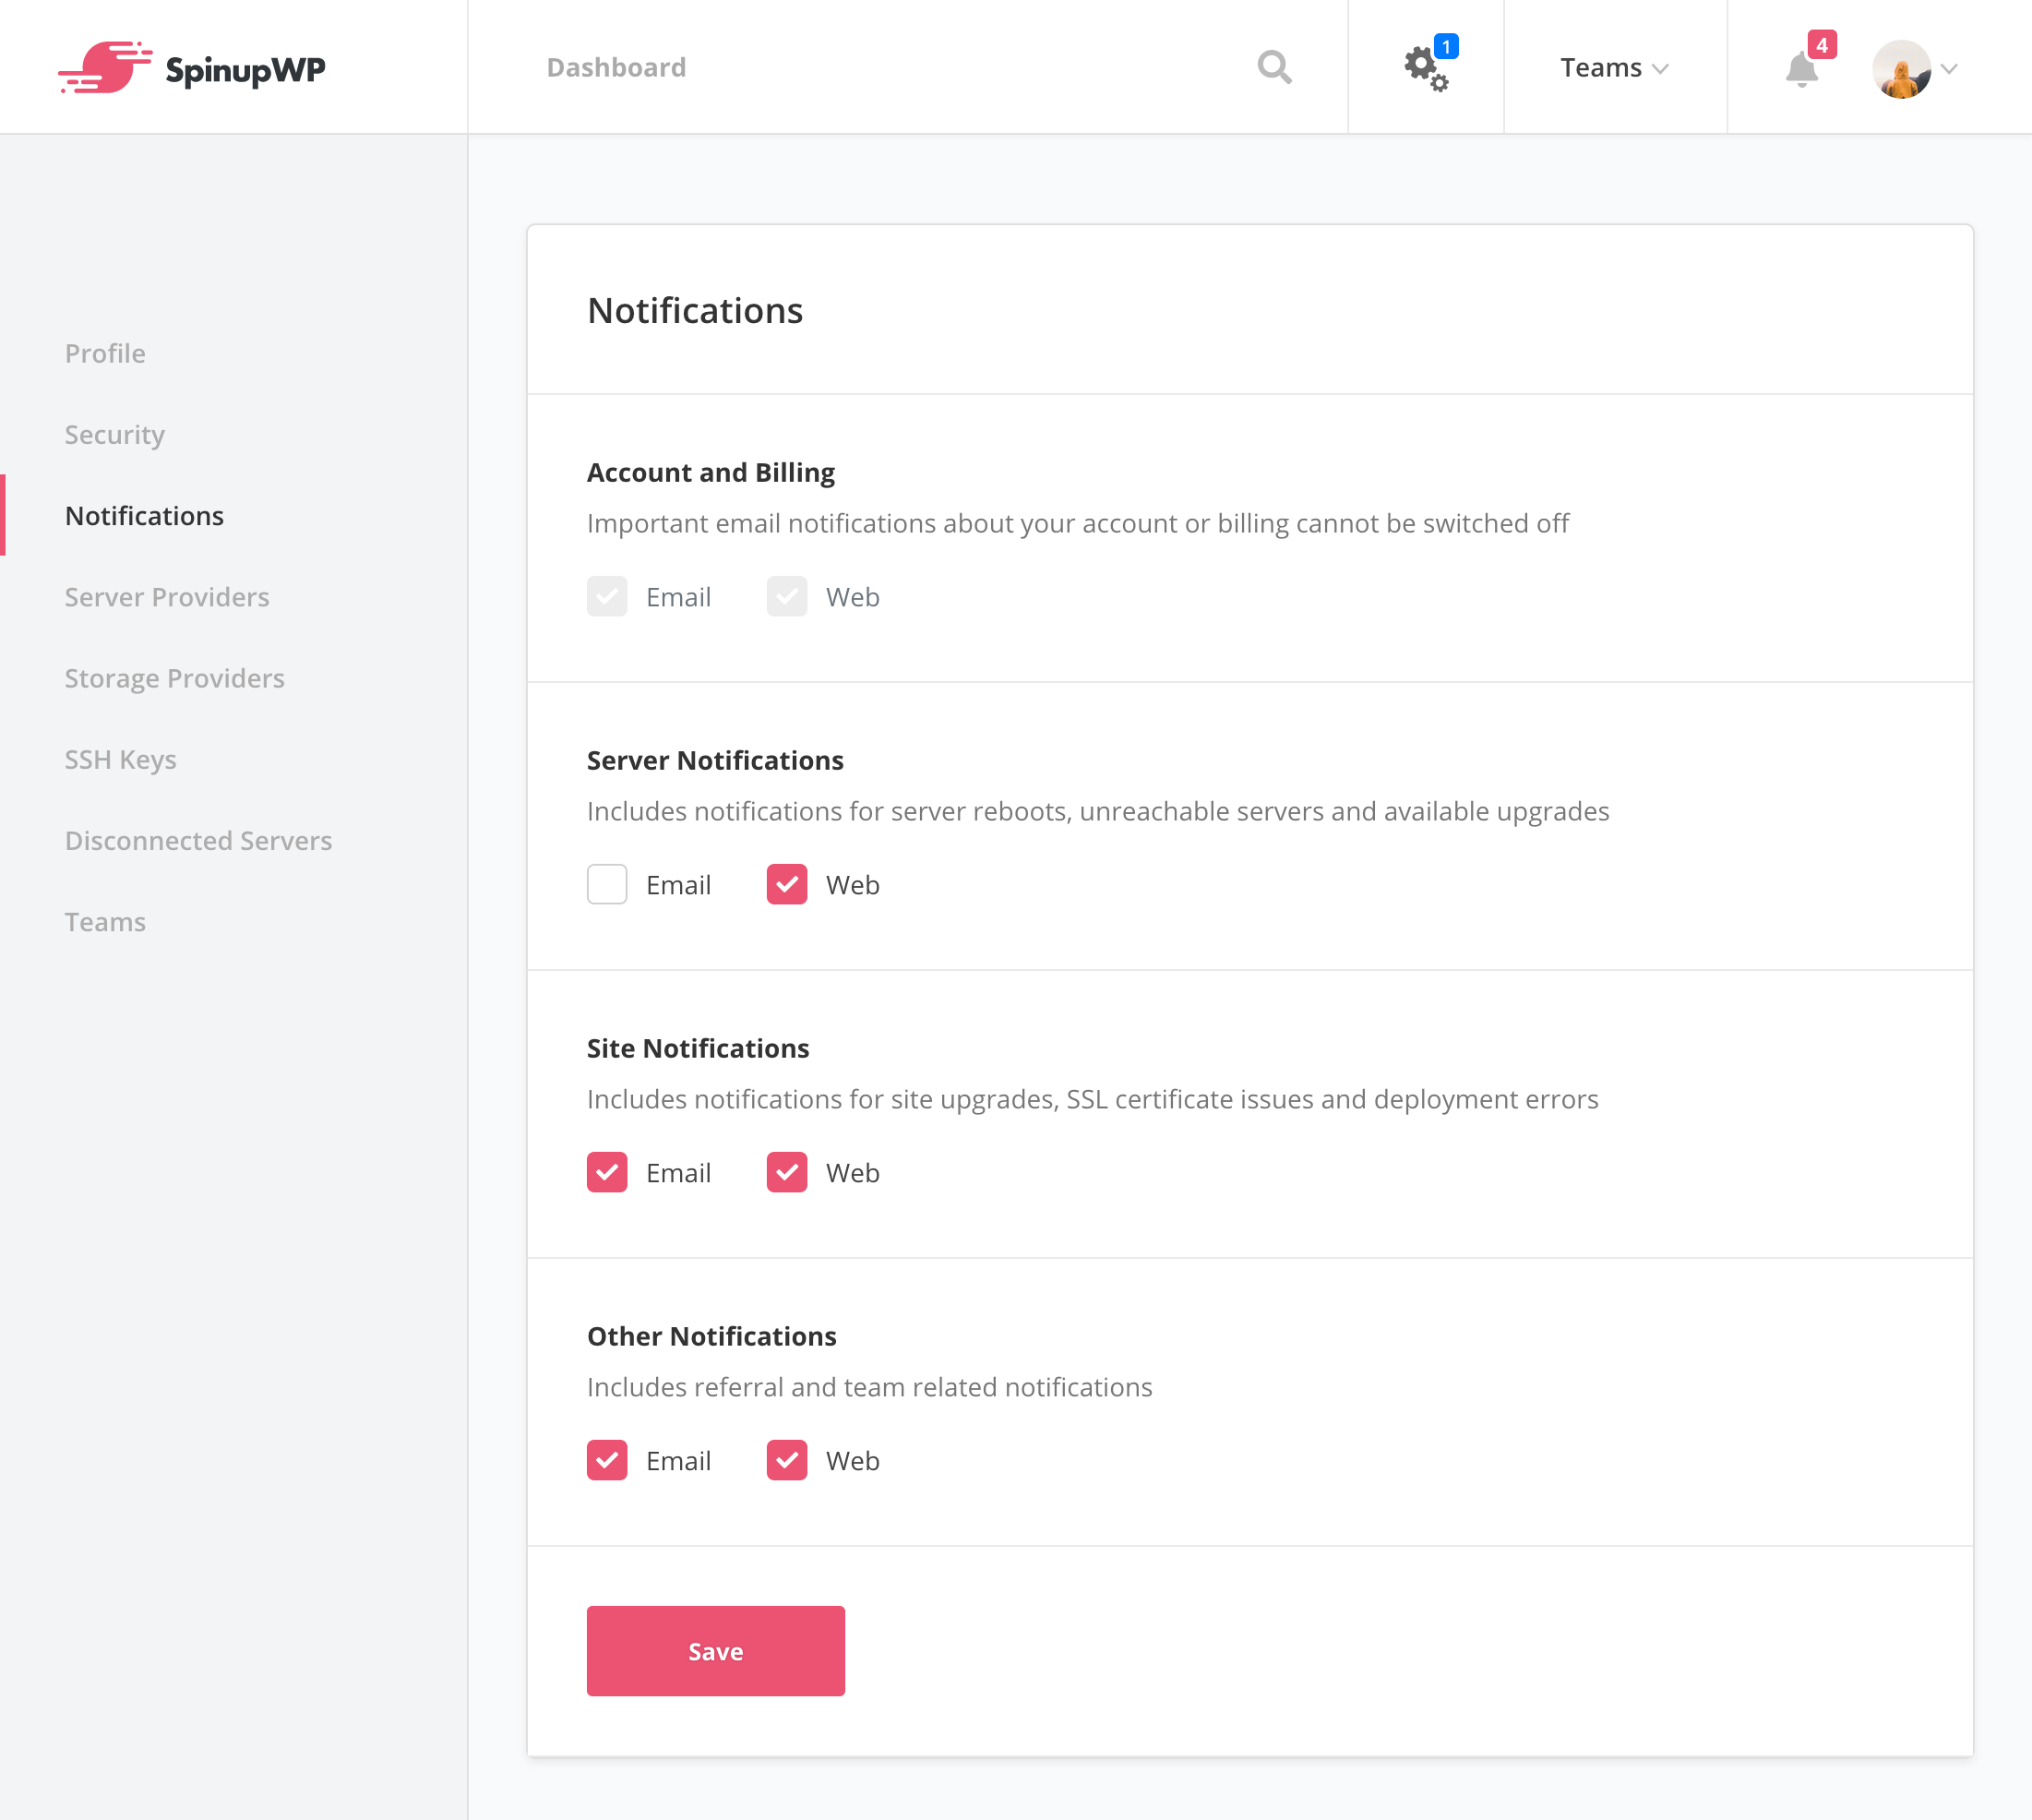
In addition to the WordPress updates, we’ve completely revamped our notification system.
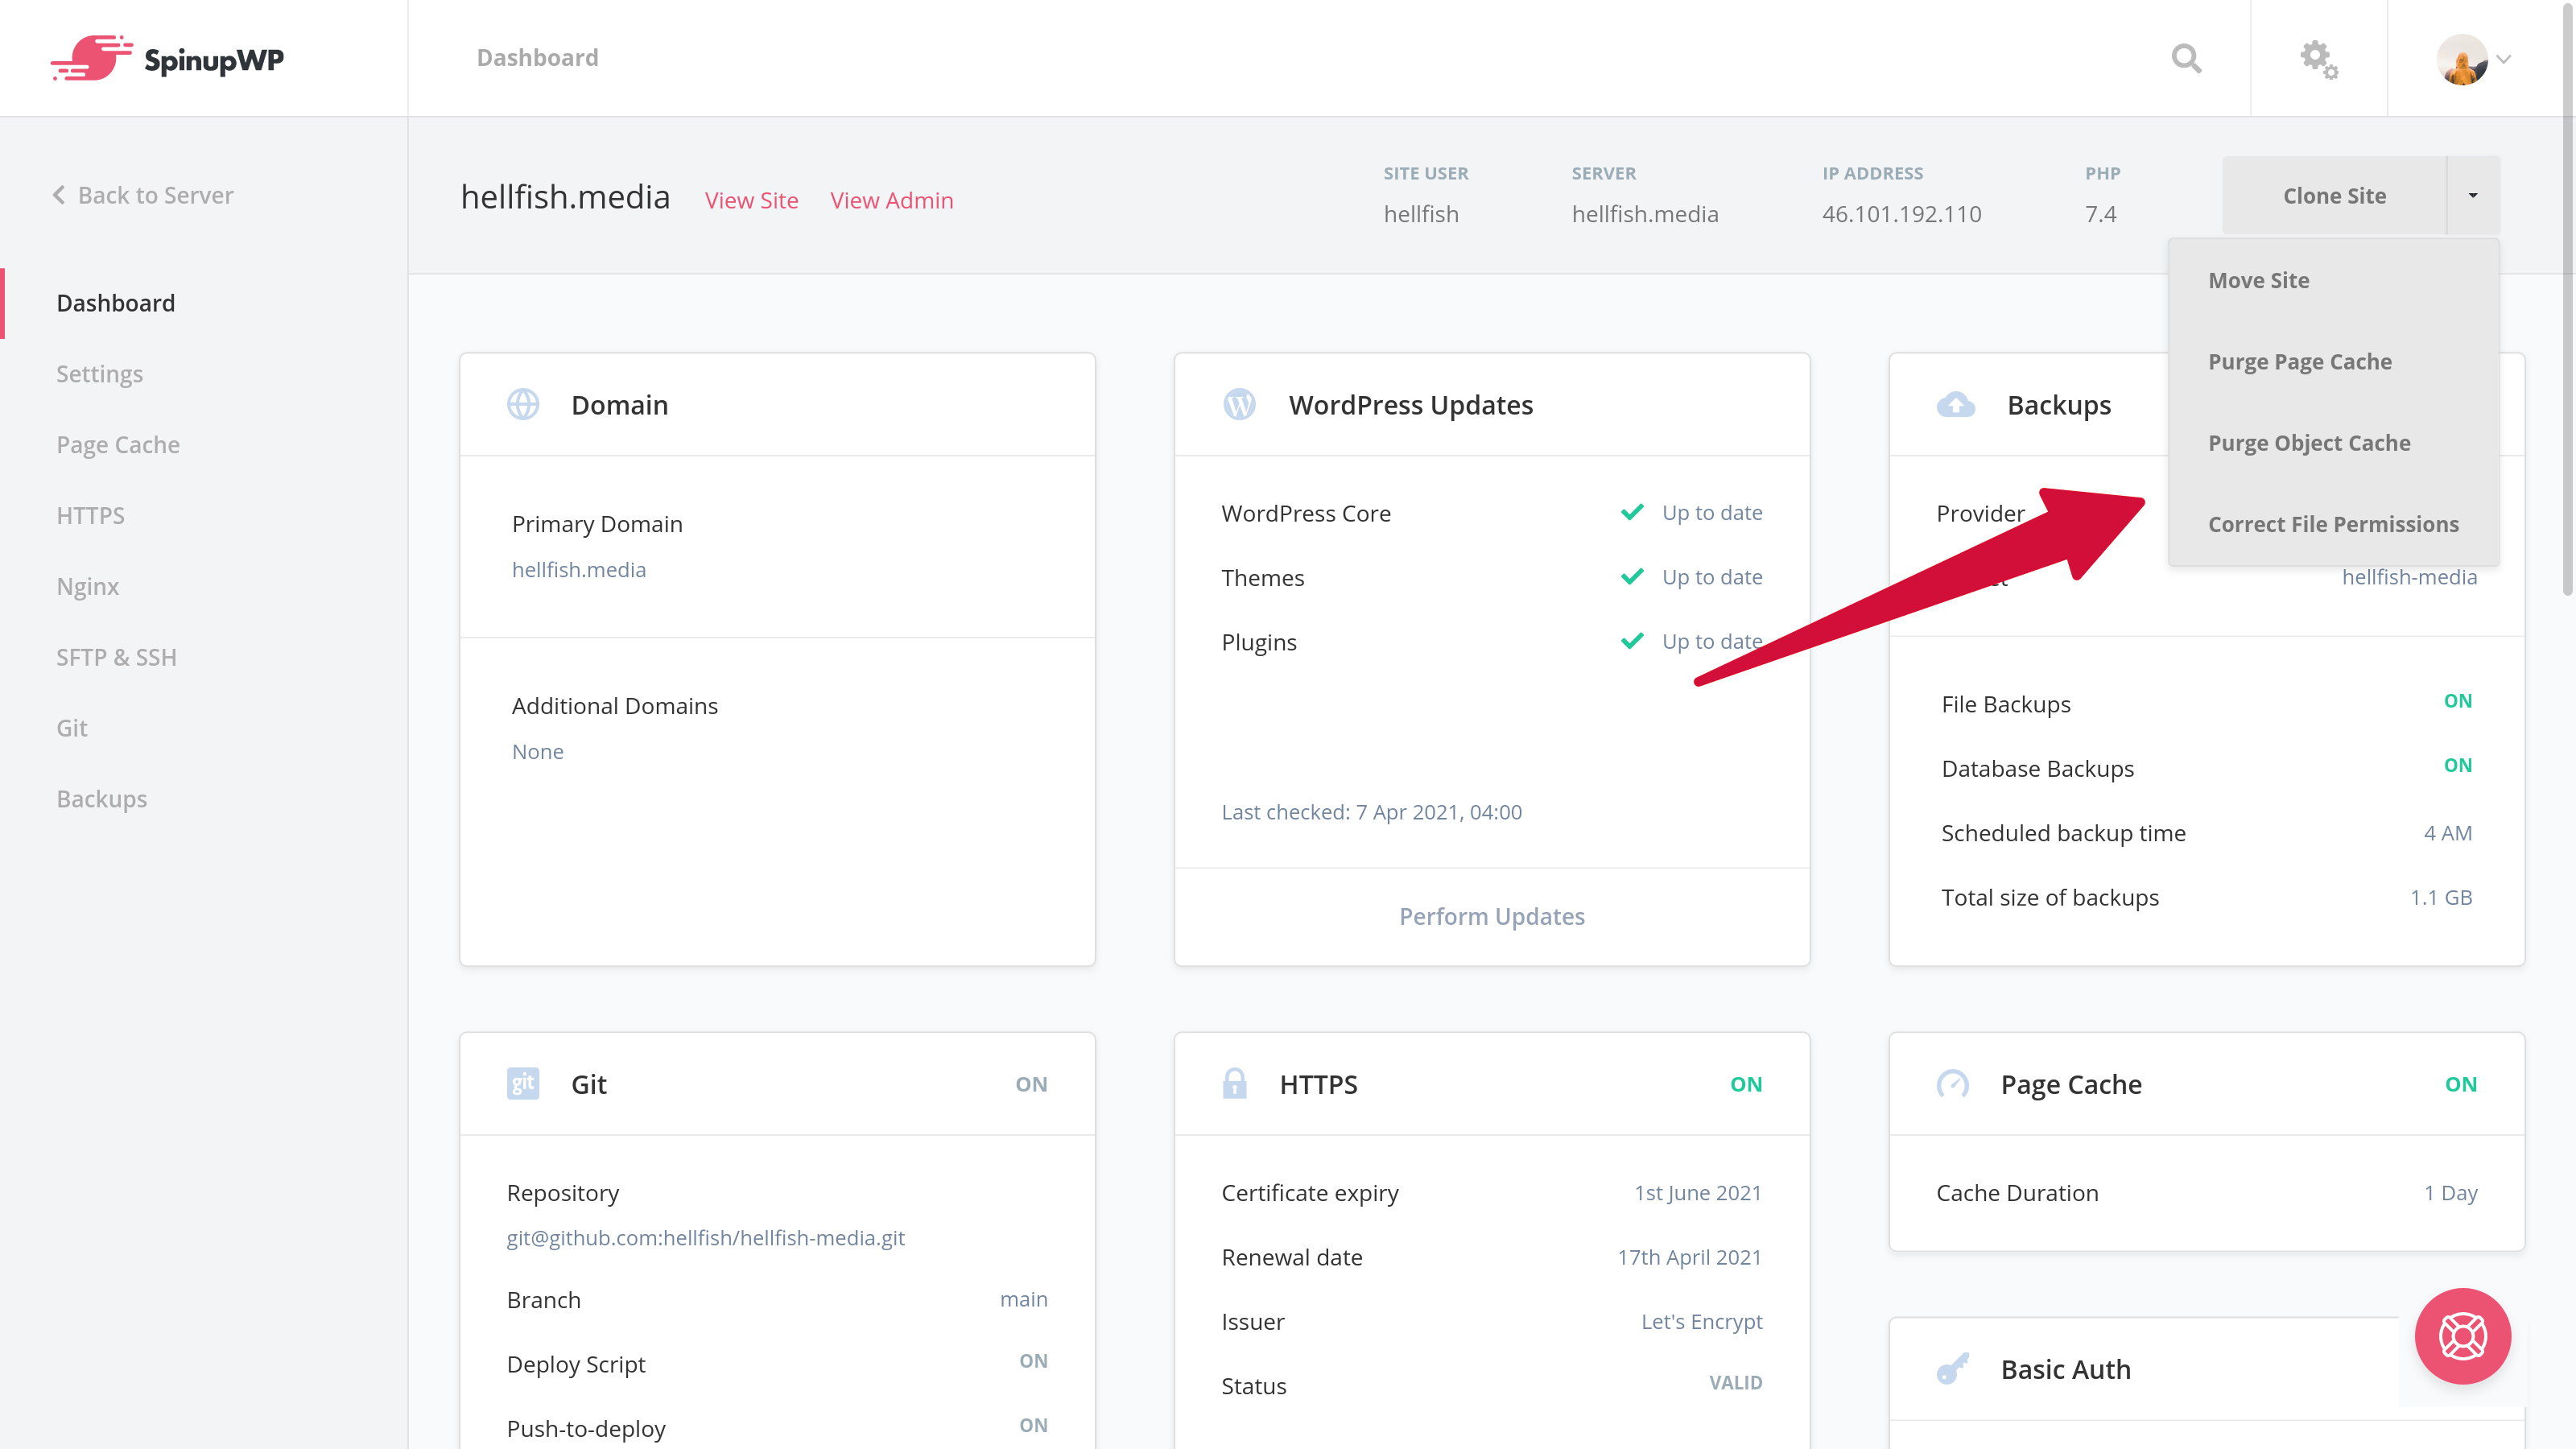
We’re very excited to have shipped the ability to easily move a site from one SpinupWP server to another. In the dashboard, you’ll notice a Move option in the actions menu…
And when you visit a site’s settings, you’ll see a Move Site option in the actions menu there…
Clicking that option will prompt you for which server you’d like to move the site to…
Clicking the Move Site button will then kick off a process to create an exact duplicate of the site on the destination server complete with SSL certificates, Nginx configs, git repo, sites files, database, etc. For a full list of what is copied and the operations performed, see the doc.
You can then test your site on the new server and if all is well, update your DNS to point your domain(s) to the new server. Of course you should probably be a little more careful than that. The doc contains a complete process for moving a site safely using the Move Site tool.
Press the forward slash keyboard shortcut when viewing any SpinupWP page and it will engage the search bar at the top of the screen. As you start typing, servers and sites will begin to appear. Once you see what you’re looking for, use the arrow keys to select the item, and hit return/enter to go to that page.
We fixed a bug that didn’t allow you to verify a git site if the branch name had a forward slash. We’re happy to report that forward slashes in branch names now work just fine.
This helps prevent your site from being hacked through third-party plugin vulnerabilities. Learn more in our Keeping Servers and Sites Secure doc.
It’s also possible to enable specific Nginx security features from the SpinupWP site dashboard.
“Disallow PHP execution in the uploads folder” – helps prevent your site from being hacked through third-party plugin vulnerabilities.
“Disable XML-RPC” – disables XML-RPC support, which was an interface for other platforms to communicate with WordPress, but is now replaced by the WP REST API and can be a security concern.
SpinupWP made it easy to spin up a staging/dev server, but it has still been a pain to create a copy of a production site on another server. But now with server-to-server site cloning, creating a copy of a production site on another server is exactly as easy as doing so on the same server.
Server-to-server cloning can also be used to move a site to another server. Maybe you spin up a fresh server, clone a site to it, test it, and when it’s all good, update the DNS to start serving traffic. You can do that easier than ever now with cloning, but it’s still currently a bit of a pain.
After selecting Clone Site from the site screen…
You’ll be presented with a new option to select the destination server…
You can continue to clone on the same server or choose another server…
Next you enter domain settings, database settings, etc., as you normally would when creating a new site…
As few as 2 mins later you’ll have a perfectly copied site on another server.
Start Your 7-Day Free Trial
Begin your SpinupWP journey today and spin up your first server within minutes.
Subscribe to get the latest news, updates and optimizations in performance and security.