How to Install WordPress on Akamai/Linode
Akamai/Linode is a popular alternative to DigitalOcean, offering affordable servers from data centers located around the globe. Their shared CPU plans offer a good balance of performance and cost and are well suited for deploying a web server tuned for hosting WordPress websites. Akamai/Linode is fully integrated with SpinupWP, meaning you can connect SpinupWP to your Akamai account and spin up servers at Akamai directly from your SpinupWP dashboard.
If you haven’t already, you’ll need to sign up for SpinupWP and click Spin Up a New Server from the dashboard.
In this doc we’ll cover:
Adding Akamai/Linode as Your Server Provider
Let’s go ahead and connect to Akamai/Linode. Before you start this process, you’ll need to sign up for an Akamai account if you don’t already have one.
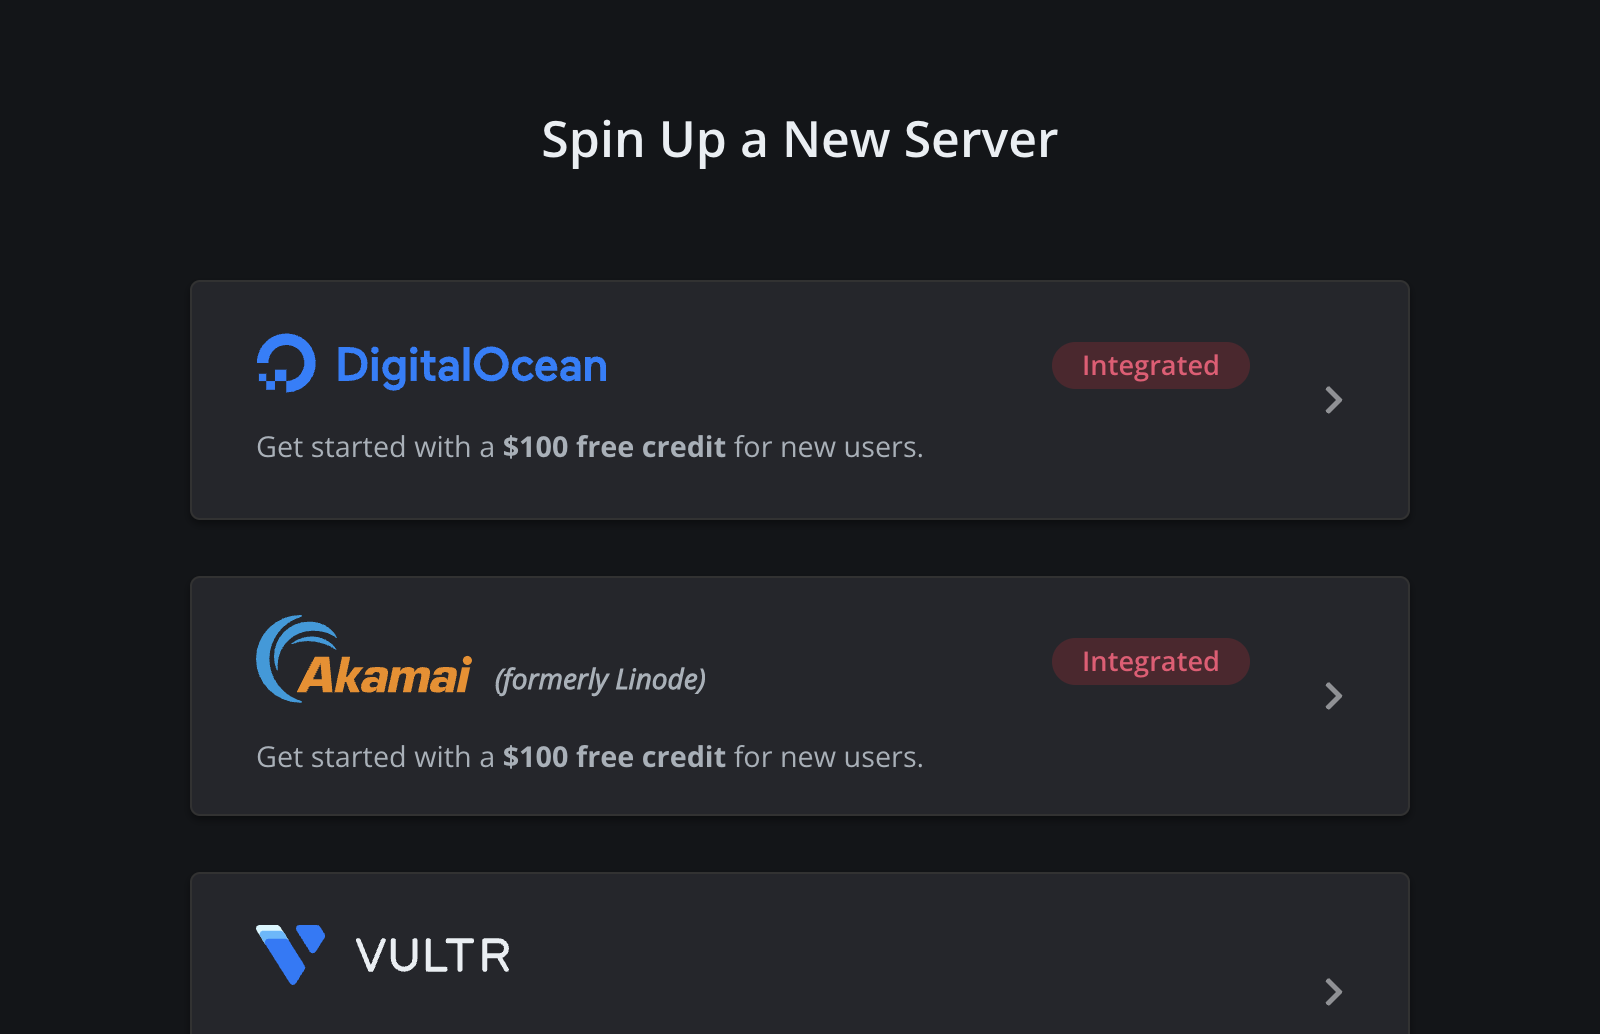
Next, select Akamai/Linode from the list of available providers, and SpinupWP will prompt you to authorize with your Akamai account.
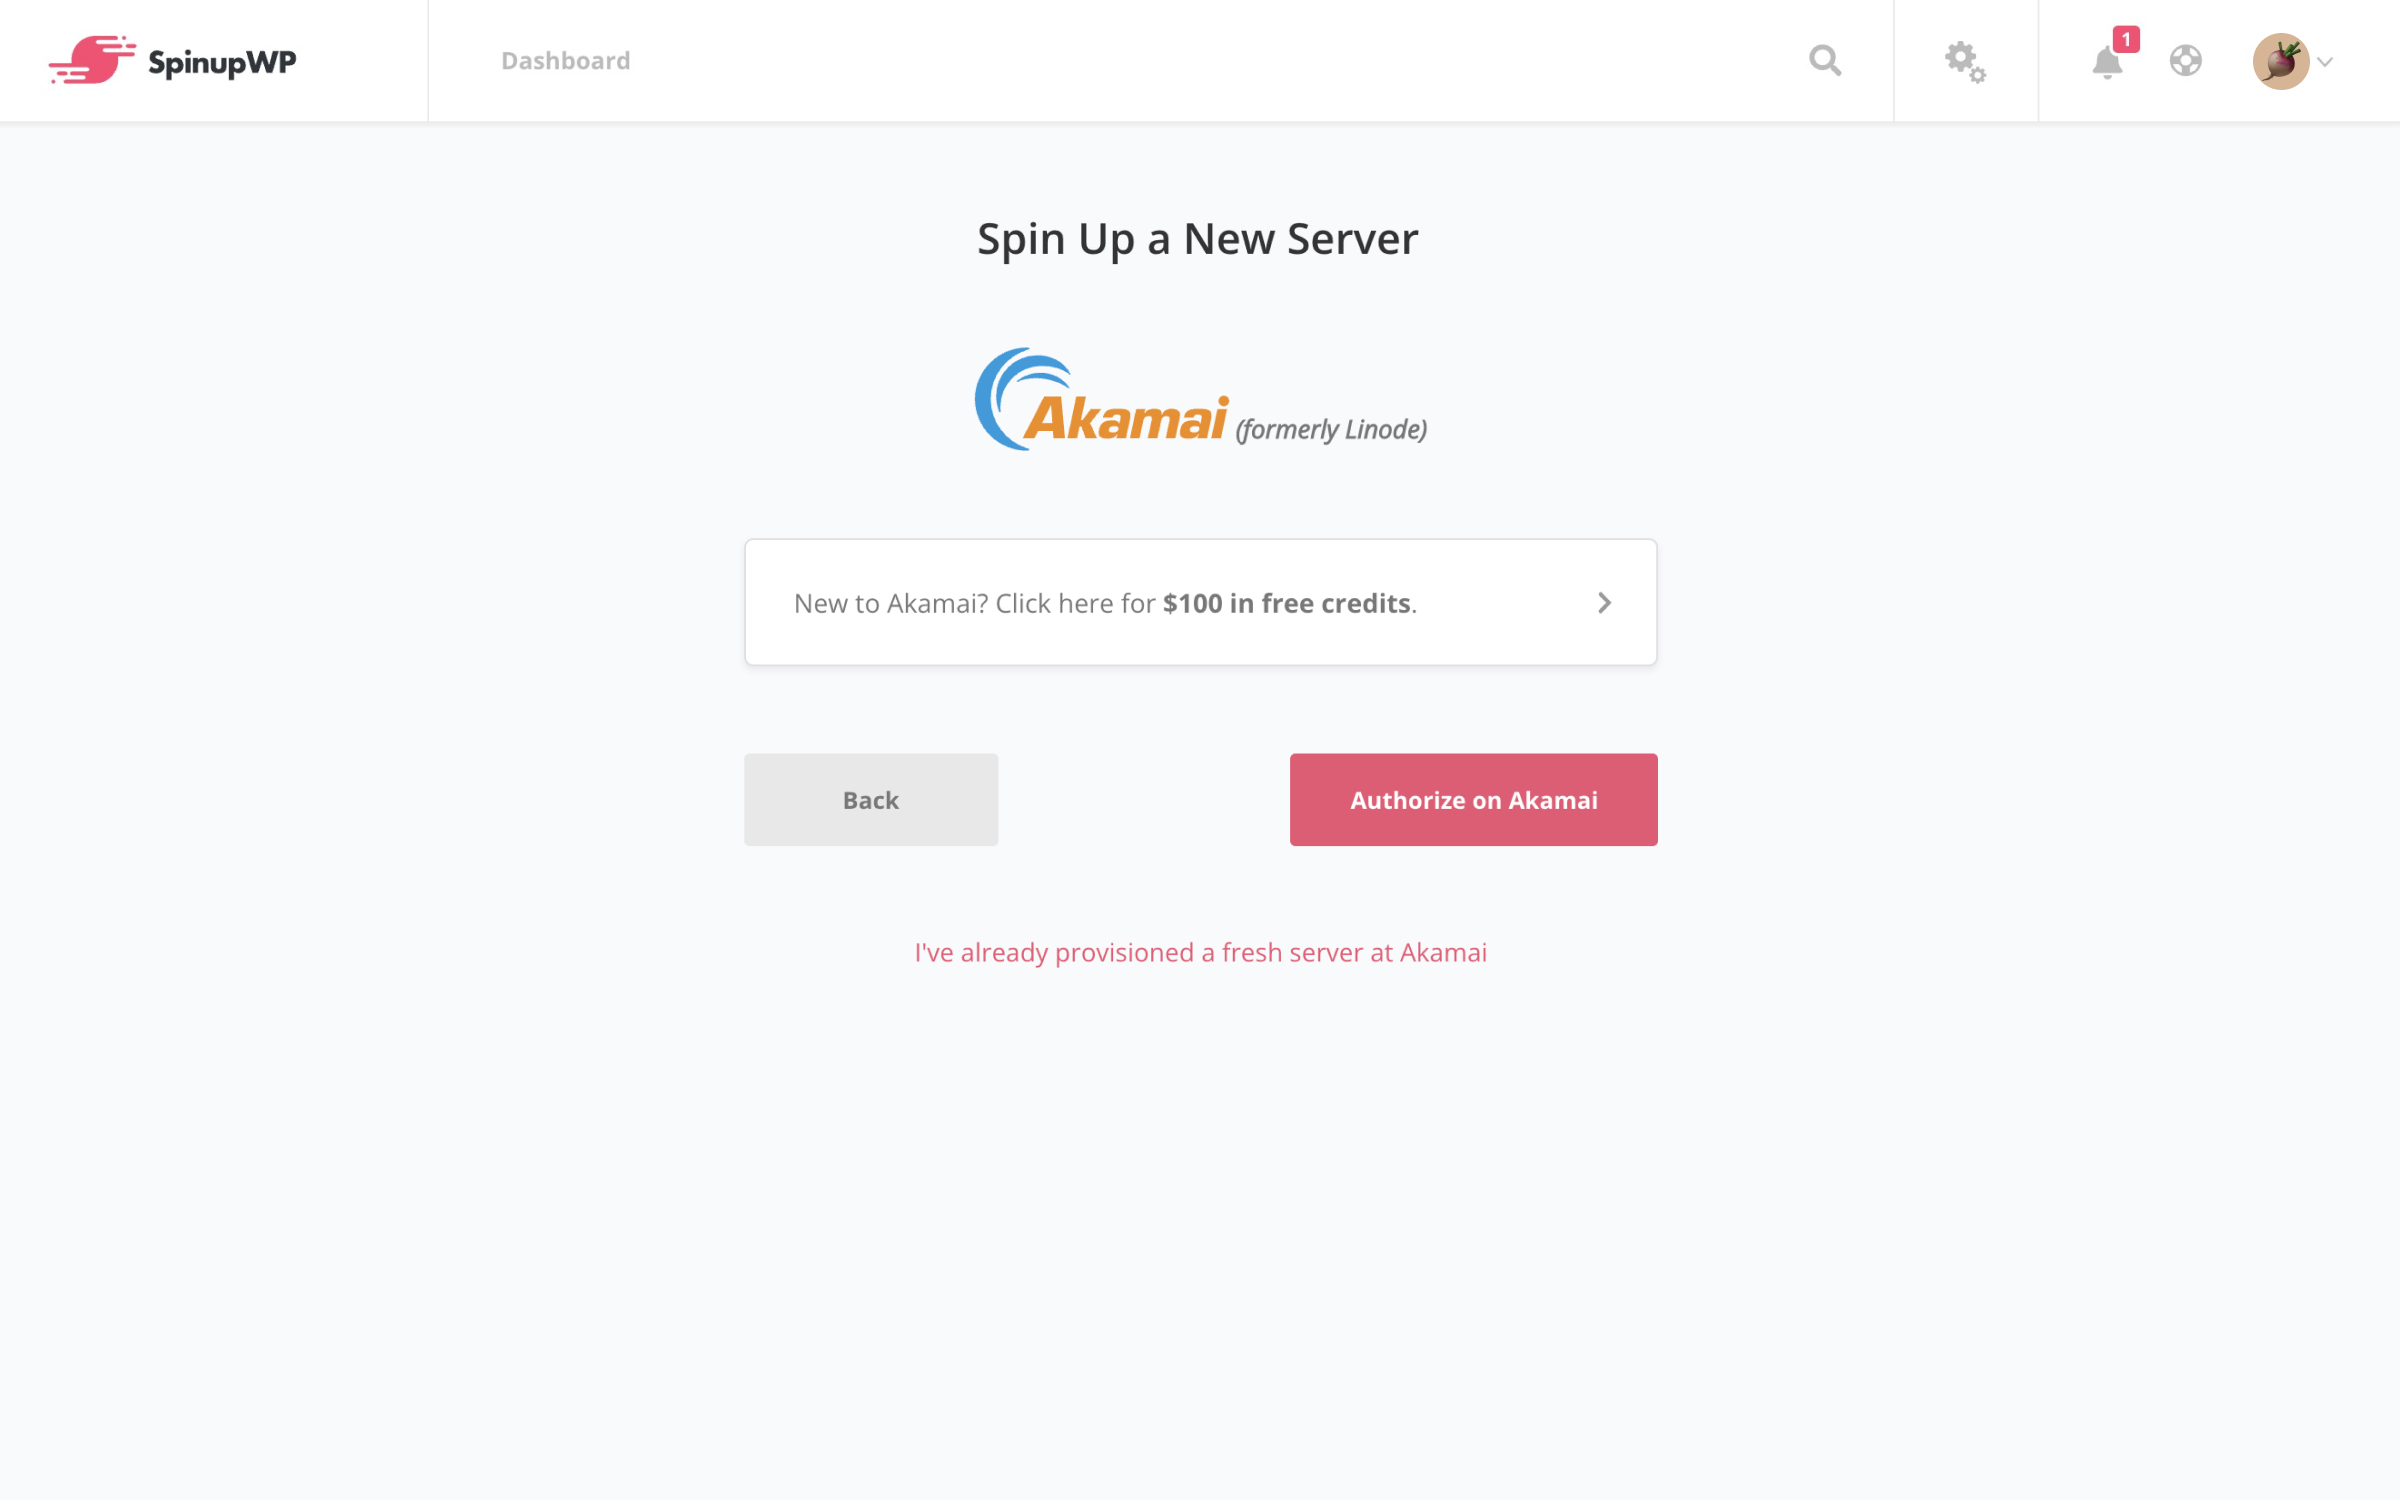
If you aren’t already logged in to Akamai/Linode, you’ll be asked to do so, and then you’ll be prompted to authorize SpinupWP to access your Akamai account.
Provisioning a Server
Akamai/Linode Server Options
Now to choose the region for your Akamai/Linode server and the size. We recommend production servers have 2 GB or more of memory. Servers can always be upgraded to a larger size later from the Akamai dashboard but the server will be offline while it resizes. See our Server Size doc for more guidance on selecting a server size.
Akamai offers full server backups for an additional monthly charge. They’re executed and rotated automatically including a daily backup, a 2-7 day old backup, and an 8-14 day old backup. The charge is based on the server size you selected earlier. These server backups are not to be confused with SpinupWP’s site backups feature which only backs up site files and database, rather than the entire server.
Server Settings
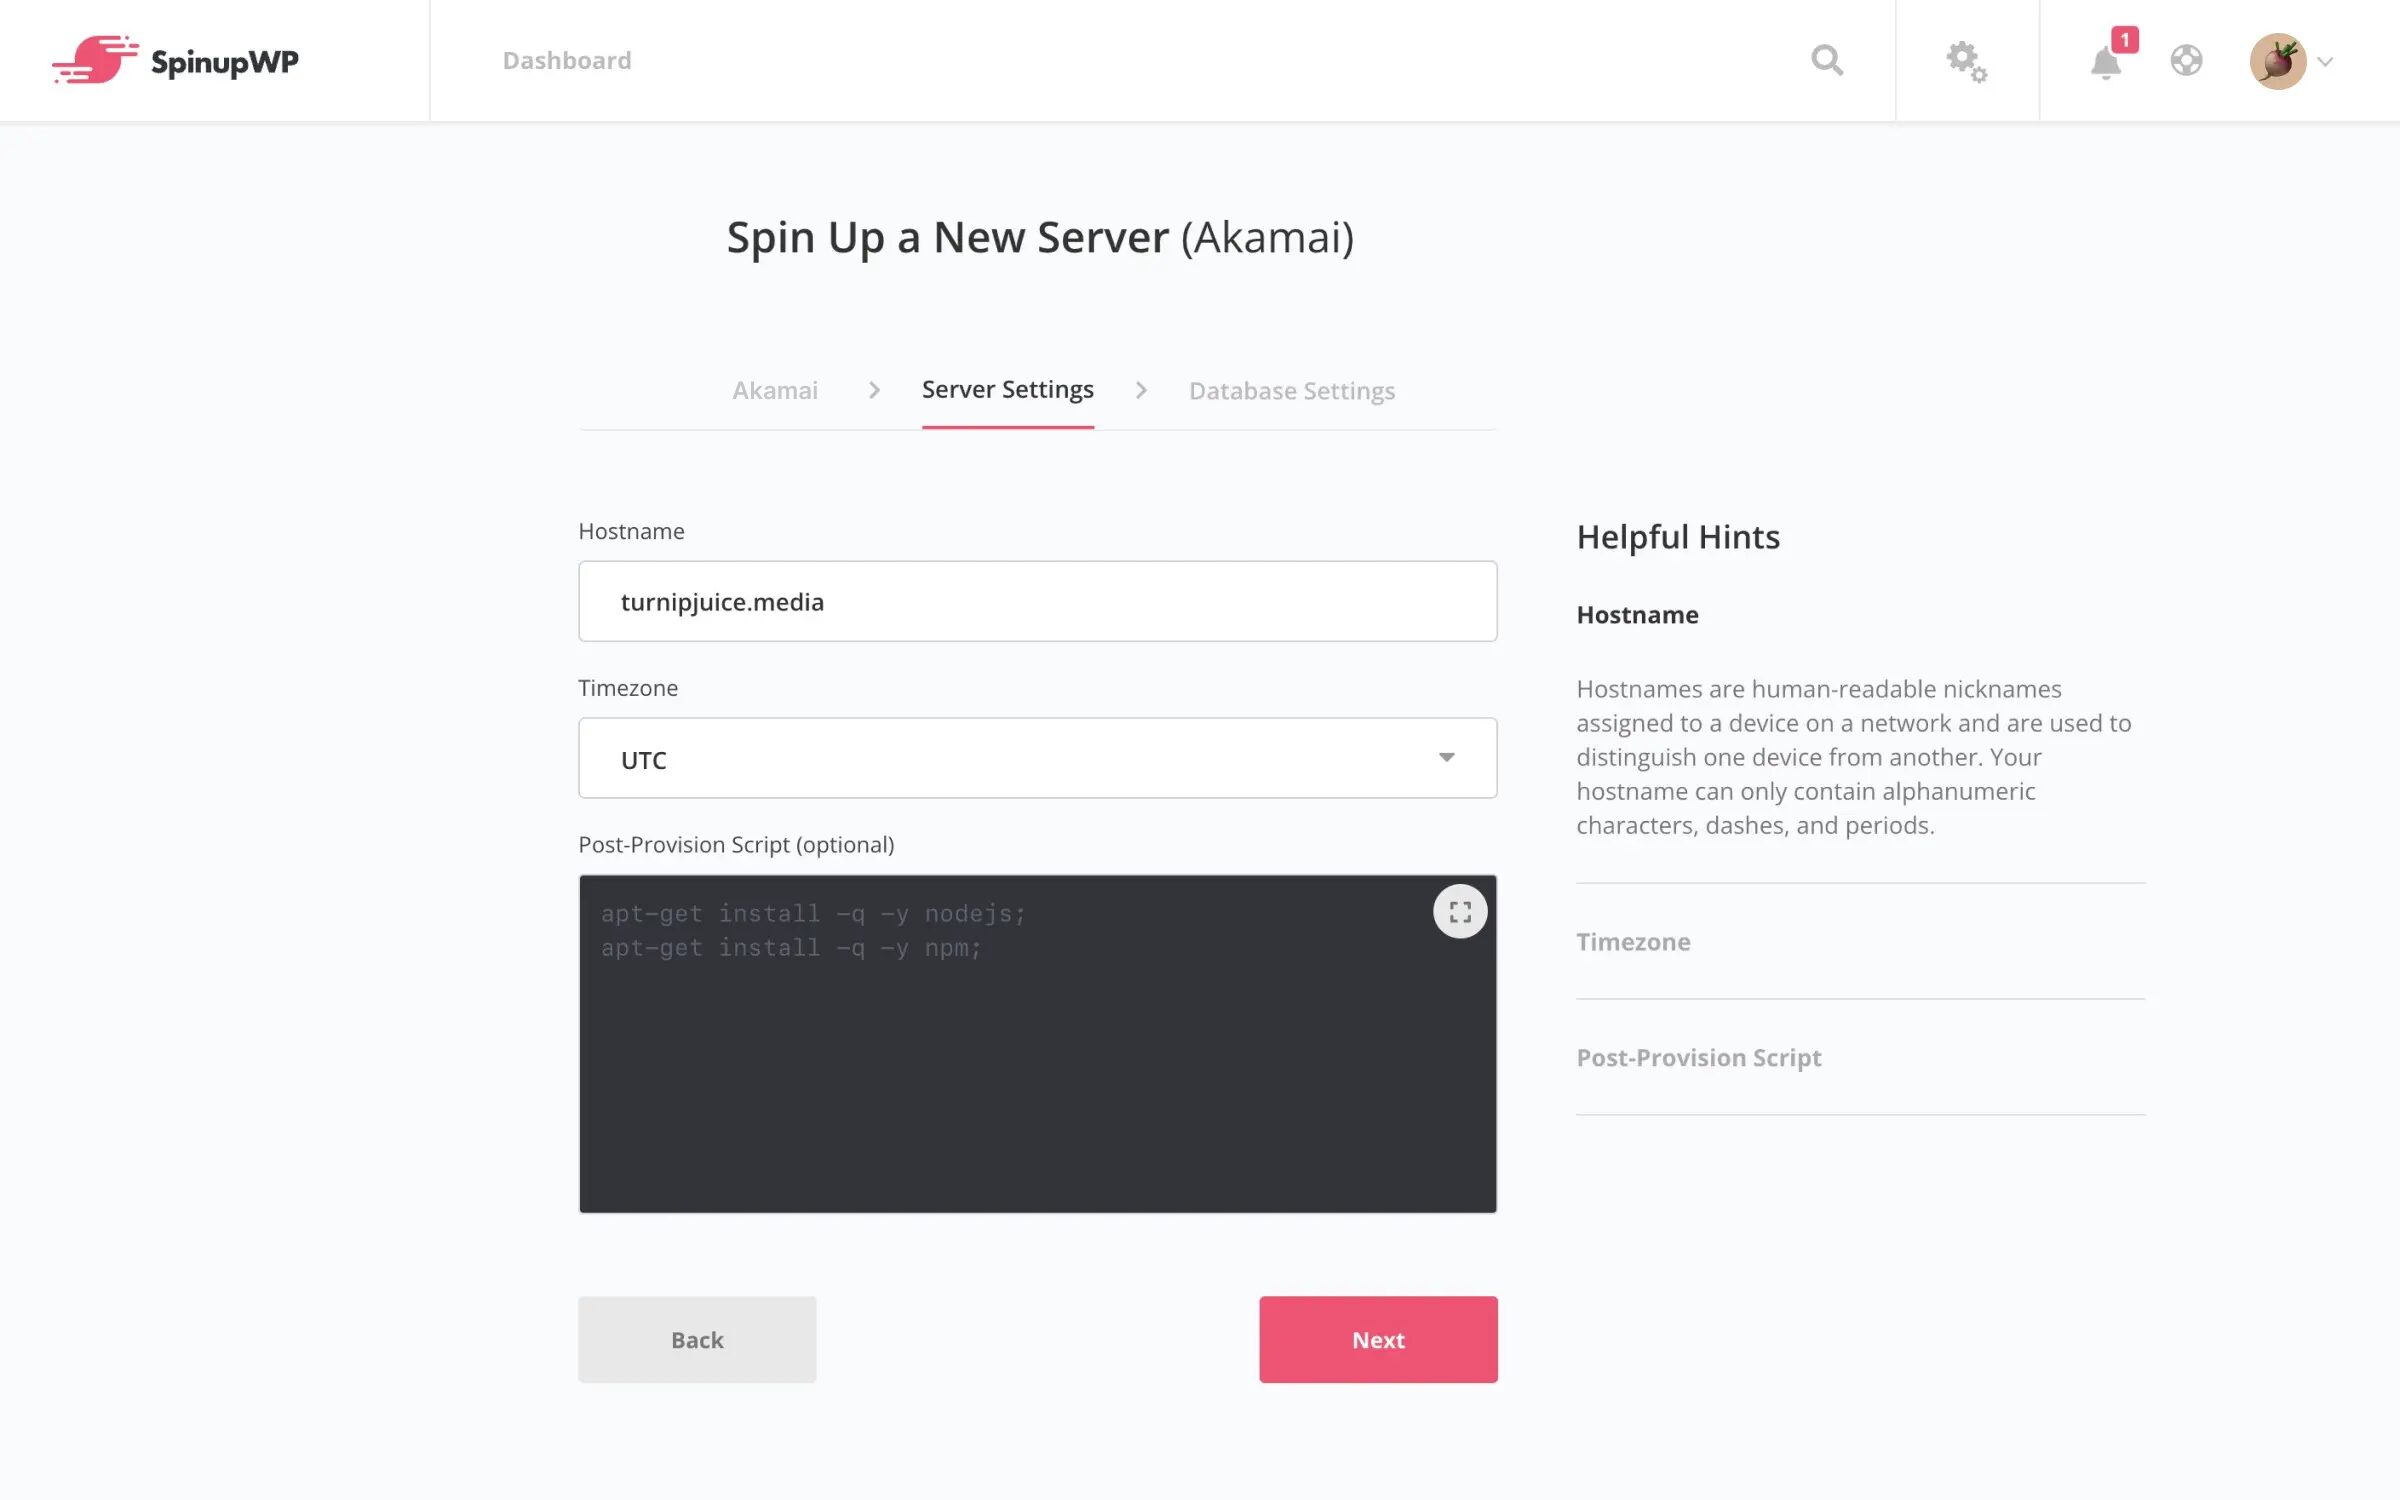
Next you need to enter a hostname for the server, so you can distinguish servers from each other. For example, if you are spinning up a new server for a client site, such as xyzvanlines.com, then using the domain name is recommended. If you are spinning up a server for your agency to use for a bunch of client staging sites, you might want to use something like staging.turnipjuice.media.
On this screen you will also be able to configure the server timezone. The selected timezone will determine when server cron jobs run as well as the date format of some log files.
You will also have the opportunity to enter an optional post-provision script on this screen. This is a one-time script which will be run on the server once the provision process has completed. This is handy if you have any additional packages you know you will want to install on the server.
Database settings
Lastly, you can choose to install MySQL on the server or connect an external database server.
Installing MySQL
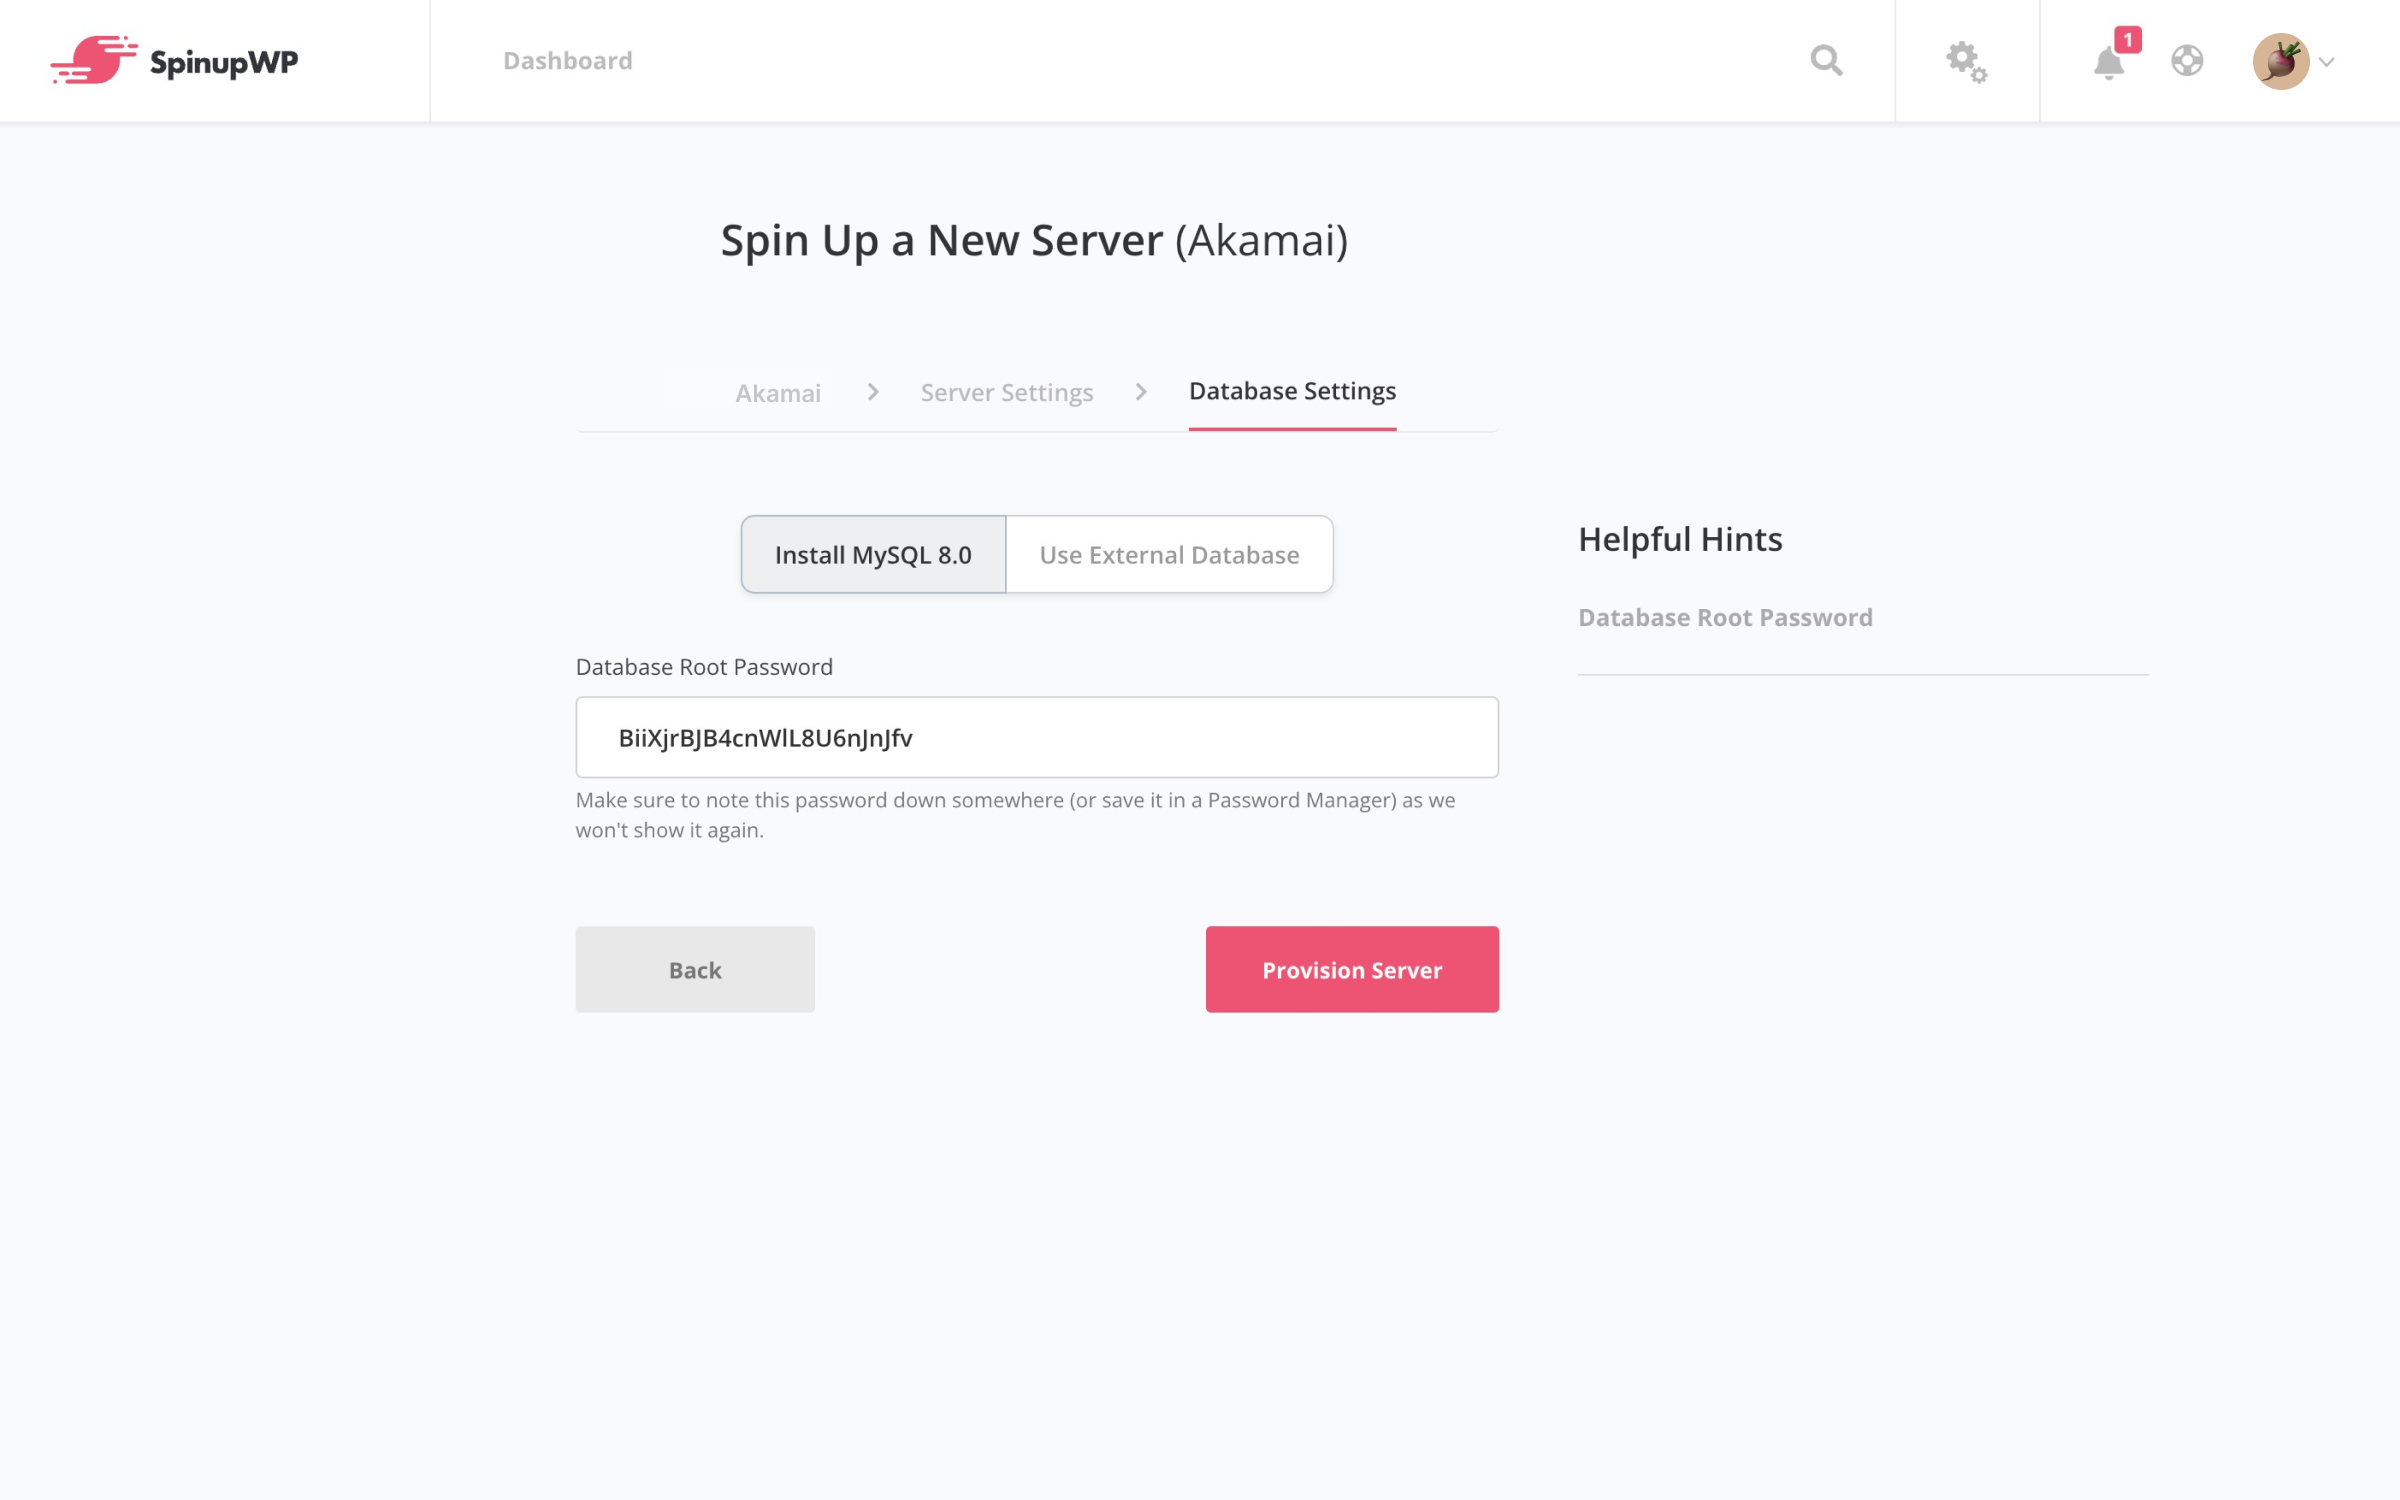
Installing MySQL on the new server is very straightforward. The only option you need to think about is the database root password.
A random secure database root password is generated for you, but you can change it to something else if you prefer. You may want to note it down or store it in a password manager for future reference, but you can always reset it in SpinupWP later.
Using an External Database
Using an external database requires a little more configuration, but offers many benefits.
Run the Provision
Once you’re happy with the settings, click Provision Server and the server will start to be provisioned for you.
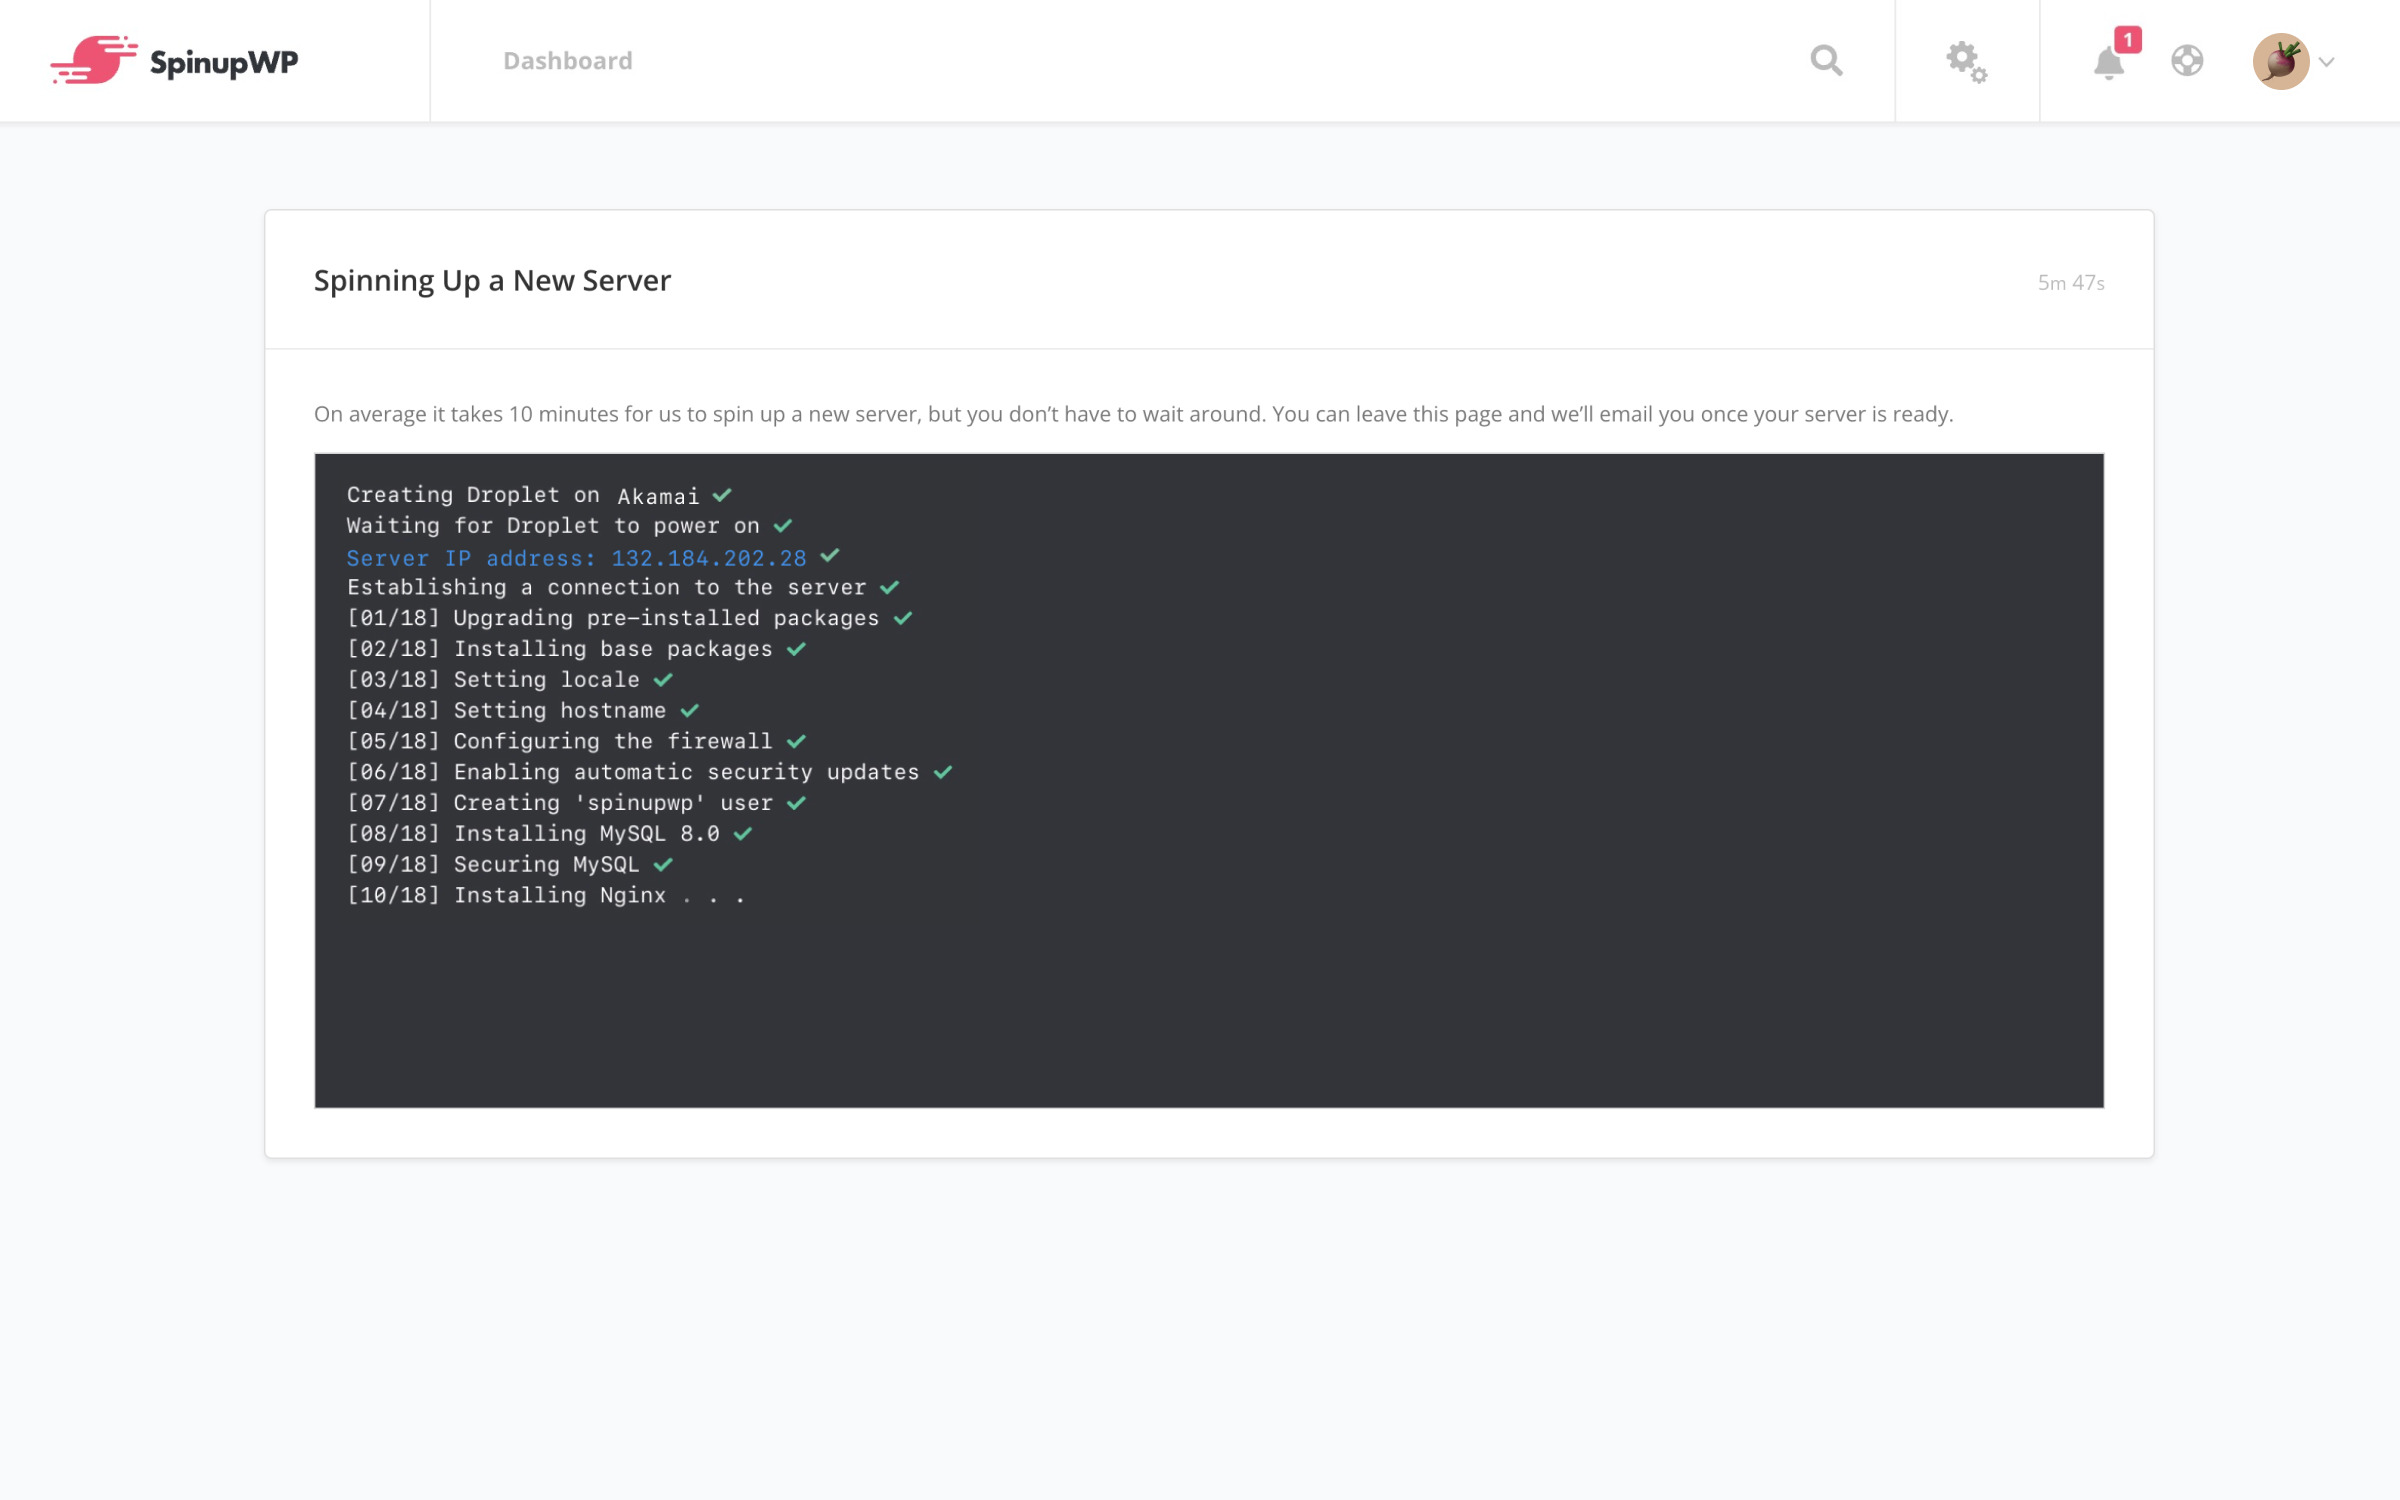
This process takes around 10 minutes, but you don’t need to stay on the screen and wait. We’ll email you when it’s complete and put a notification in the top bar in the app.
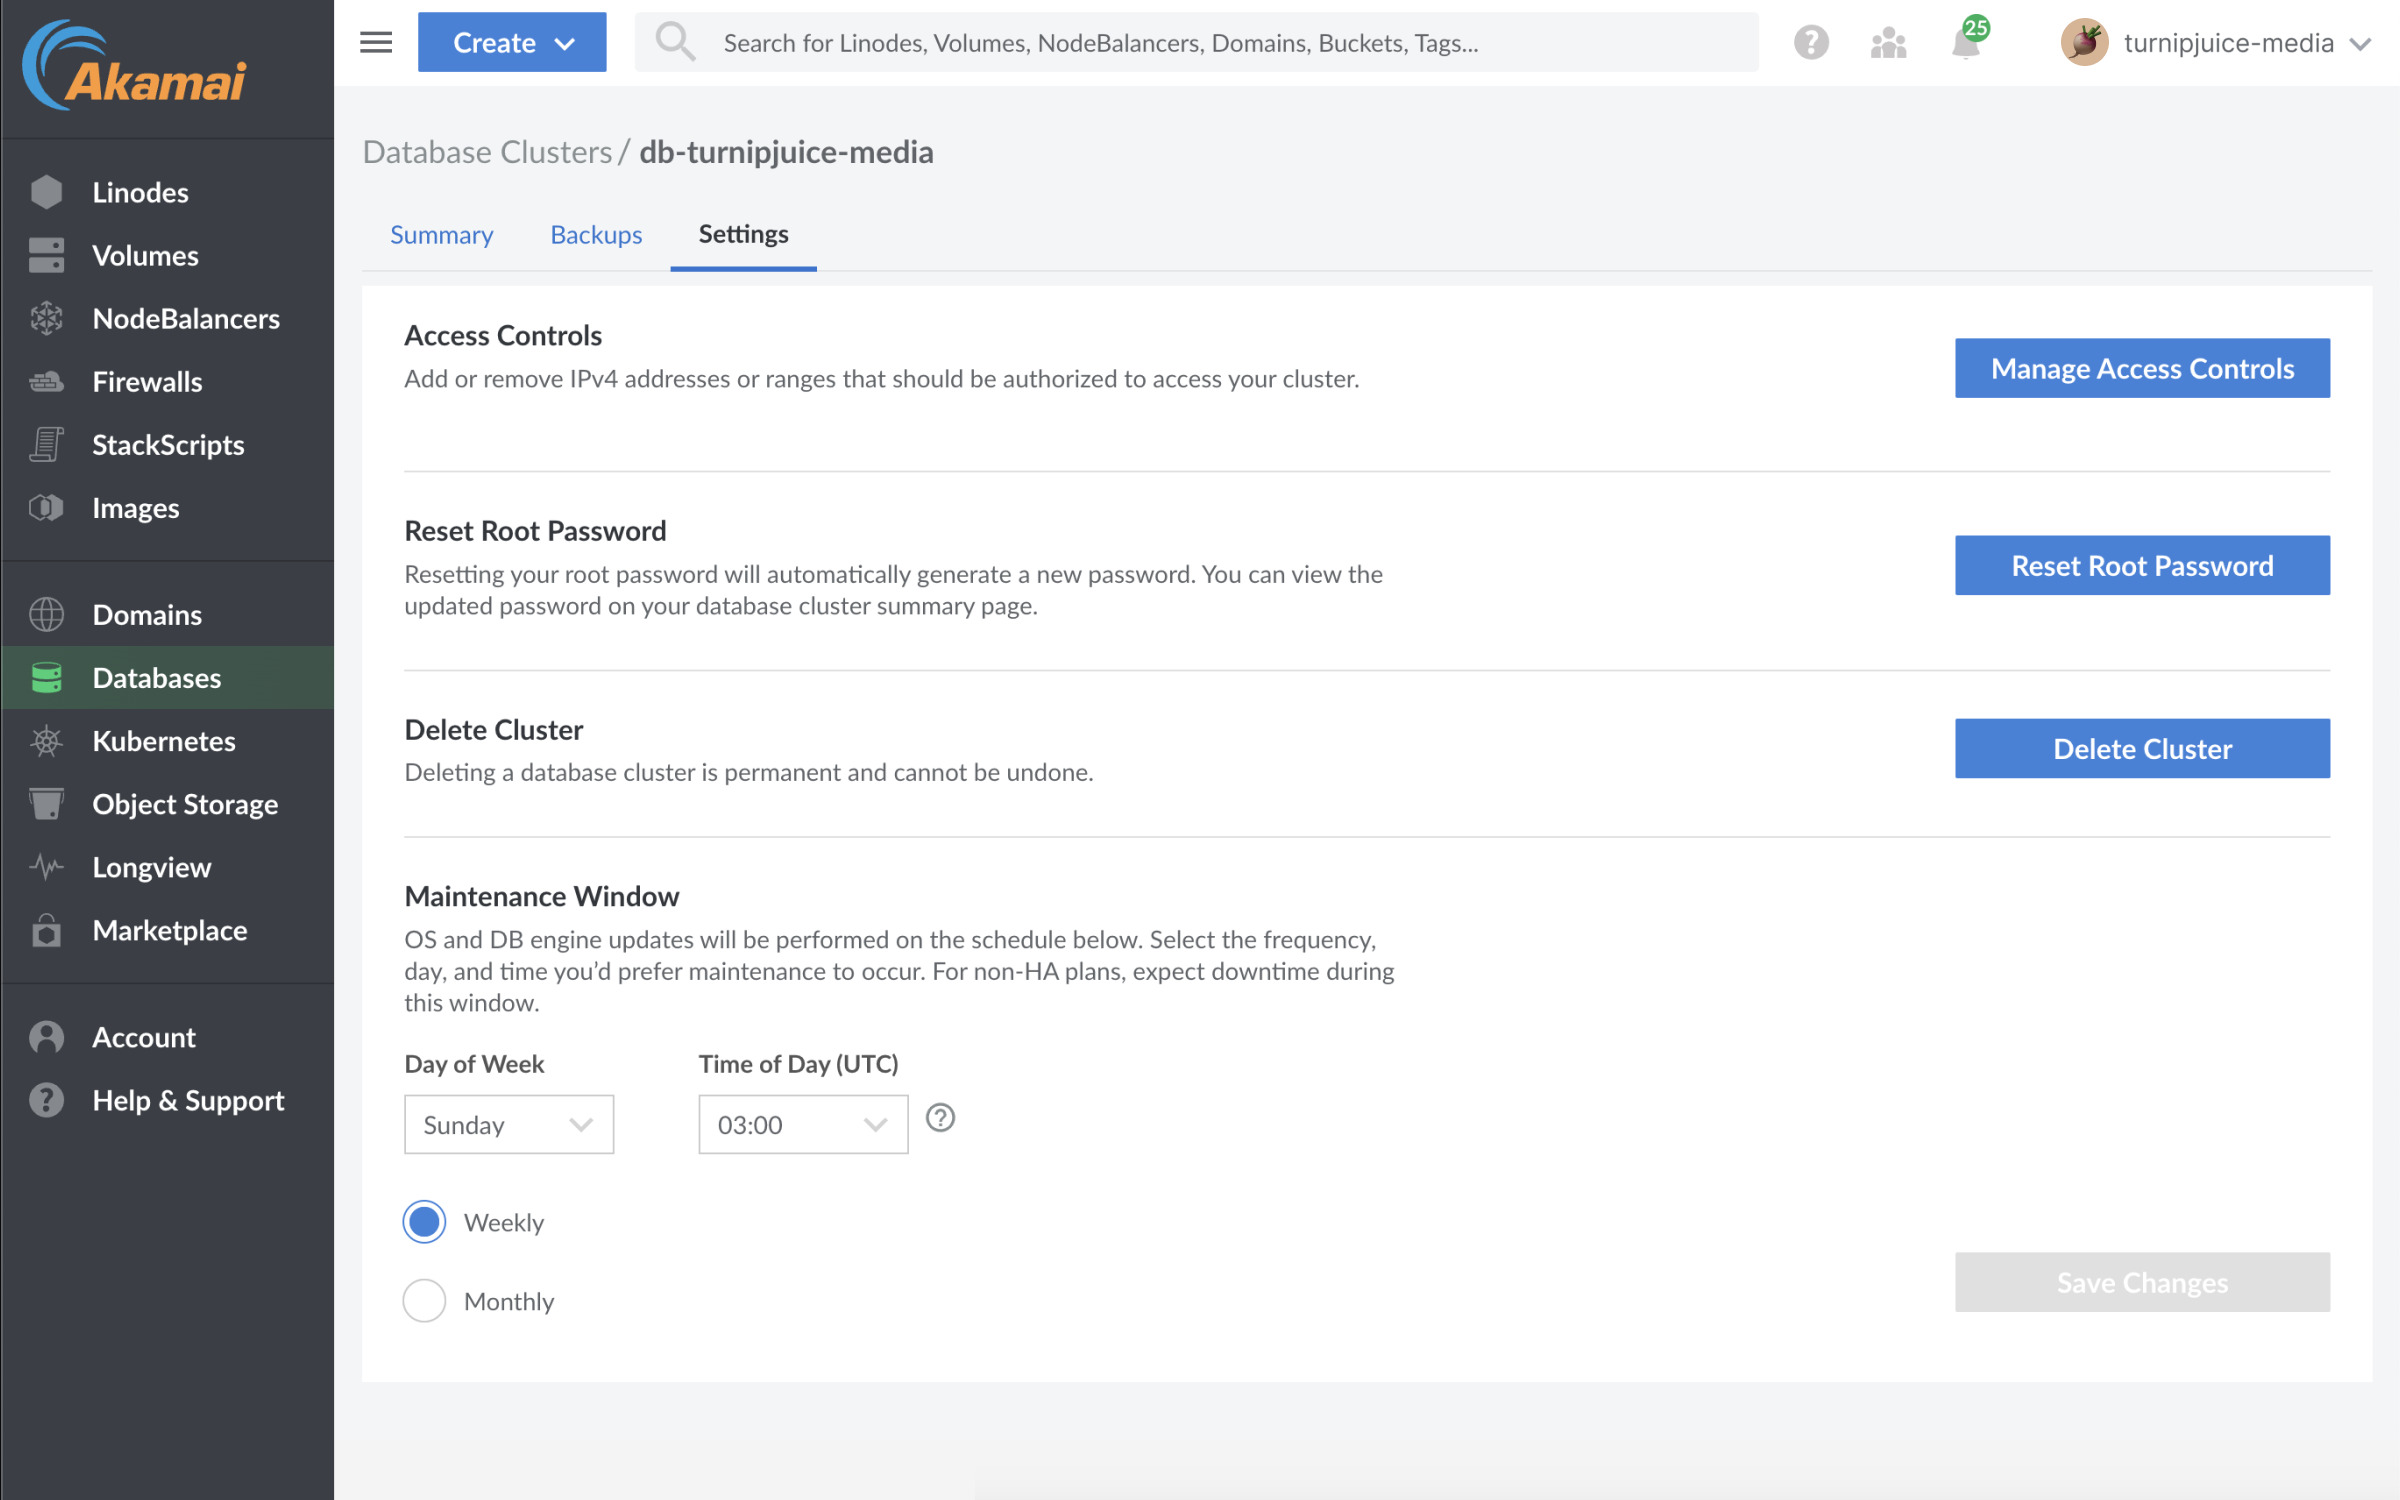
The IP address of your new server will be provided during this process. If you’re using an external database, don’t forget to add it to any whitelists with the hosted database provider. This can be done in Akamai/Linode by clicking Databases in the main navigation bar, selecting the appropriate database, clicking the Settings tab, and selecting Manage Access Control.
The server is provisioned with the latest stable server software (Nginx, PHP-FPM, Redis) for hosting WordPress sites. The following docs will help you understand more about how the server is set up and configured:
- Understanding System Users
- File Ownership and Permissions
- Server Paths & Locations
- Understanding PHP Pools
- The SpinupWP Cache Daemon
Akamai/Linode and SMTP
To prevent spam email abuse on their instances, Akamai restricts outbound connections from ports 25, 465, and 587 for any instances created on new customer accounts.
We recommend using a third party email service over running your own email server.
If you have a legitimate need to send mail from Akamai, you need to configure the appropriate A records and reverse DNS records and then request a manual review by opening a support ticket. The support ticket should include the names of the server(s) that will be used for sending emails.
Next steps
To continue your setup and add a site, see our Getting Started doc.
What to expect after adding a site? You’ll have the option to configure your server and sites to your needs via the SpinupWP dashboard.
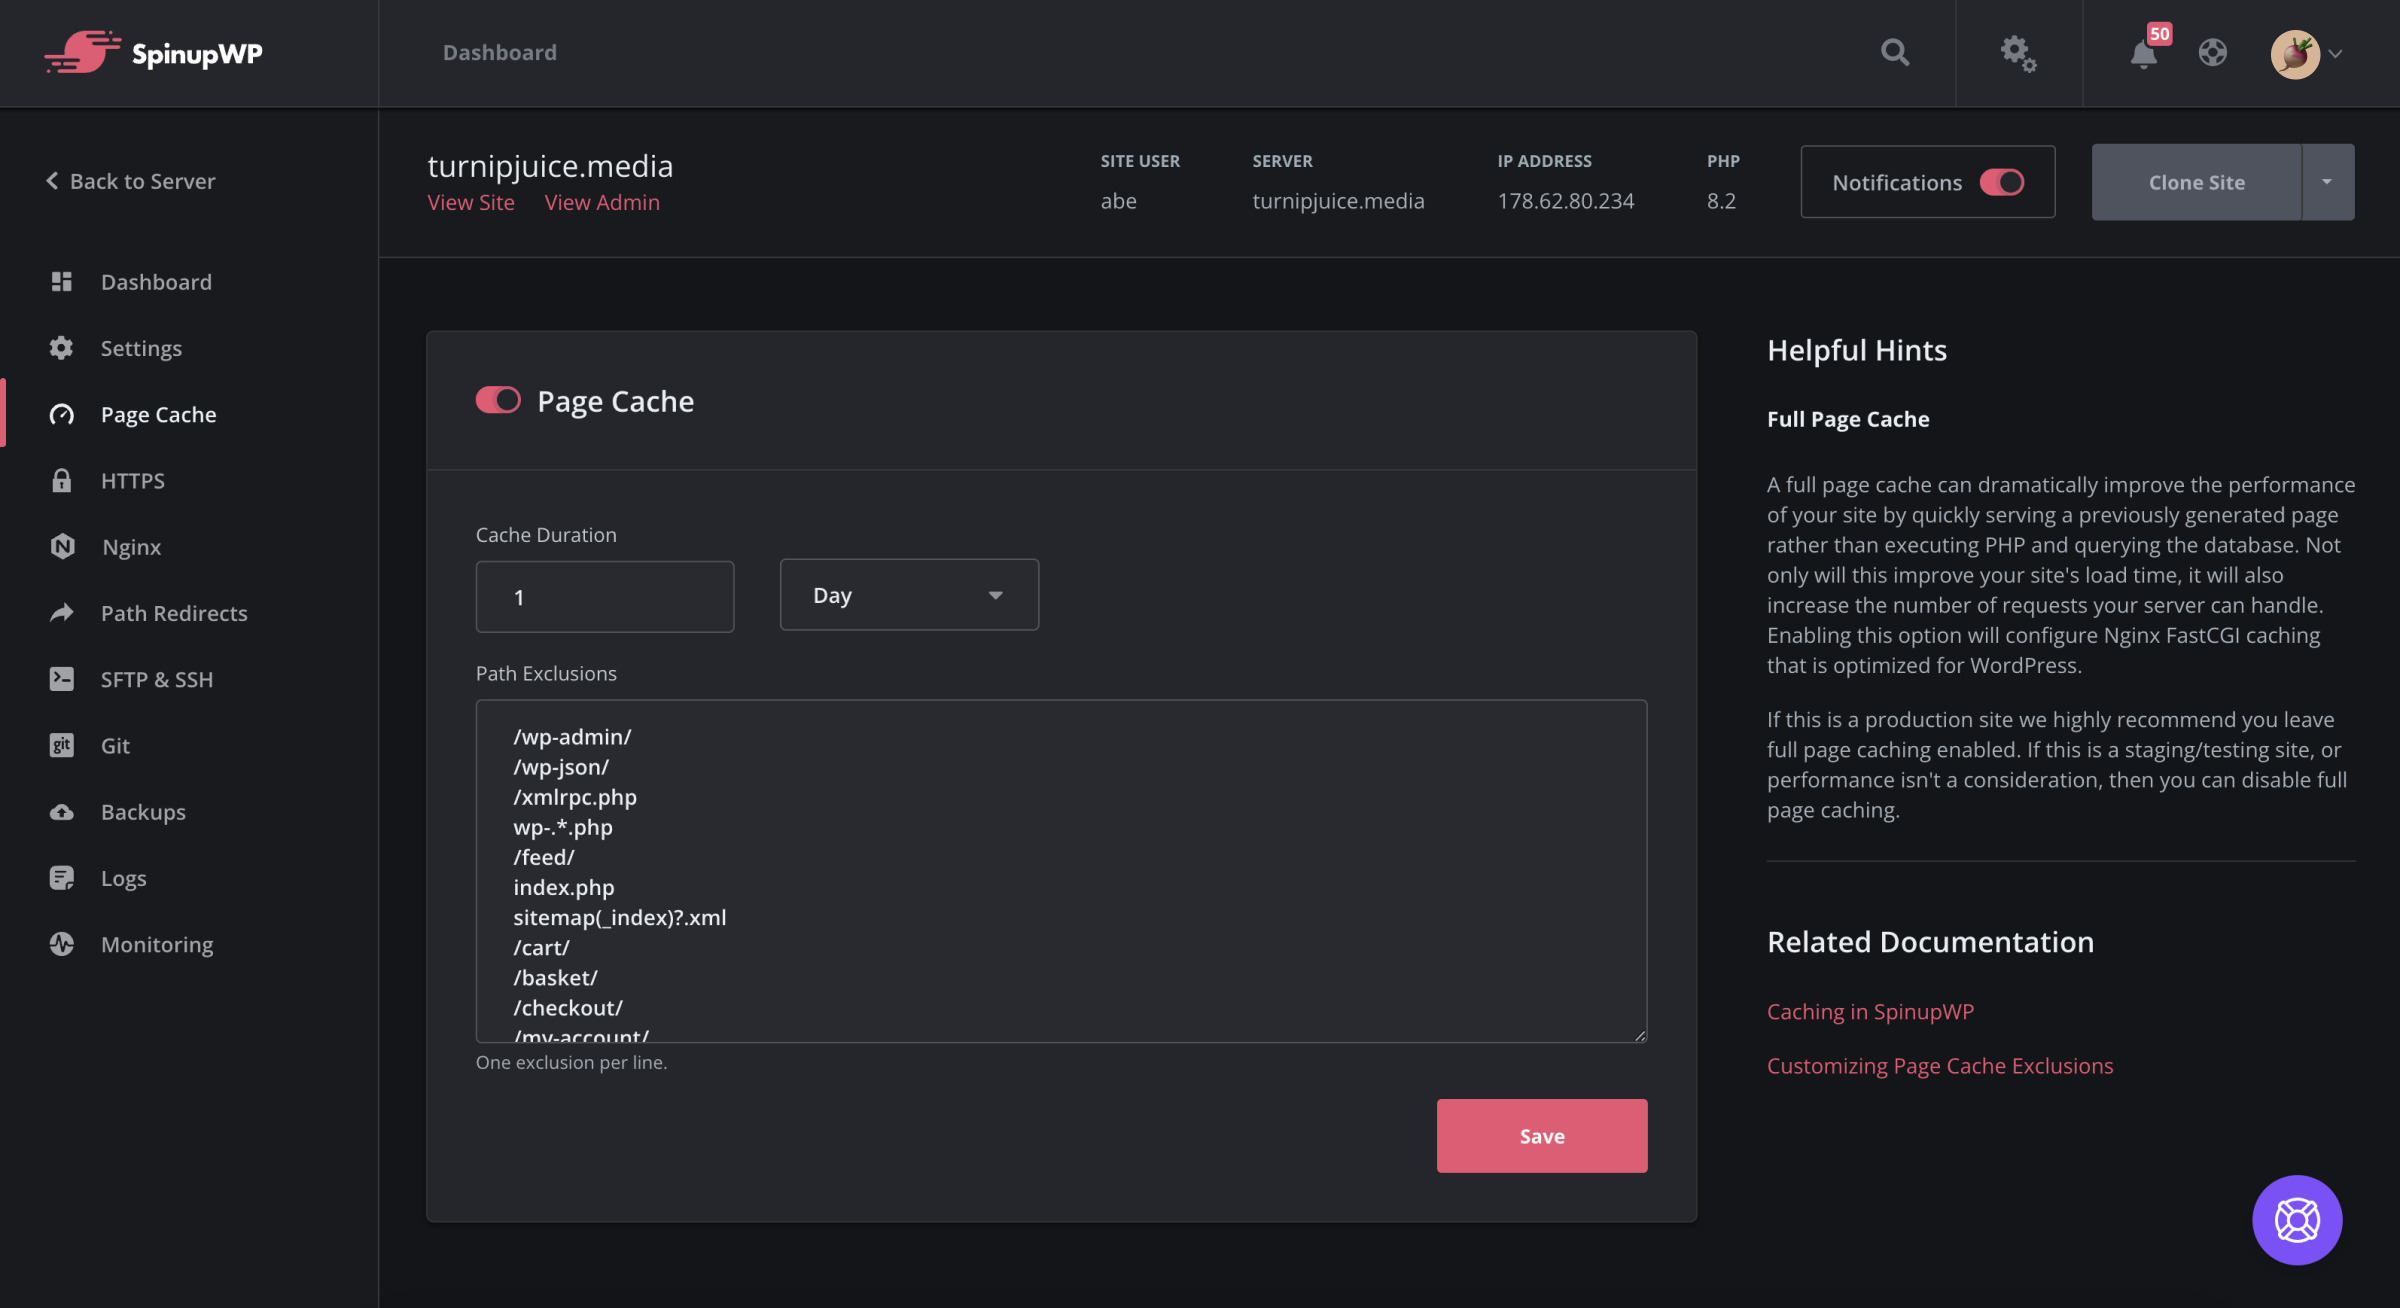
You’ll be able to quickly enable page caching. When enabled, SpinupWP configures full page caching, essentially turning your site into a static site and dramatically improving the load time of your site.
You can also toggle on an SSL certificate to enable HTTPS. This generates a free Let’s Encrypt certificate so you don’t have to manually manage this yourself. If you’d prefer to use a custom SSL certificate, you’ll have the opportunity to upload that instead.
If you’re looking to add rewrite rules or prevent PHP scripts from being executed in the uploads folder, the Nginx settings steps will cover that.
We’ll also cover enabling SFTP & SSH access to your site and setting up site backups.
SpinupWP can take care of automated daily site backups which include full backups of your site files (media, themes and plugins). You’ll have the option to backup to Amazon S3, DigitalOcean Spaces, Akamai/Linode, Google Cloud Storage, Wasabi or Backblaze B2.
Follow our Getting Started Guide for step by step instructions for all of the above mentioned features and more.