Getting Started
Once you’ve signed up for SpinupWP, and you’re ready to start spinning up WordPress sites, the first thing to do is to click Spin Up a New Server from the dashboard.
Provisioning Your First Server
You’ll need to choose a provider to host your new server. You can connect servers hosted at any provider to SpinupWP, but it’s especially easy to provision new servers with Vultr, DigitalOcean, Hetzner, and Akamai/Linode. We have fully integrated with these providers, meaning you can connect SpinupWP to your integrated provider account and spin up servers right from the SpinupWP dashboard. No need to bounce back and forth between two dashboards copying and pasting bits of information.
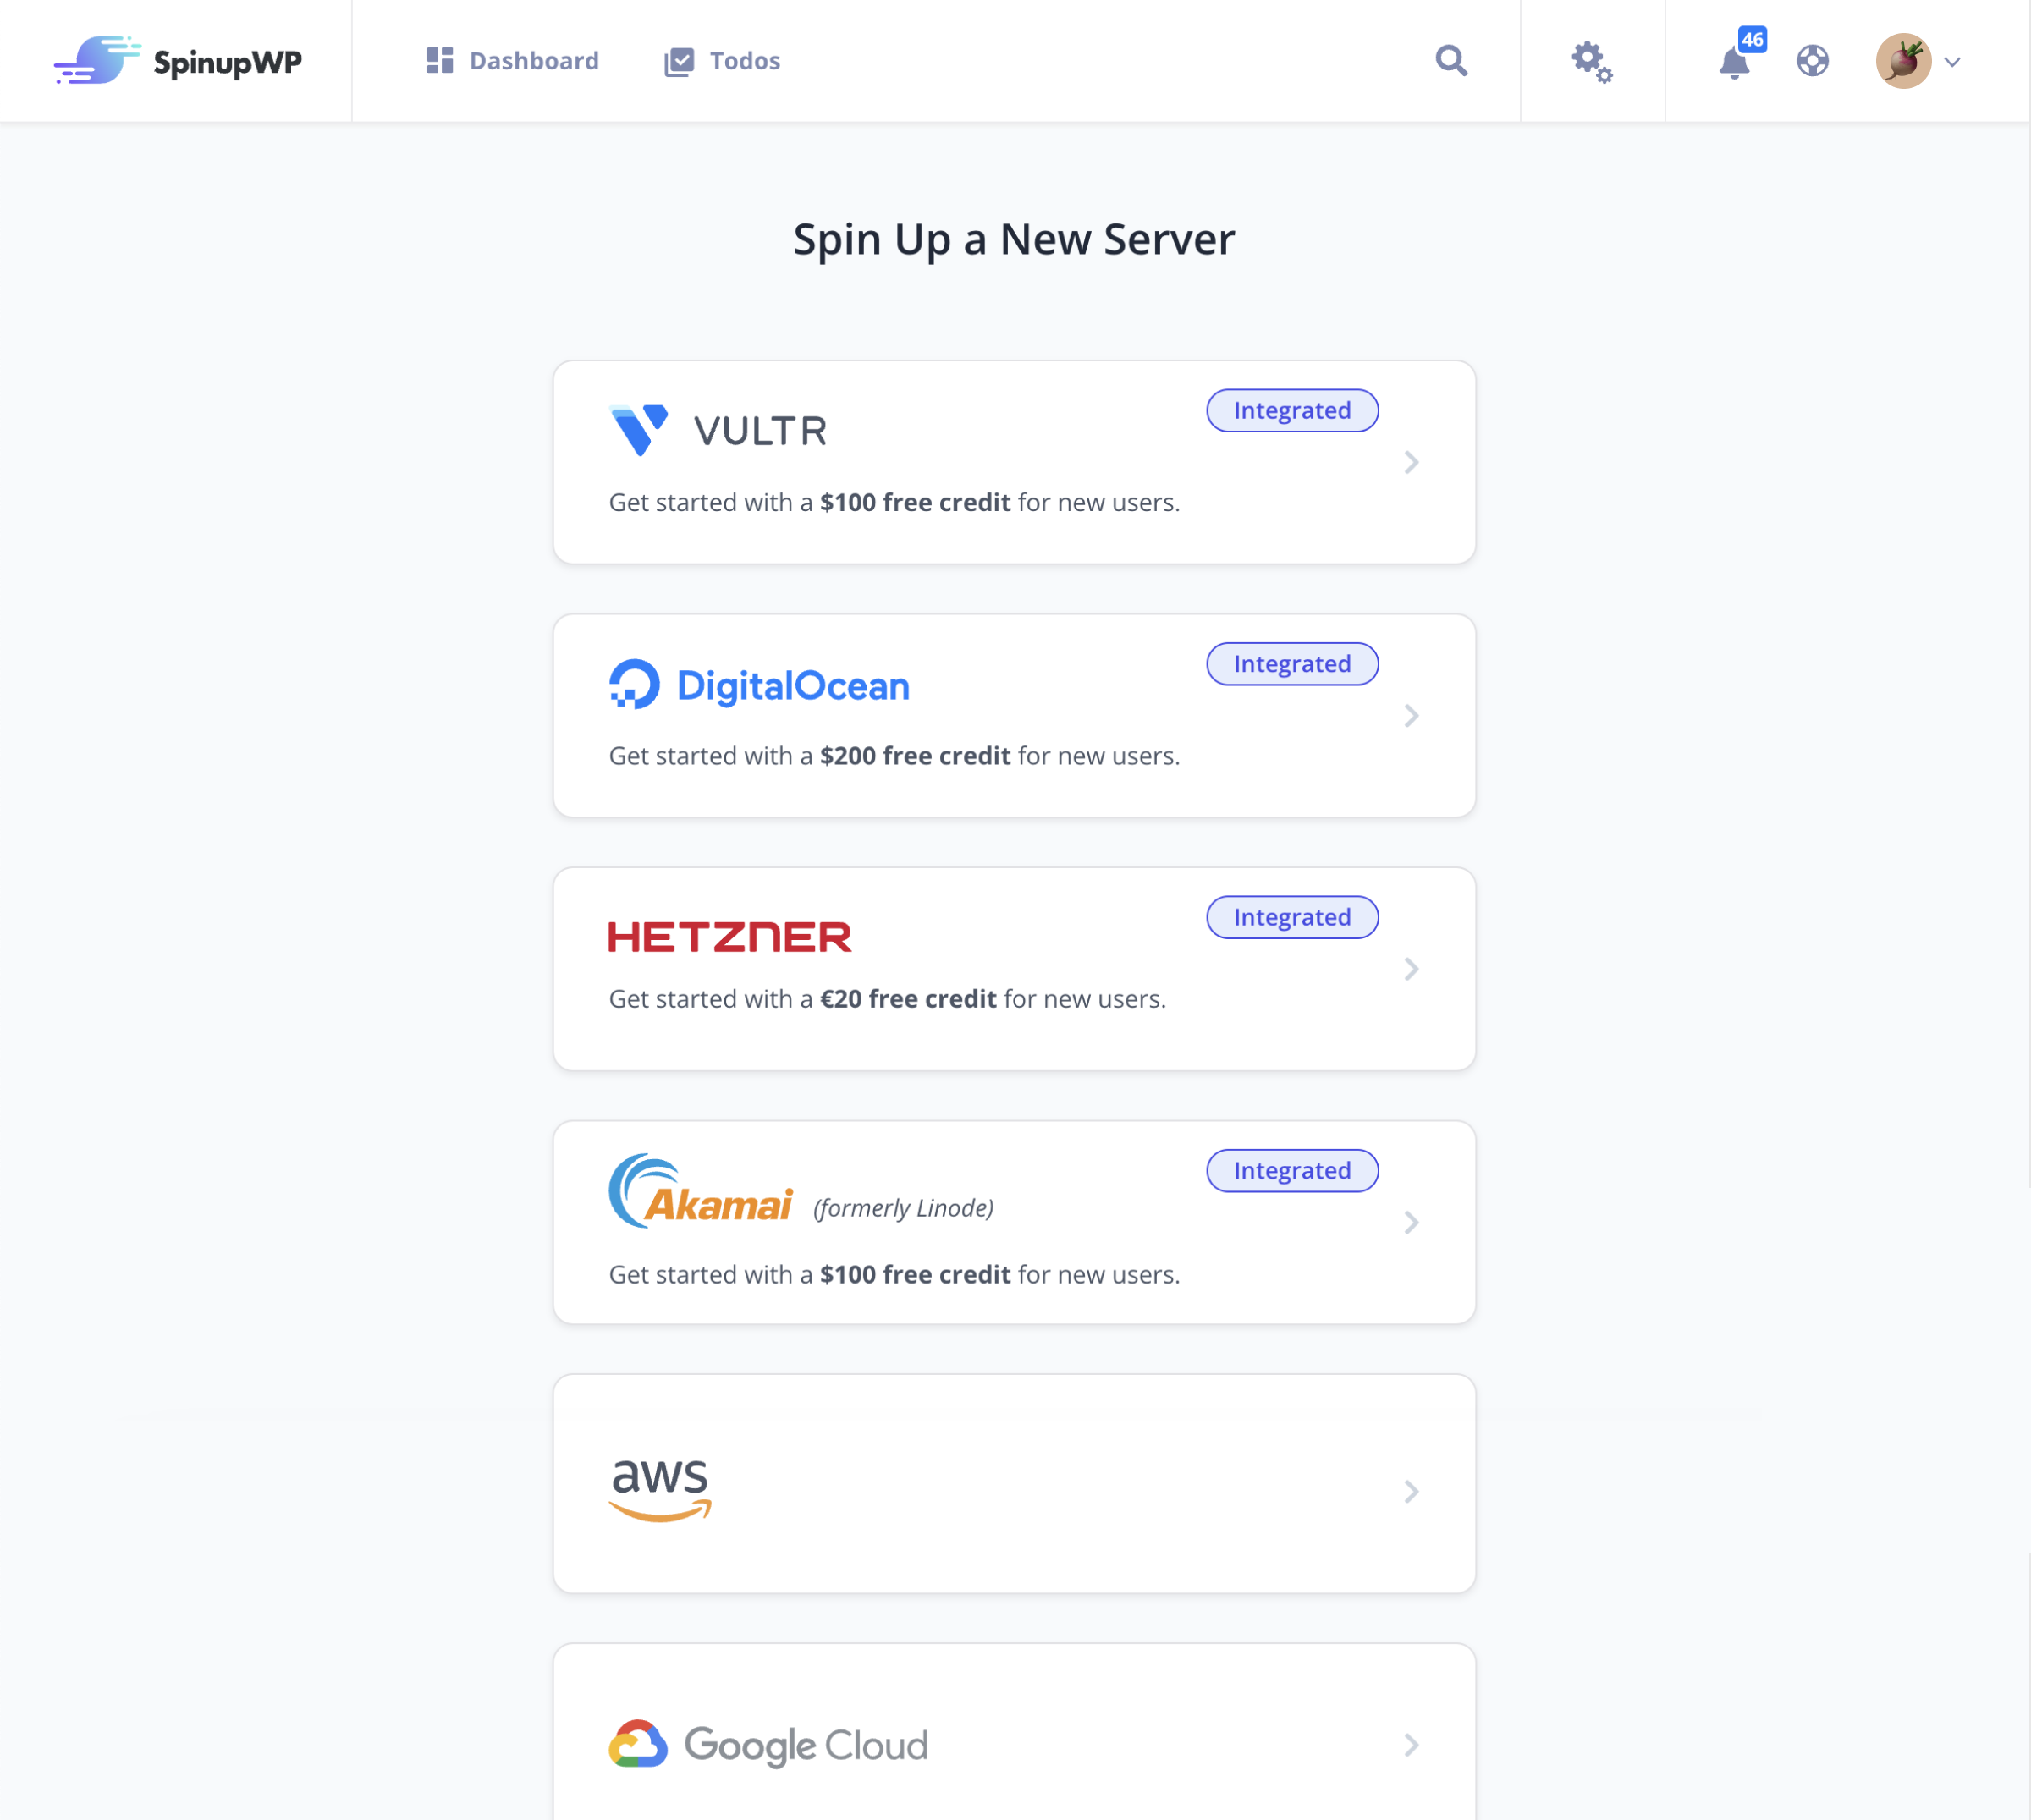
Follow our detailed guides that walk you through the server setup for each of the major providers:
- How to install WordPress on Vultr
- How to install WordPress on DigitalOcean
- How to install WordPress on Hetzner
- How to install WordPress on Akamai/Linode
- How to Install WordPress on AWS Lightsail
- How to Install WordPress on AWS EC2
- How to Install WordPress on Google Cloud Compute
Using a provider not listed here? Follow our How to Install WordPress on Any Provider guide.
Unsure which provider to go with? Our DigitalOcean vs Vultr vs Akamai/Linode vs Hetzner vs AWS vs Google Cloud will help point you in the right direction.
Sites
Now that you’ve selected a provider and set up your server, it’s time to add a site.
Migrate an Existing Site
If you’d like to migrate an existing site, you should skip over to our migration guide. If you’re creating an all new site, you can proceed with the instructions below.
Adding a Site
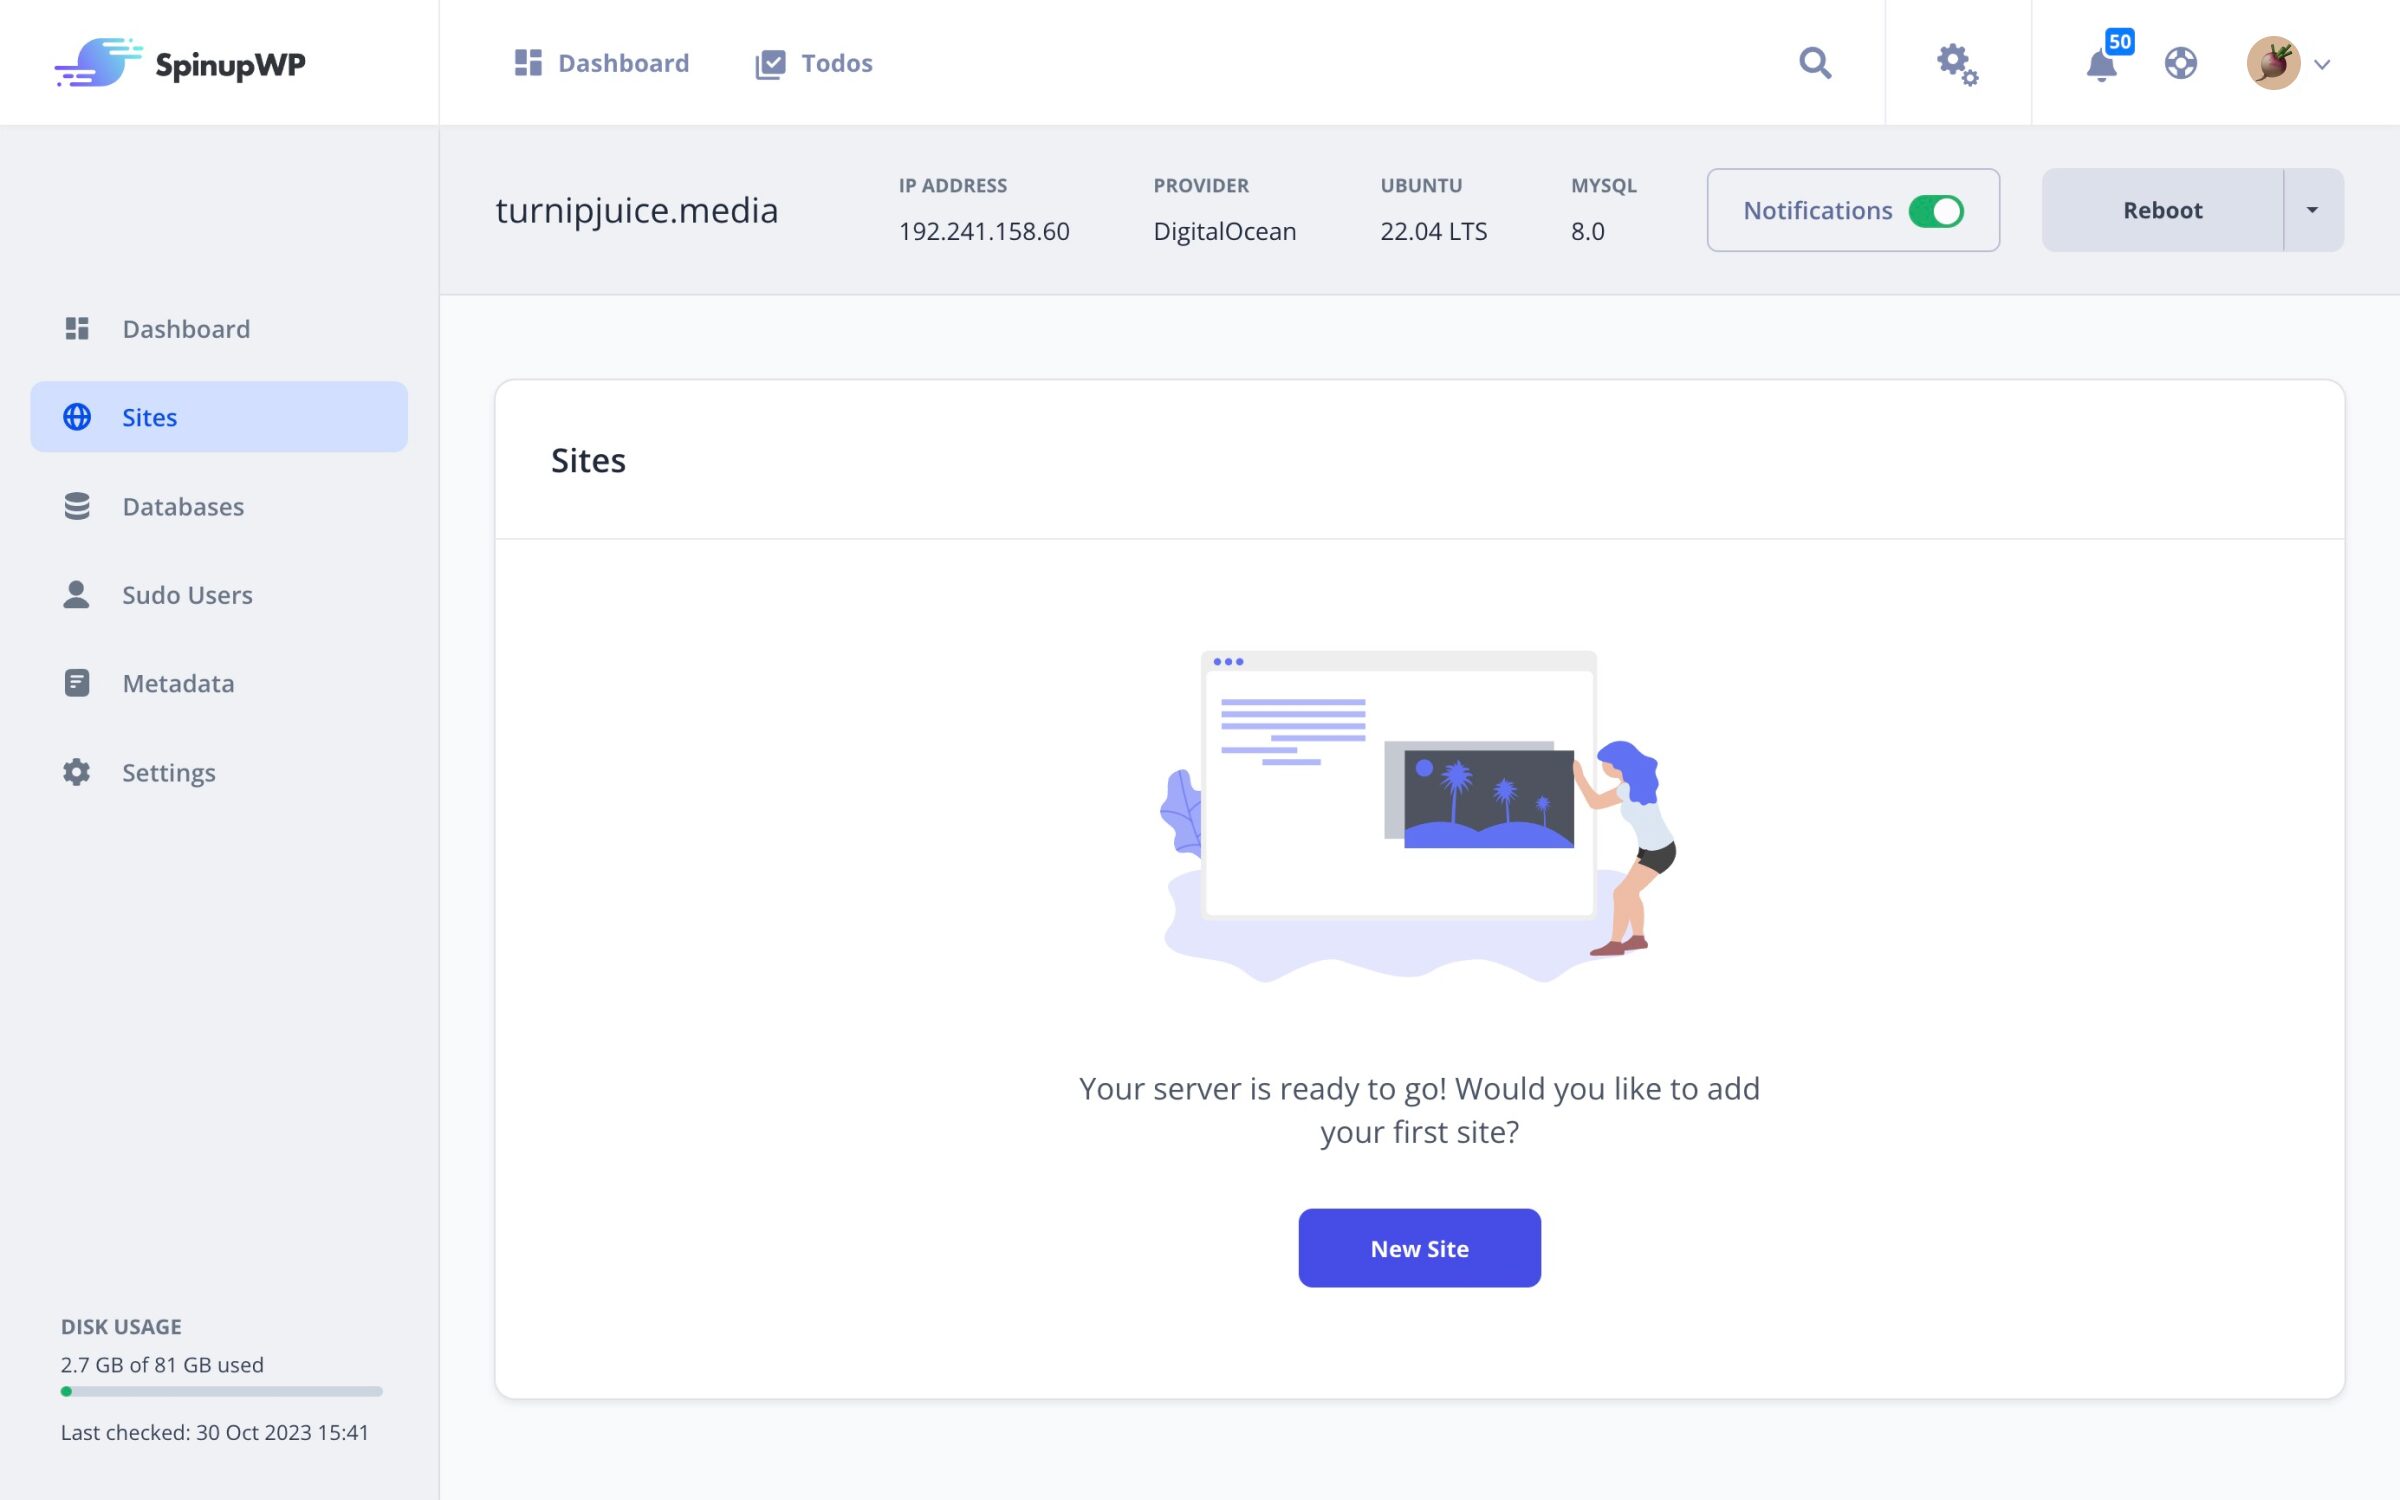
Once the new server is provisioned, you will be taken straight to the server dashboard. Click onto the Sites tab and click New Site to add a new site to the server.
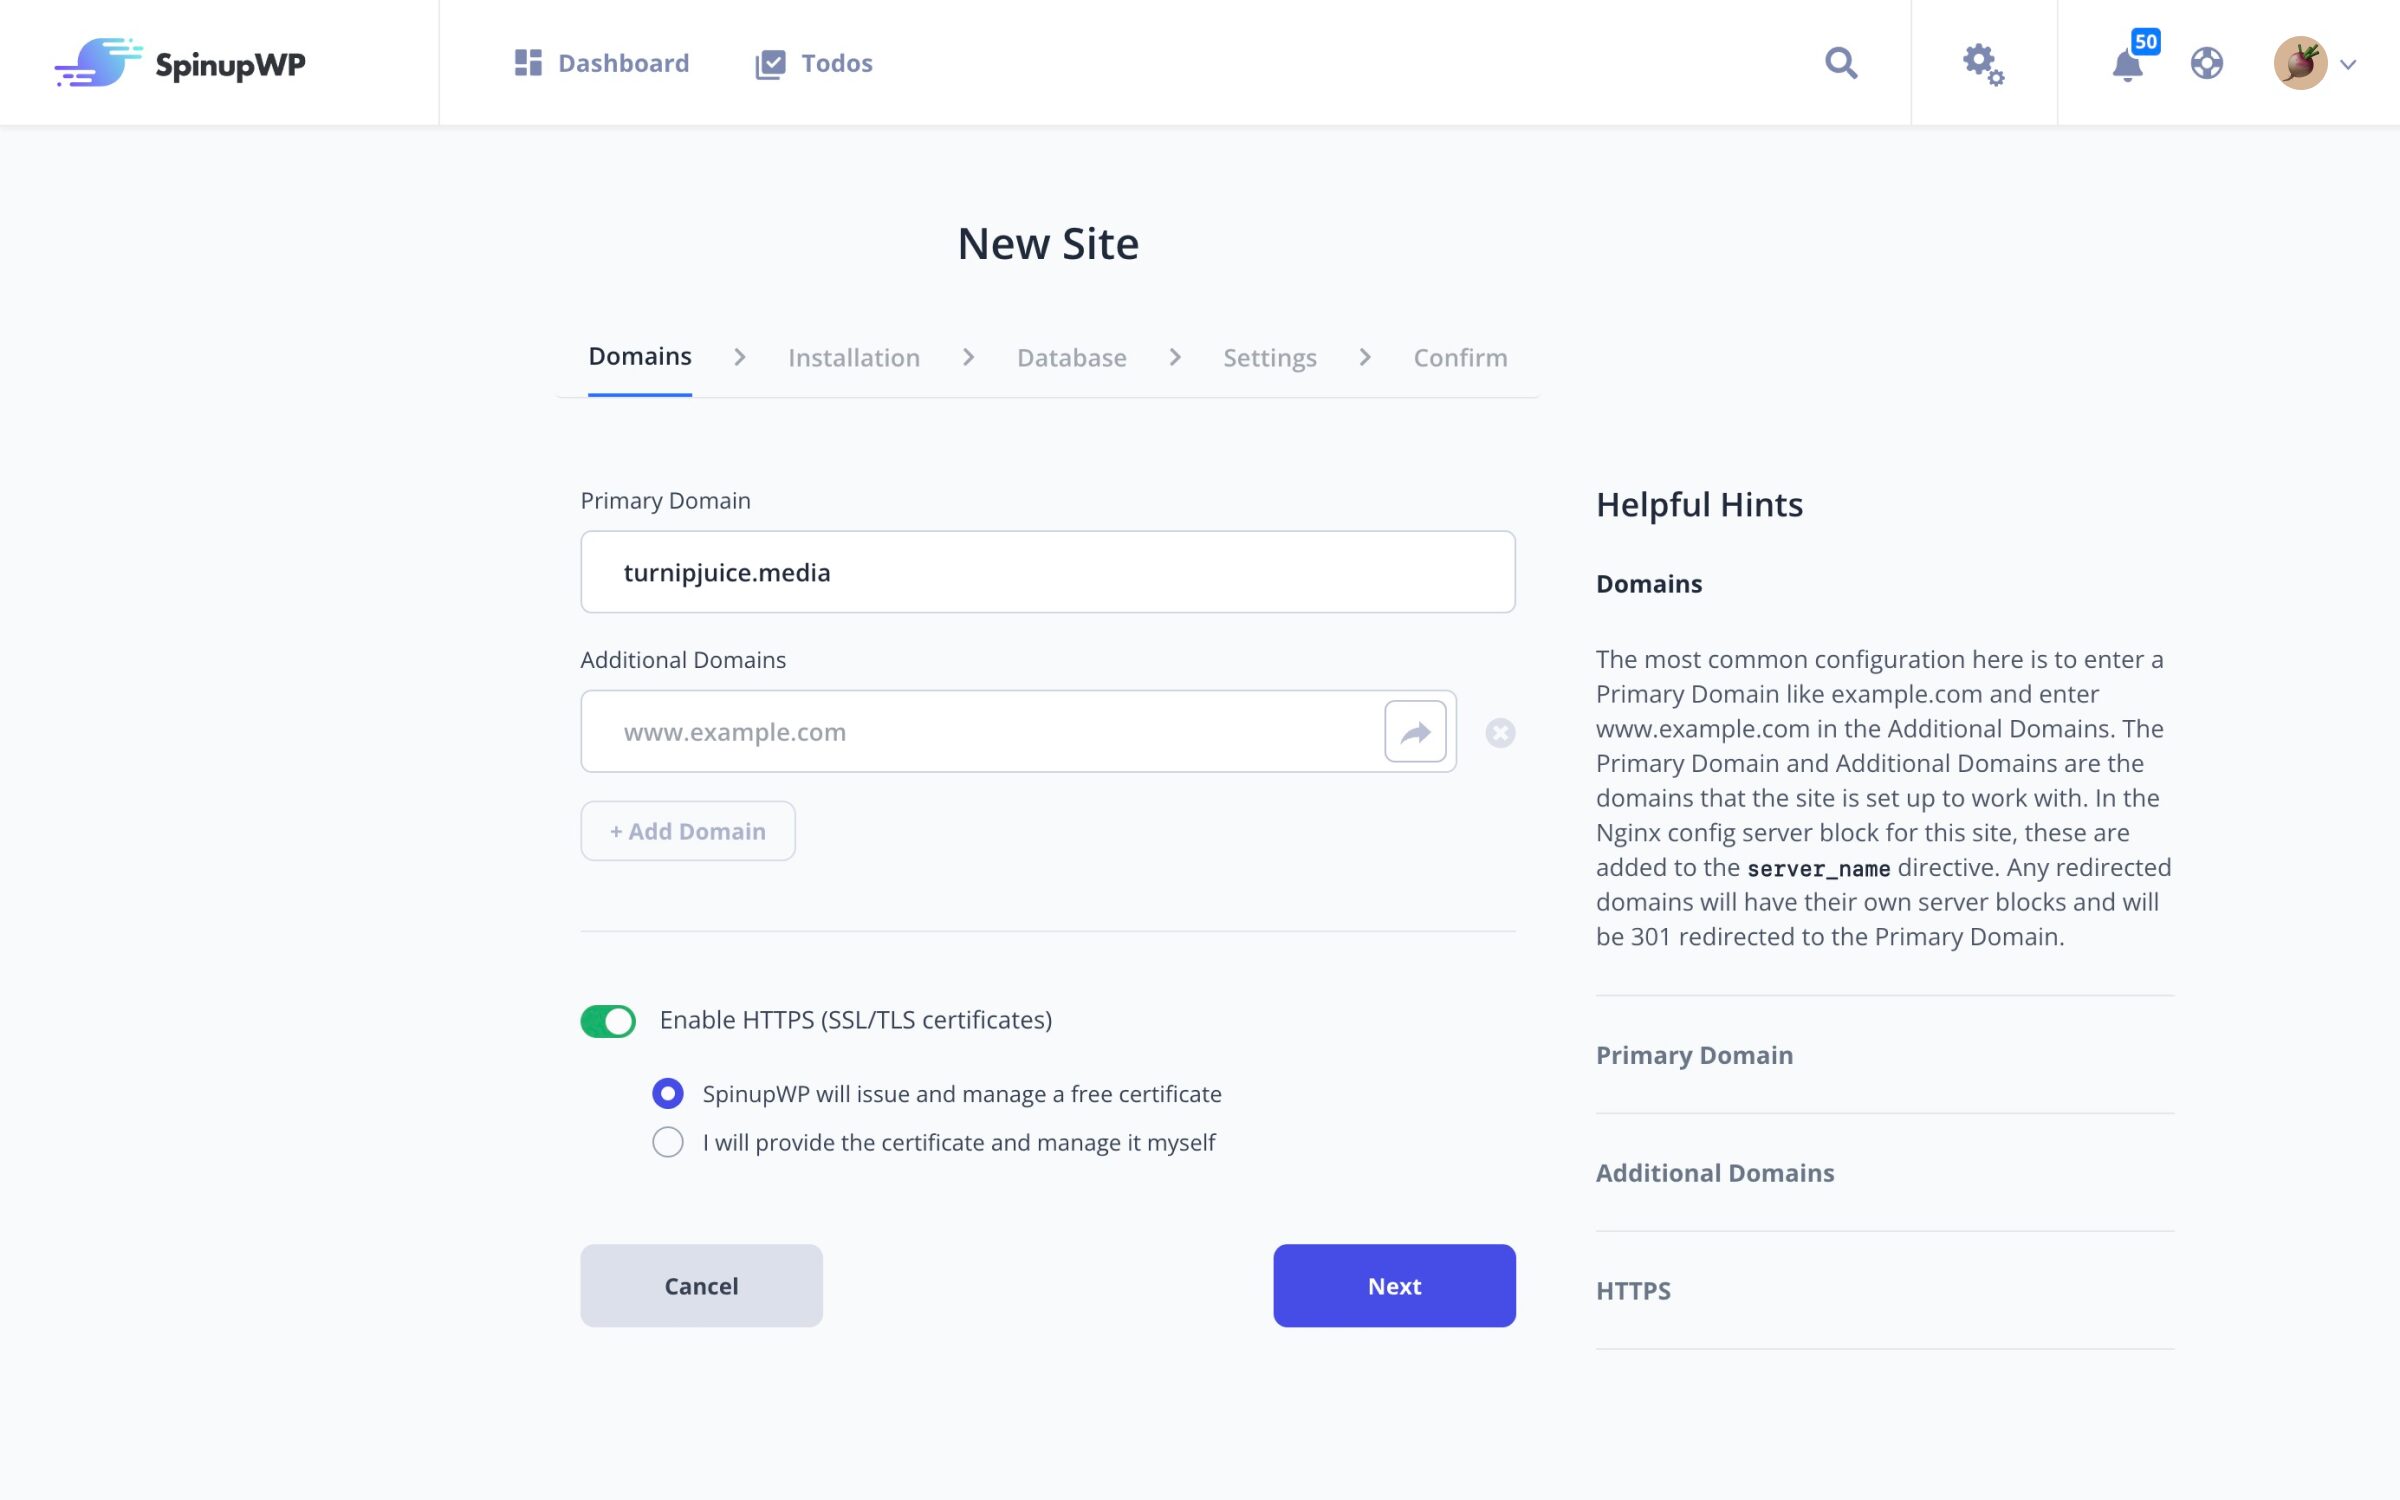
Domains Setup
Enter the primary domain (this can be a subdomain) and any additional domains for the site.
One you have finished adding the site, you will be able to easily add, edit, and remove additional domains at any time as well as adjust which domain should be treated as the primary domain for the site.
If the “Enable HTTPS (SSL/TLS certificates)” toggle is on, SpinupWP will generate a free Let’s Encrypt certificate and configure Nginx to serve HTTPS traffic. Regular HTTP traffic will be redirected to HTTPS. HTTP/2 will also be configured which will improve the performance of your site. We recommend that all sites are deployed with HTTPS enabled, but you can enable/disable it at any time. You can also choose to use your own SSL certificate from this screen.
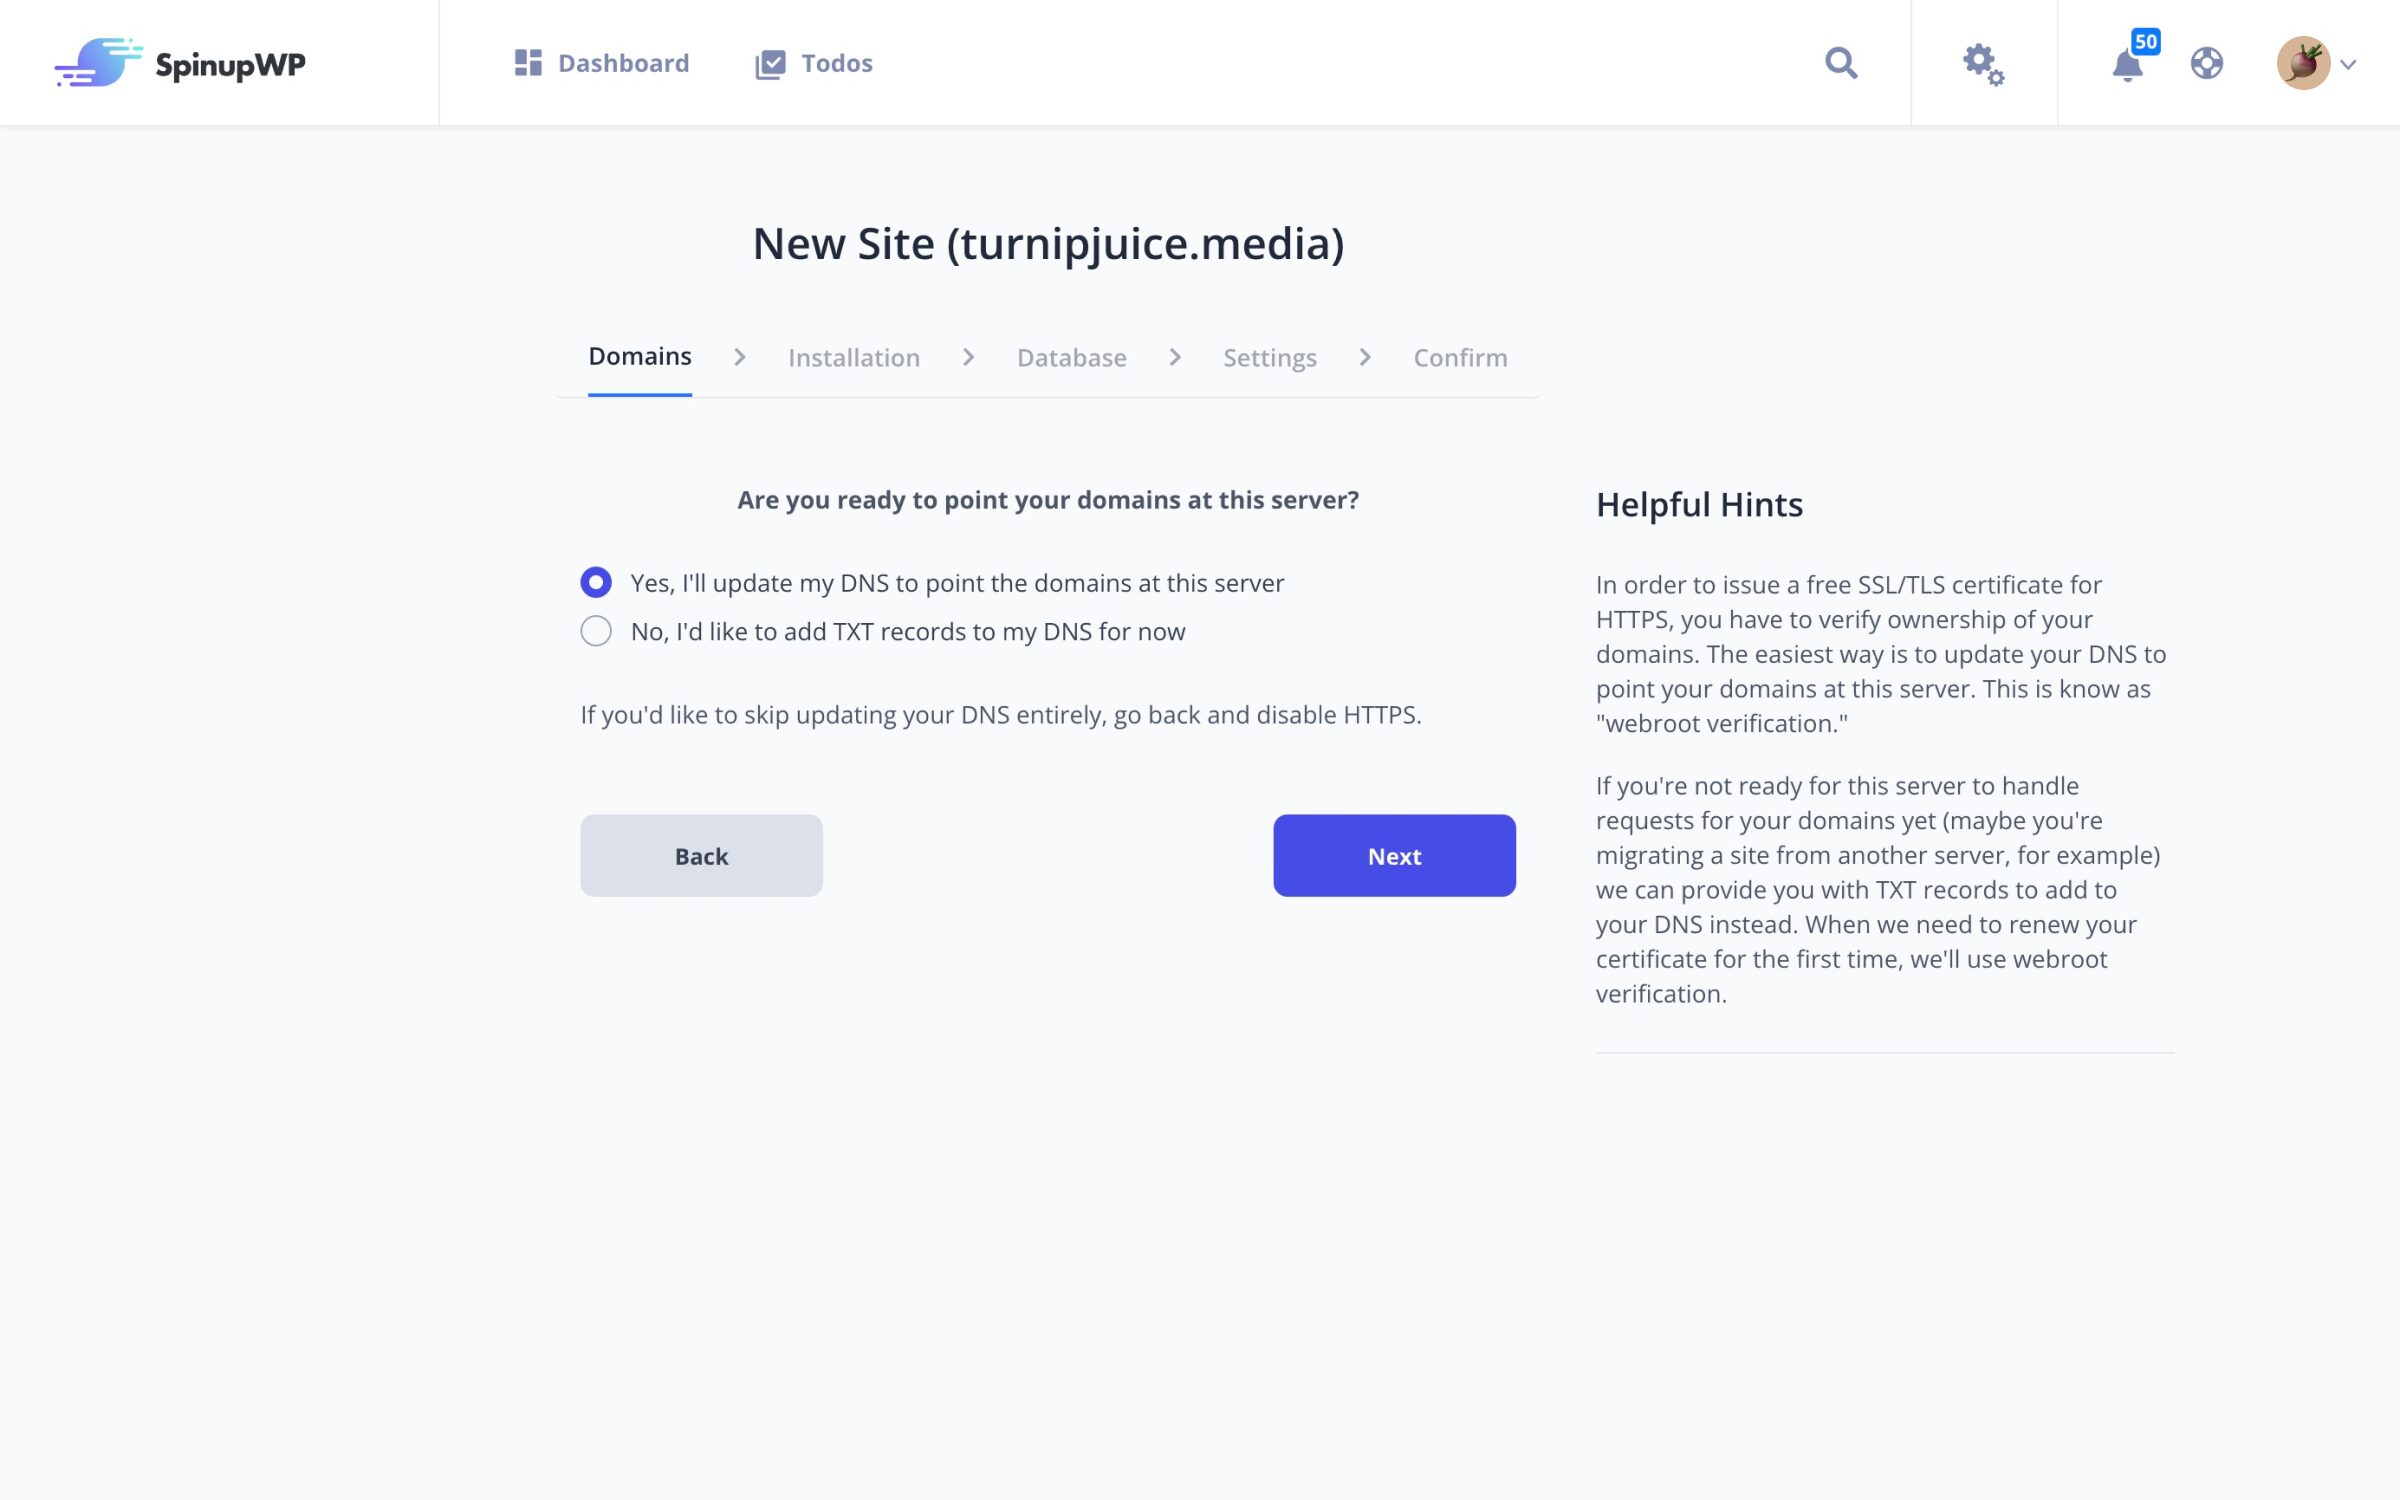
The next screen will ask “Are you ready to point your domains at this server?” As we’re setting up a new site, and not migrating a site, select Yes, I’ll update my DNS to point the domains at this server and click Next.
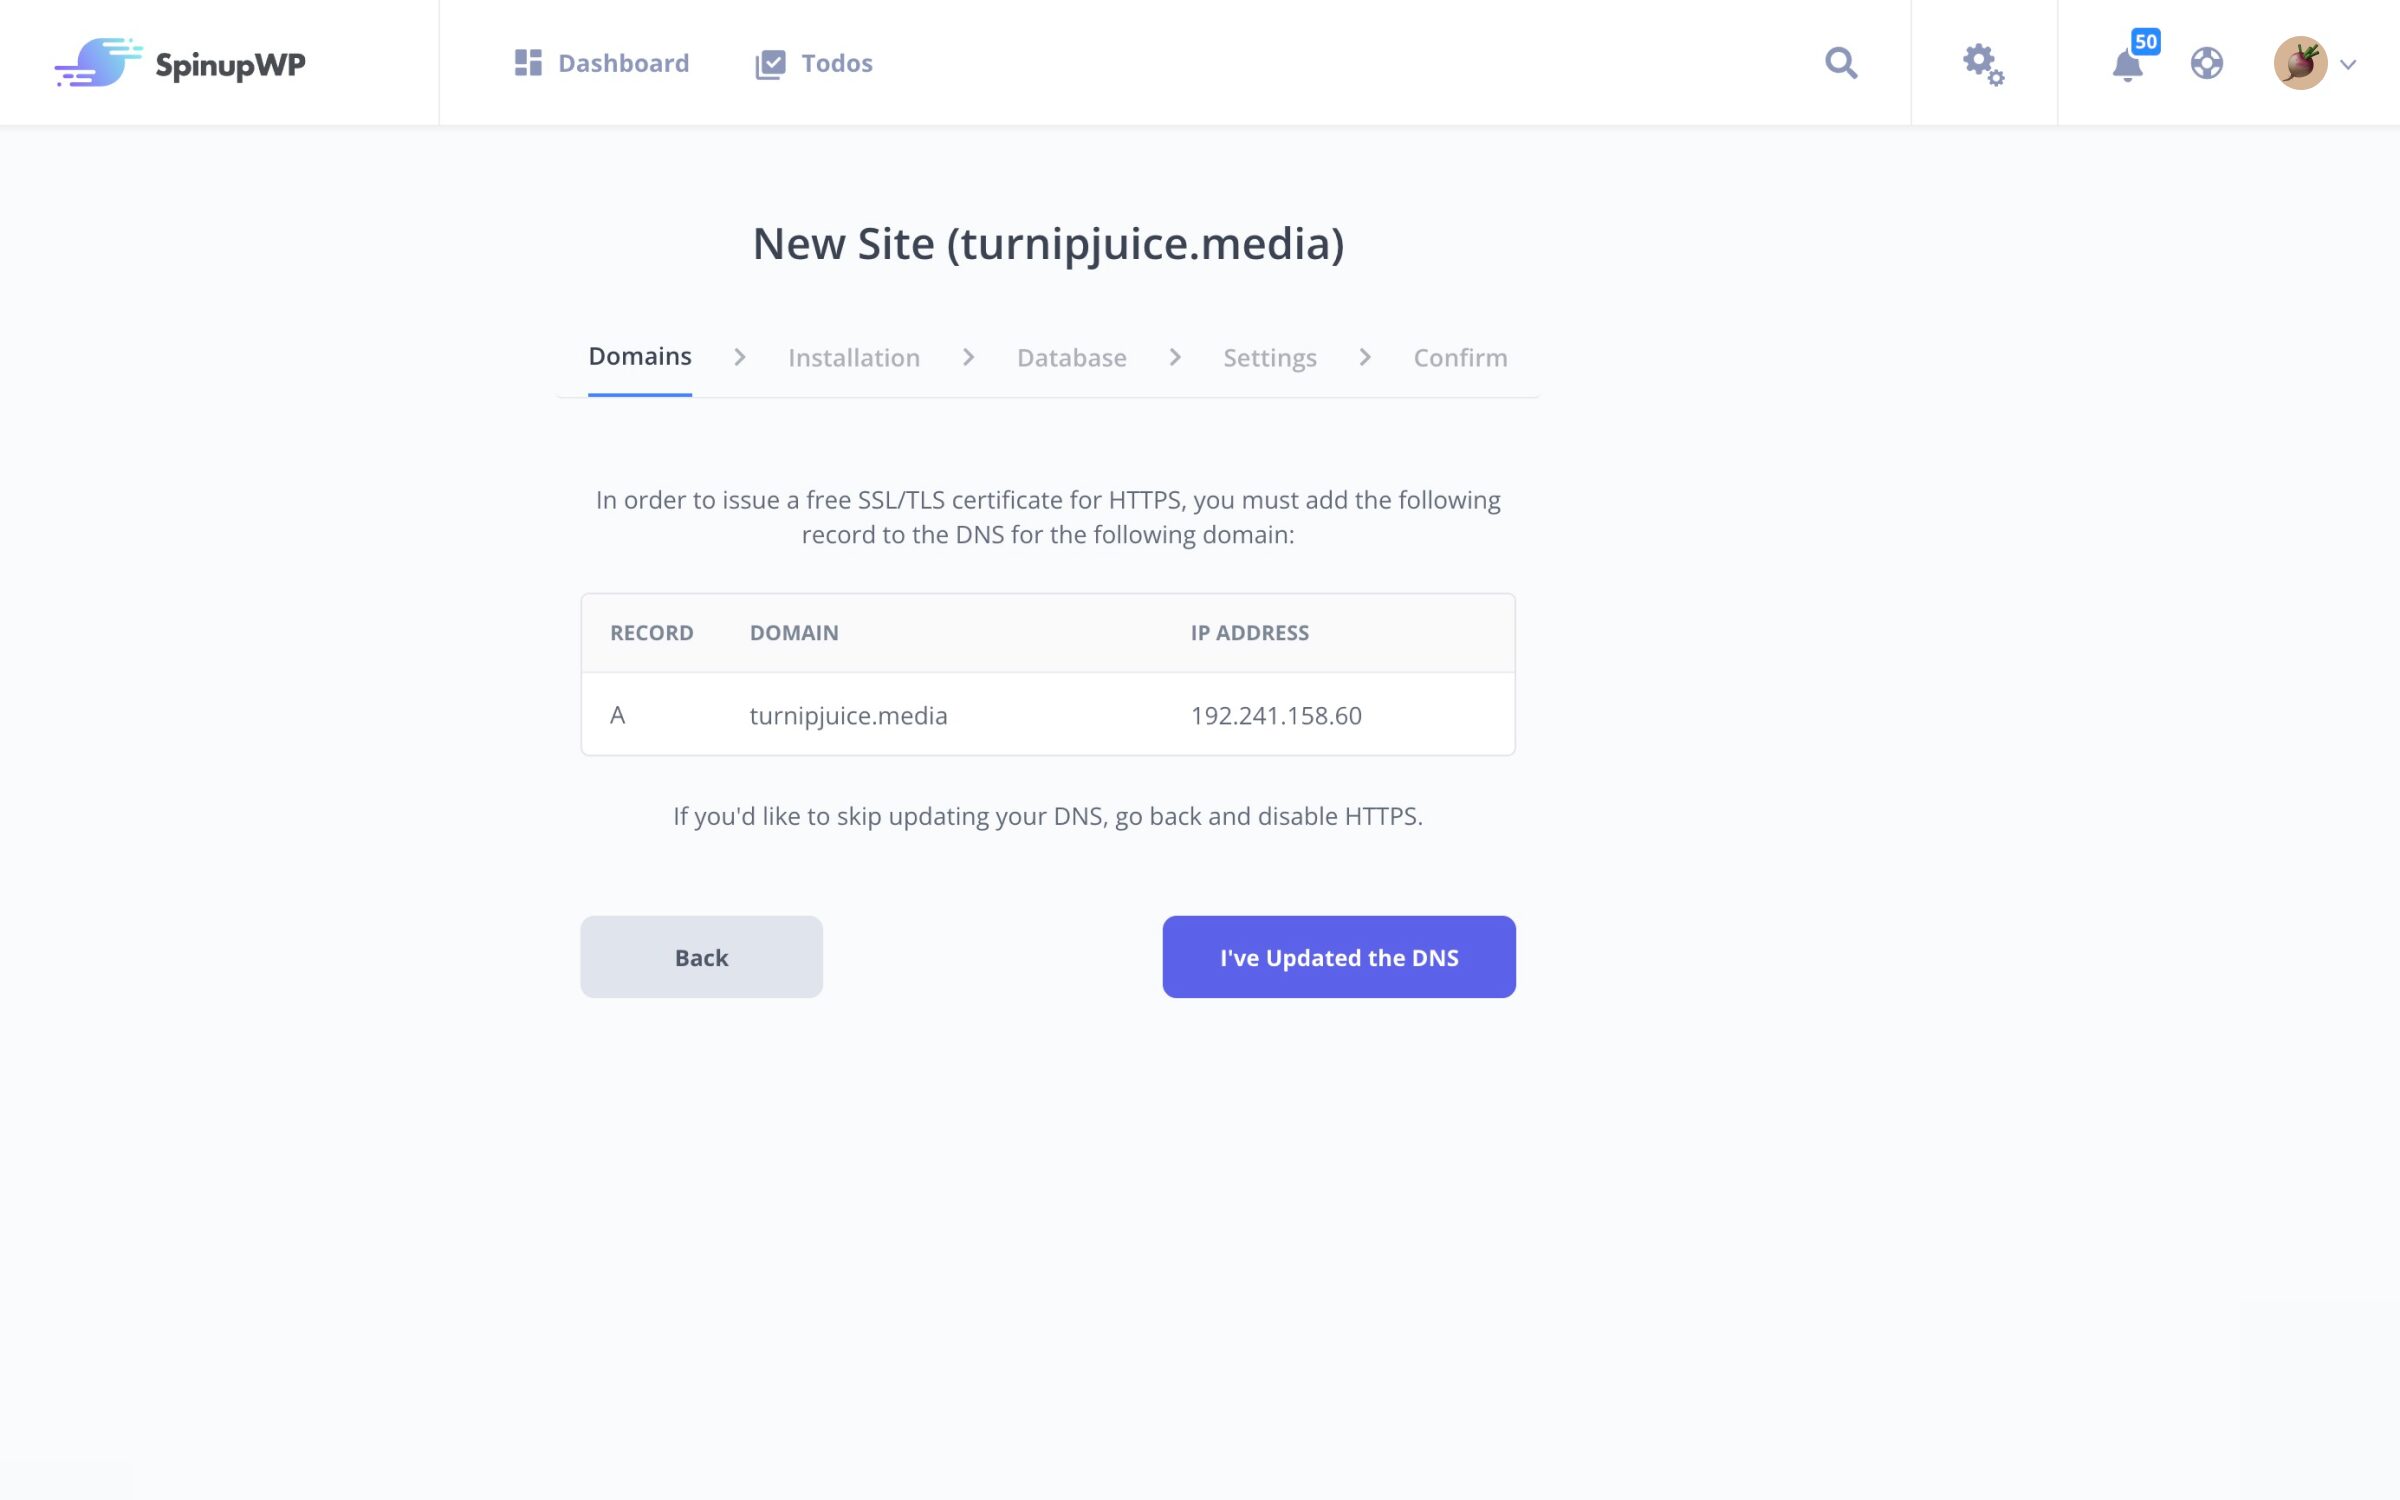
The next screen gives you the details for the A record that needs to be added to the DNS records for the domain at your DNS provider (SpinupWP does not handle DNS for you). This will need to be added, with any existing A records removed, through your DNS provider or domain registrar before an SSL certificate can be generated.
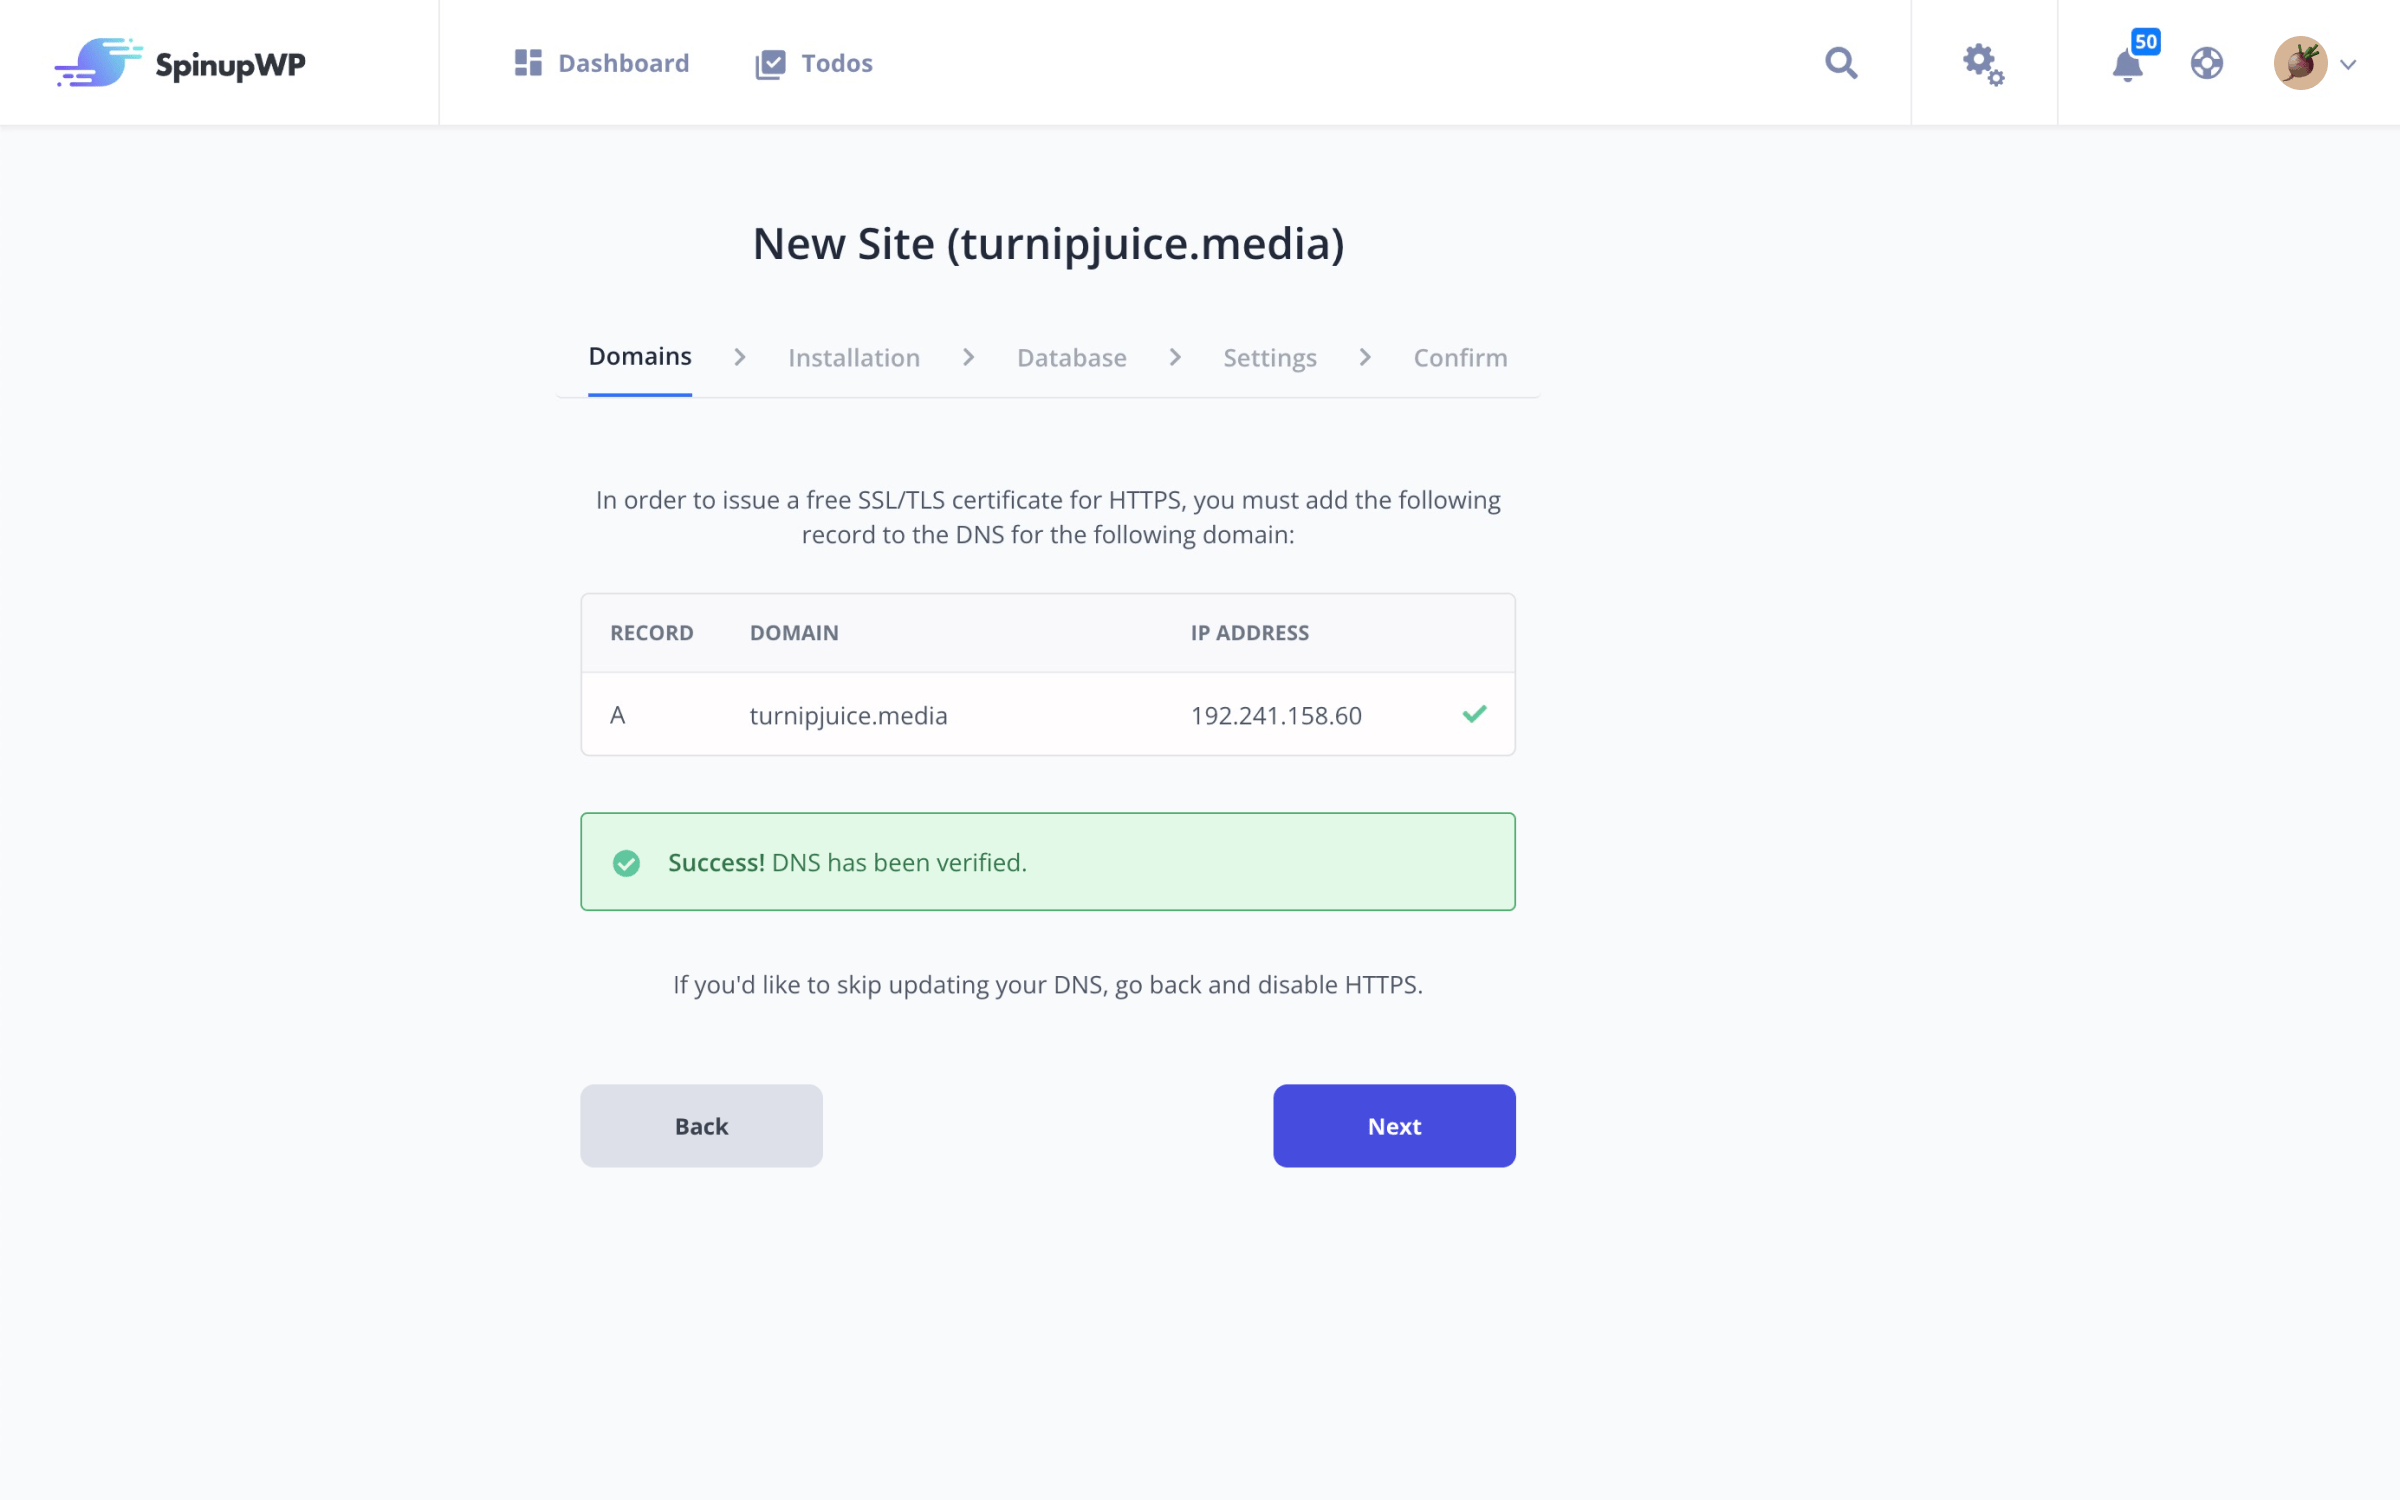
If you’ve configured your DNS correctly, you will get a “DNS has been verified” message.
Installation
Next you can choose which files to install for the site. You can choose between a new installation of WordPress (including a multisite network in both subdomain and subdirectory flavors), cloning an existing site from a git repository, or just a blank site with no files.
A New WordPress Site
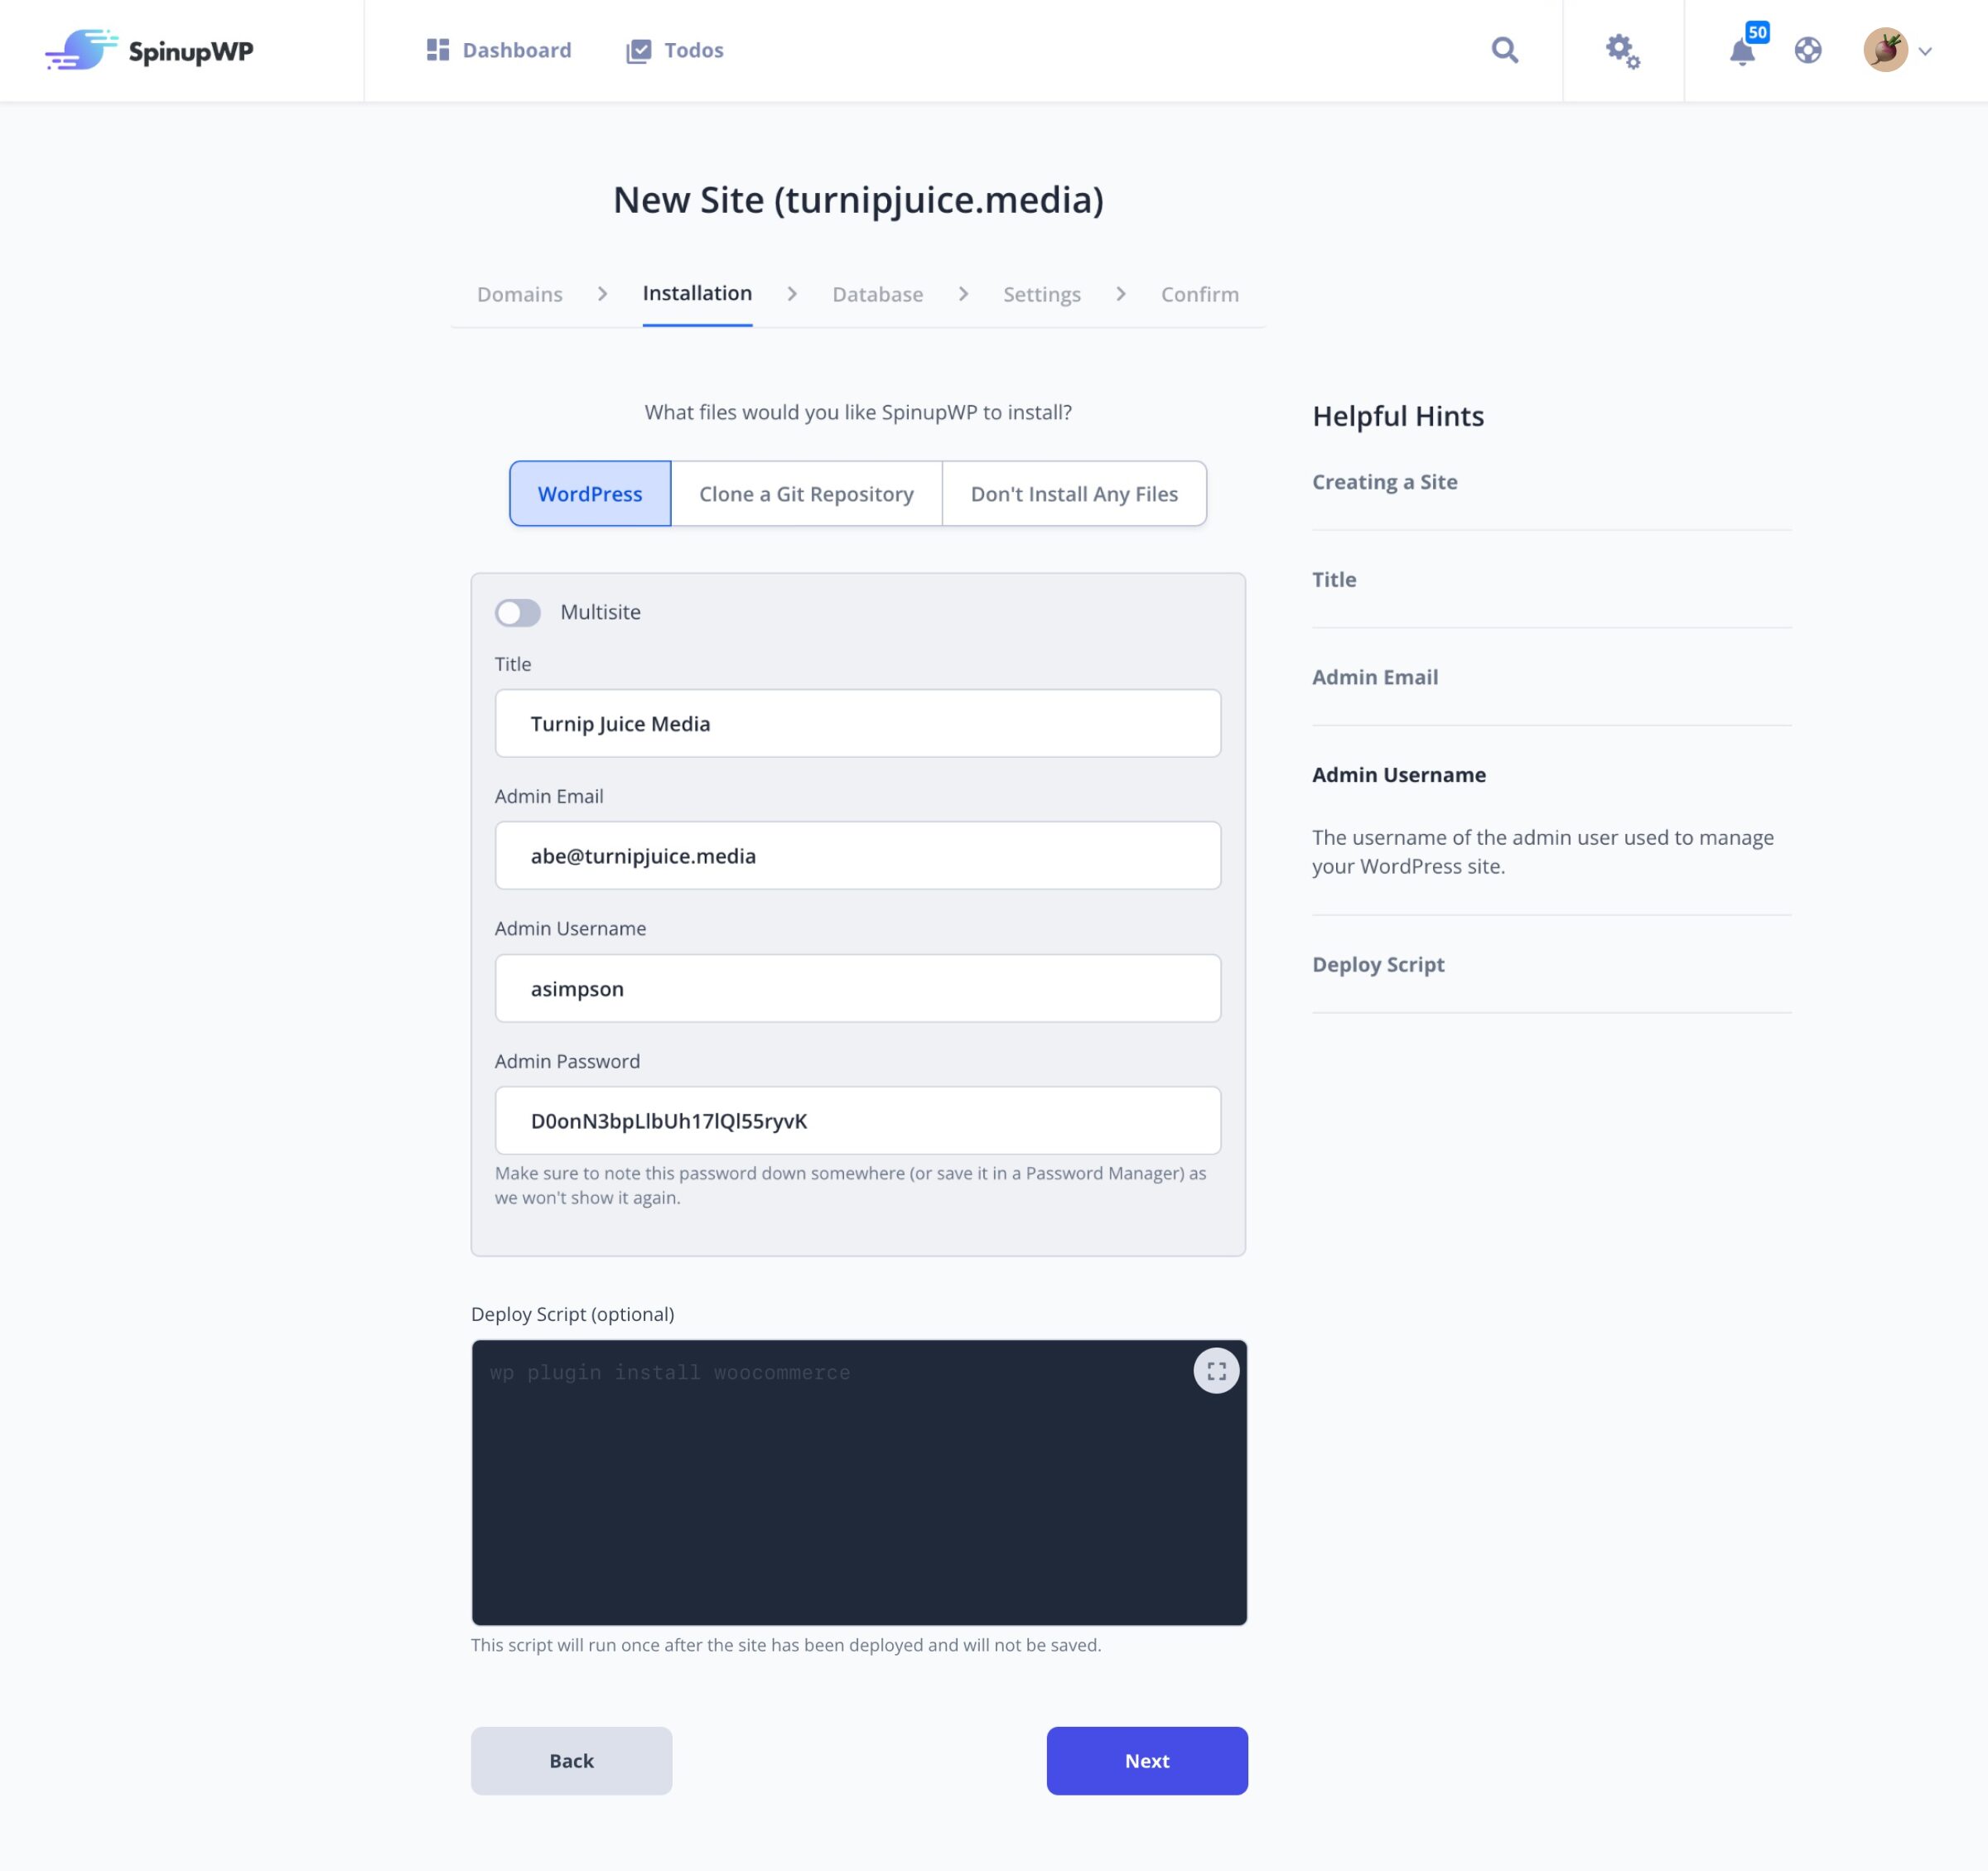
For a new WordPress installation, click WordPress. Here you can select a multisite install as well as the type of multisite: subdirectory or subdomain. Then enter a title for the site. You can change it at any time via the WordPress dashboard once your site has been deployed.
Next, fill out the email and username for the admin user. We create a strong password for the user, but it can be changed here if needed. Make sure to note this password down somewhere (or save it in a Password Manager) as we won’t show it again.
Finally, you can run a deploy script after the site has been created by entering the commands in the “Deploy Script” text box. This is useful for installing specific plugins or configuring other WordPress specific settings, using WP-CLI.
Deploy an Existing Site From Git
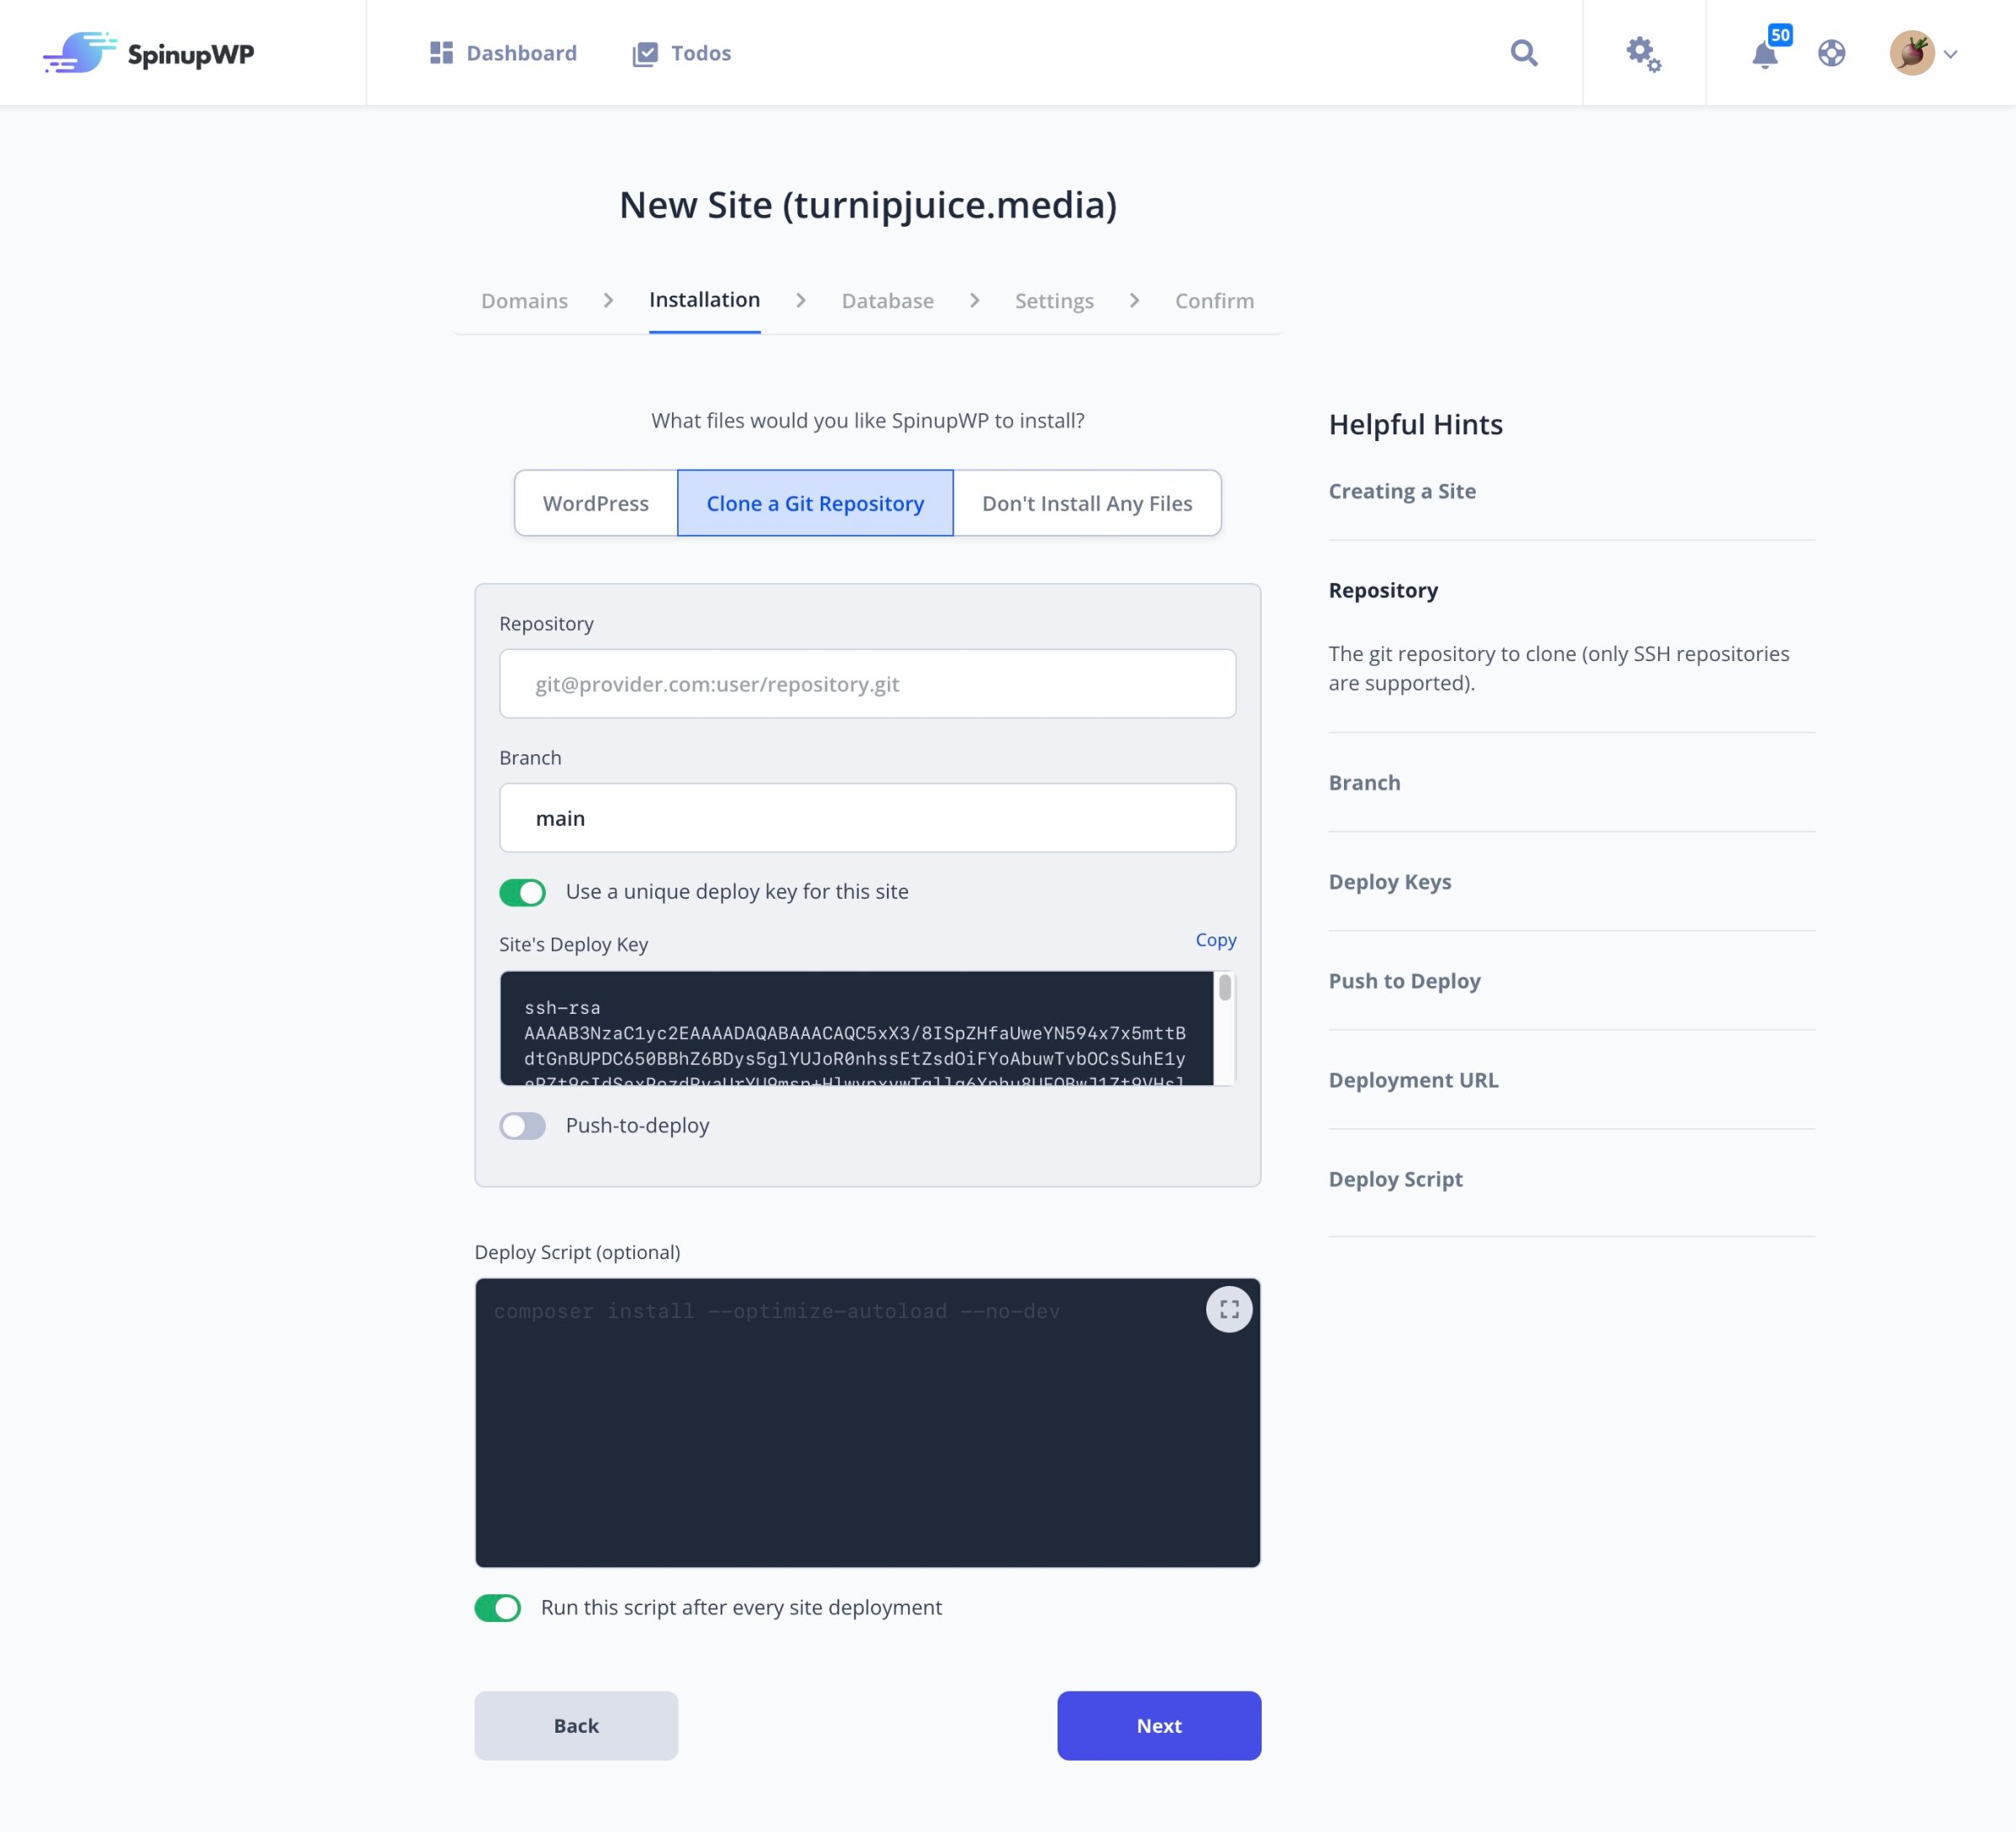
To install an existing site from a git repository, click Clone a Git Repository and then enter the repository URL (only SSH repositories are supported). To authenticate with your Git provider, SpinupWP needs to be able to communicate with the Git provider via SSH. We have instructions on how to configure the connection with several popular Git providers. Then enter the branch to be cloned. You can adjust these settings at any time.
You can run a deploy script after the repository has been cloned by entering the commands in the “Deploy Script” text box. This is useful for sites that use Composer or for compiling assets, for example.
SpinupWP also offers a push-to-deploy feature for git based sites. This feature allows for a continuous deployment workflow. Turning this on will generate a Webhook URL which you can integrate with your git provider of choice. Calling this webhook URL will trigger SpinupWP to run a deployment for you. Find out more in our doc about configuring Push to Deploy.
Database
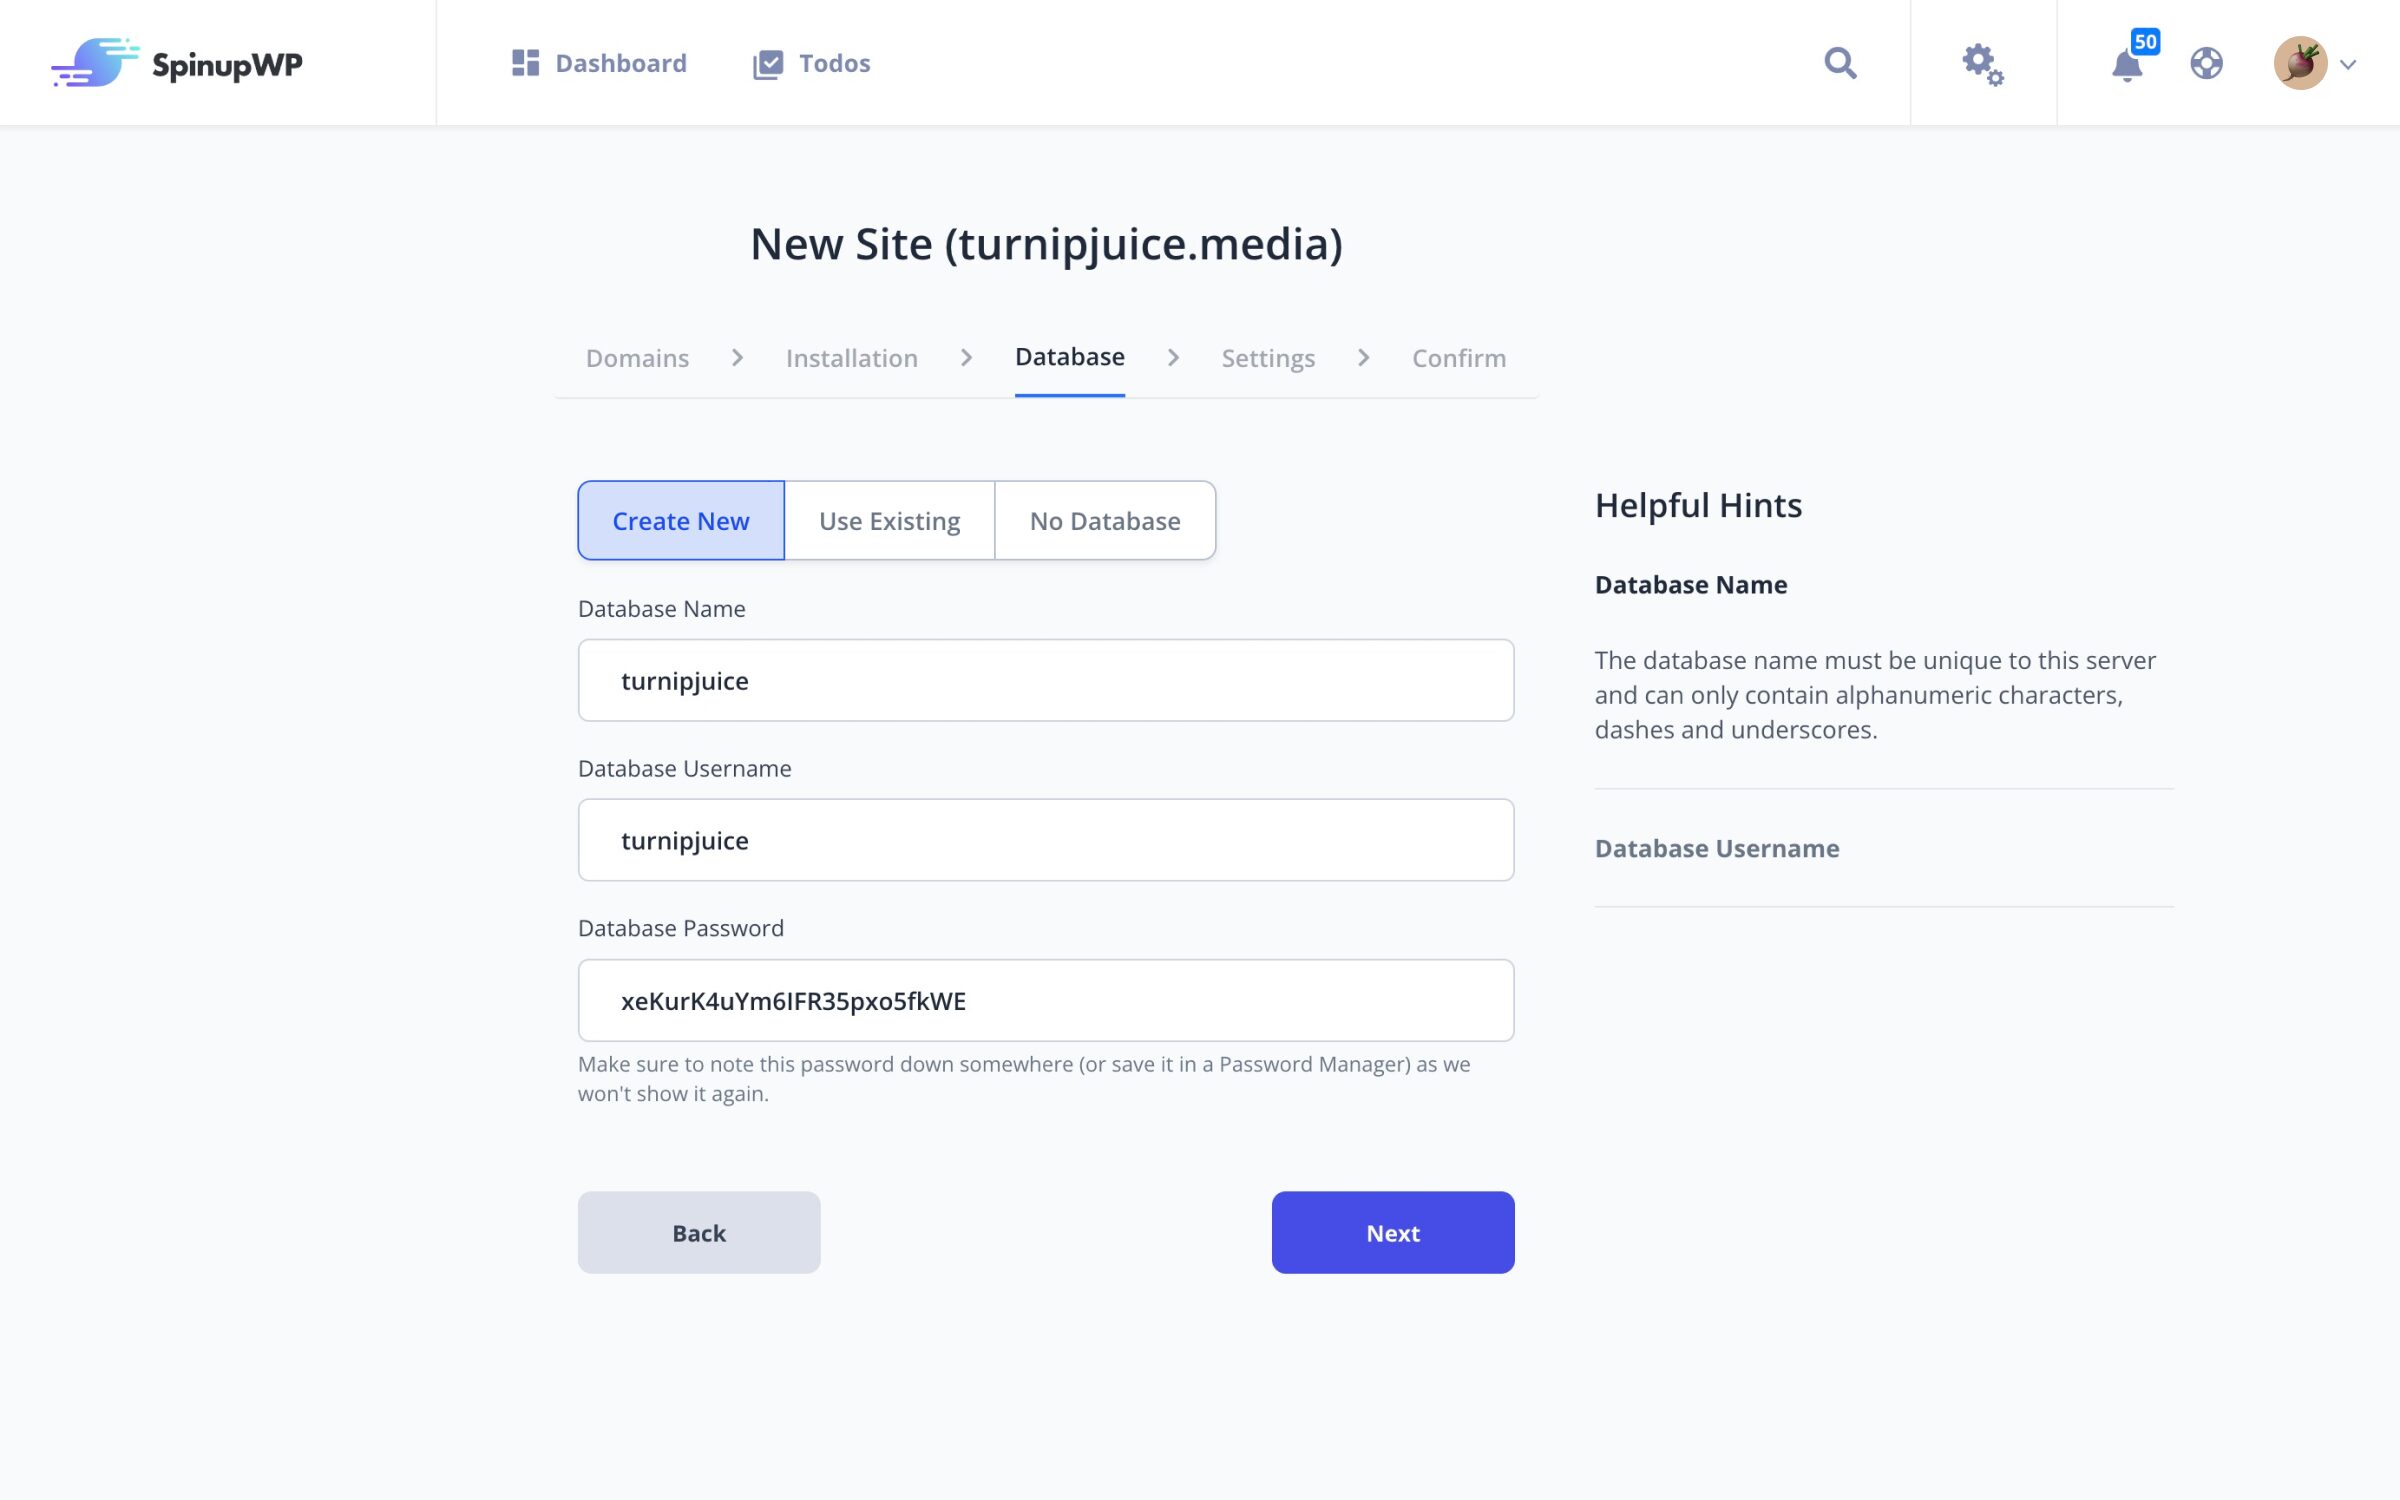
Next you can either create a new database or choose to use an existing one on the server. For git repository and blank sites, you can choose not to have a database at all.
If you are creating a new database, then this is where you can set the database name, the name of the new database user, password, and a table prefix. A strong password is generated and pre-populated, but it can be changed here if needed. Make sure to note this password down somewhere (or save it in a Password Manager) as we won’t show it again.
We recommend that you use a desktop app to access your database over SSH. Although not our recommended option, SpinupWP also offers phpMyAdmin which can be enabled/disabled in one click.
Settings
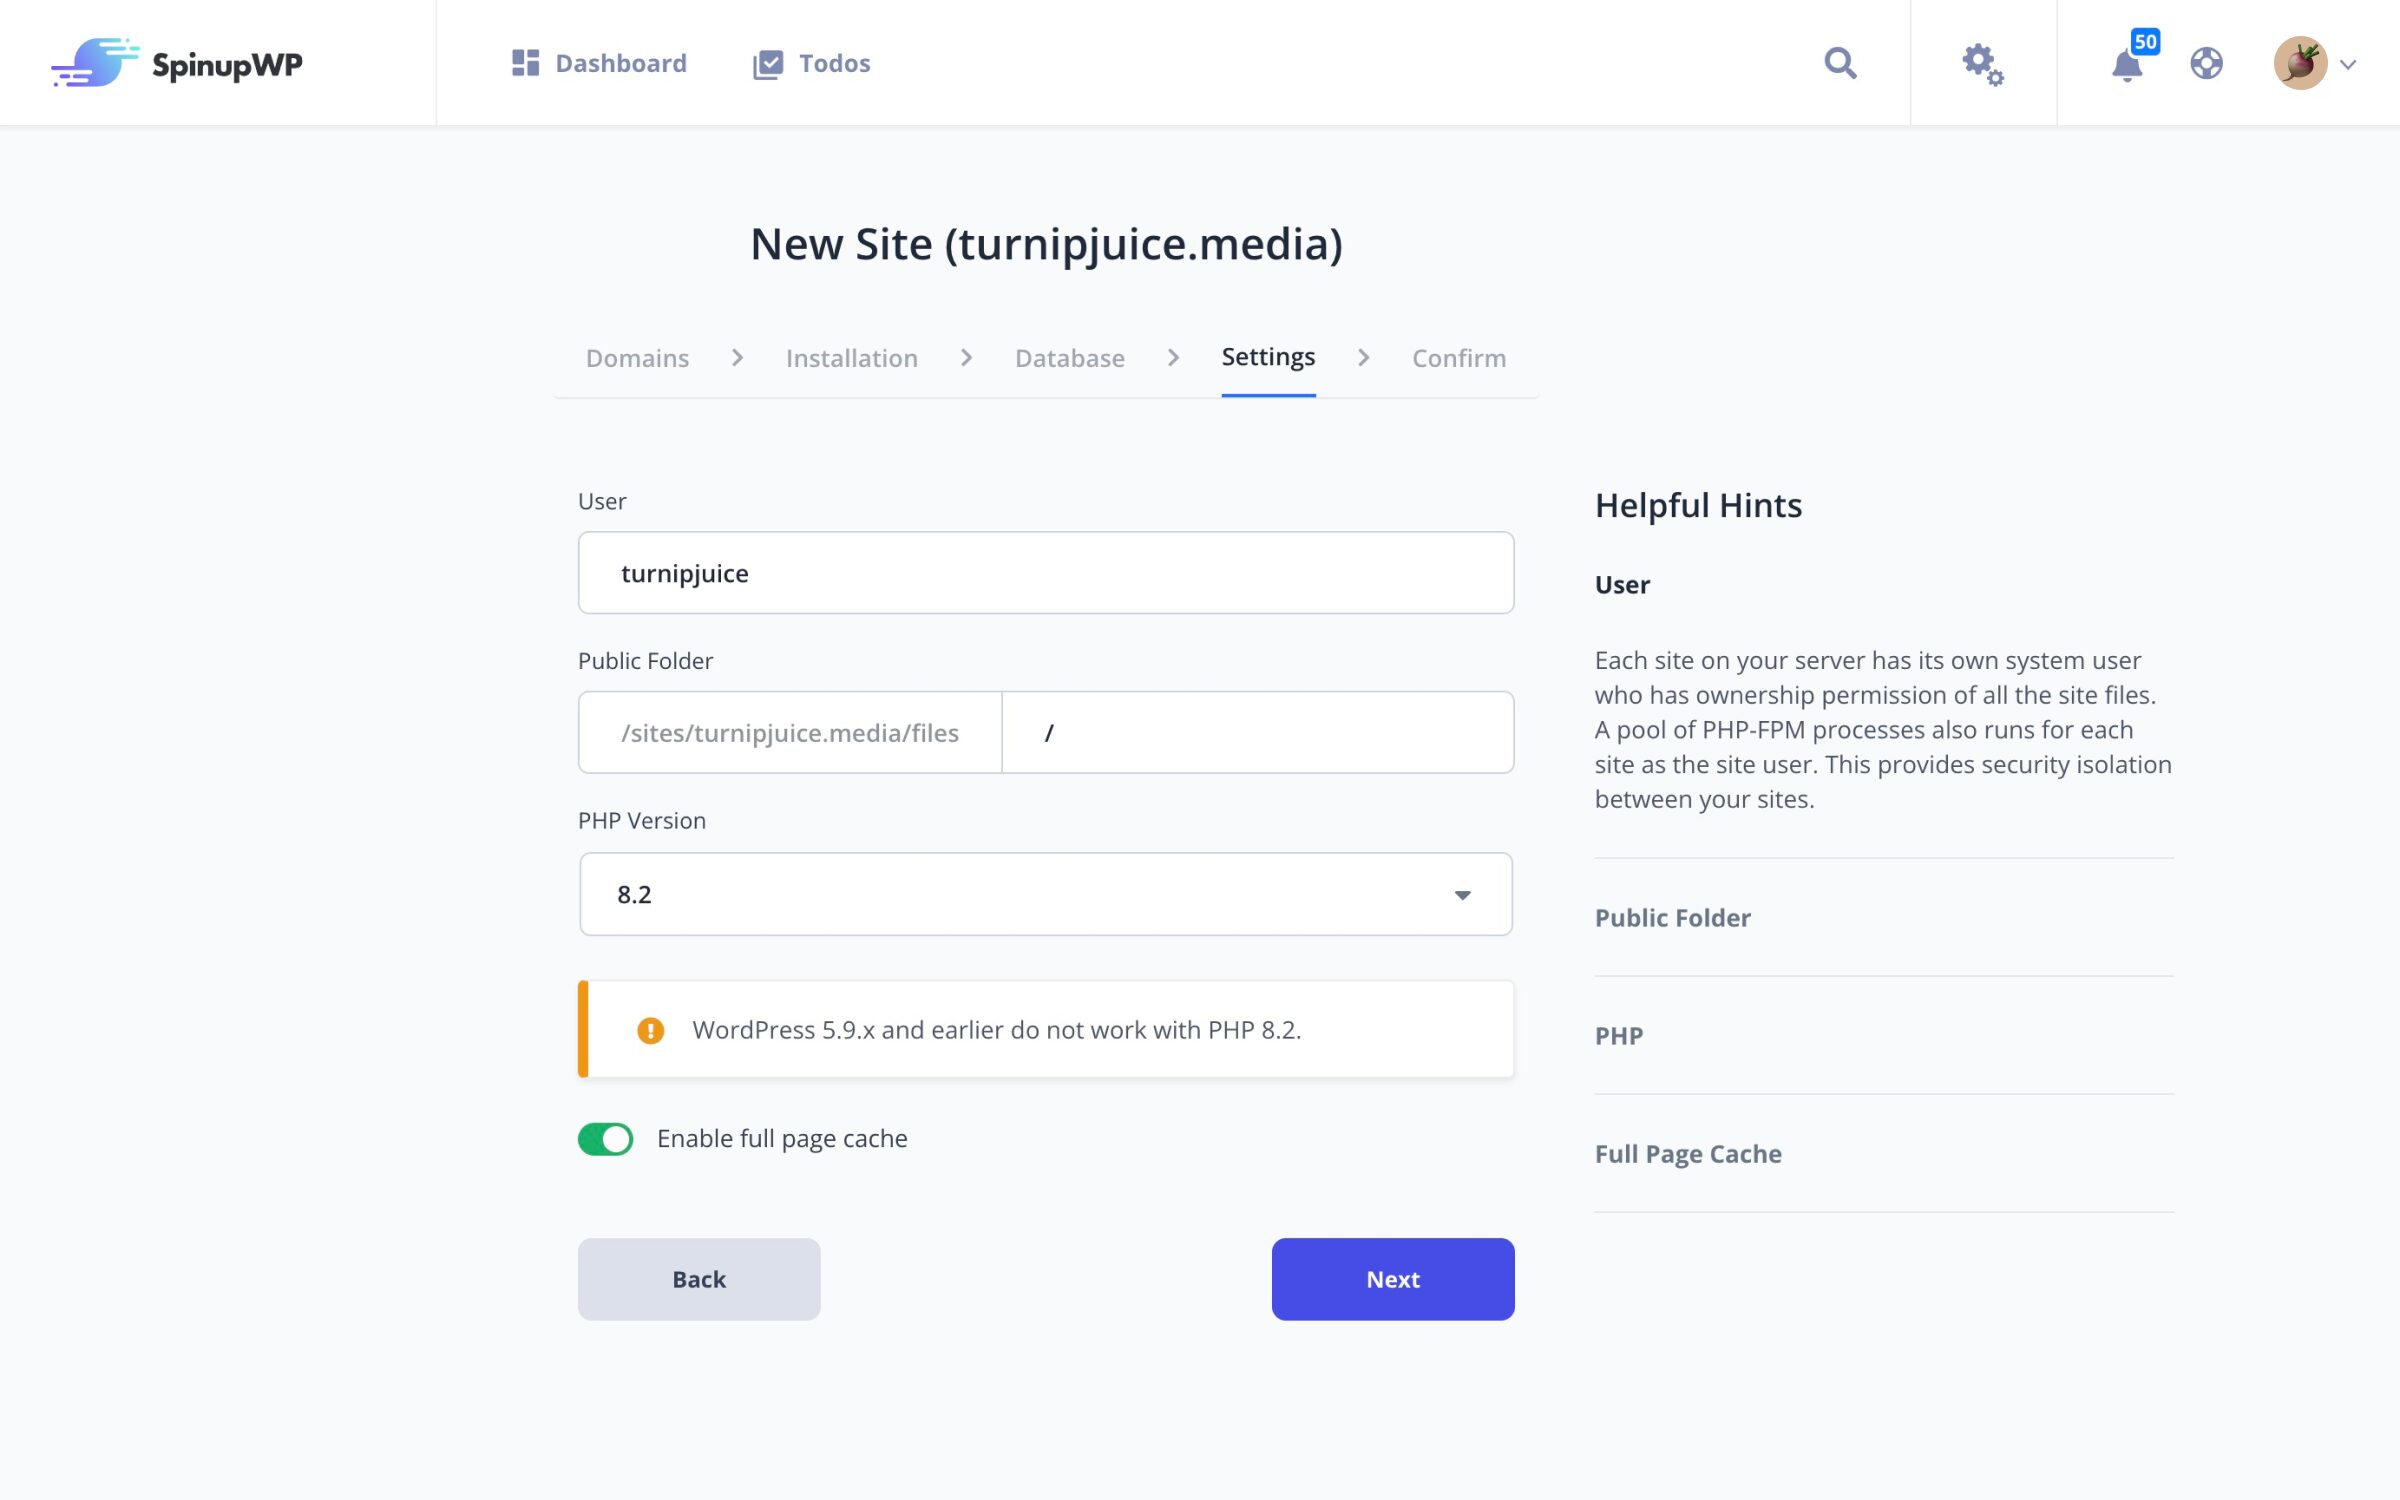
The next screen asks for a username for the site. This can’t be changed later. Each site on your server has its own system user which has ownership permission of all the site files. Site users can SSH and SFTP to the server, but they will be restricted to the site’s directory. A pool of PHP-FPM processes also runs for each site as the site user. This provides security isolation between your sites.
You can then choose what version of PHP you want the site to run on. Selecting a PHP version here will not impact the other sites hosted on the server, and you can change the version at any time.
The Enable full page cache toggle allows you to enable page caching for the site. A full page cache can dramatically improve the performance of your site by quickly serving a previously generated page rather than executing PHP and querying the database. Not only will this improve your site’s load time, it will also increase the number of requests your server can handle. Enabling this option will configure Nginx FastCGI caching that is optimized for WordPress.
We highly recommend you leave full page caching enabled if this is a production site. If this is a staging/testing site, or performance isn’t a consideration, then you can disable full page caching. You can always enable/disable it later.
Site Confirmation
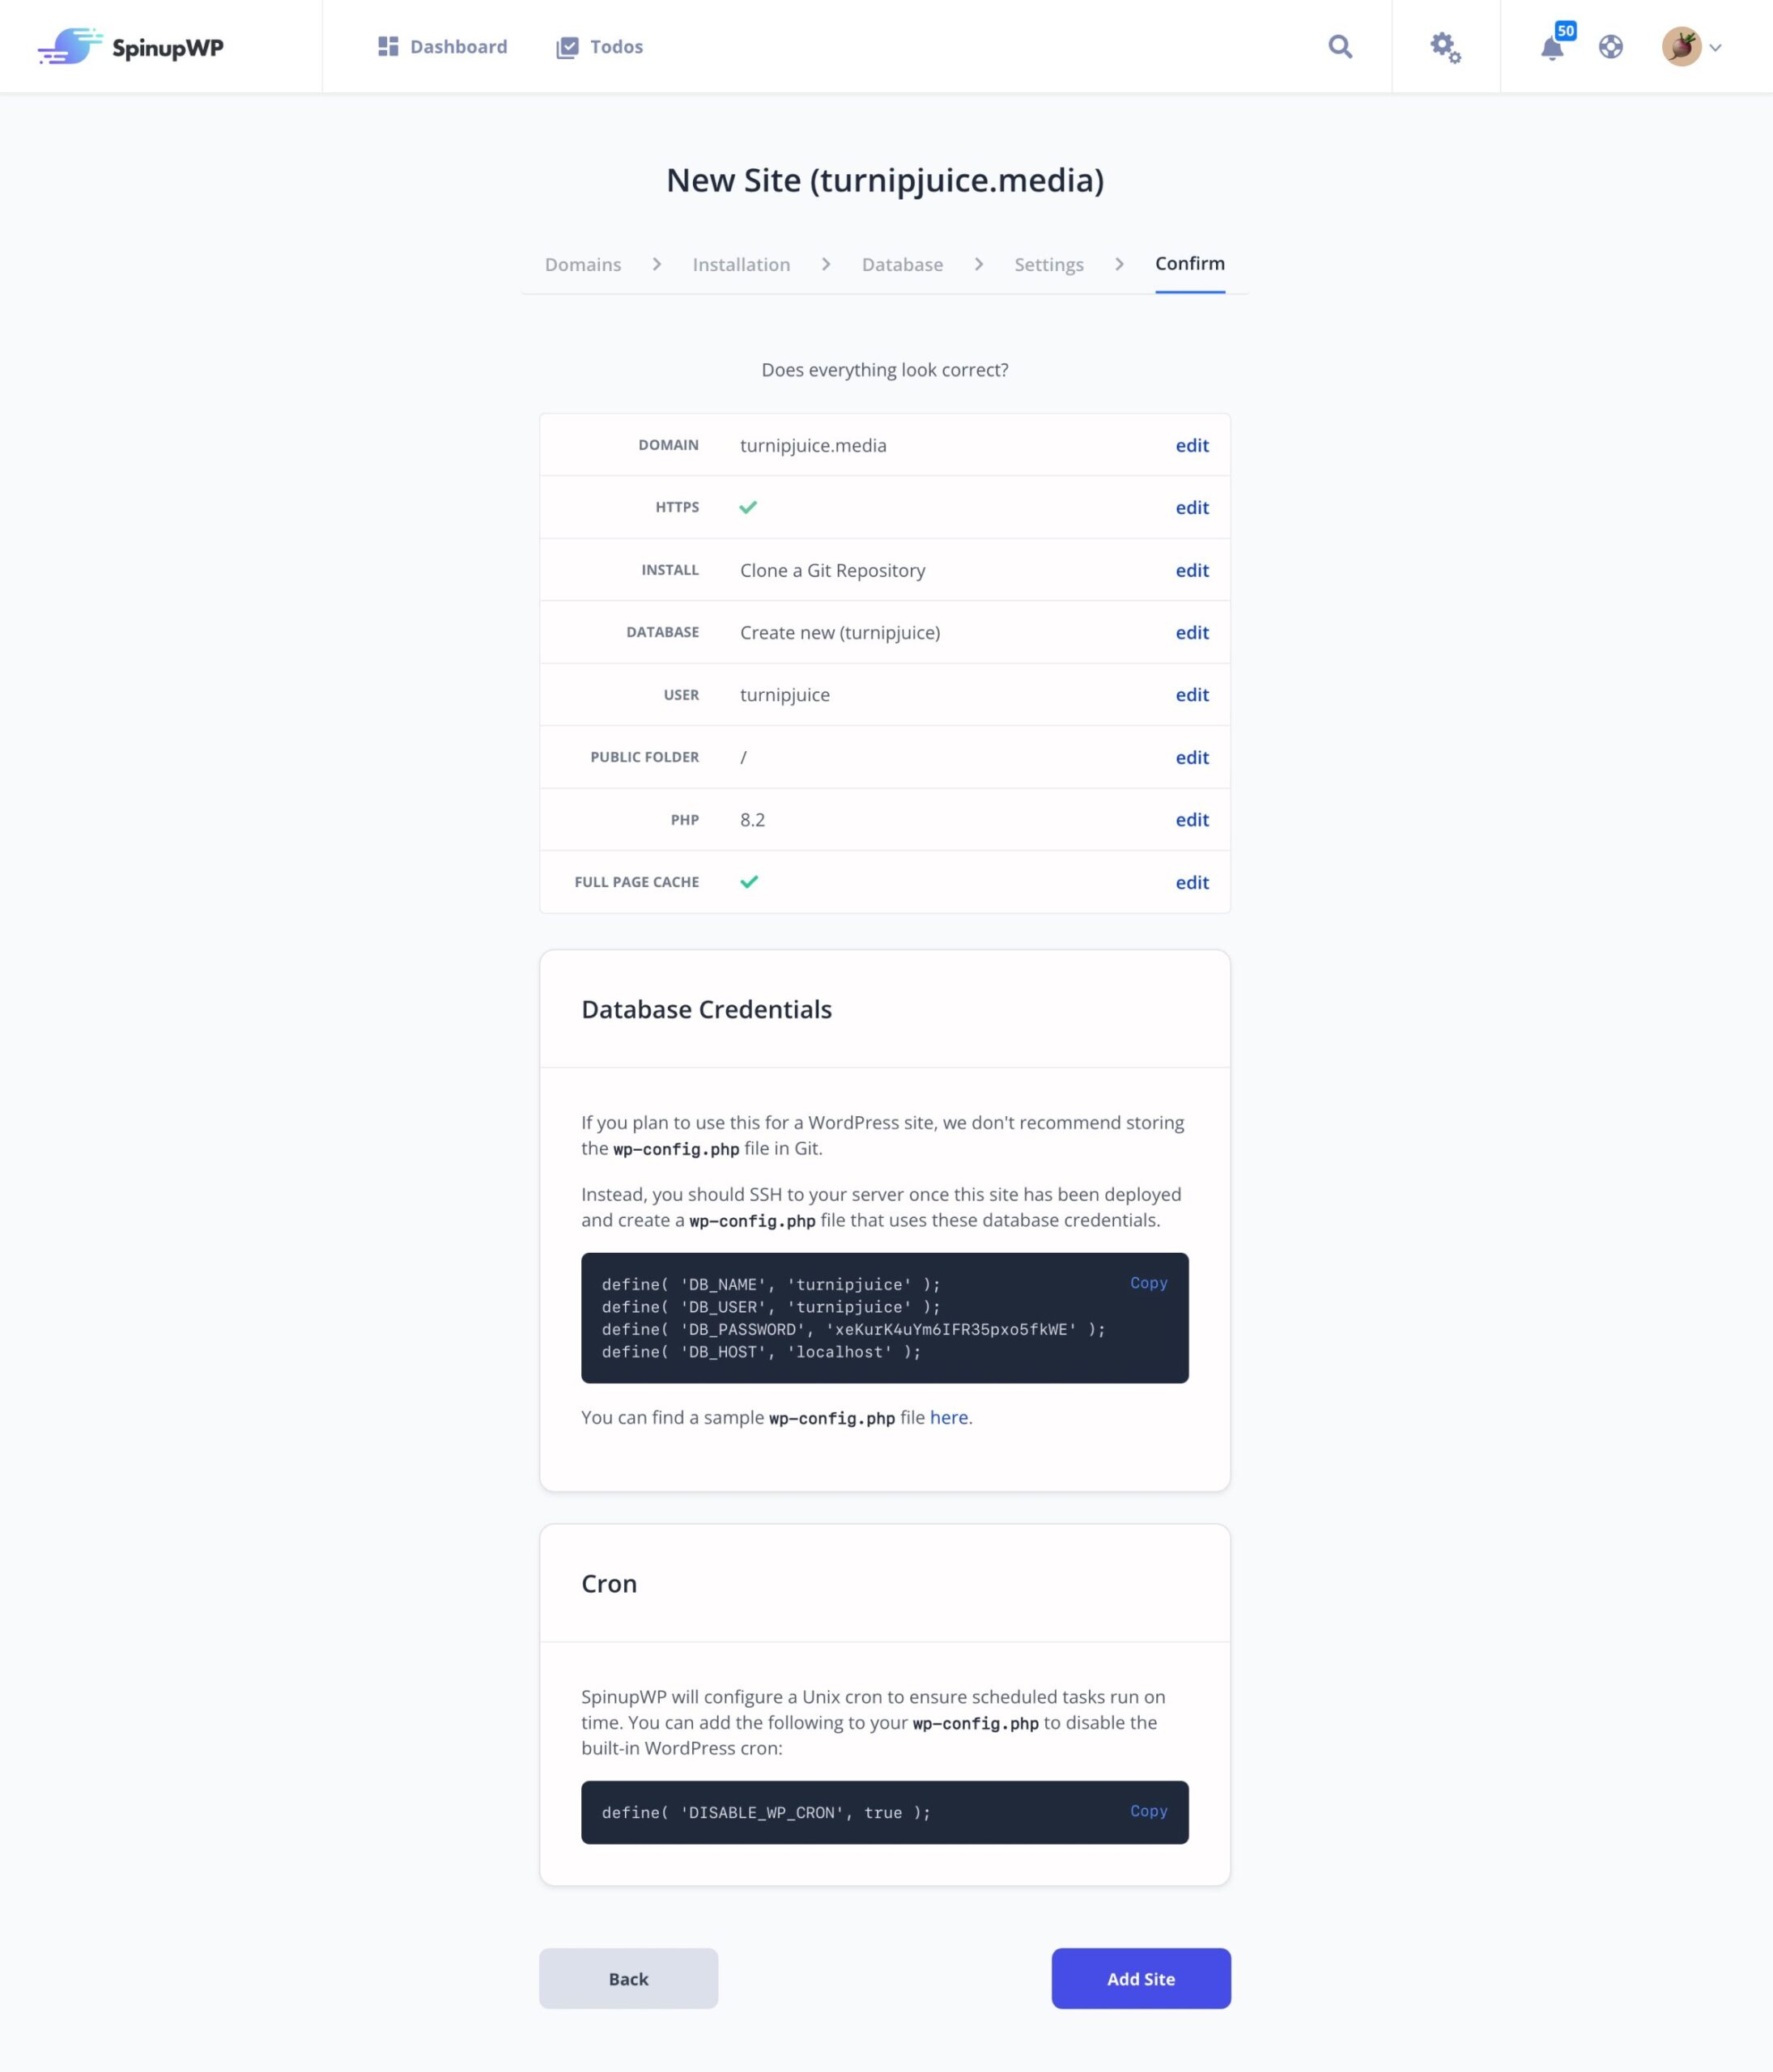
The last screen in the site creation process shows all the details of the site before it’s created, to ensure everything is correct.
For git repository and empty sites, the WordPress constants to define the database credentials are displayed so you can copy them to your config file after deployment. There is also a list of required plugins for git repository WordPress sites, as well as instructions on how to configure them. These are plugins that are installed and configured with every WordPress site created and deployed by SpinupWP, but as the site is created and deployed via Git, you will need to install and configure them yourself.
Editing a Site
Once a site has been created you manage the settings by clicking on the site domain on the “Sites” tab for the server.
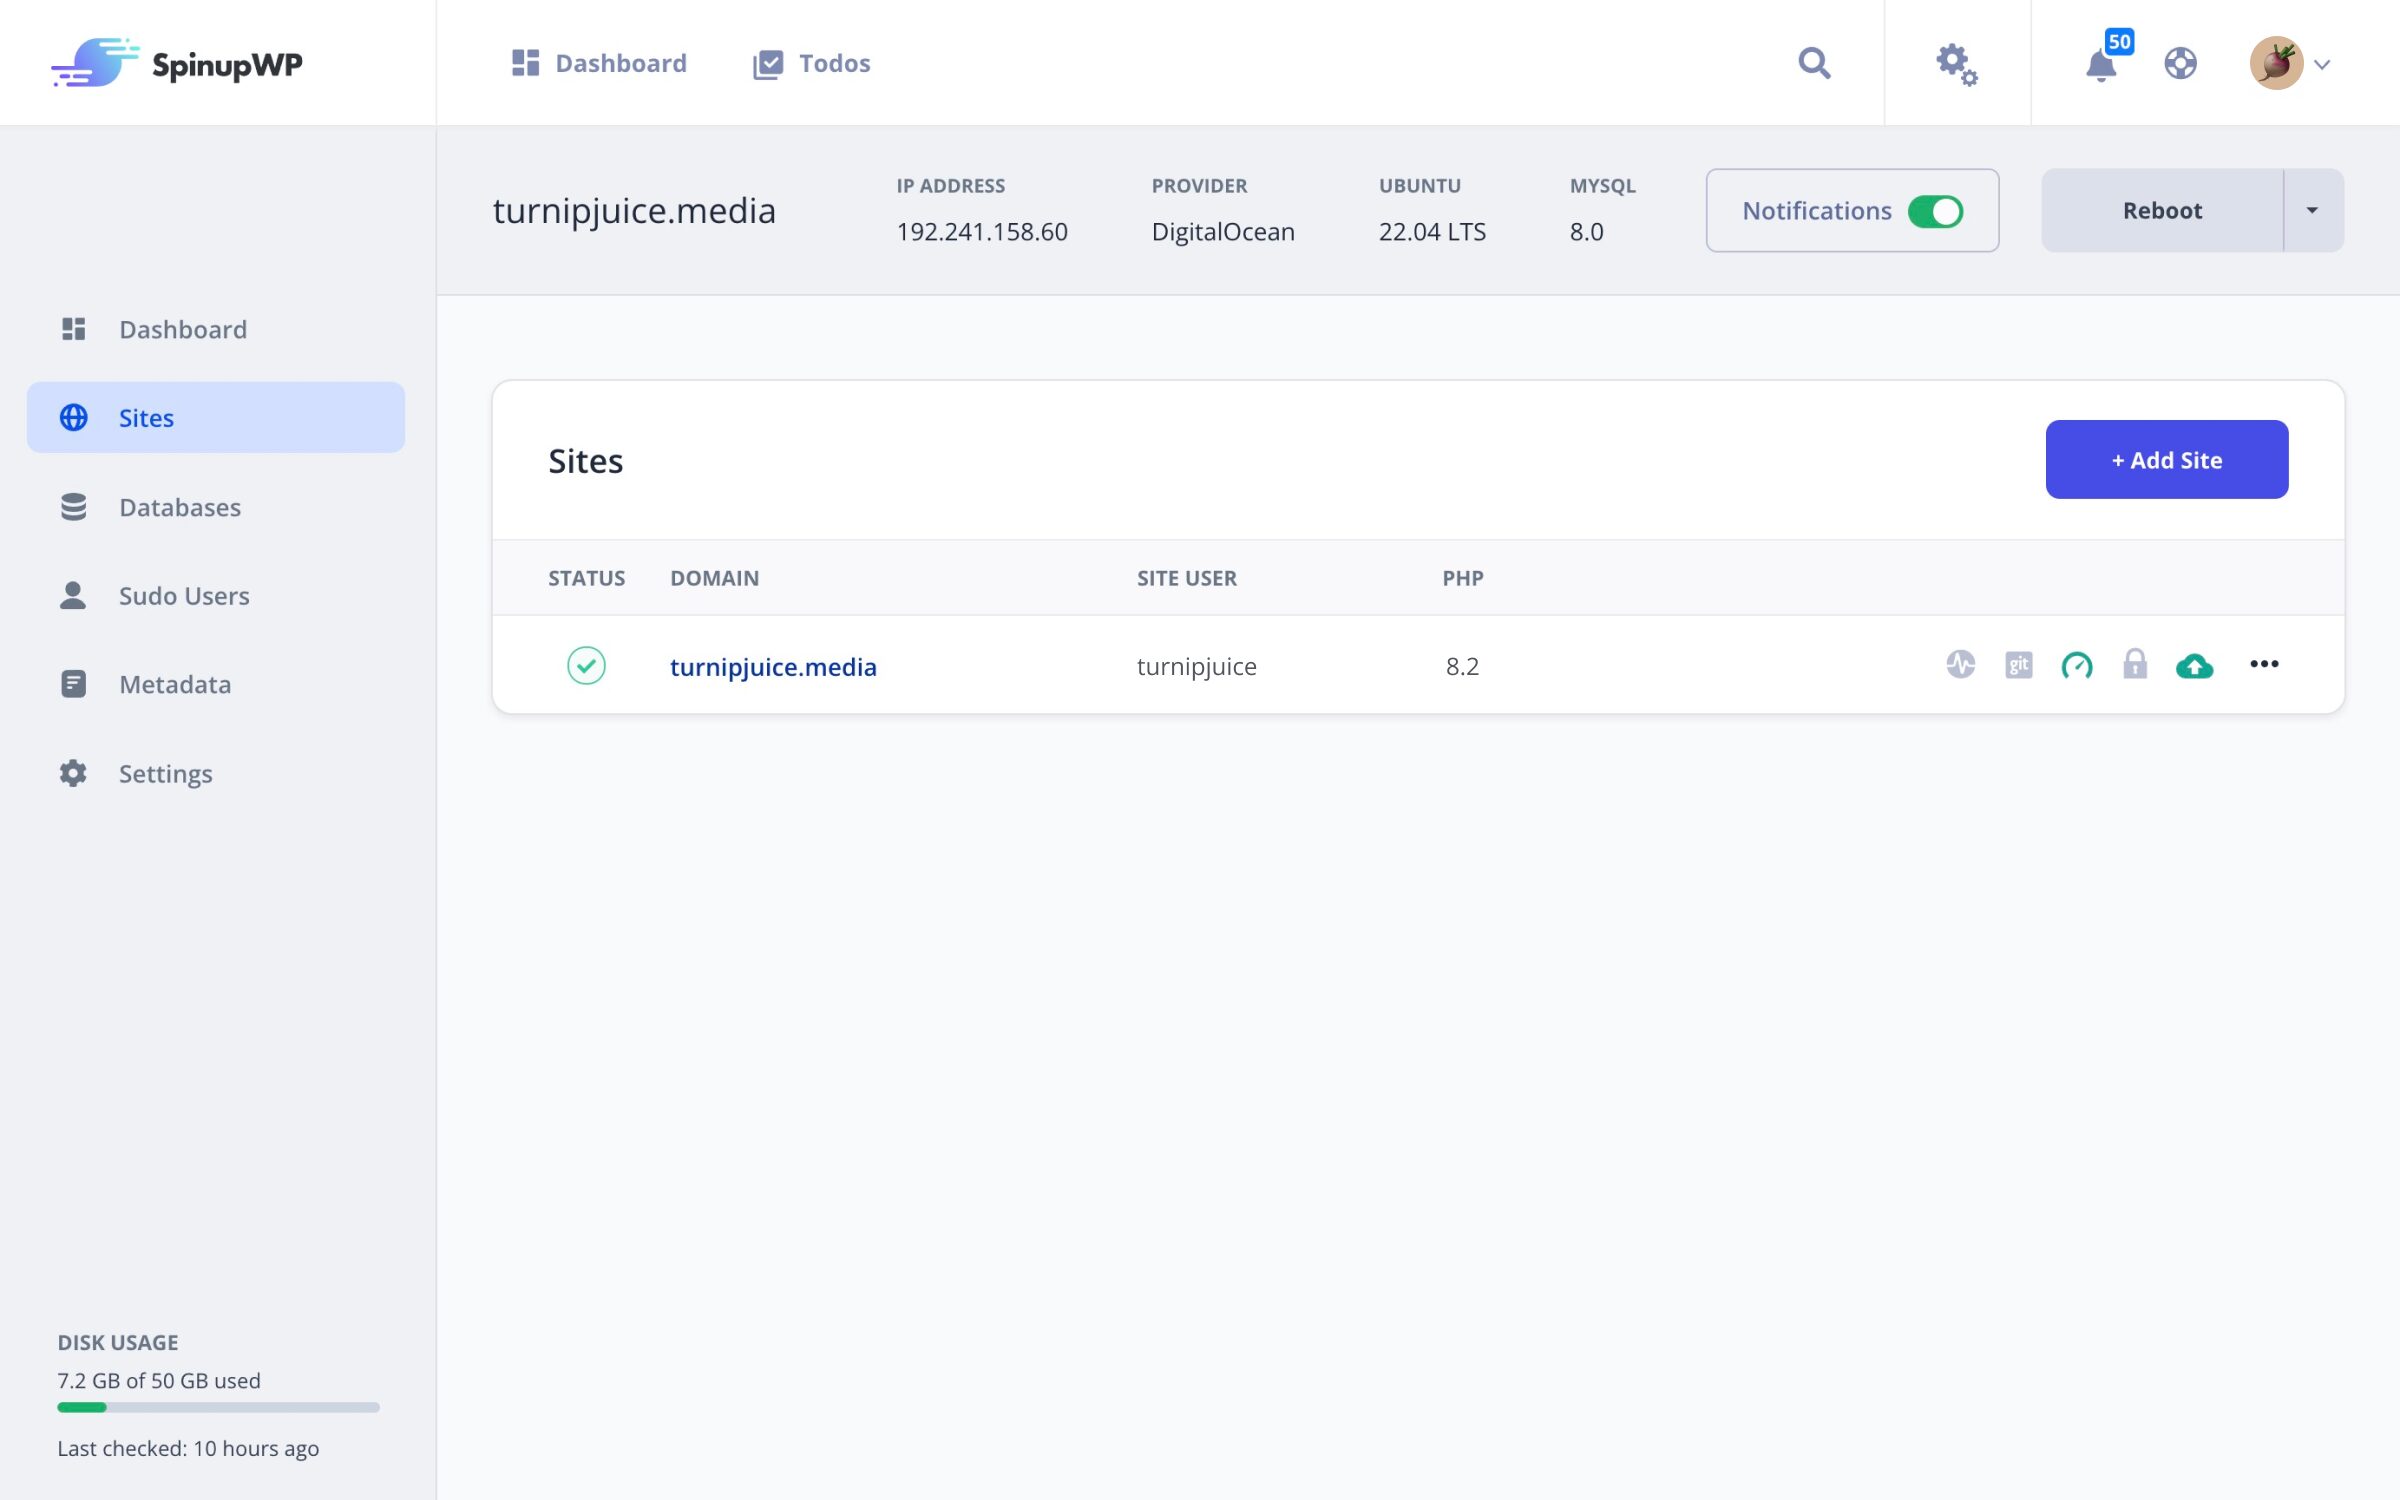
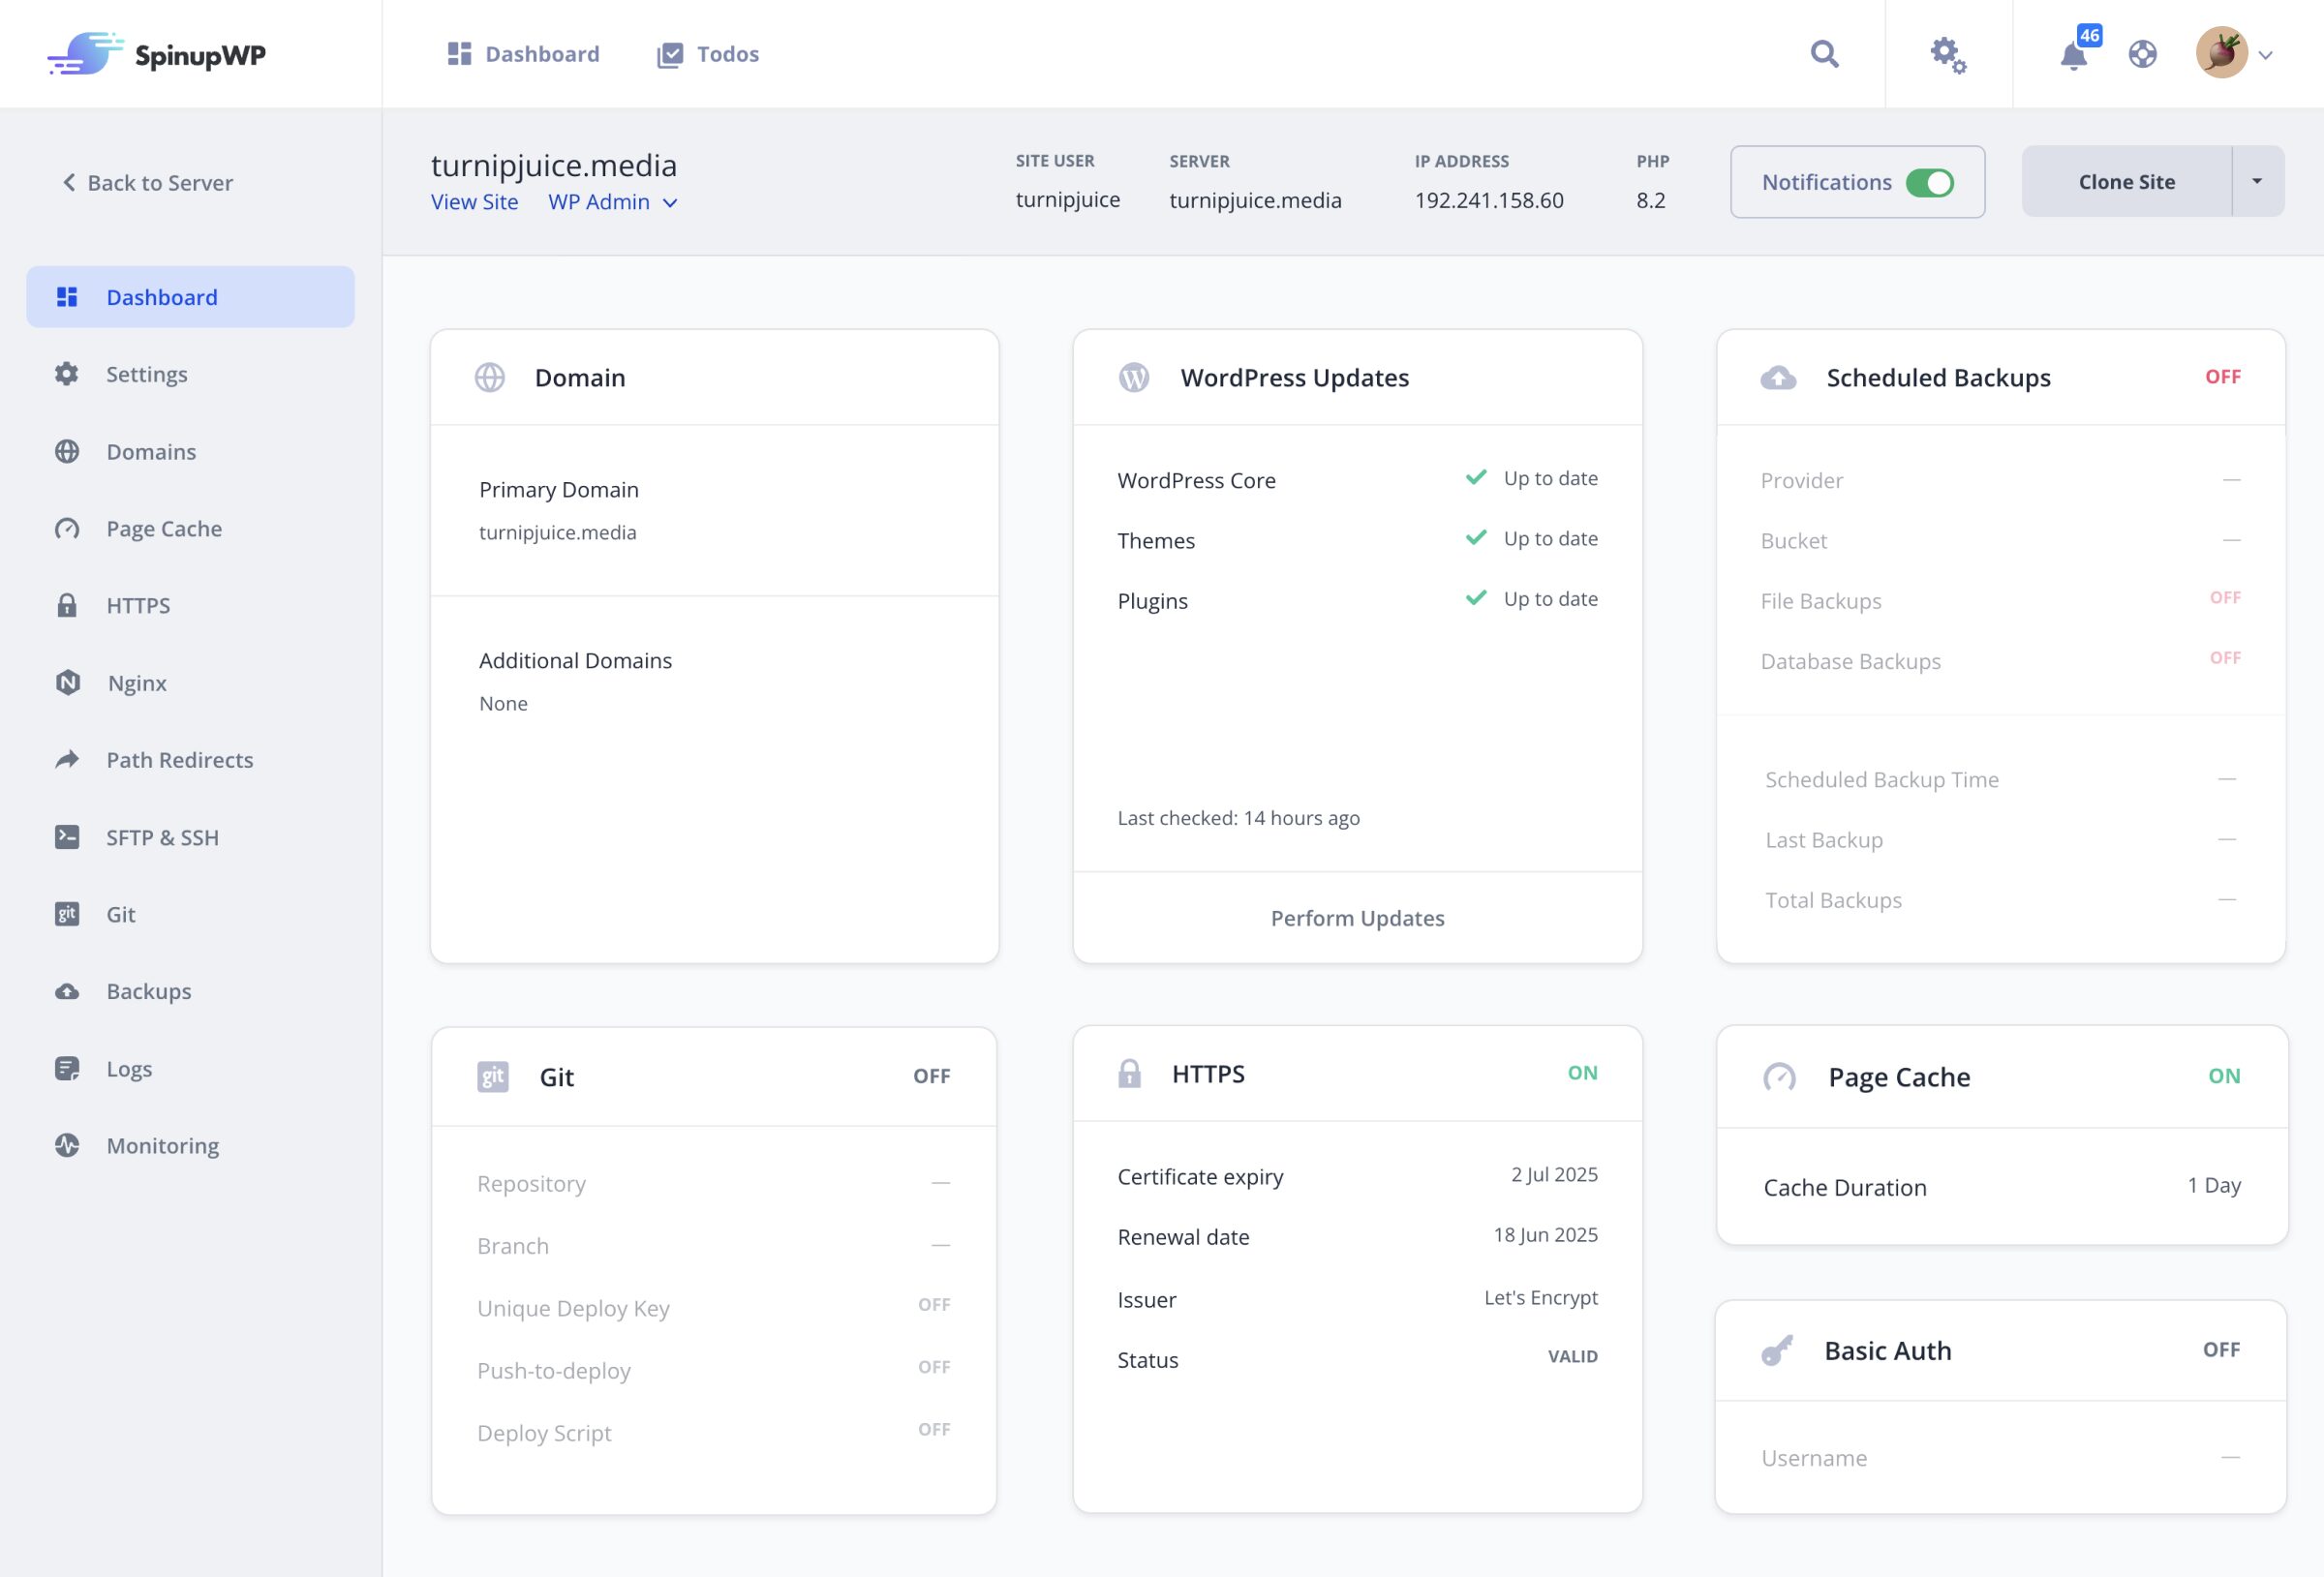
This will take you to the site dashboard, where you can see a high level overview of the site.
Settings
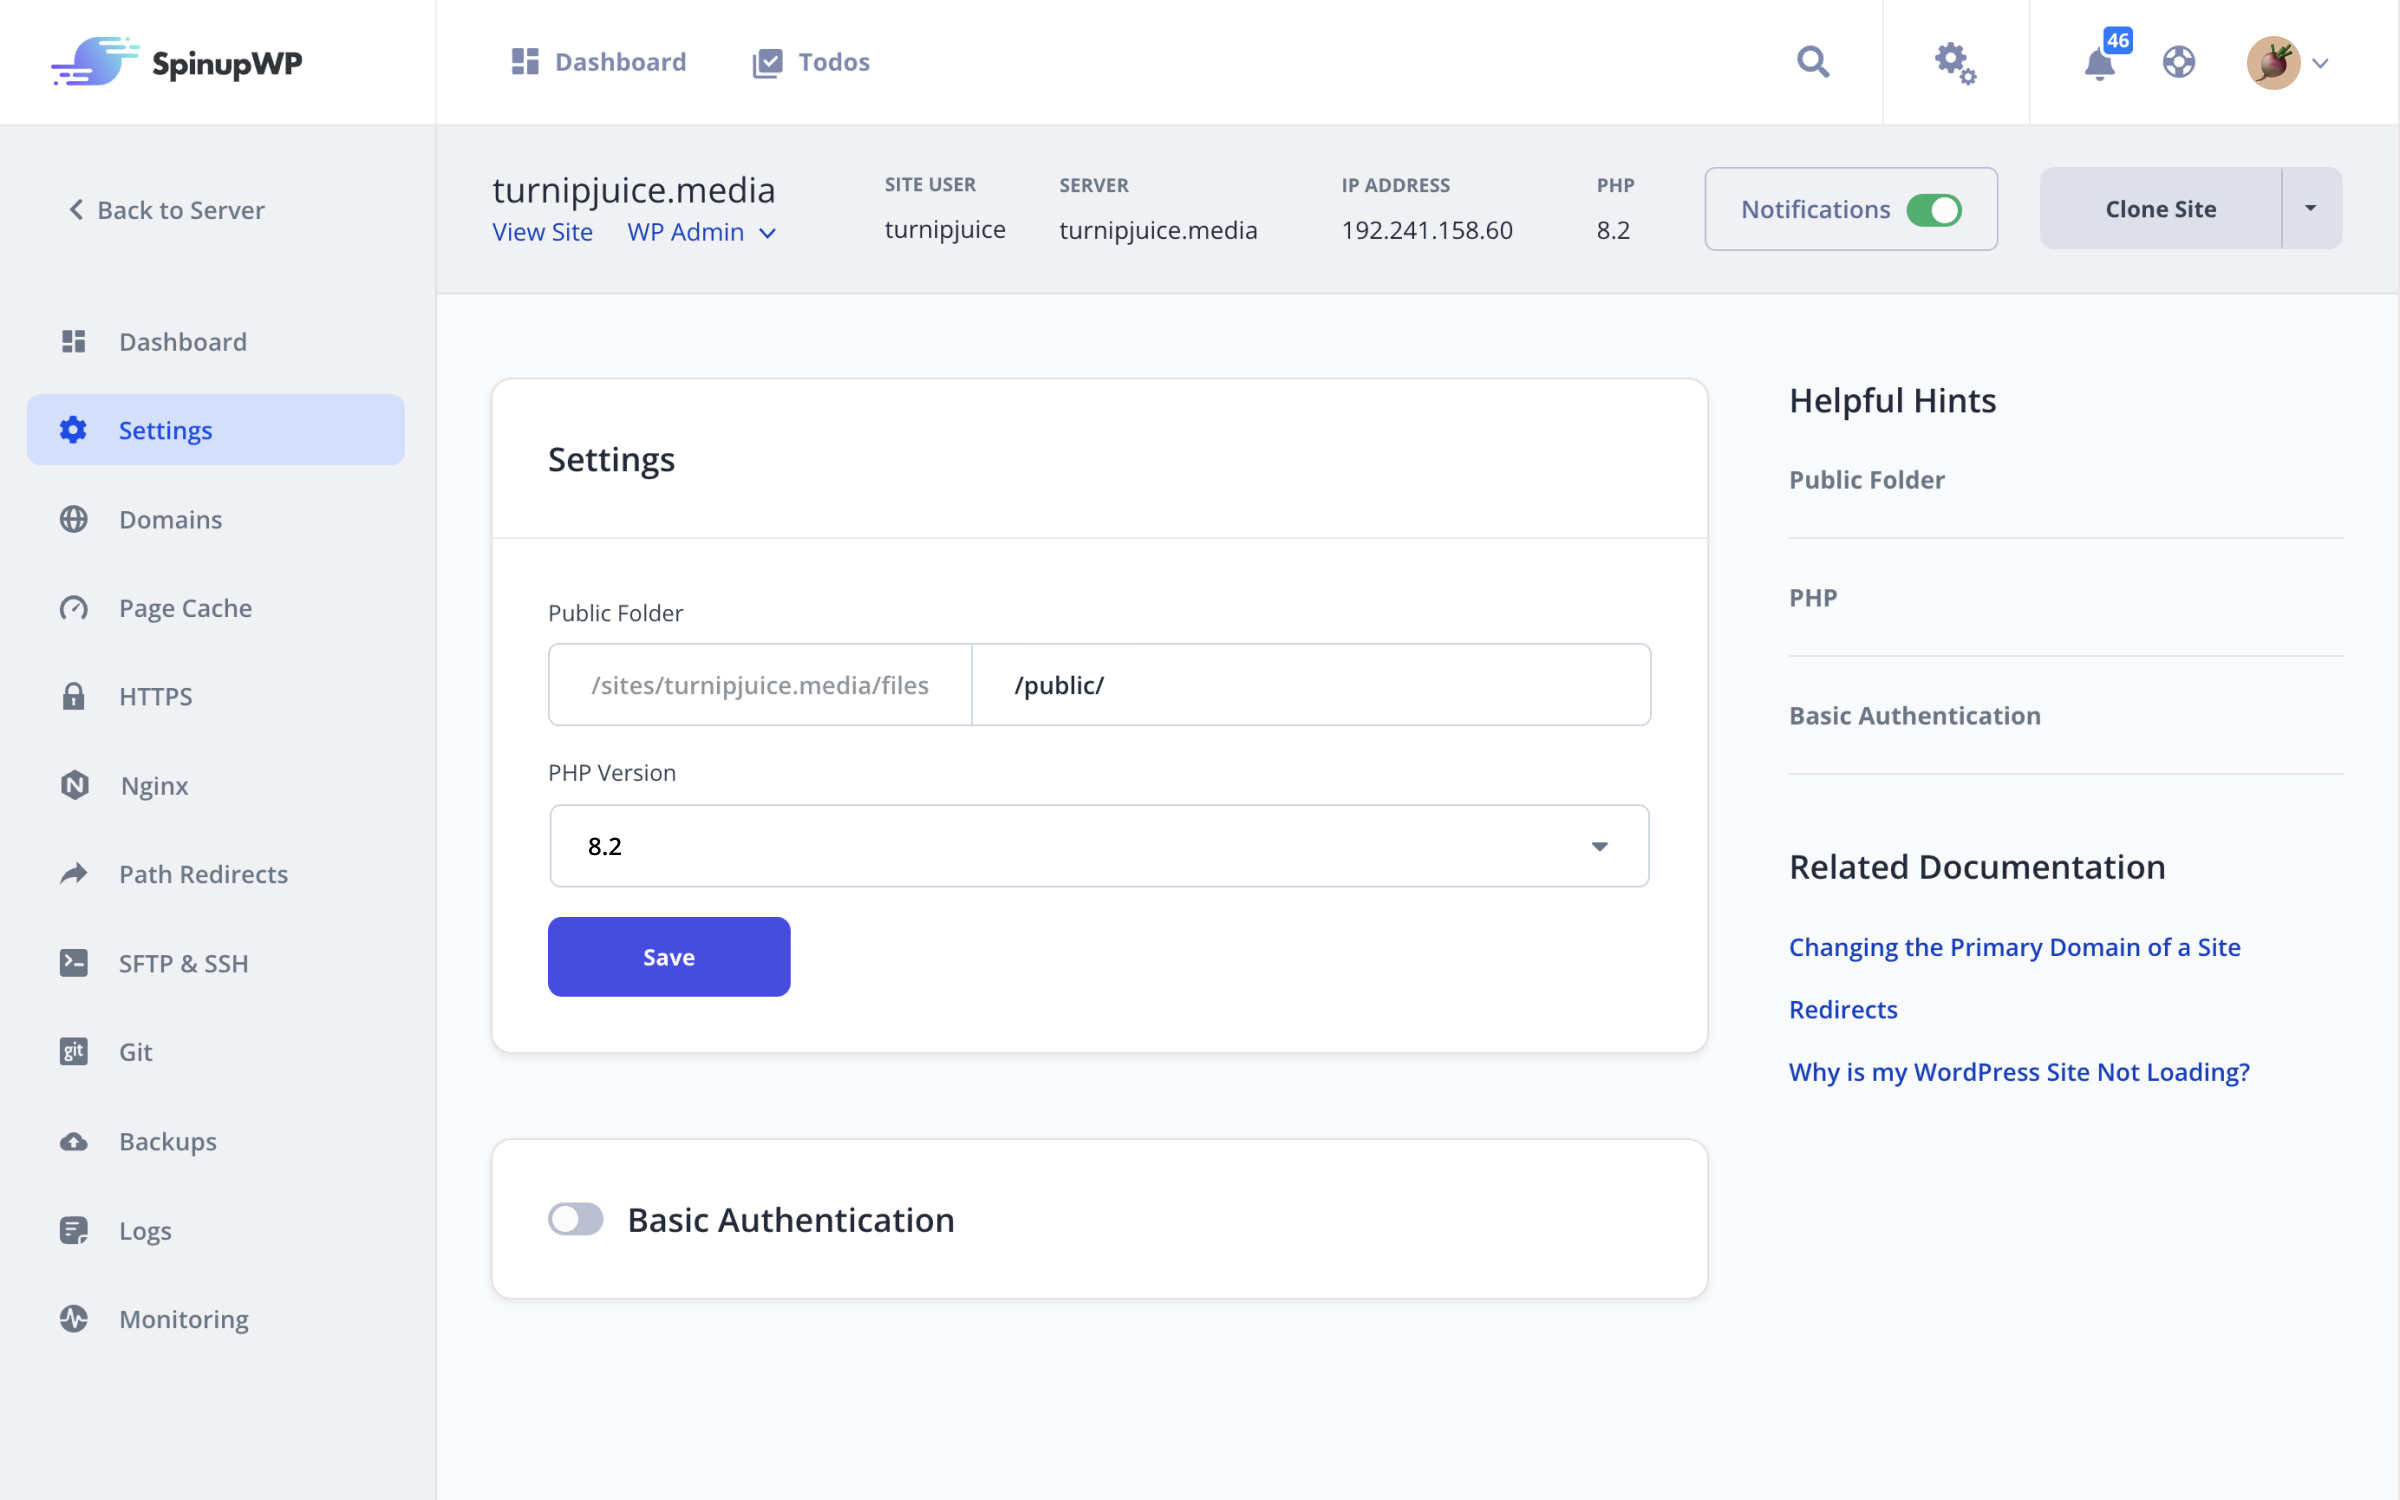
The “Settings” screen allows you to change important information about the site. You can edit the “Public Folder” for the site. This is the folder where your publicly accessible files are located. Anything within this directory will be accessible by the browser (except for hidden files).
Updating the Public Folder will configure the root directive in Nginx which is relative to /sites/{domain}/files. Therefore, setting a value of /public will instruct Nginx to serve requests from /sites/{domain}/files/public. This doesn’t create the directory, nor does it move or delete any existing files.
You can change the PHP version at any time without impacting other sites hosted on the server. We recommend that you always use the latest version available. For WordPress sites you’ll want to fully test your site after changing this value, because some older plugins are not compatible with newer versions of PHP.
If you want to add password protection to your site, you can enable Basic Authentication.
Domains
On the Domains tab, you can manage the domains associated with the site. You can add, edit, and delete any number of domains or subdomains associated with the site.
Domains with the Redirect toggle disabled will cause the domain to return the page contents with a standard 200 HTTP response without any redirect.
Toggling Redirect on and using the Basic mode will cause the domain to redirect to the provided Redirect URL with a 301 HTTP response type.
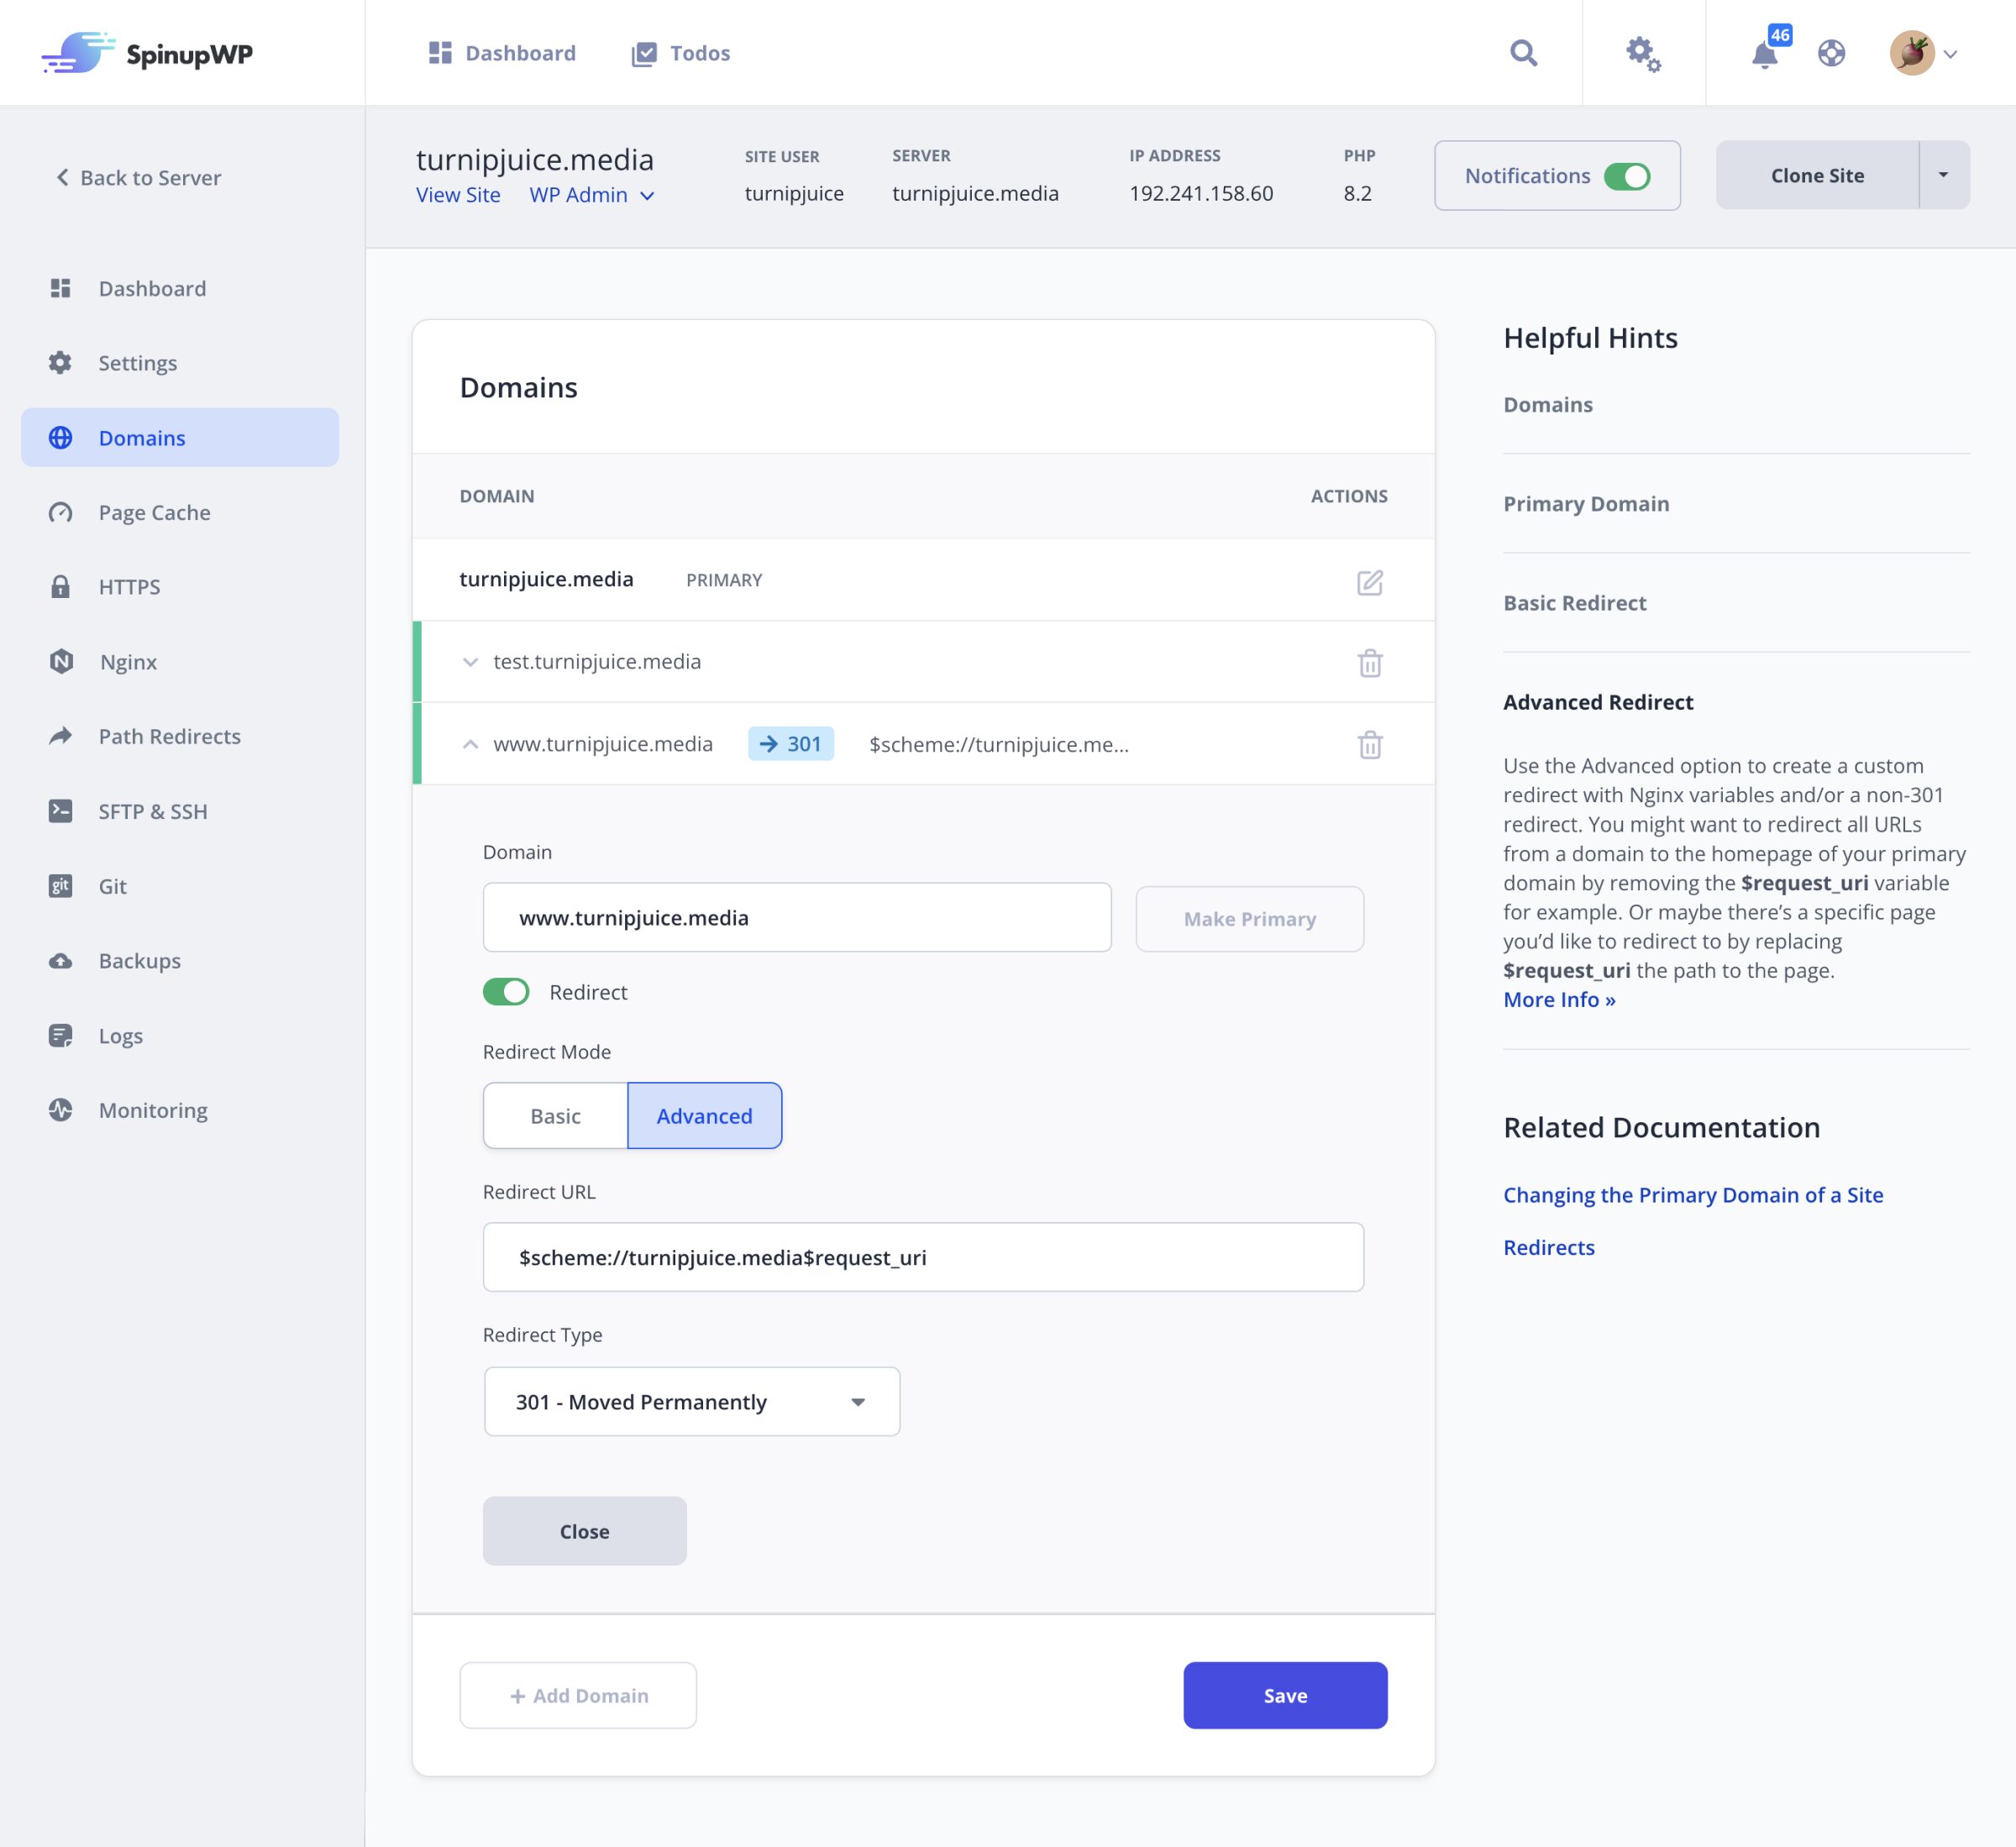
SpinupWP also allows you to customize the redirects in Advanced mode, which we cover in our Redirects doc.
Page Cache
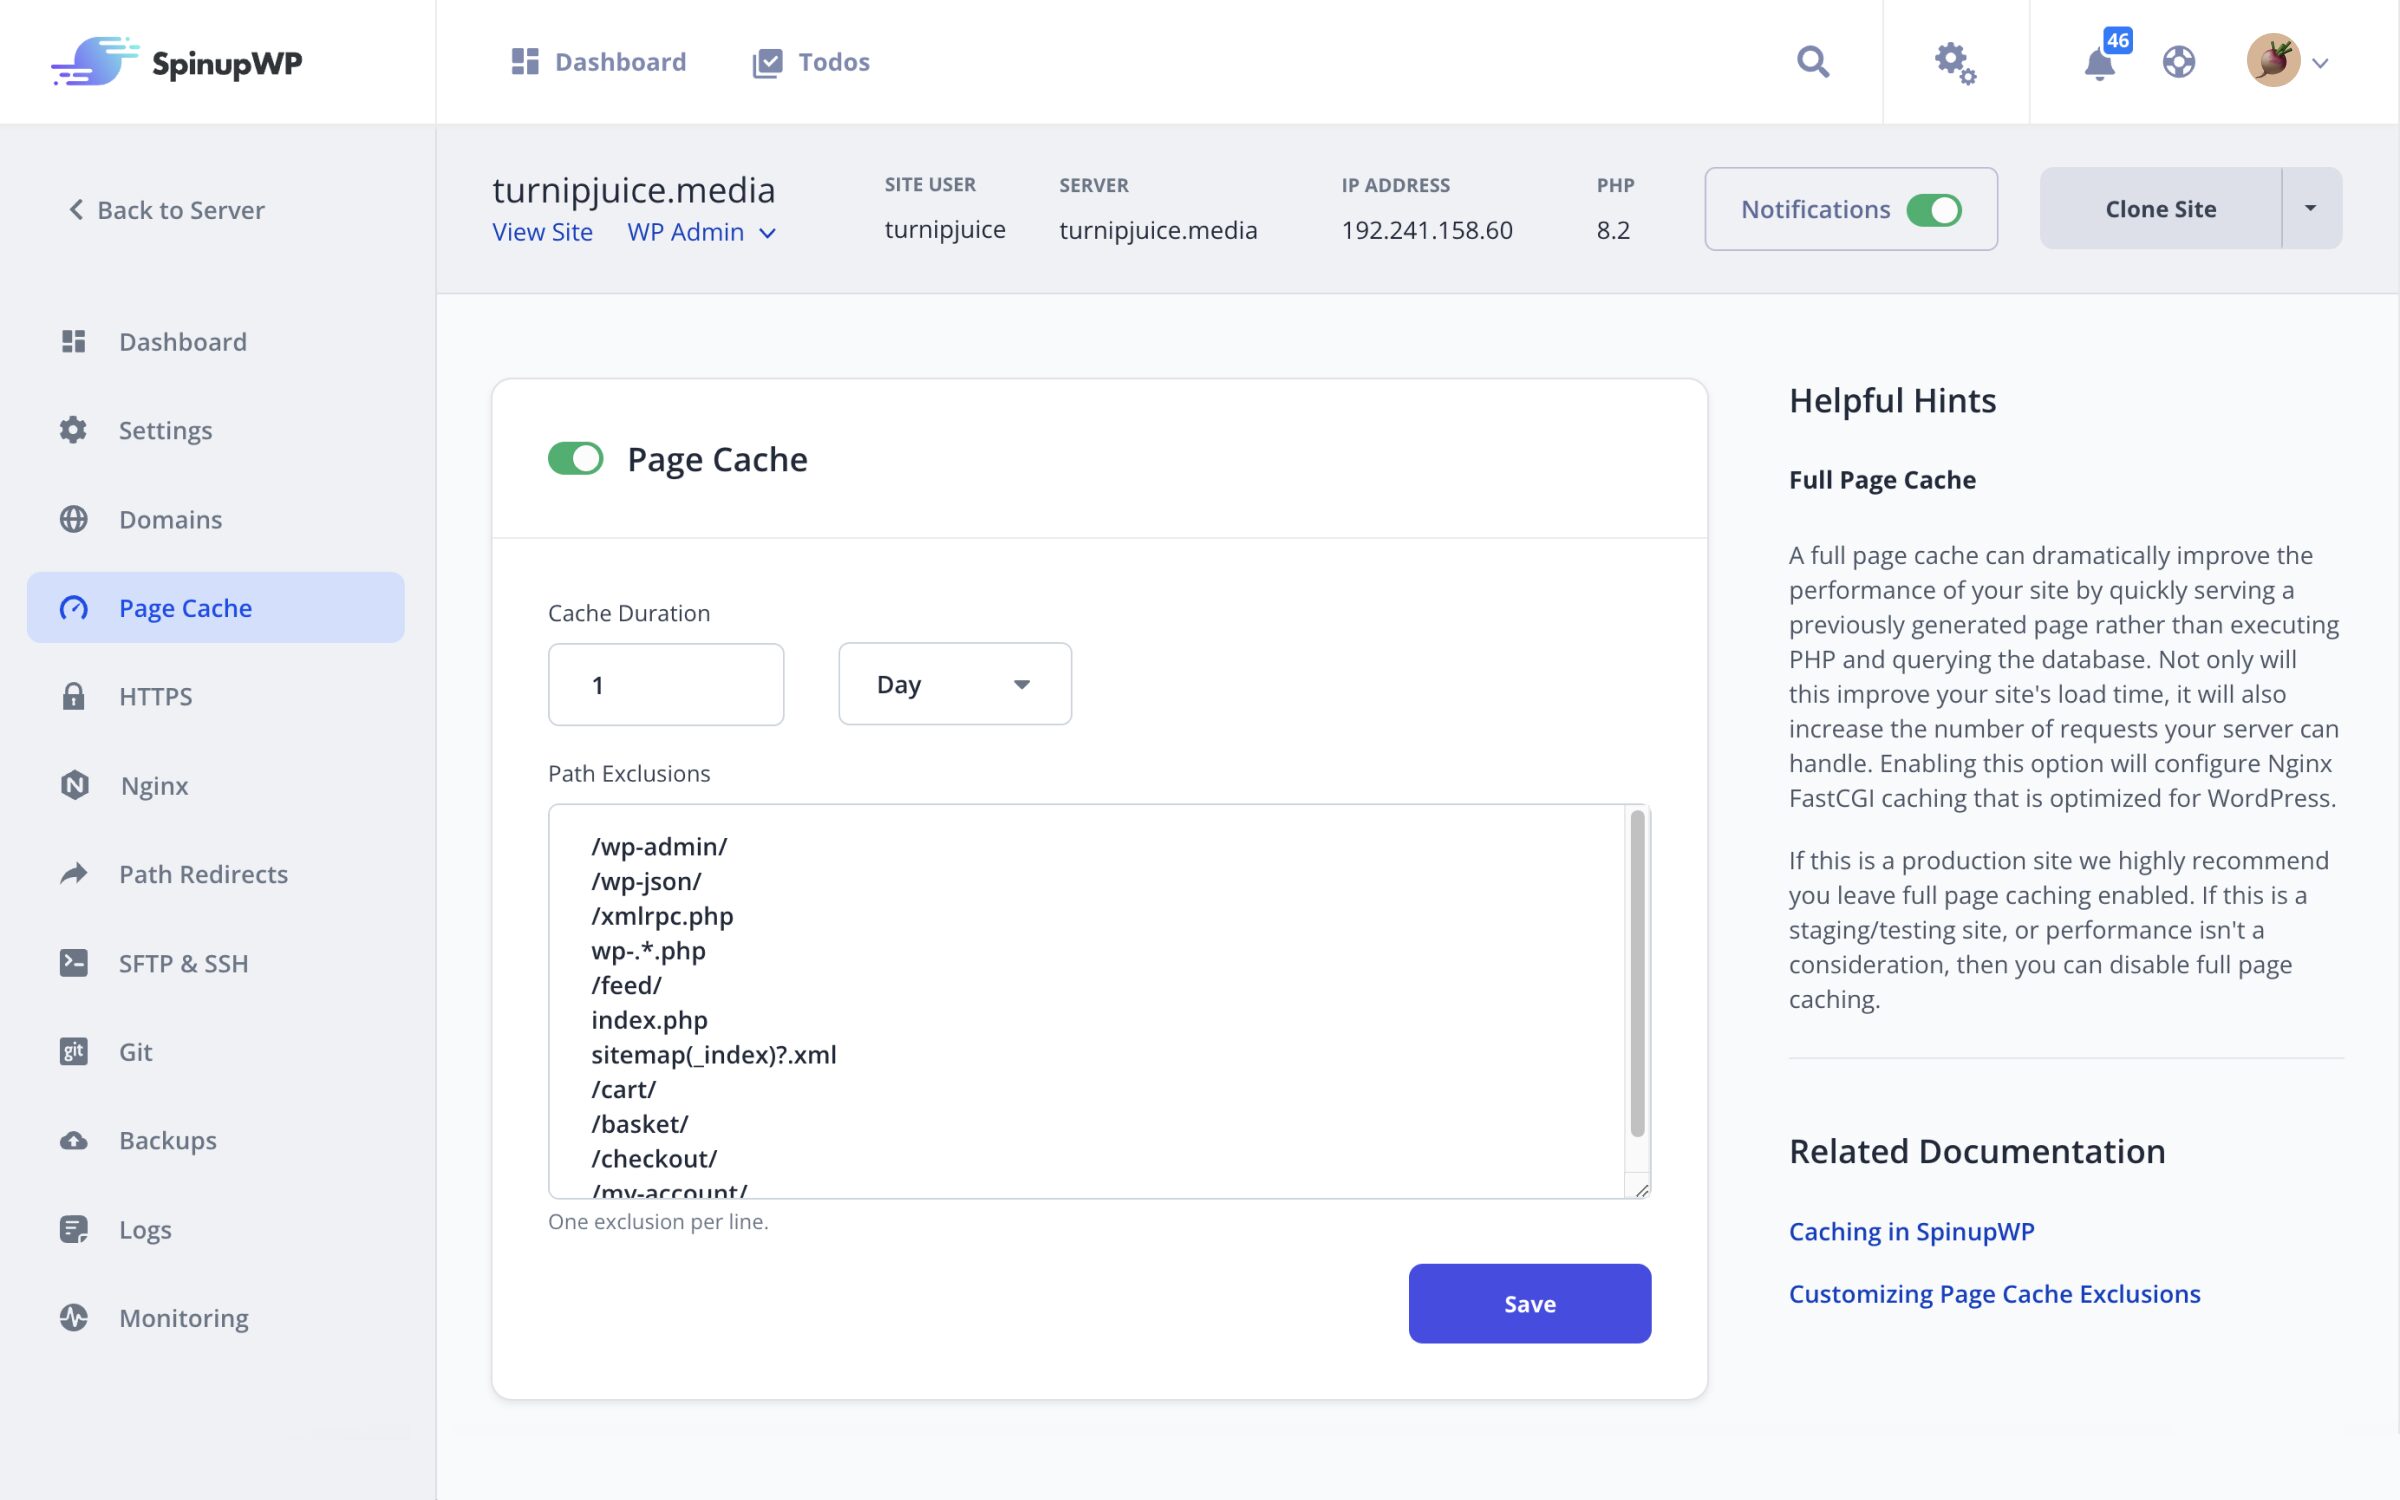
On the “Page Cache” screen you can toggle full page caching for the site, which can substantially improve performance. Enabling this option will configure Nginx FastCGI caching that is optimized for WordPress. You can also change the cache duration and path exclusions for the page cache on this screen.
We highly recommend you enable full page caching if this is a production site.
HTTPS
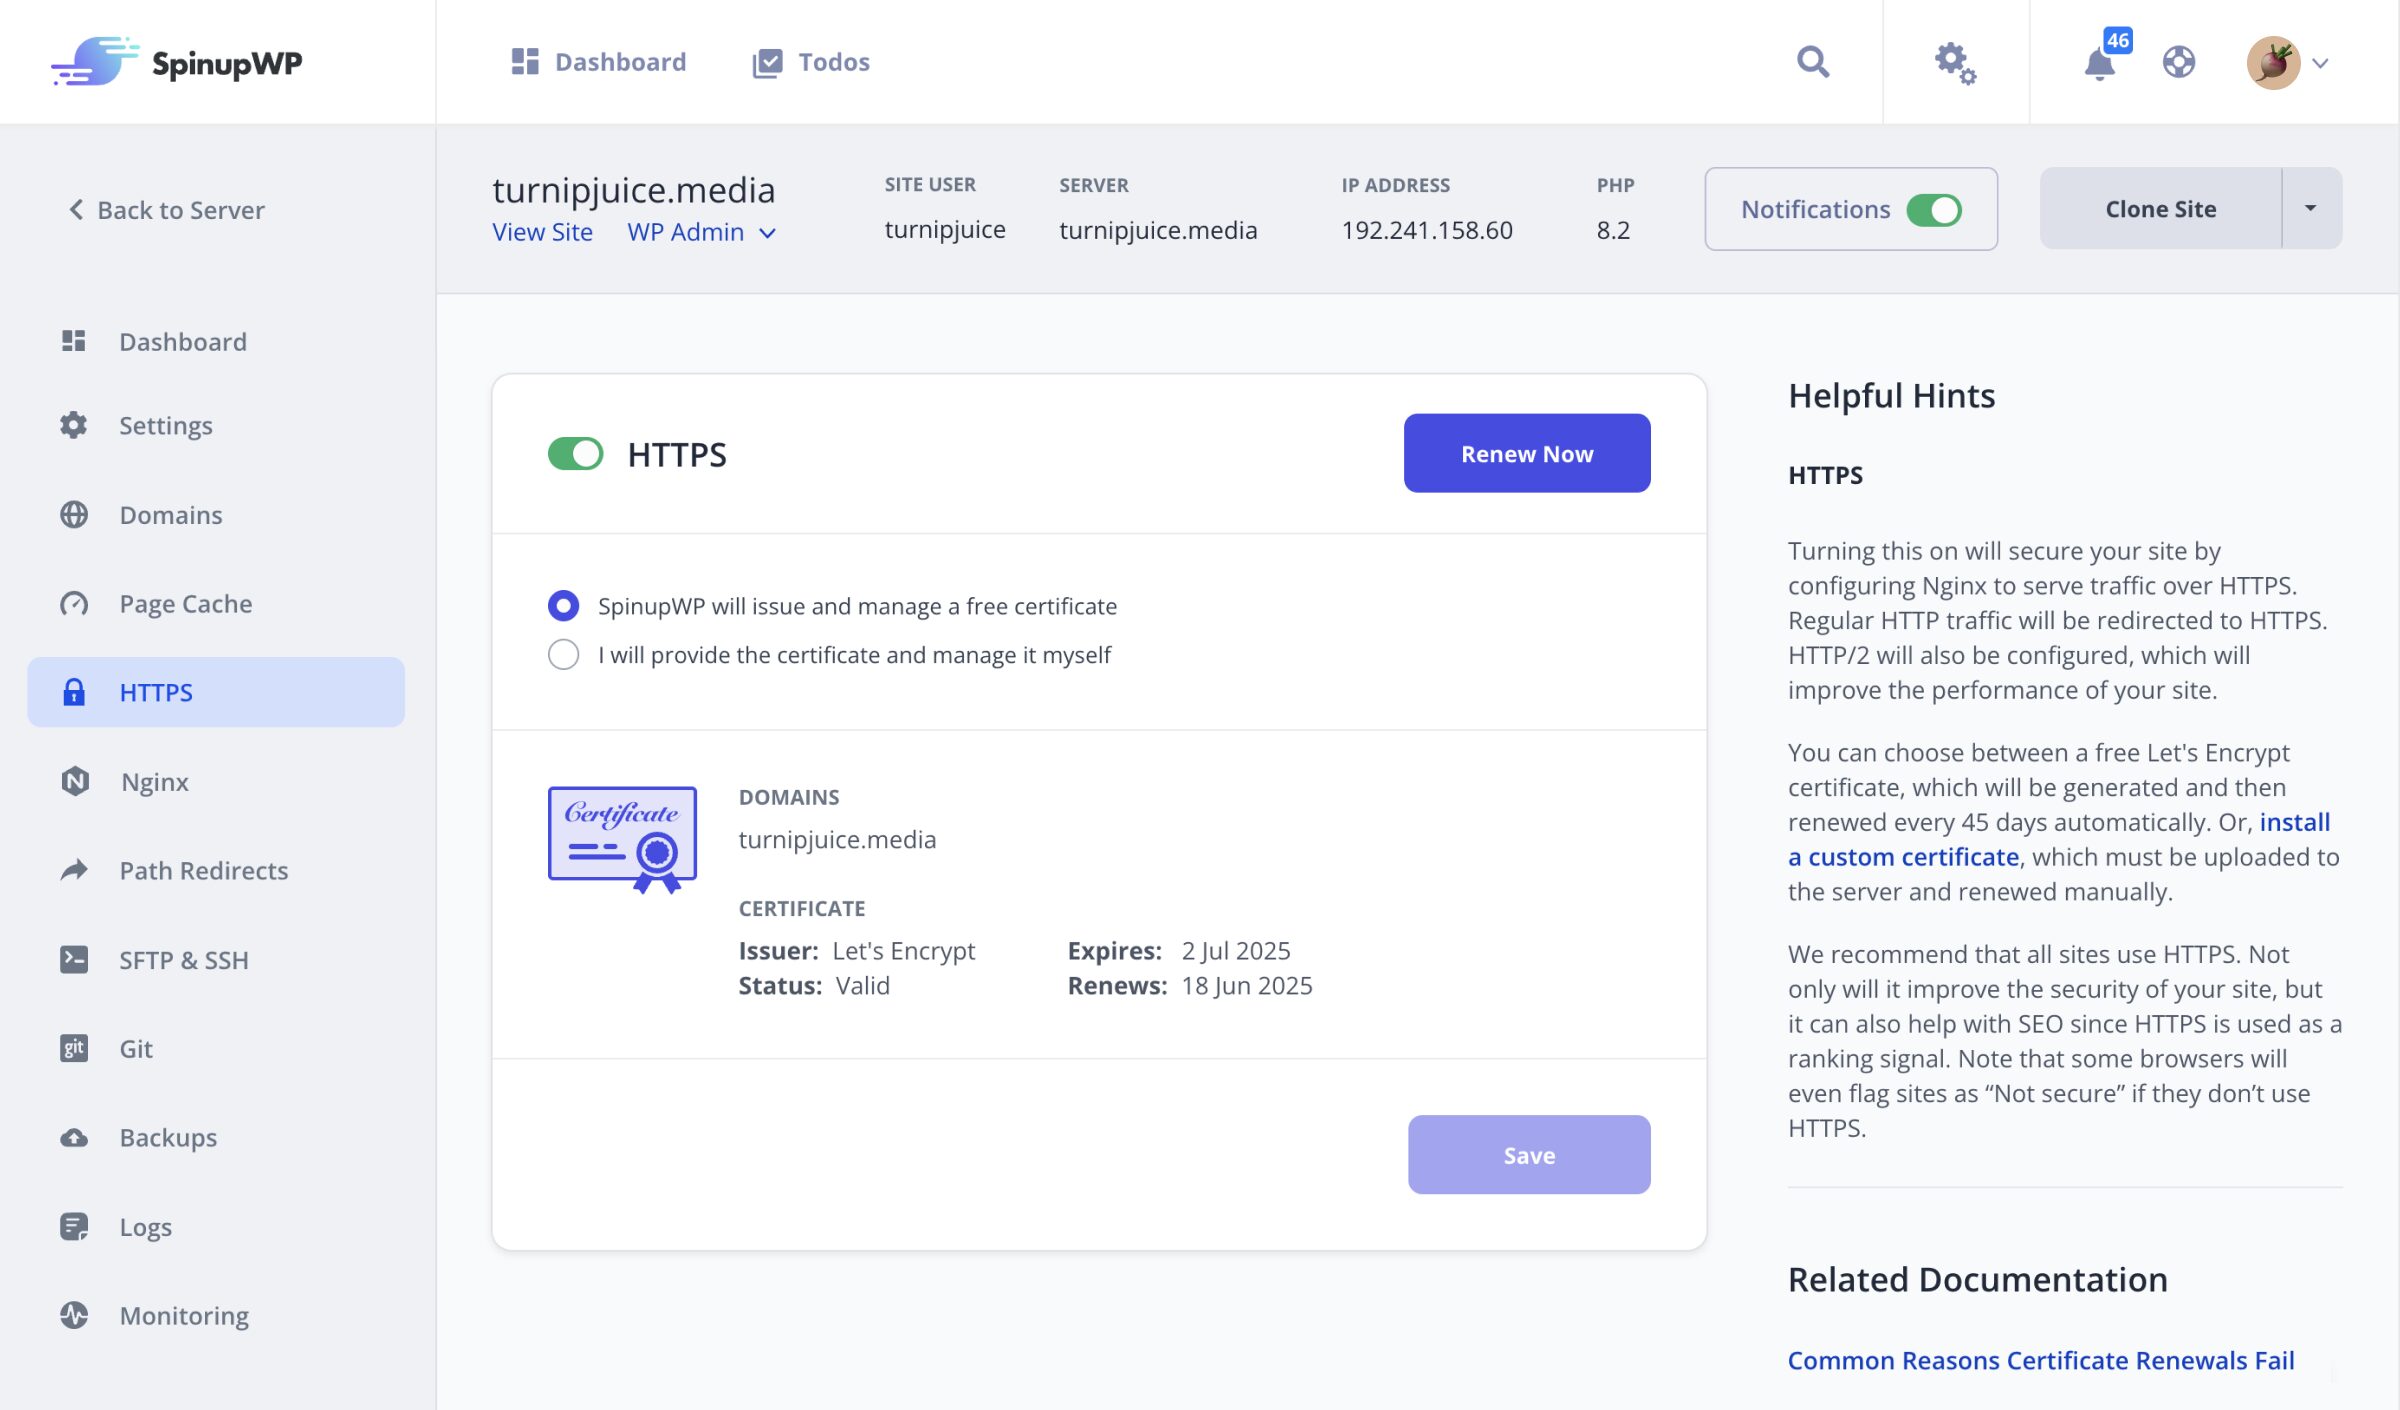
On the “HTTPS” screen you can toggle an SSL certificate for the site to enable HTTPS. Turning this on will generate a free Let’s Encrypt certificate and configure Nginx to use it to serve HTTPS traffic. Regular HTTP traffic will be redirected to HTTPS. HTTP/2 will also be configured which will improve the performance of your site.
You are also able to provide your own custom SSL certificate, which you will need to upload to the server, before entering the paths to the relevant files.
We highly recommend that all sites use HTTPS. Not only will it improve the security of your site, but it can also help with SEO since HTTPS is used as a ranking signal. Note that some browsers will even flag sites as “Not secure” if they don’t use HTTPS.
Nginx
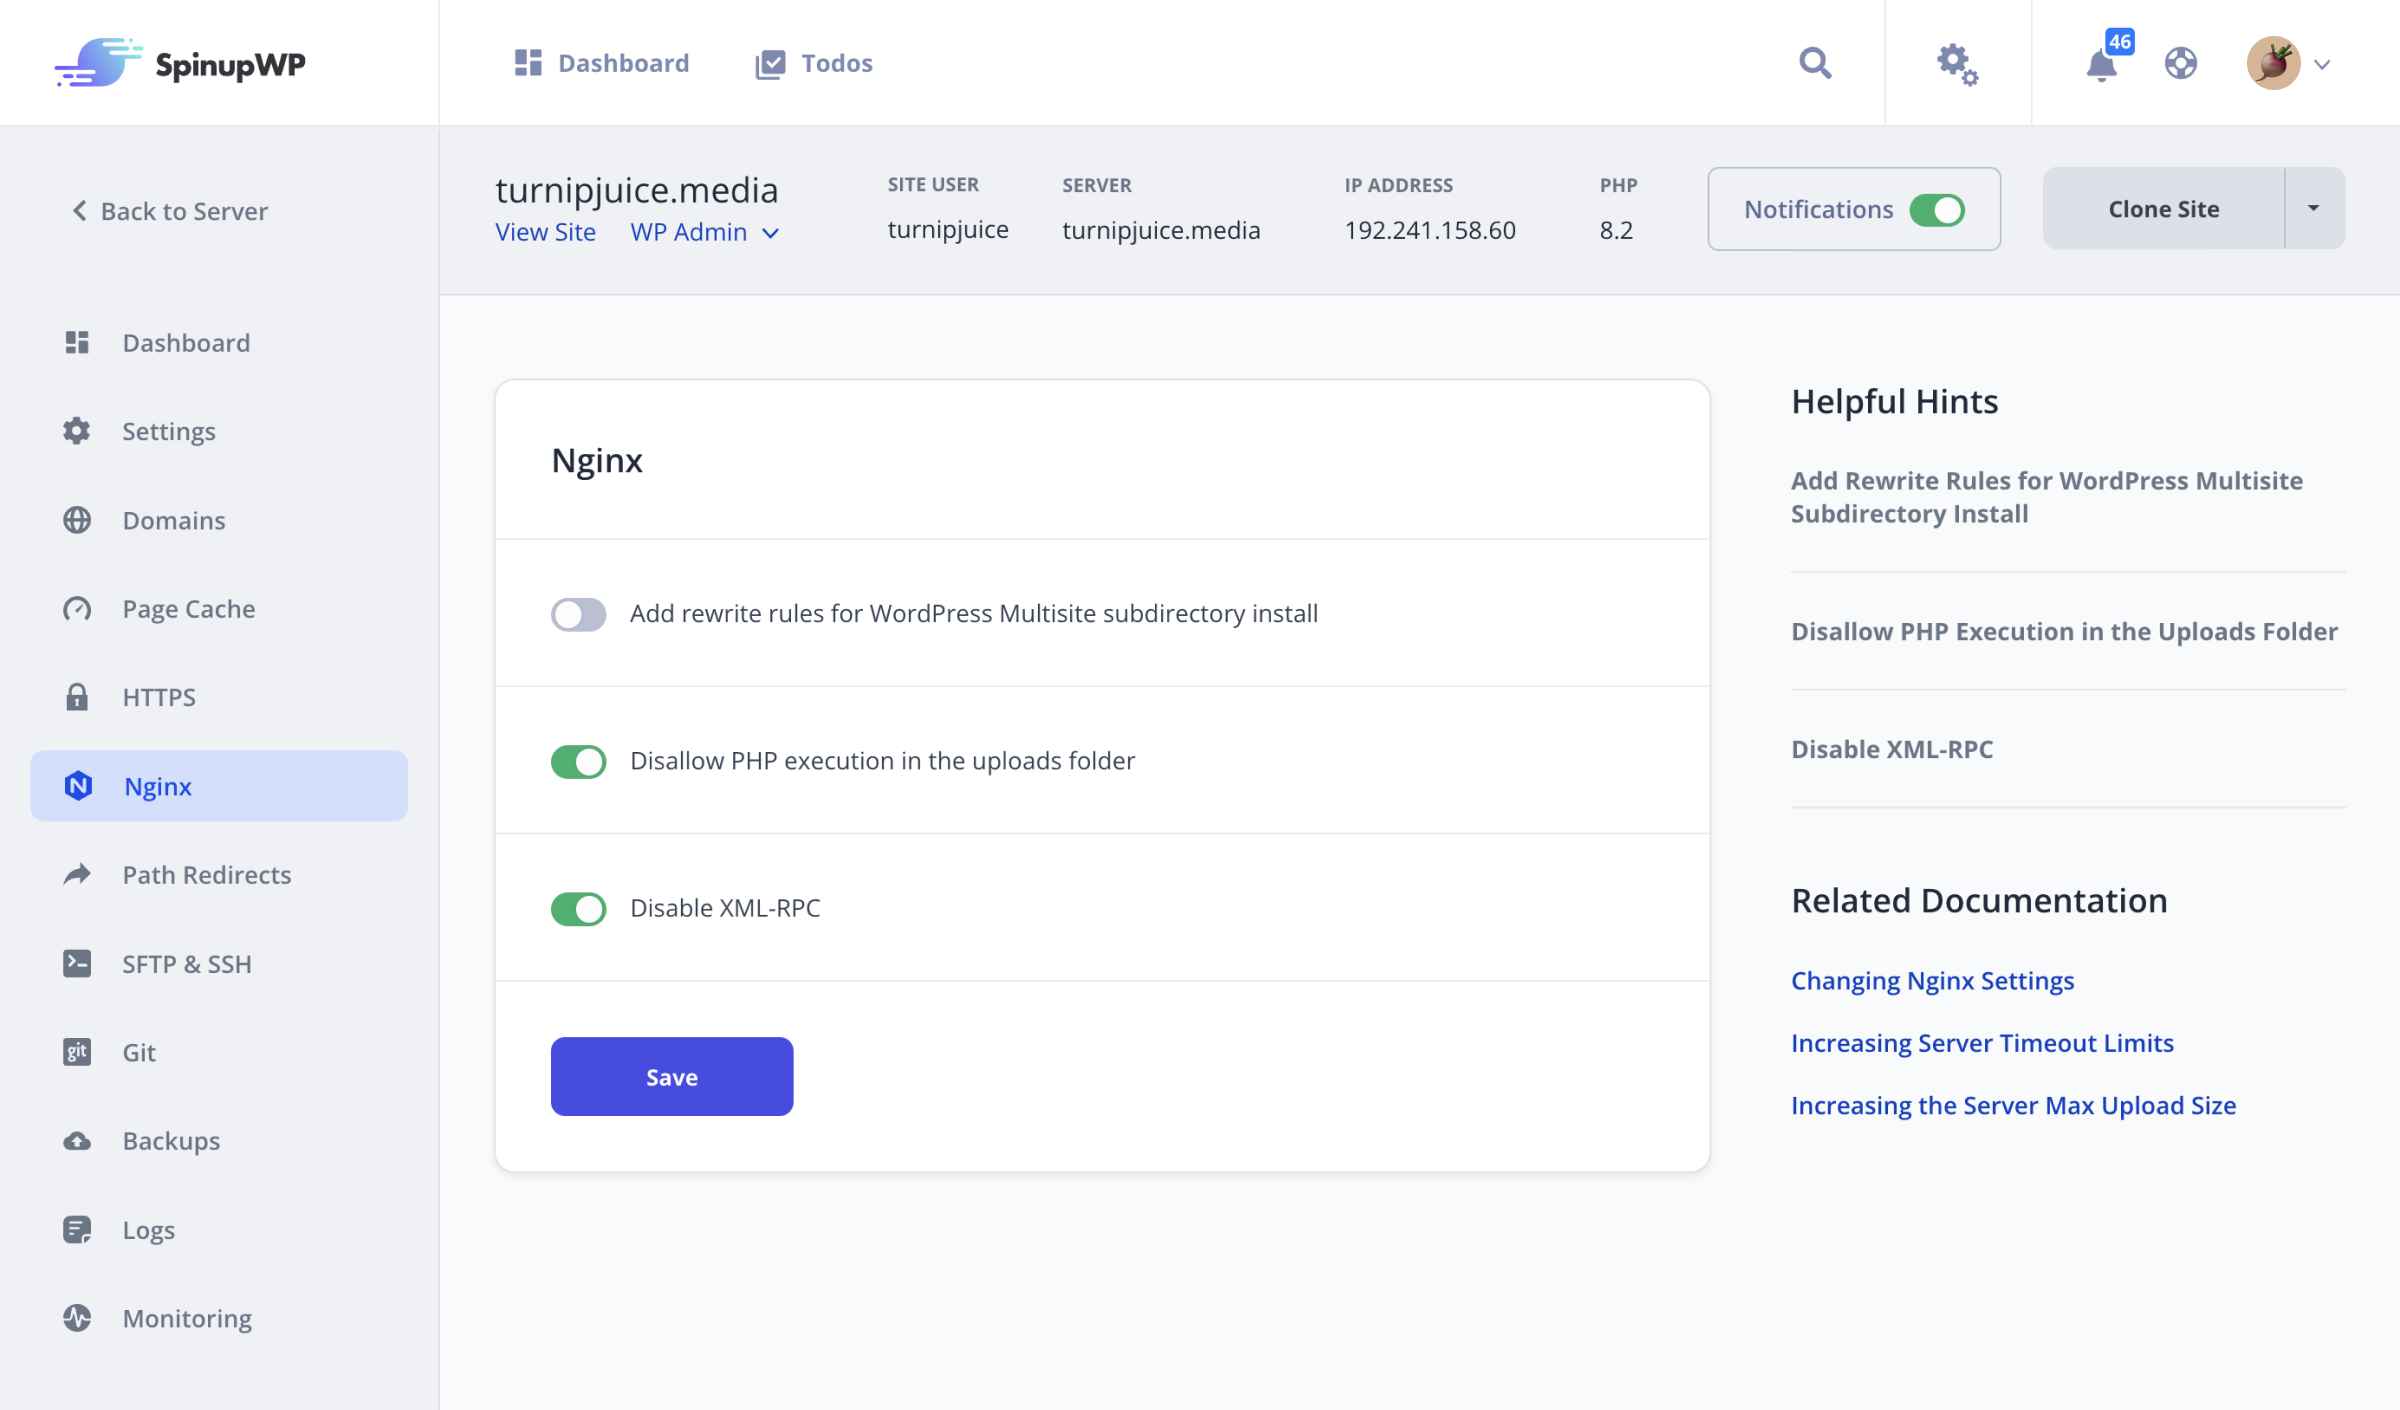
On the “Nginx” screen you can control Nginx web server specific settings, like adding rewrite rules for a WordPress Multisite subdirectory install, preventing PHP scripts from being executed in the uploads folder, and disabling the WordPress XML-RPC.
Path Redirects
On the “Path Redirects” screen you can set up redirects in Nginx to redirect one path to another path or URL. Path redirects apply to the primary domain and any domains that don’t have a redirect enabled at the domain level.
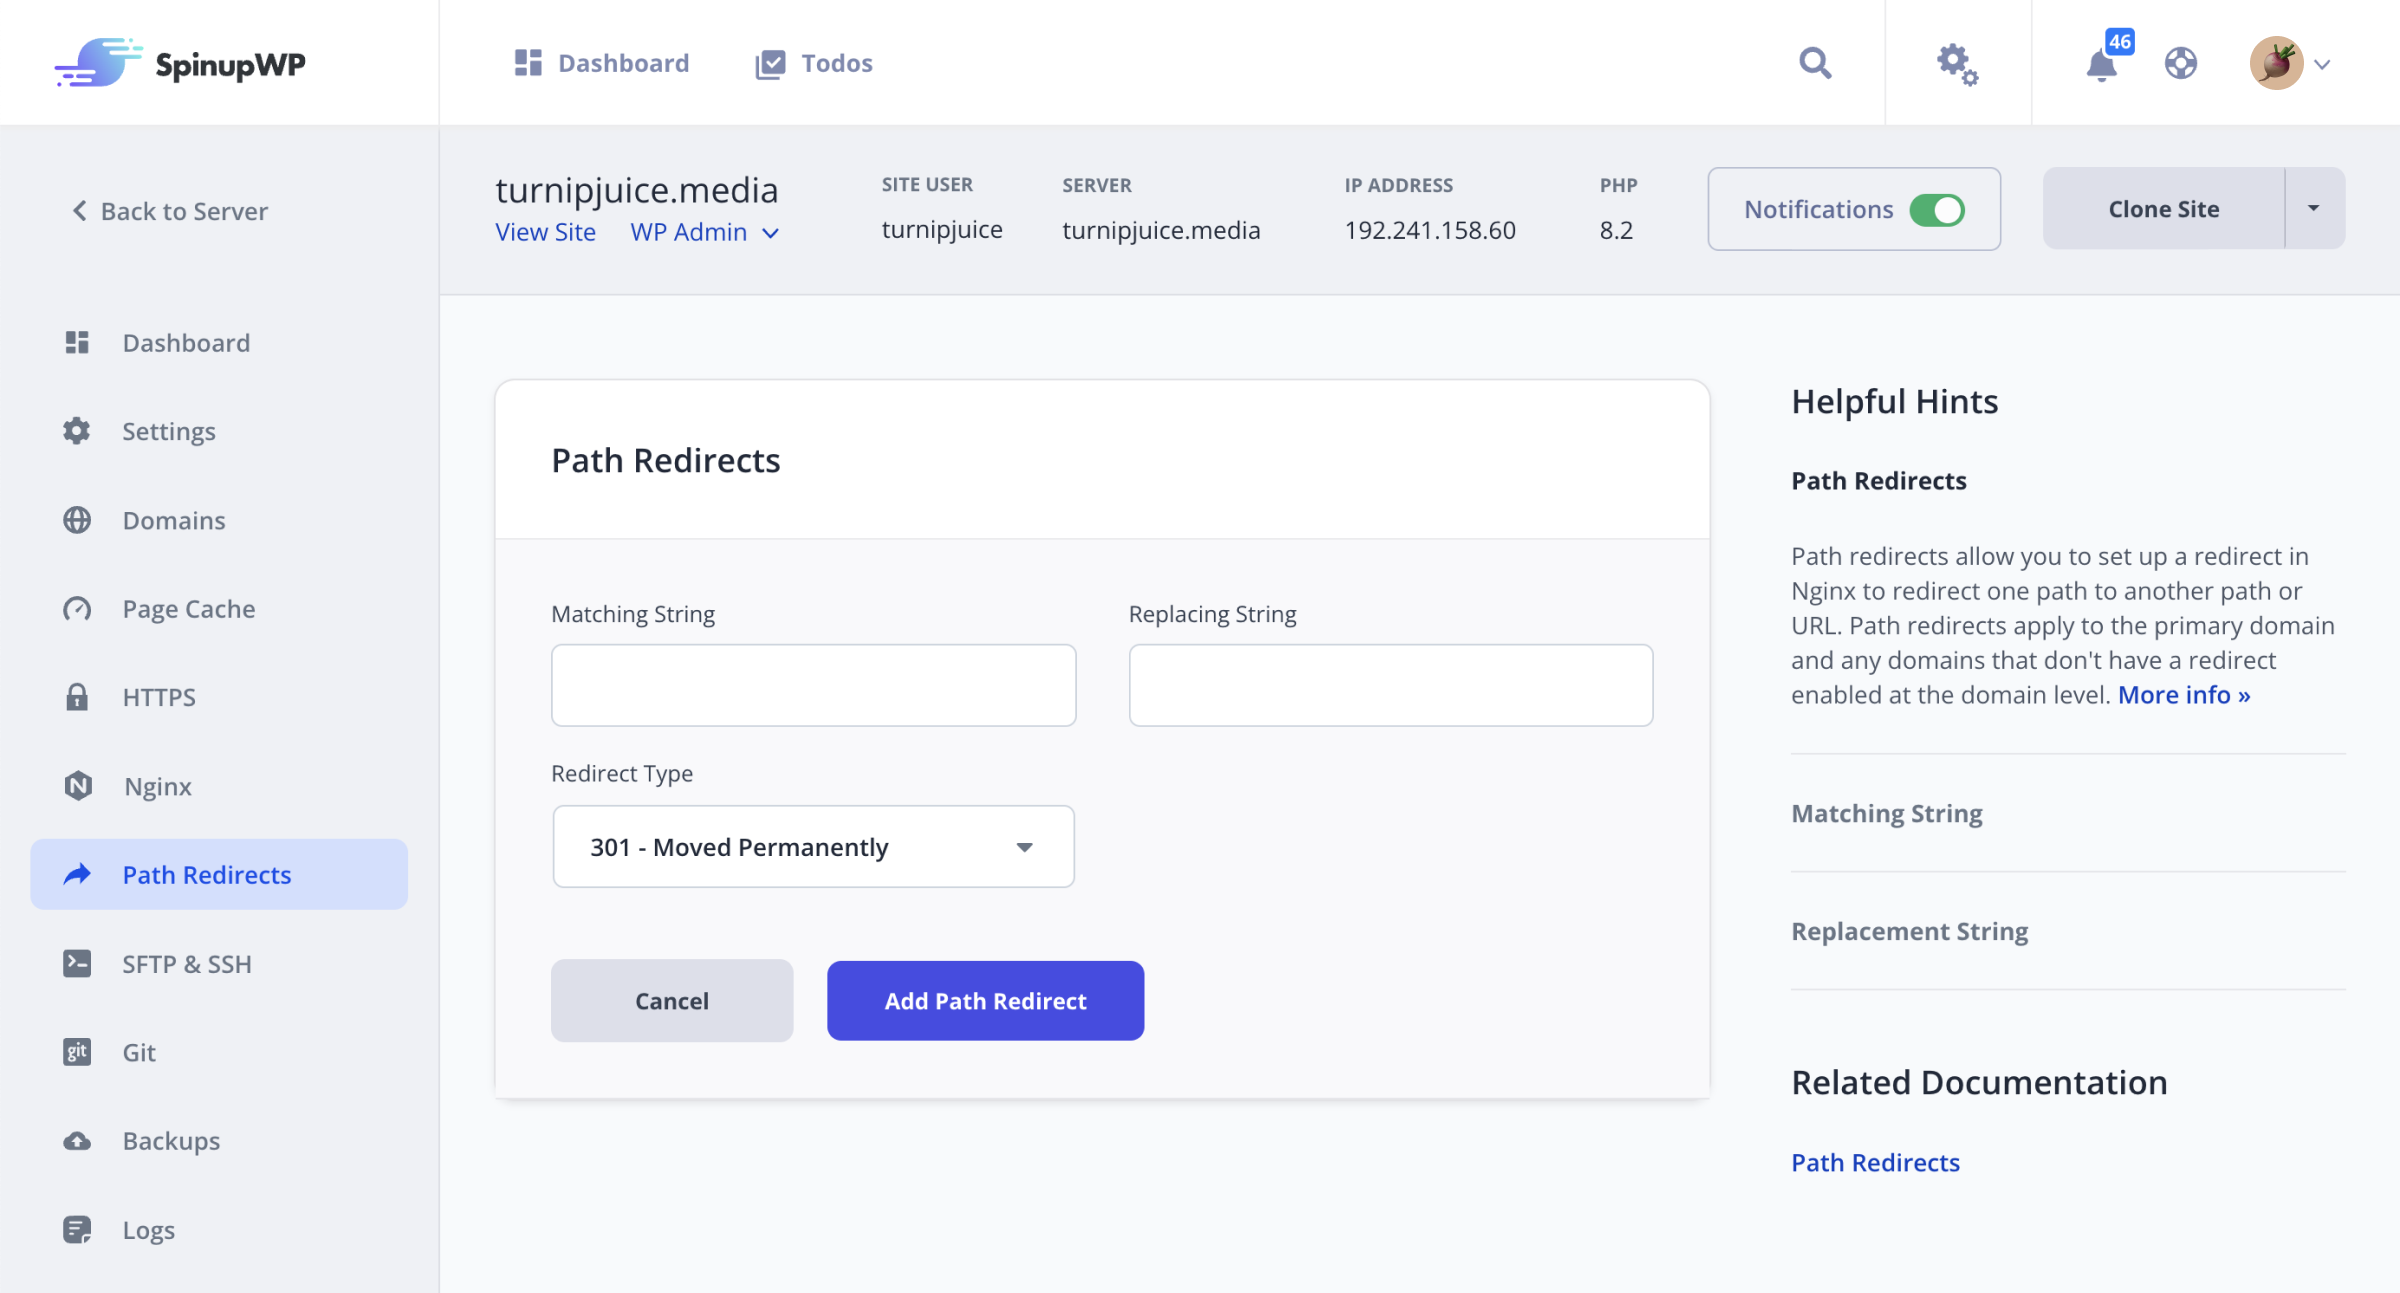
Path redirect supports plain text and regular expressions for both matches and redirects.
SFTP & SSH
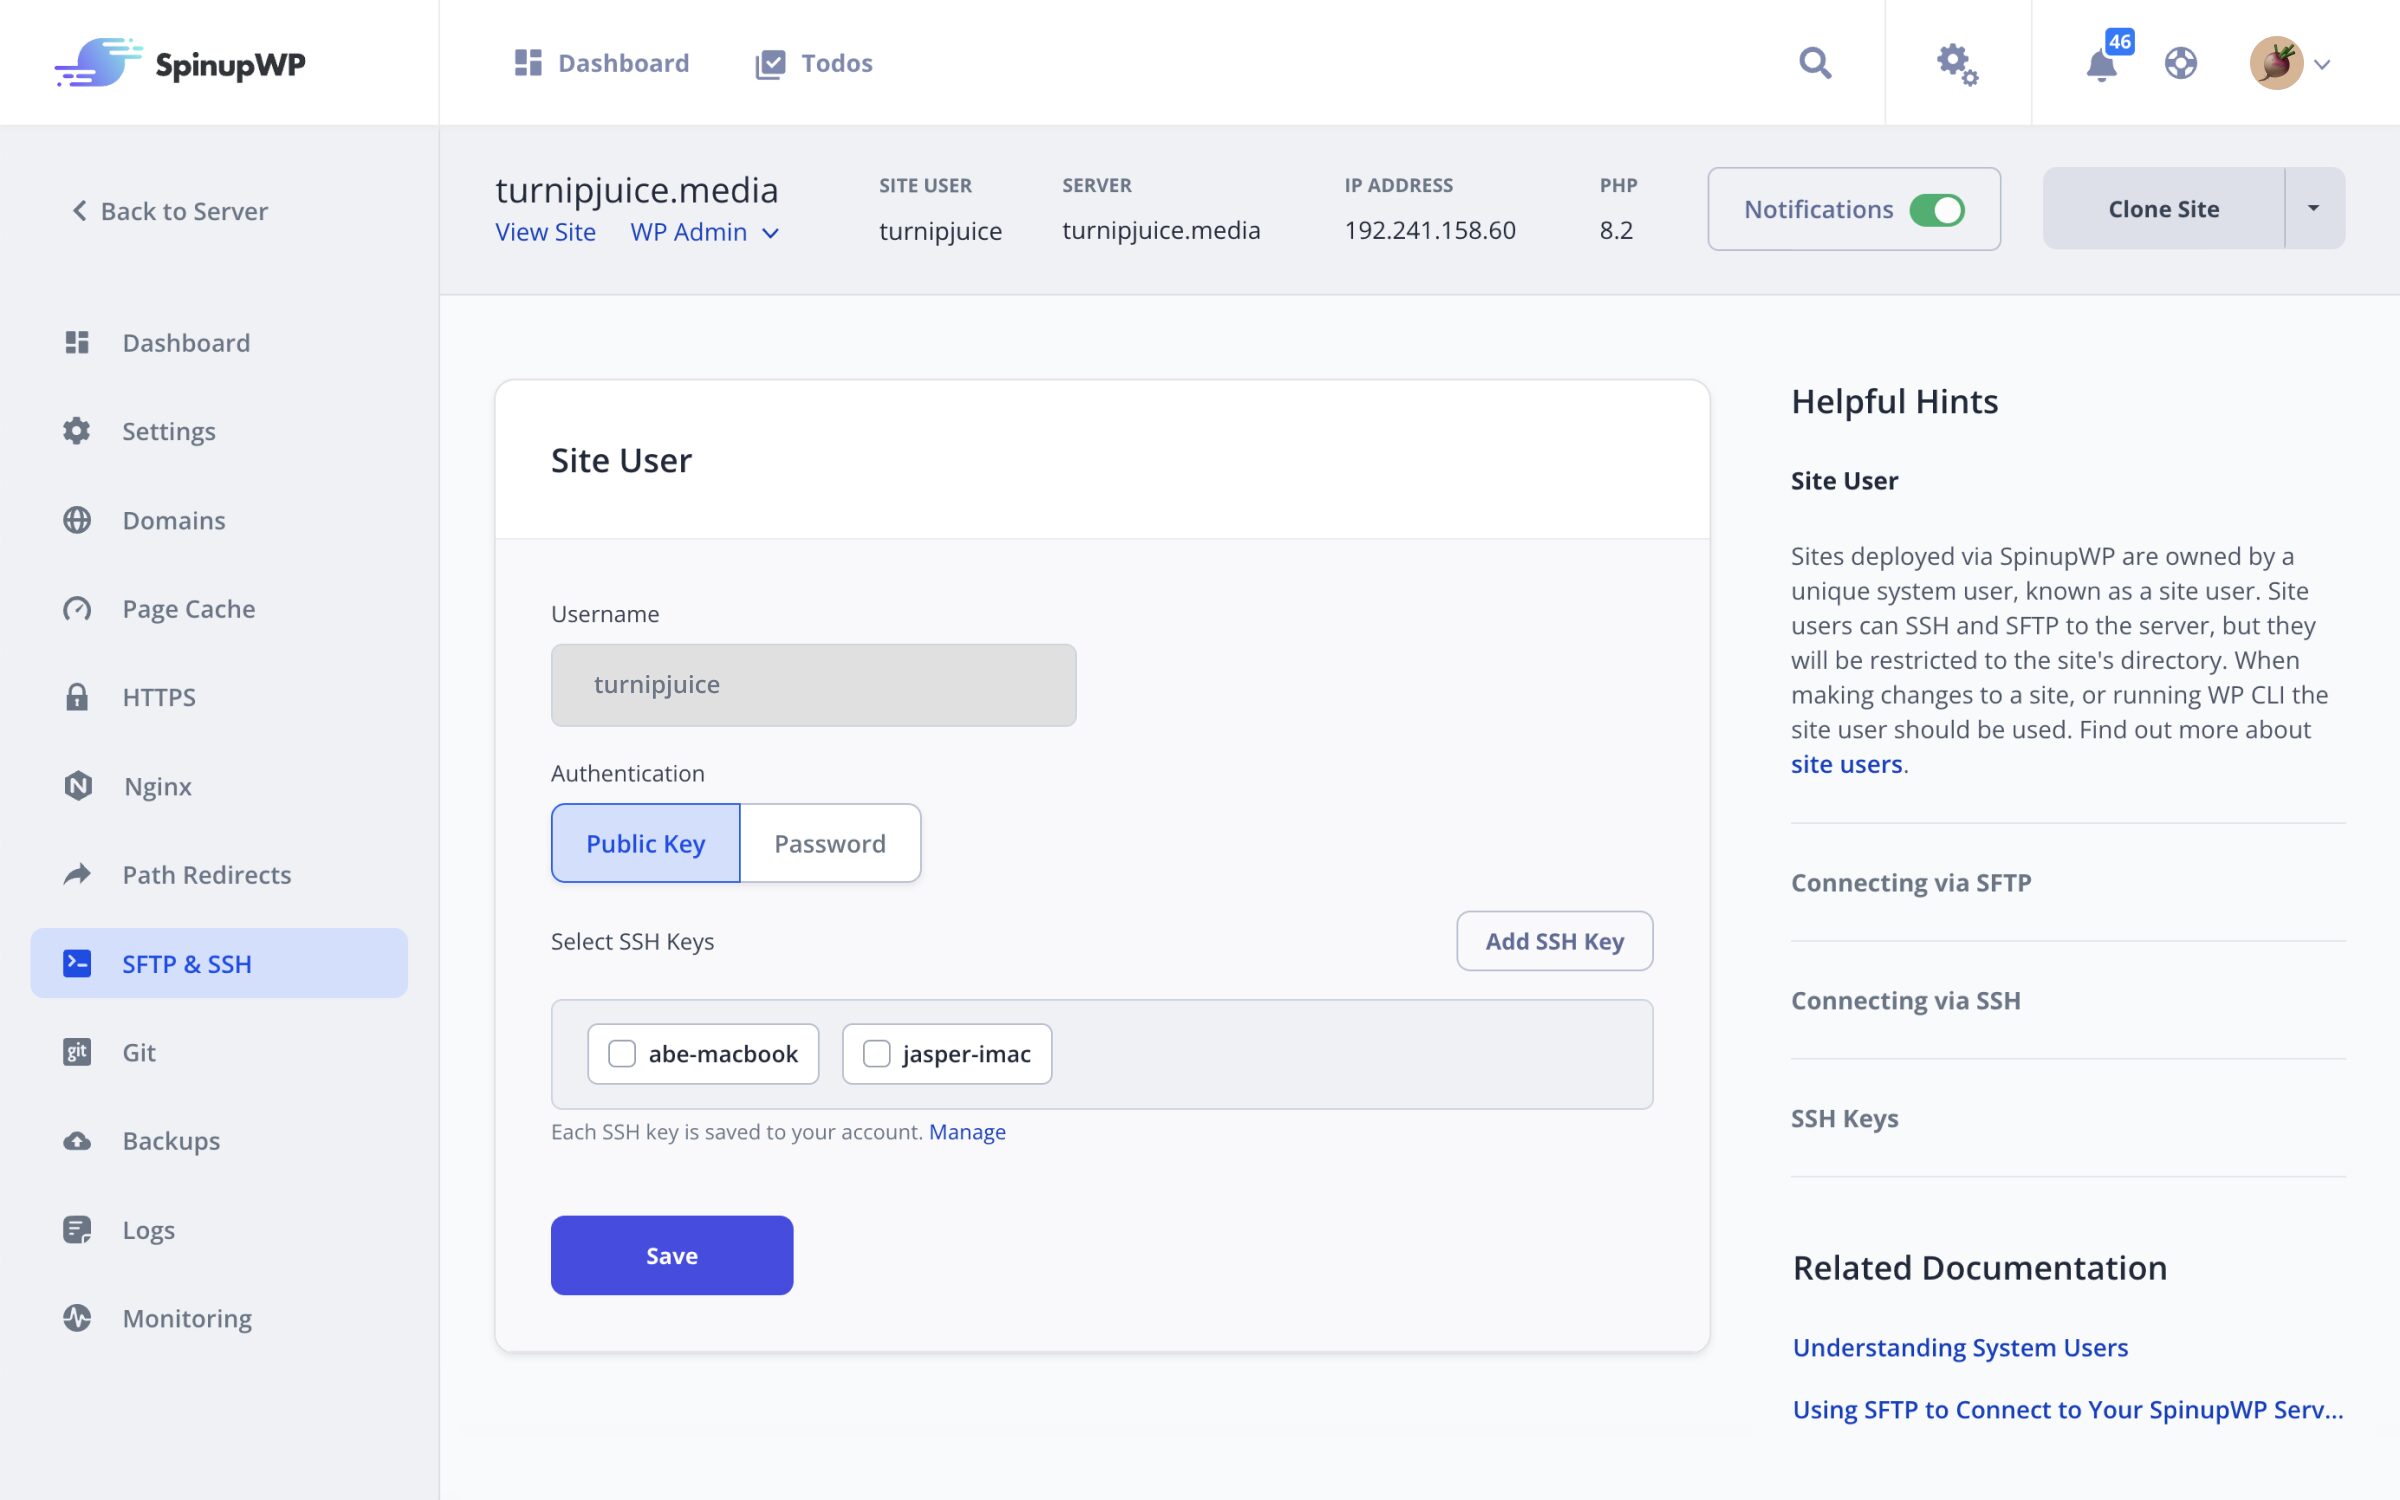
Every site created by SpinupWP has its own system user with SSH and SFTP access to the server but restricted to the site’s directory. When making changes to a site, or running WP-CLI, the site user should be used.
To enable SSH/SFTP access to the site, you will need to select a Public Key and/or set a Password. By both selecting a public key and setting a password, you can login by either method.
Git
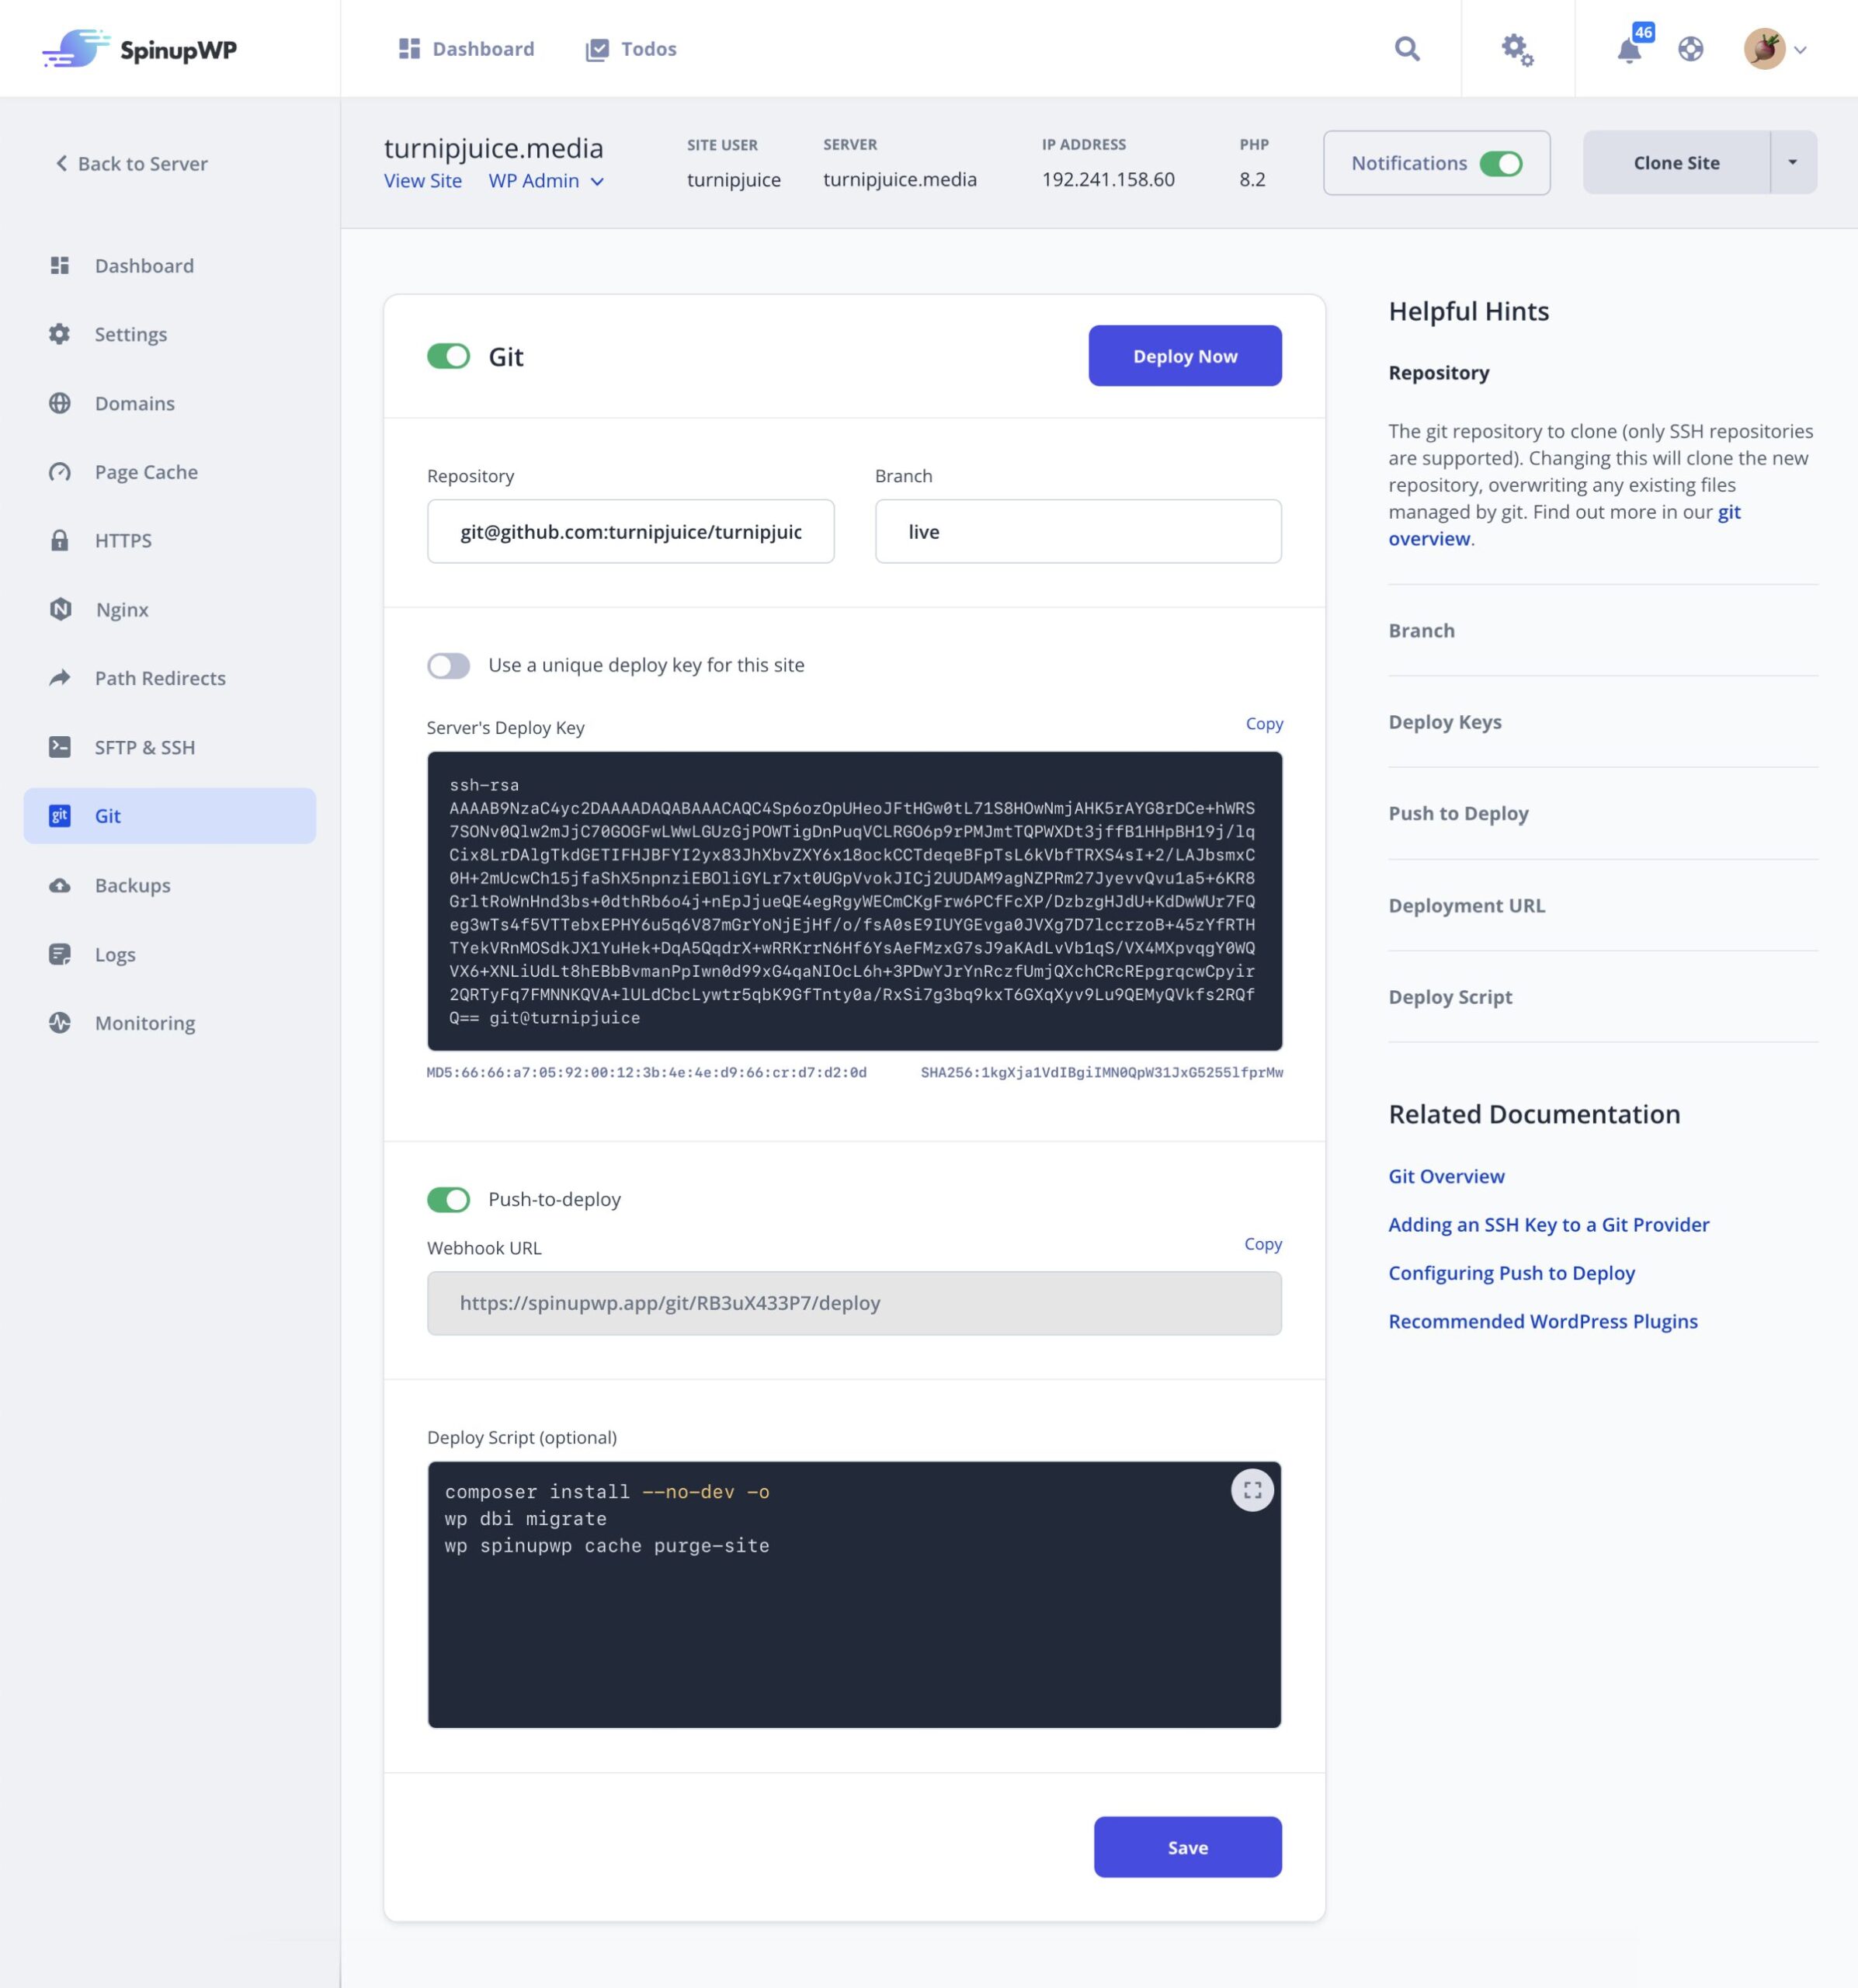
The “Git” settings screen allows you to change the settings for a Git repository site. You can change the repository URL, branch, deployment script, and toggle “Push to Deploy“.
You can also manage your Git Deploy Key from this tab, and switch between using the server’s deploy key and using a unique deploy key for the site.
Site Backups
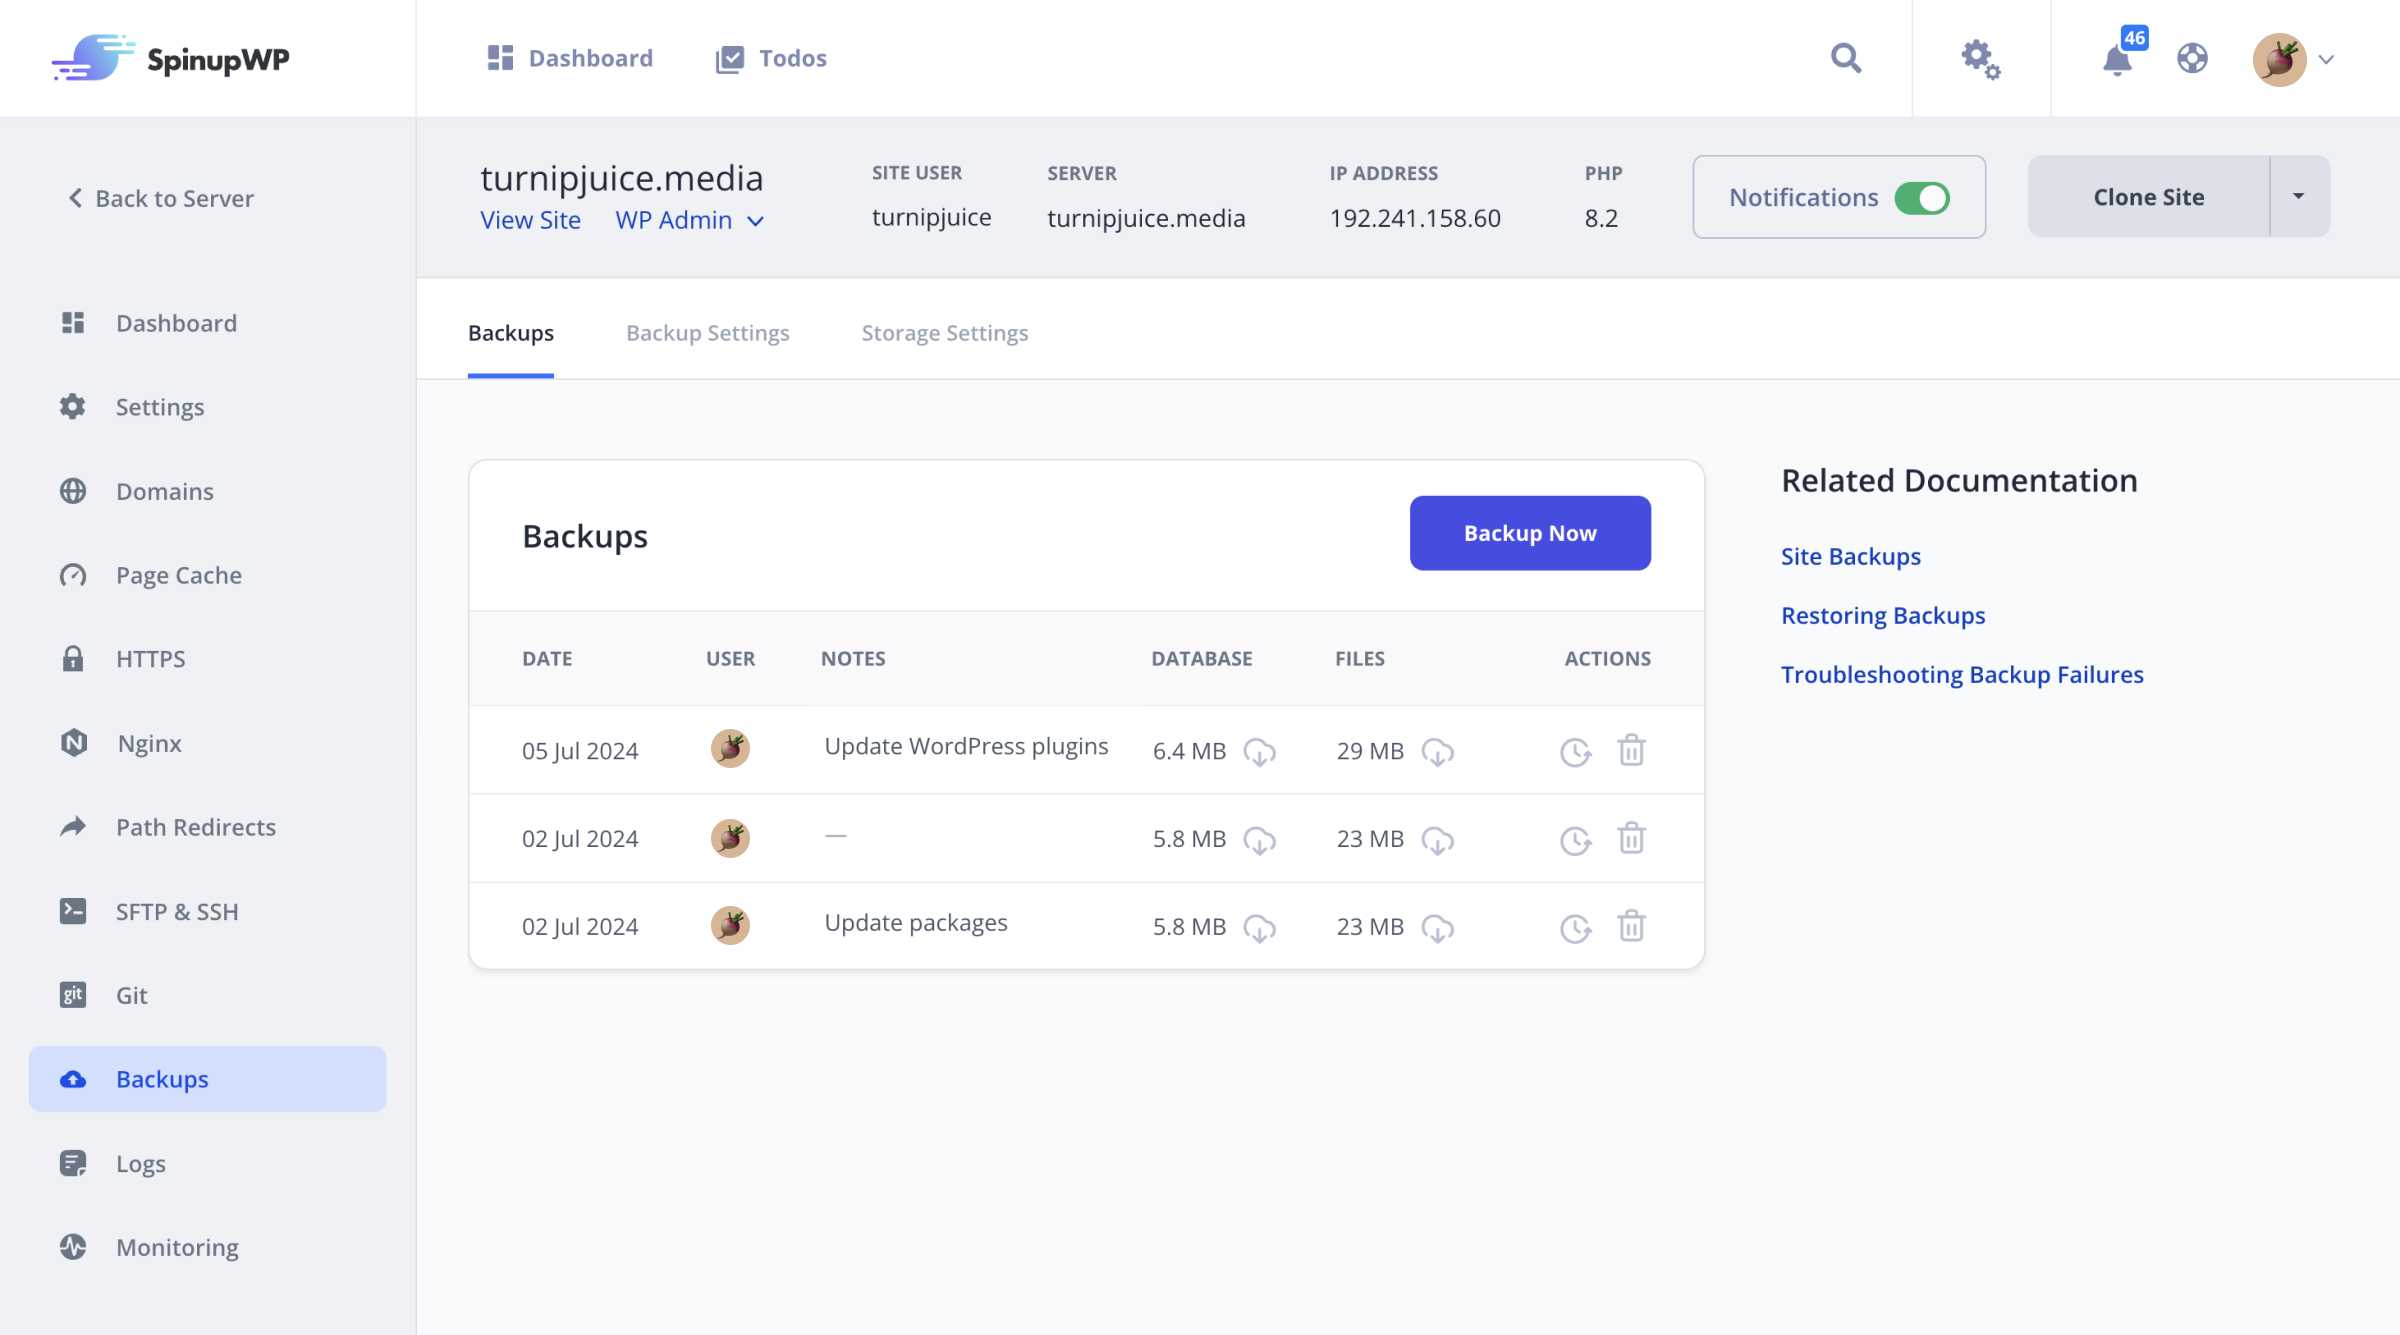
SpinupWP can perform automated daily site backups of your sites. Site backups are full backups of your site files (media, themes, and plugins) and database. Backups to Amazon S3, DigitalOcean Spaces, Google Cloud Storage, Wasabi, and Backblaze B2 are currently supported.
Logs
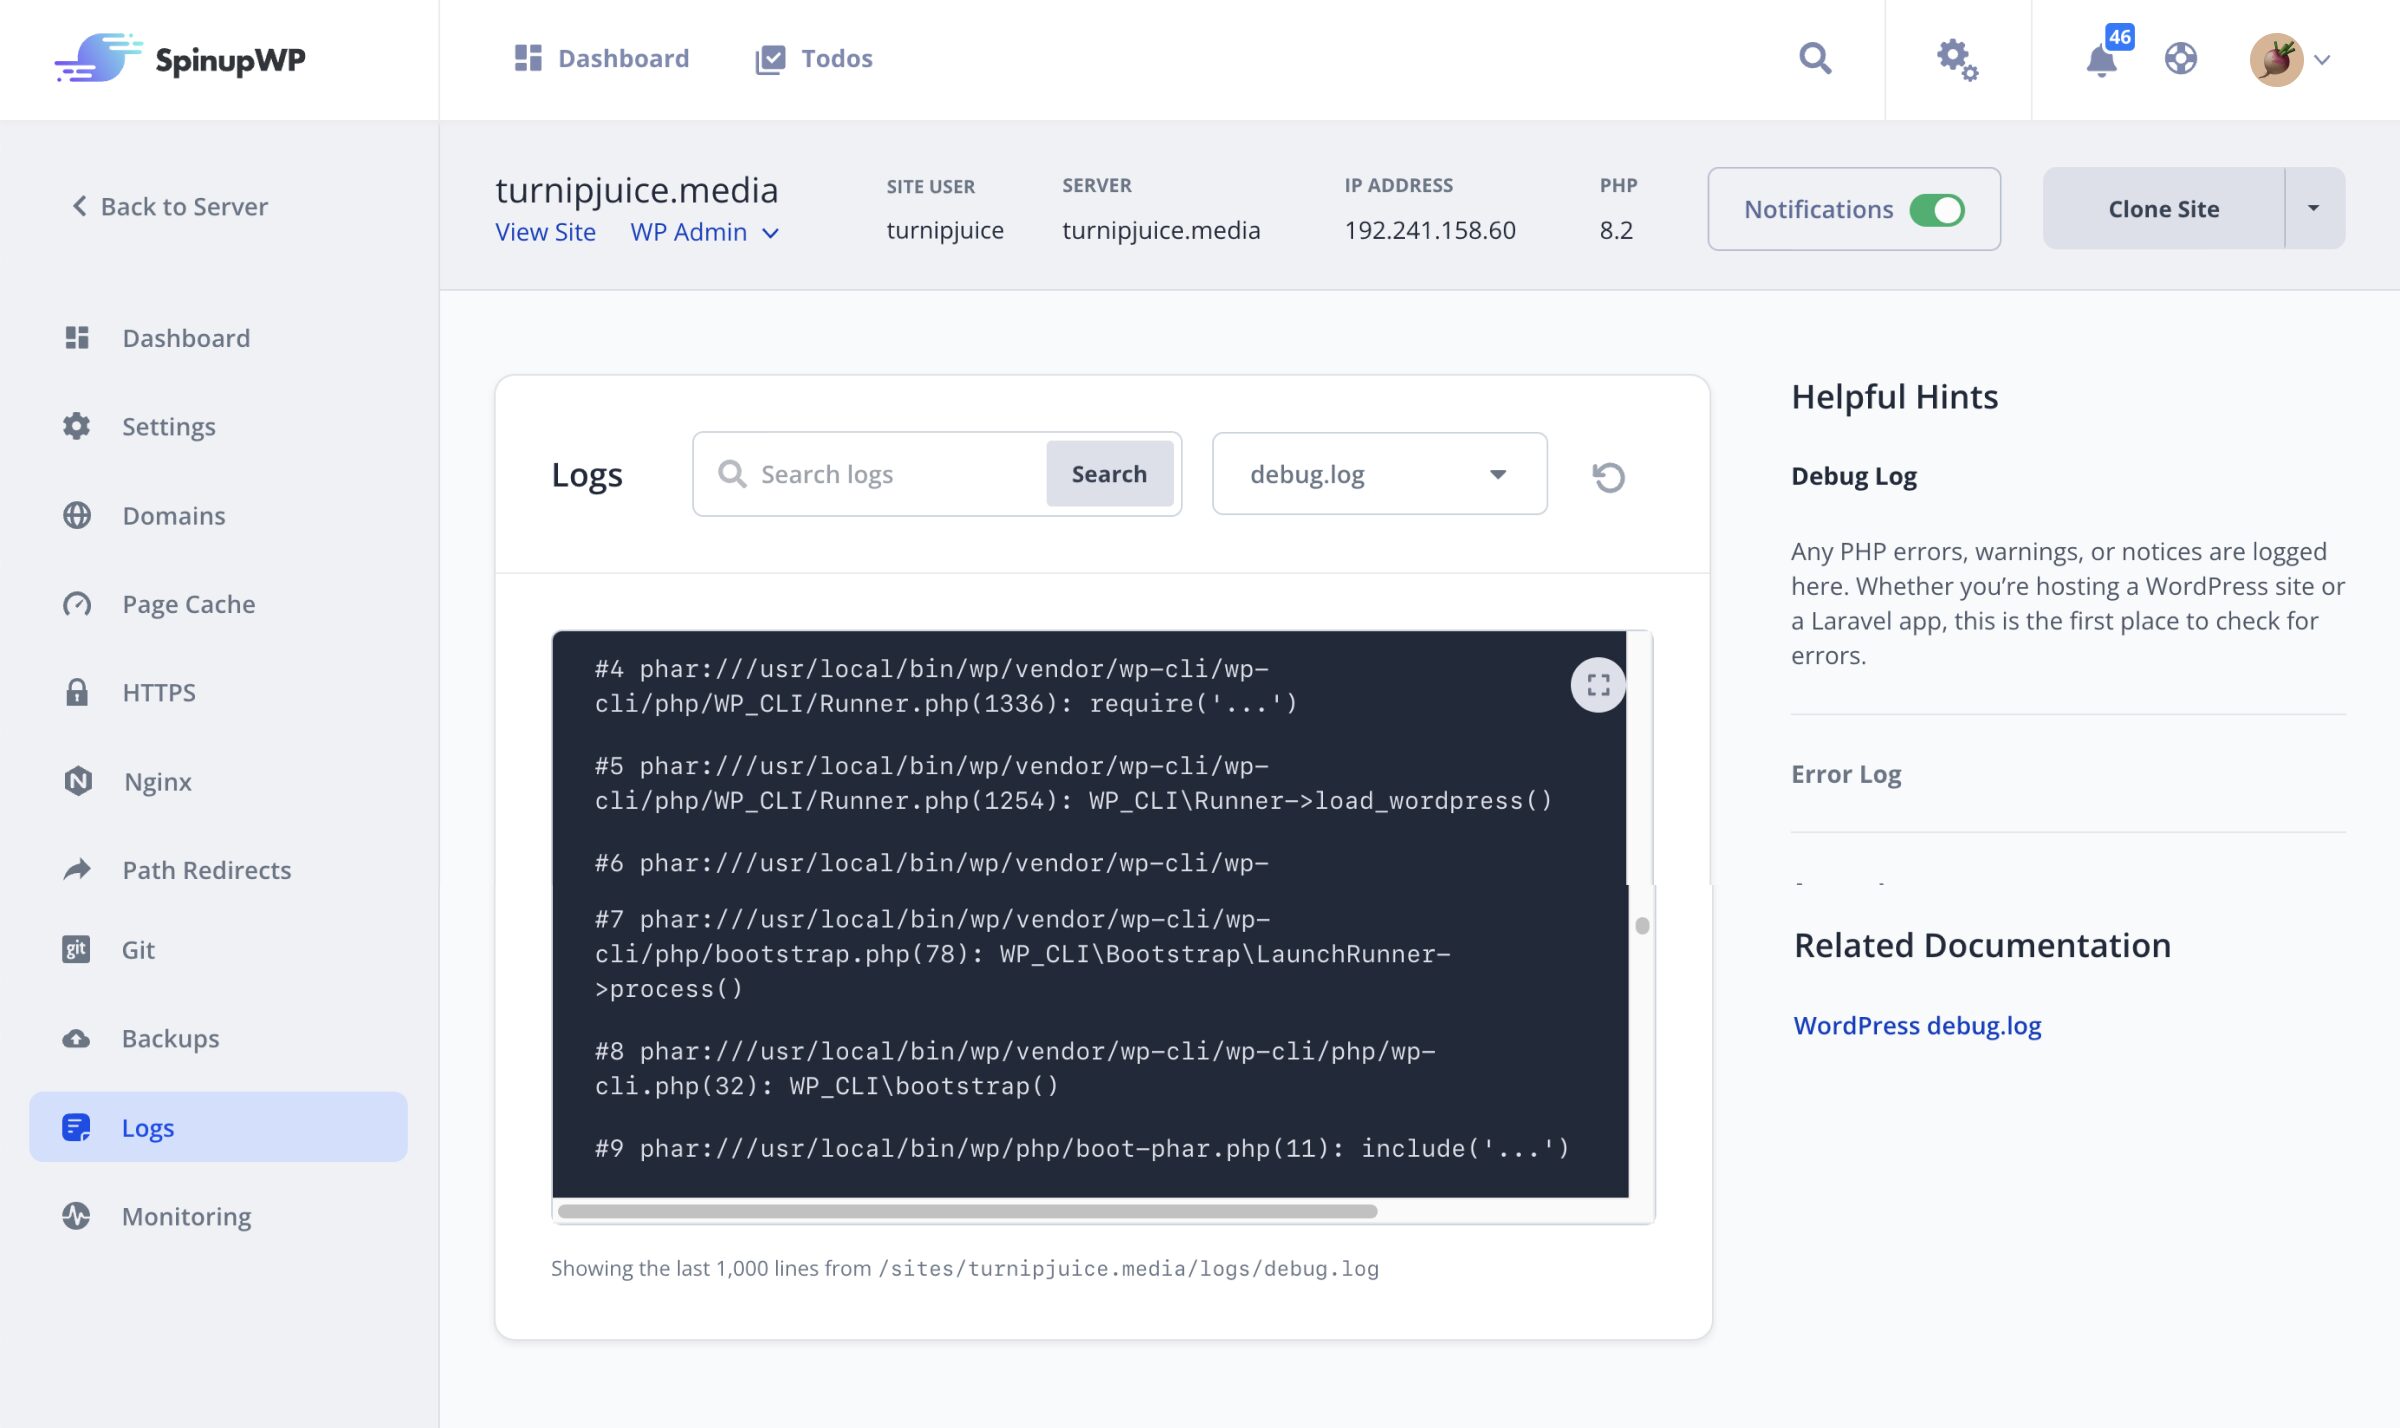
The site Logs viewer allows you to view the access.log, error.log, and debug.log files for your SpinupWP site.
Monitoring
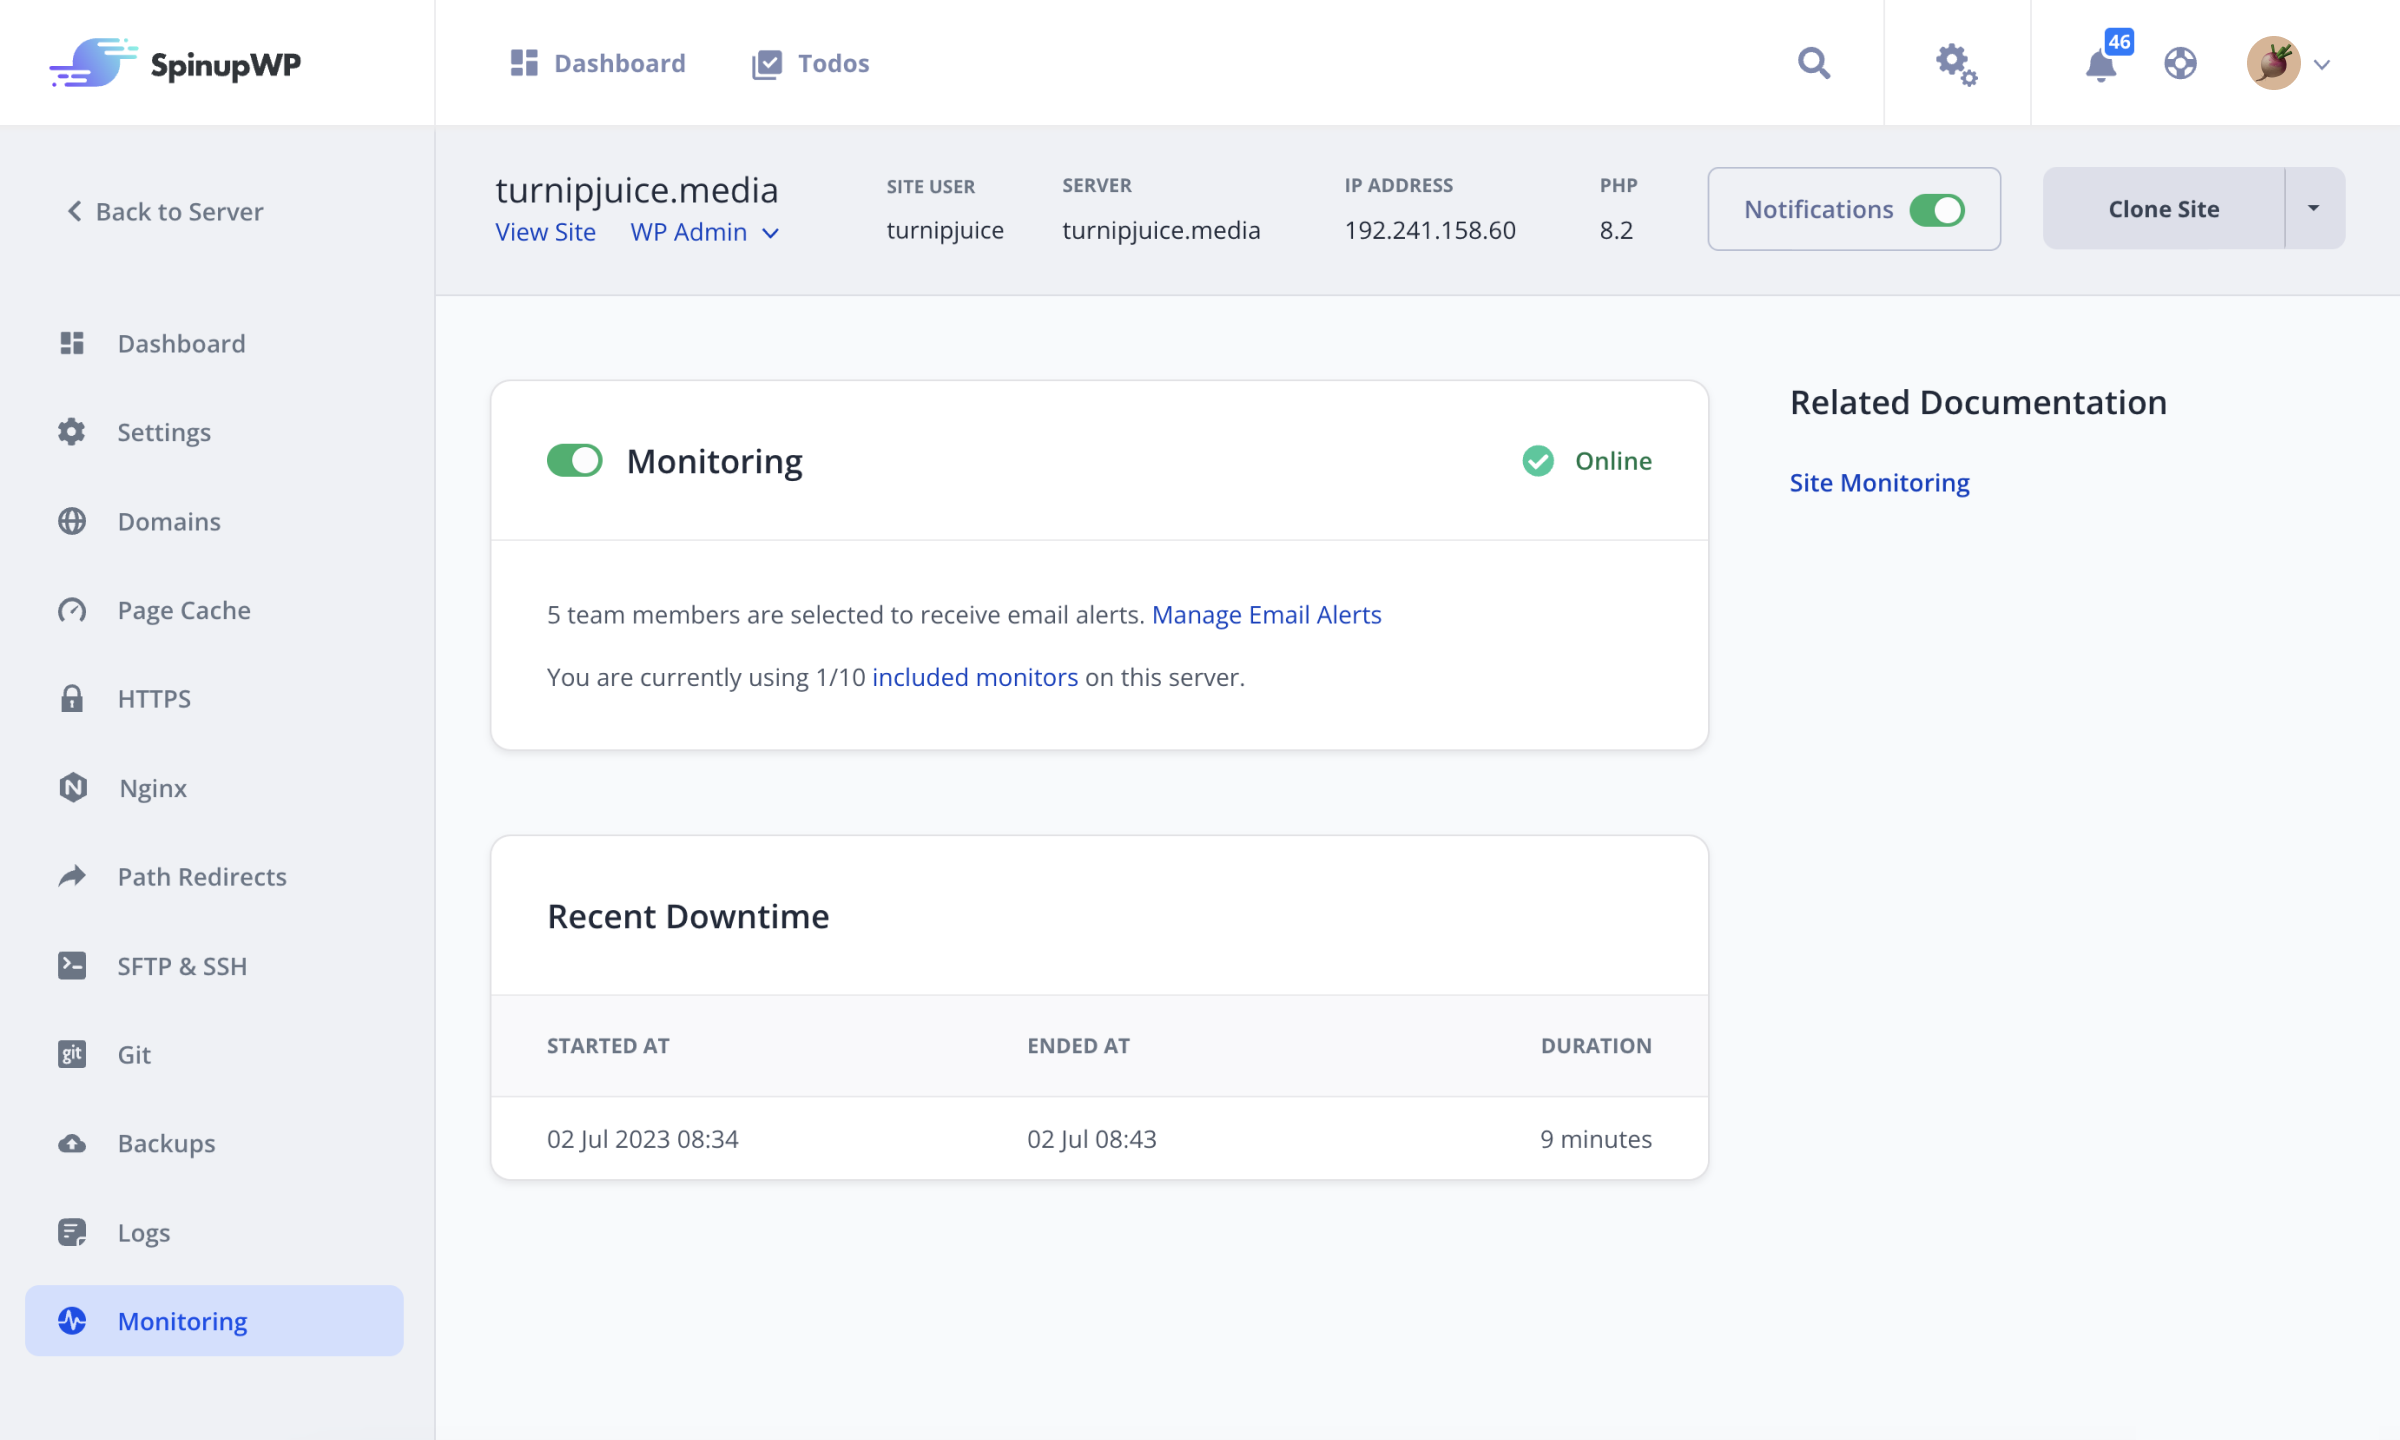
When site monitoring is turned on, SpinupWP will monitor the status of your site and alert you to outages and downtime.
A Note on Email
Email servers are notoriously difficult to set up. Not only do you need to ensure that emails successfully hit your recipient’s inbox, but you also have to consider how to handle spam and viruses (sent as email attachments). For that reason, SpinupWP does not configure your server to send or receive emails. Learn how to set up email sending for your WordPress sites.
Wrapping Up
It’s worth noting that although you can host multiple sites on the same server, depending on the size of the server, there might be performance issues if you have a large number of sites.
That’s it. We hope you enjoy SpinupWP!