How to Install WordPress on Any Provider
This guide will walk you through connecting any provider to SpinupWP. You can connect servers hosted at any provider to SpinupWP as long as you provision a fresh Ubuntu 24.04 x64/ARM server with at least 2 GB of memory.
Note that DigitalOcean and Akamai/Linode are both fully integrated with SpinupWP, meaning you can connect SpinupWP to your DigitalOcean or Akamai account and spin up servers at those providers directly from the SpinupWP dashboard. Please see those specific guides below for setup as the process is less complex.
Looking to use a major provider? We have detailed guides walking you through the server setup for the following providers:
- How to Install WordPress on DigitalOcean
- How to Install WordPress on Akamai/Linode
- How to Install WordPress on Vultr
- How to Install WordPress on AWS EC2
- How to Install WordPress on AWS Lightsail
- How to Install WordPress on Google Cloud Compute
Prefer to use another provider? Follow along below.
Before you begin, if you haven’t already, you’ll need to sign up for SpinupWP.
Create the Server
Start by logging in to your provider and creating a VPS or a dedicated server with the latest LTS version of Ubuntu without modification and at least 2 GB of memory. You will need access to the root user with either a password or SSH keys enabled.
Add the Server to SpinupWP
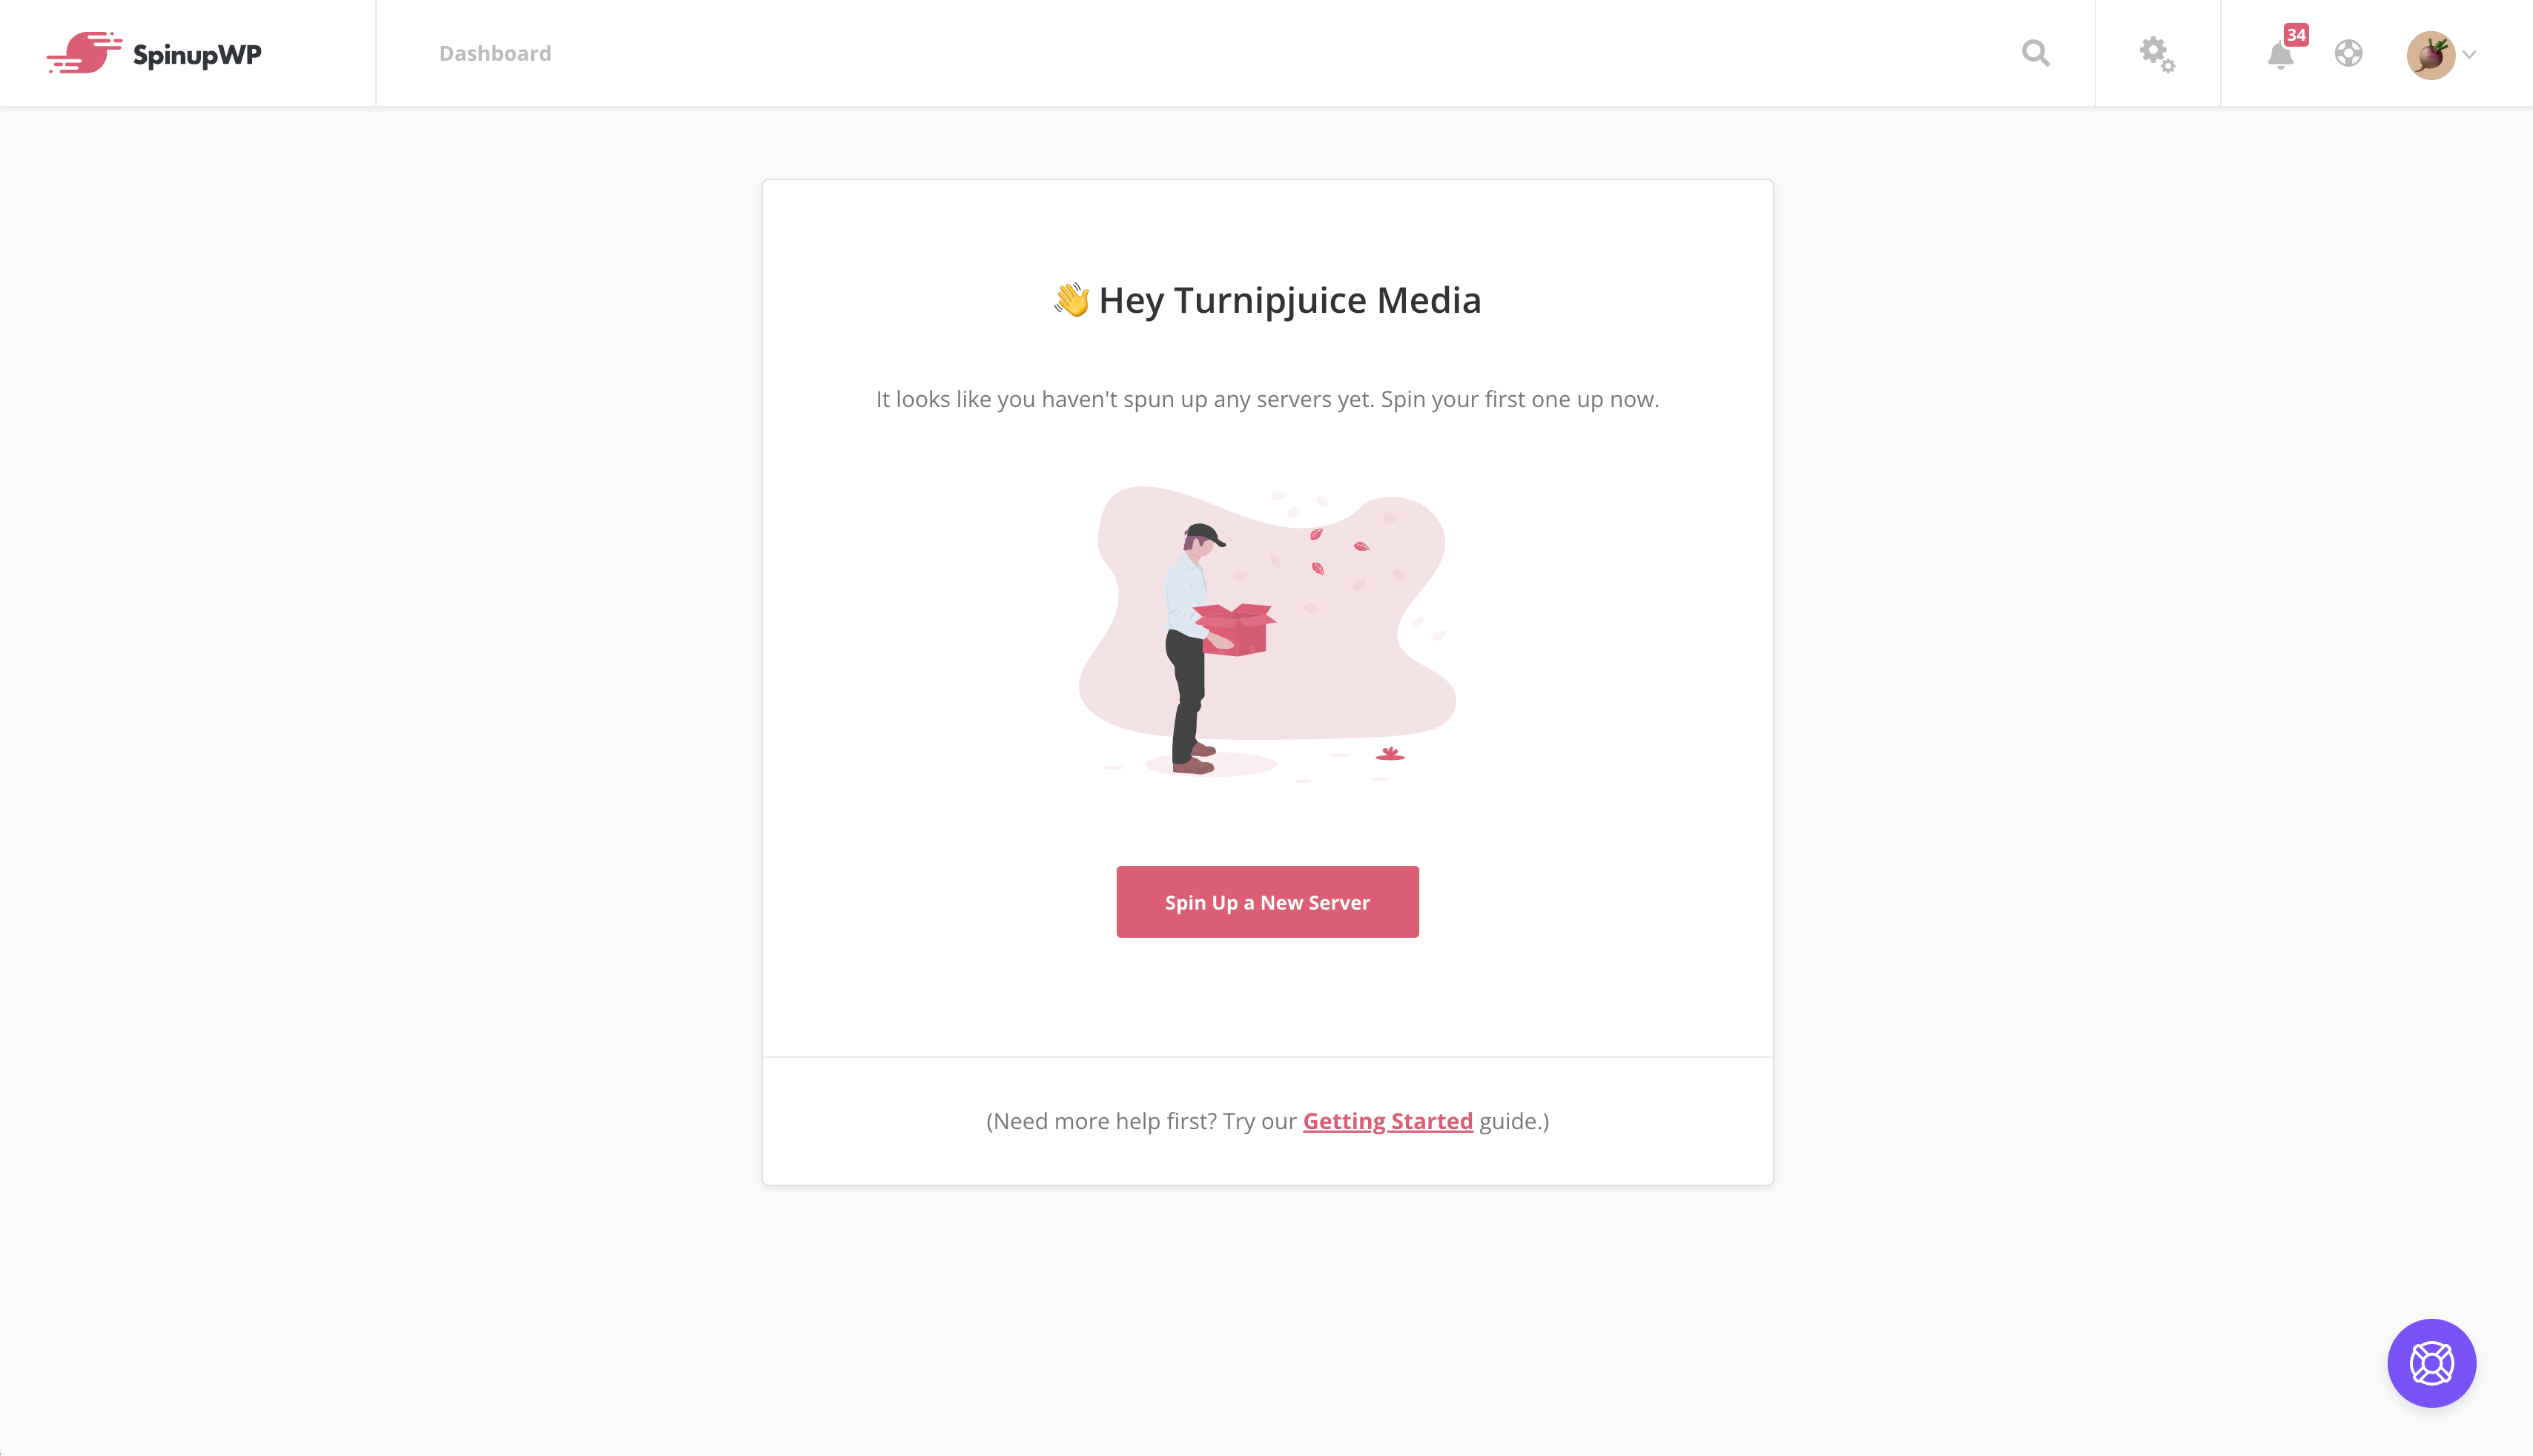
Once you’ve created a server at the provider of your choosing, log in to your SpinupWP dashboard and click Spin Up a New Server > Use Another Provider.
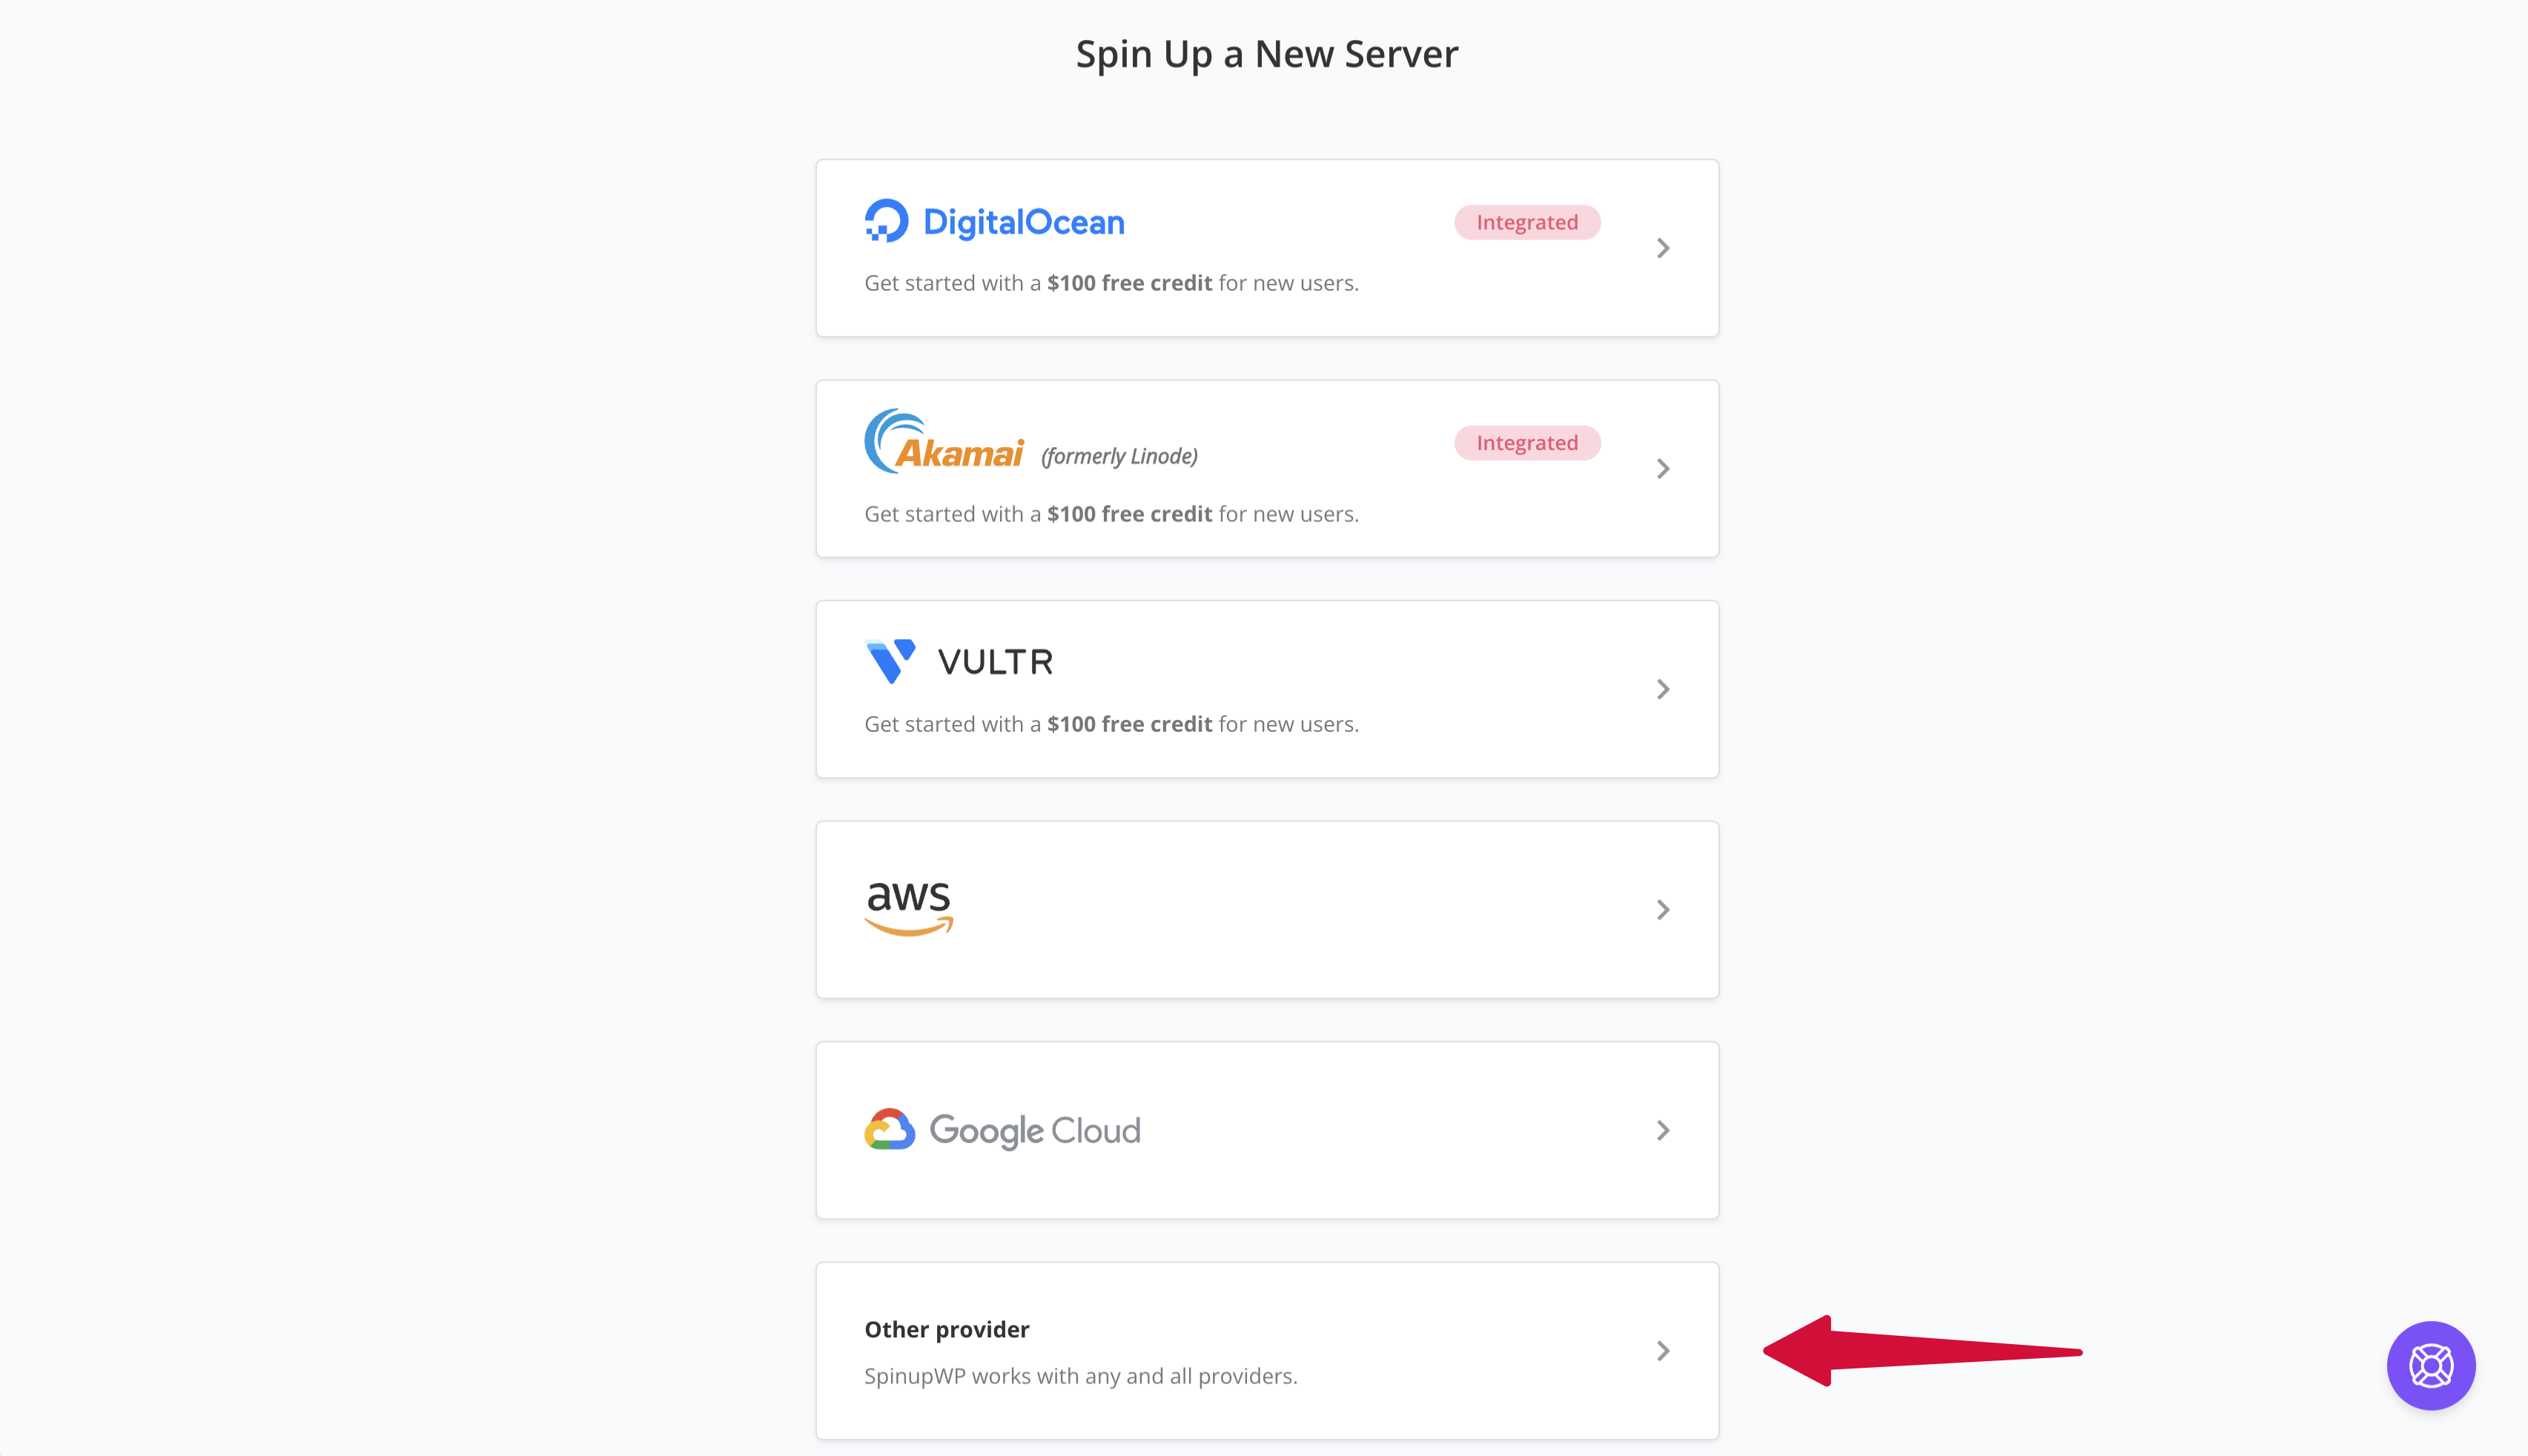
Scroll down and click Other provider then click I’ve provisioned a fresh server.
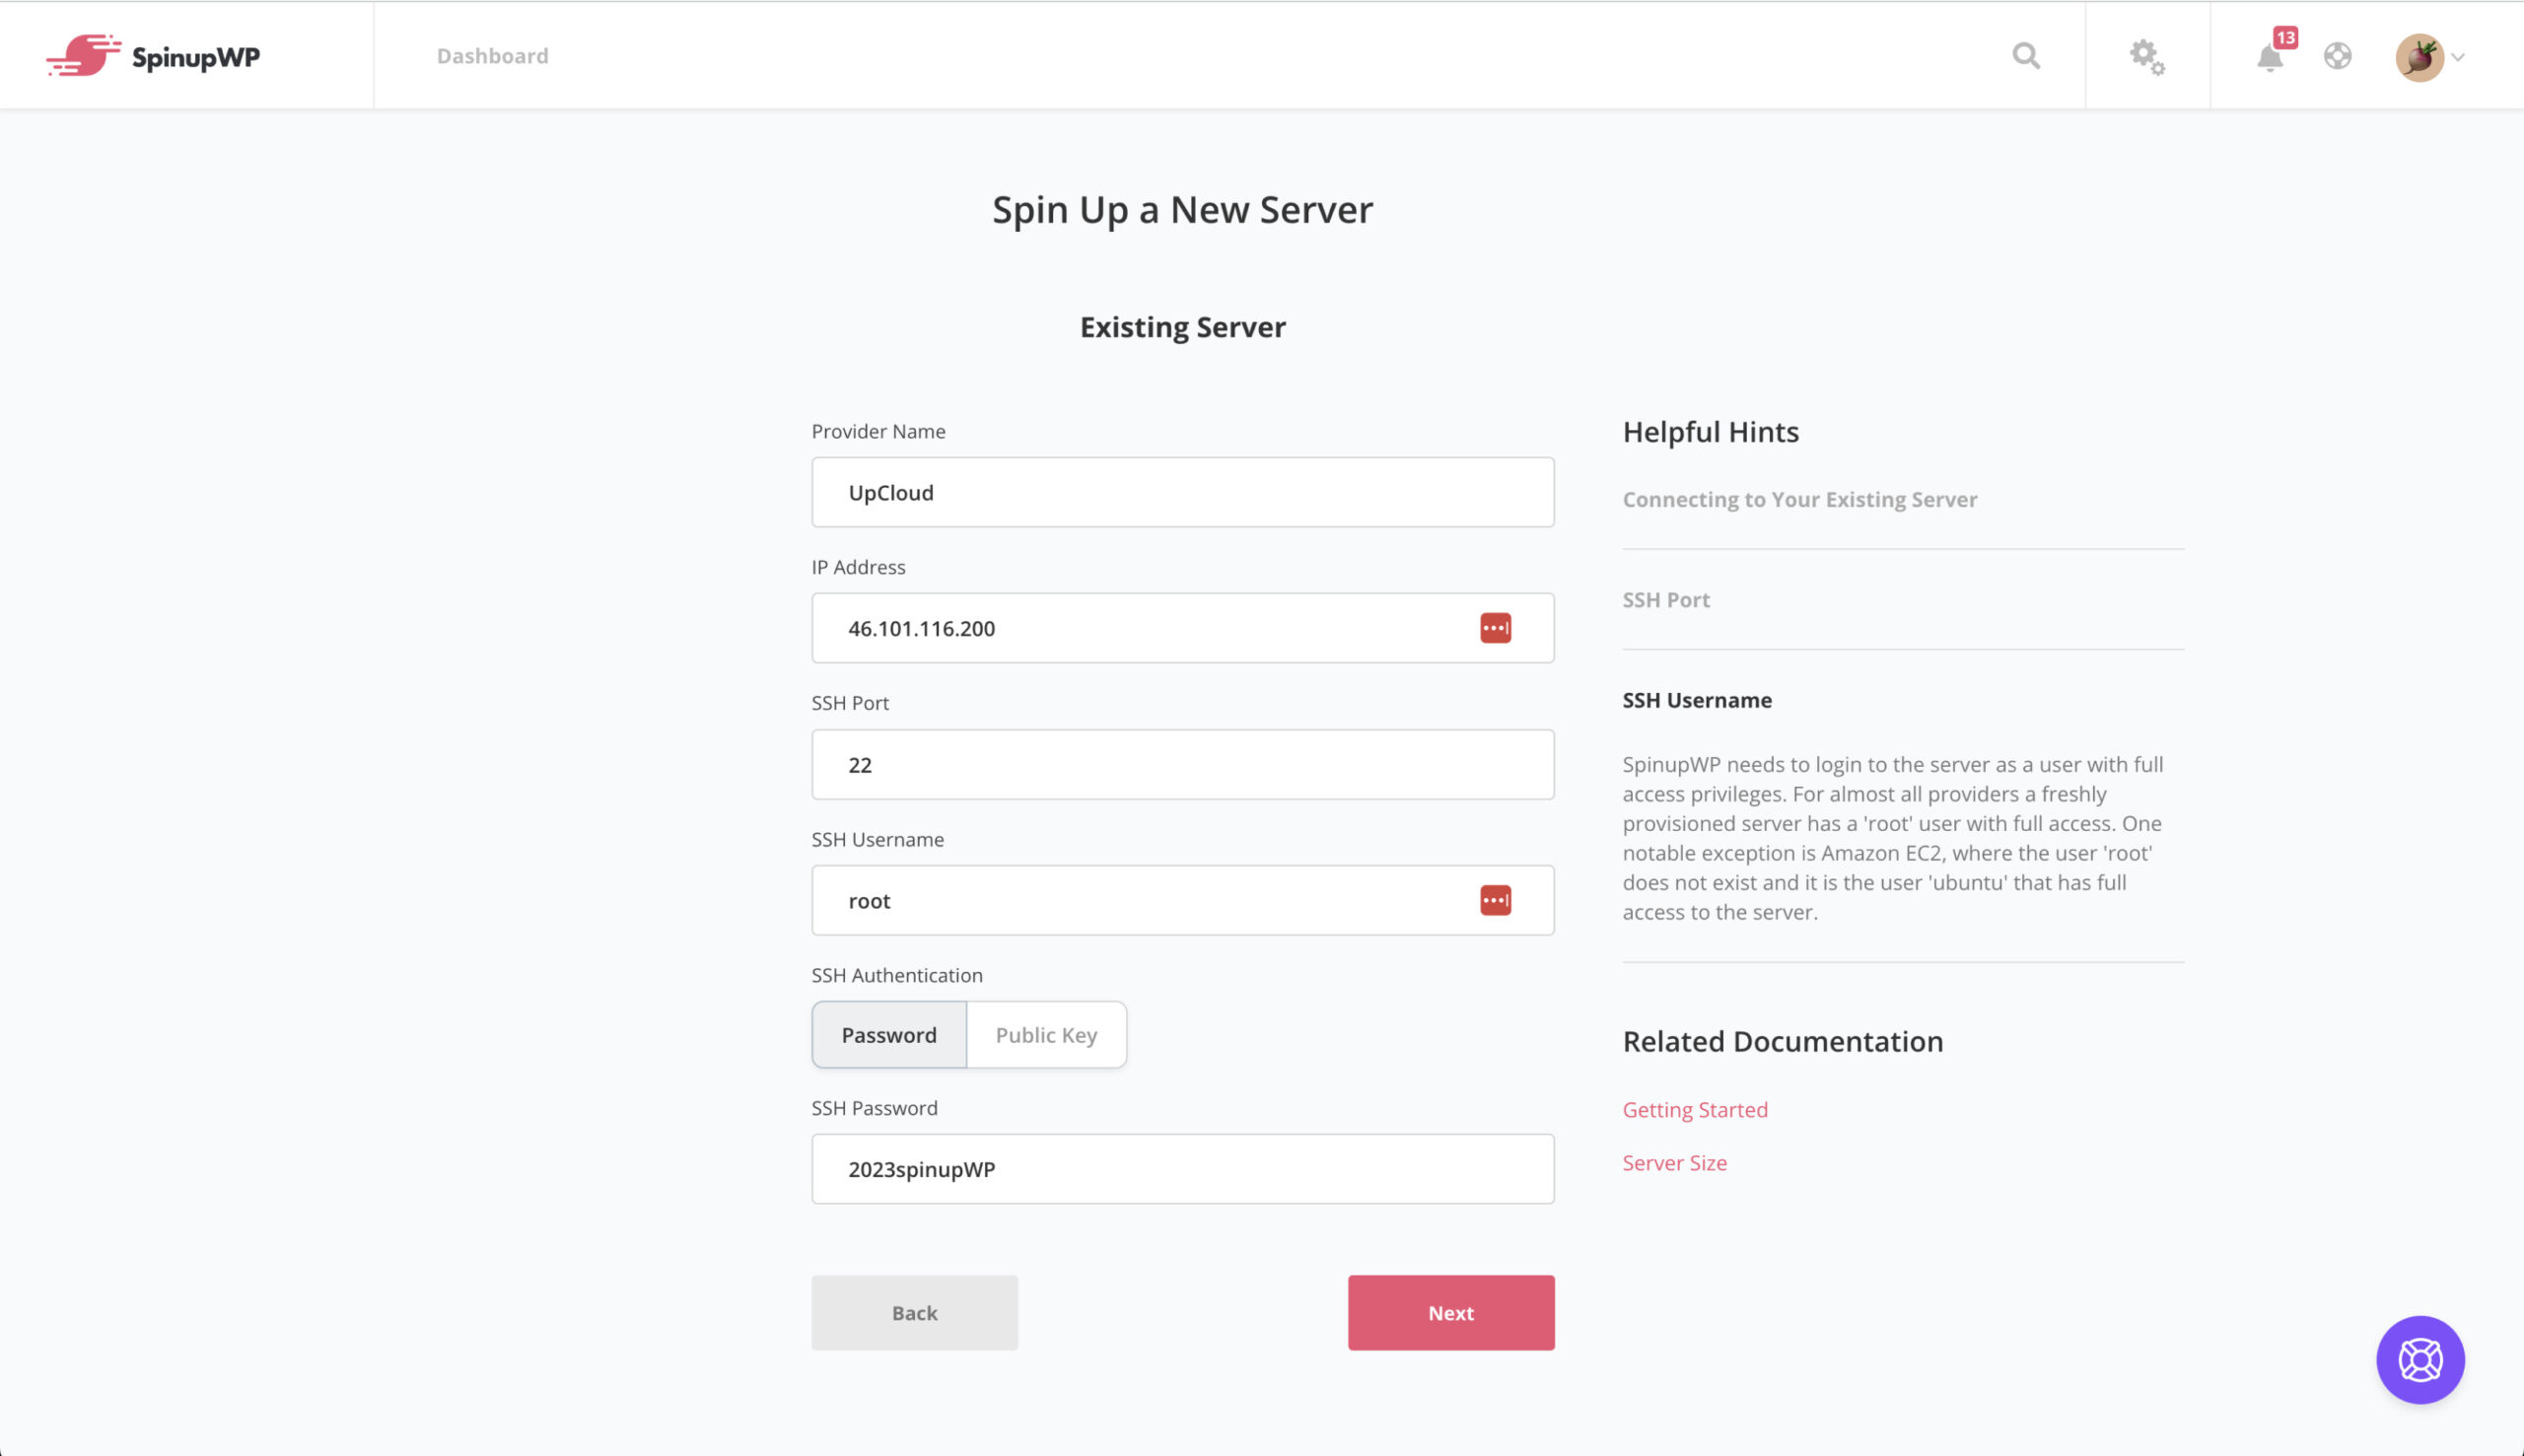
Fill out the fields with the necessary information:
- Provider name
- IP address
- Port number
- SSH username (
root) - Authentication method
SSH login using password authentication is the easiest way, but if that’s disabled, you will need to SSH into the server and add the provided public key to the default user.
It is important to note that SSH access for the default user, usually the root user, will be disabled as part of the SpinupWP provision process as per security best practices.
Click Next and wait for the verification process to finish.
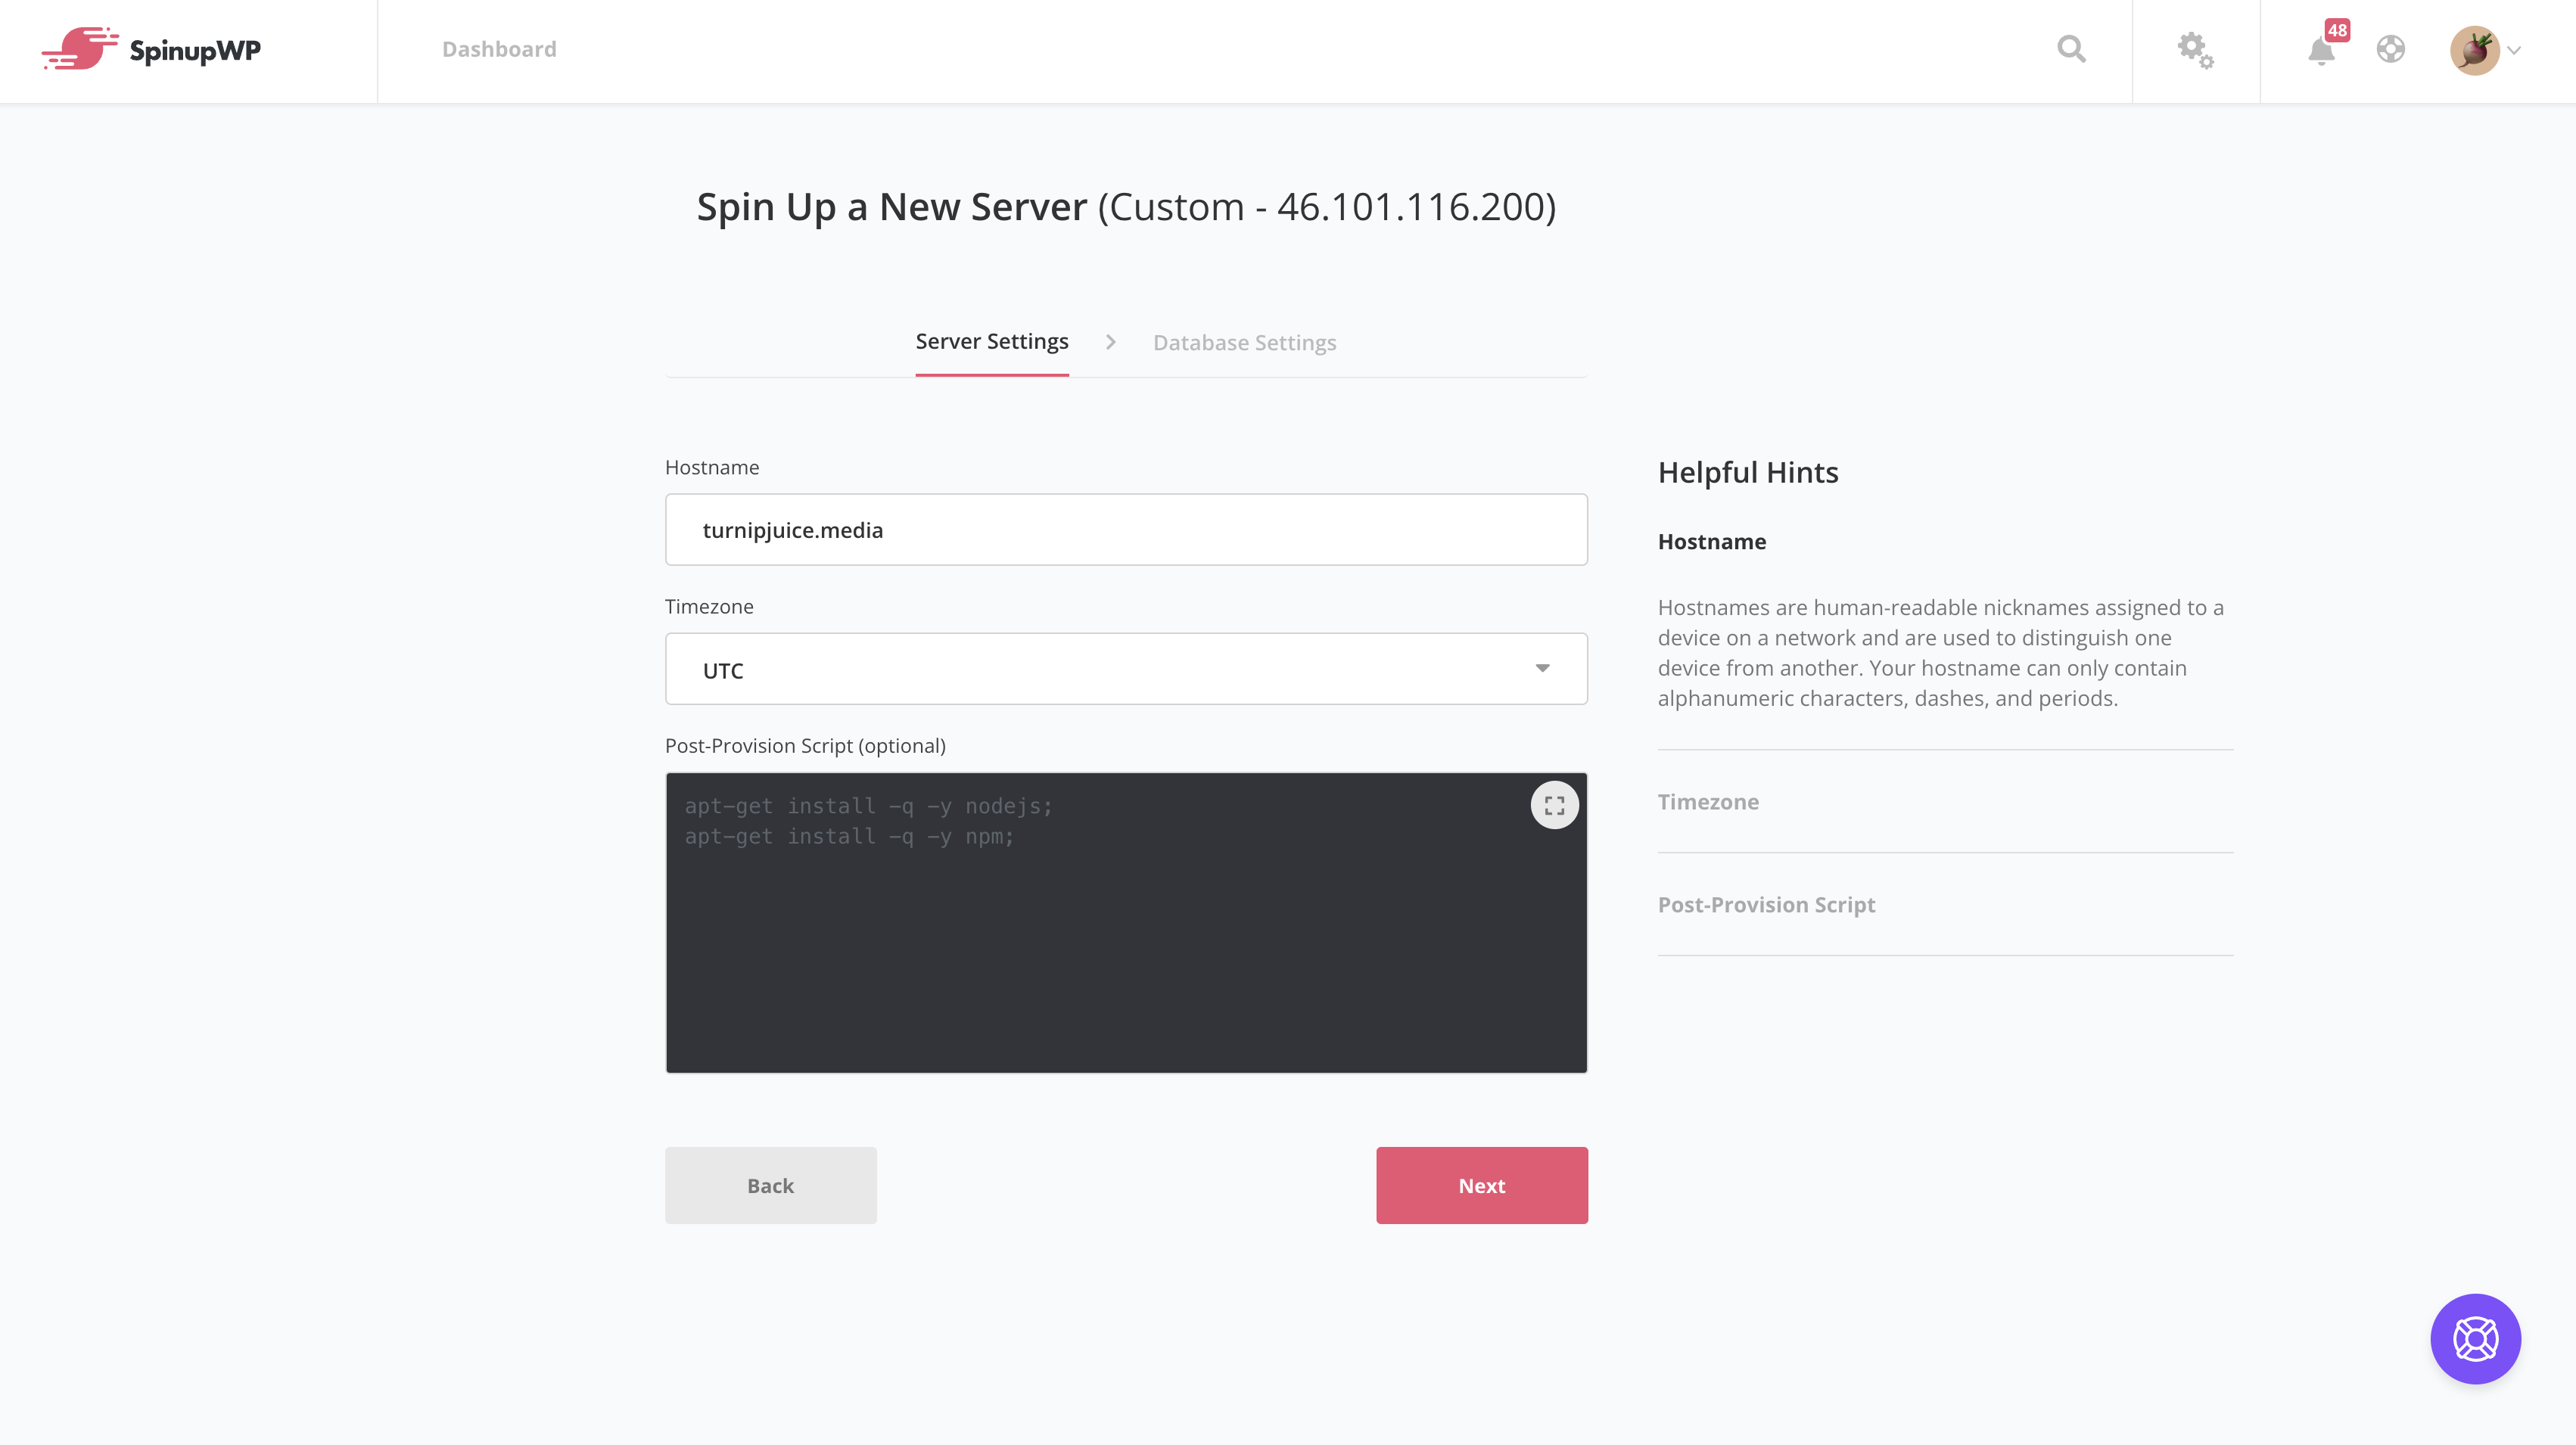
Once connected, click Next to add the Hostname.
Click Next again to install the database.
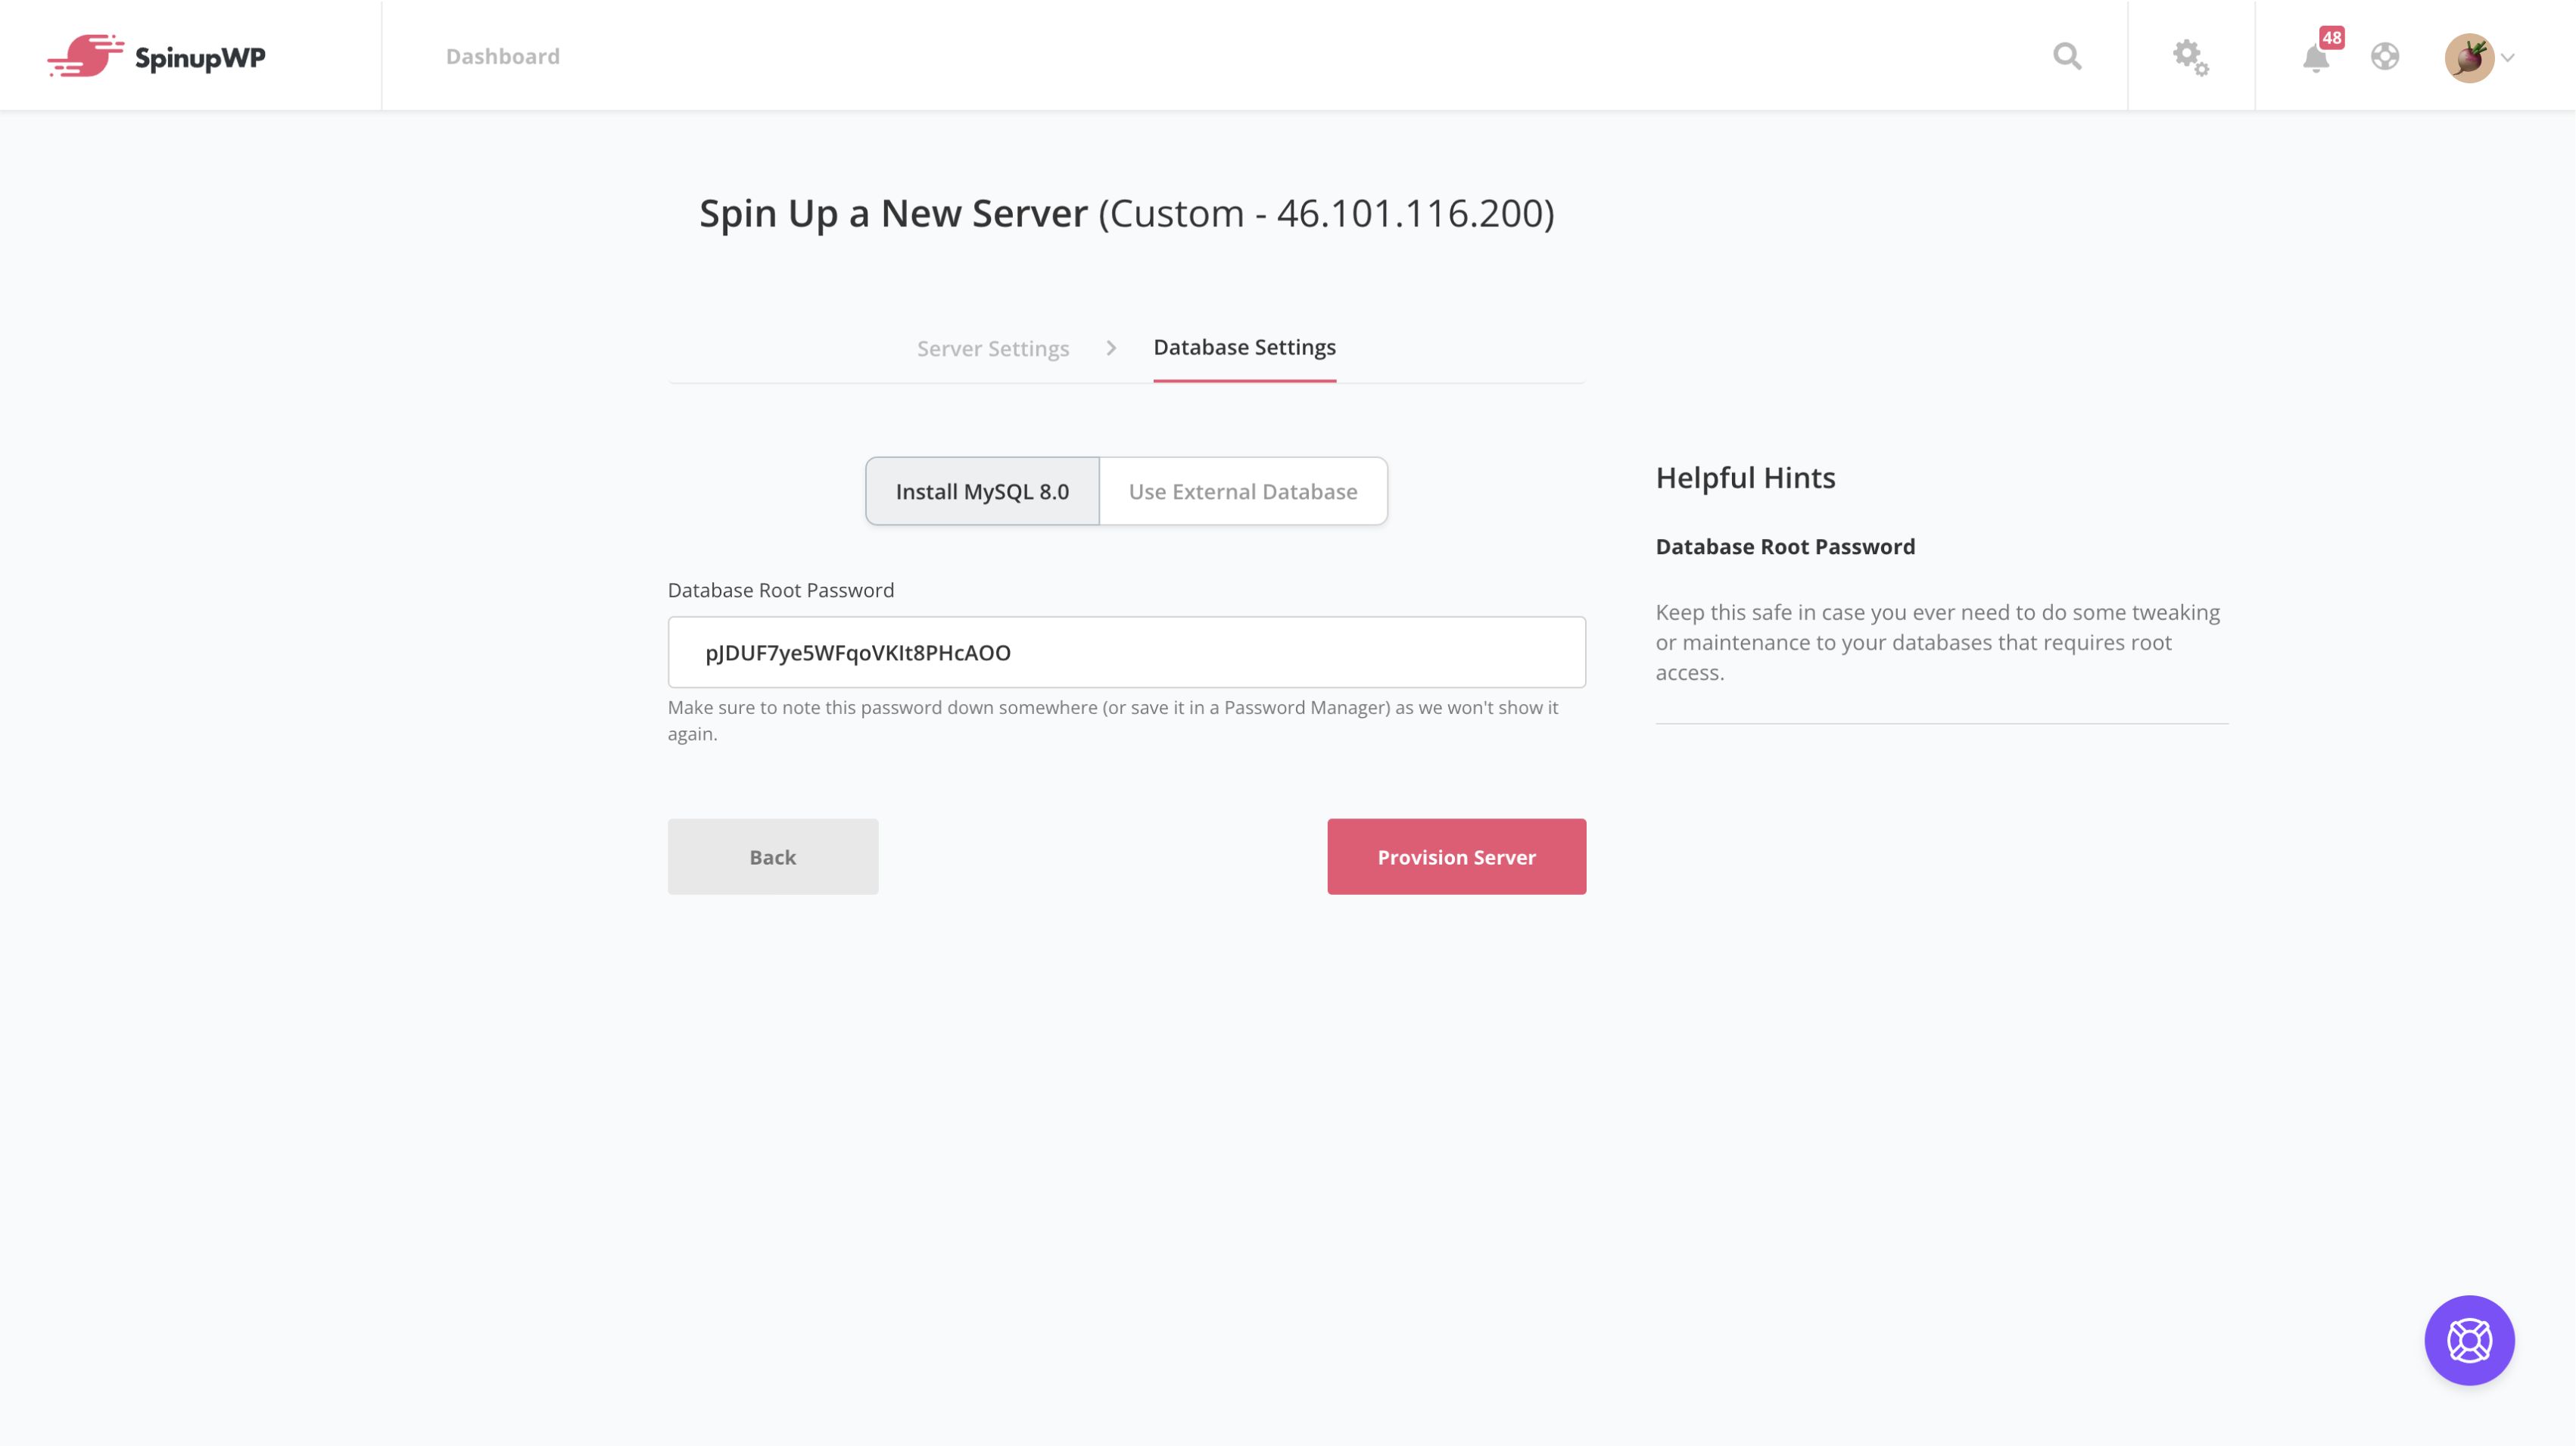
Copy the database root password and put it somewhere safe. Then, click Provision Server to begin the provisioning process. SpinupWP will take care of installing Nginx, PHP-FPM, MySQL and any other software required for hosting WordPress. The following docs will help you understand more about how the server is set up and configured:
- Understanding System Users
- File Ownership and Permissions
- Server Paths & Locations
- Understanding PHP Pools
- The SpinupWP Cache Daemon
The process should take around 10 minutes. At this time, it is now safe to close the browser or visit another page.
Next steps
Once the server has finished provisioning, you’re ready to start adding sites. Follow our Getting Started guide for next steps.
What to expect after adding a site? You’ll have the option to configure your server and sites to your needs via the SpinupWP dashboard.
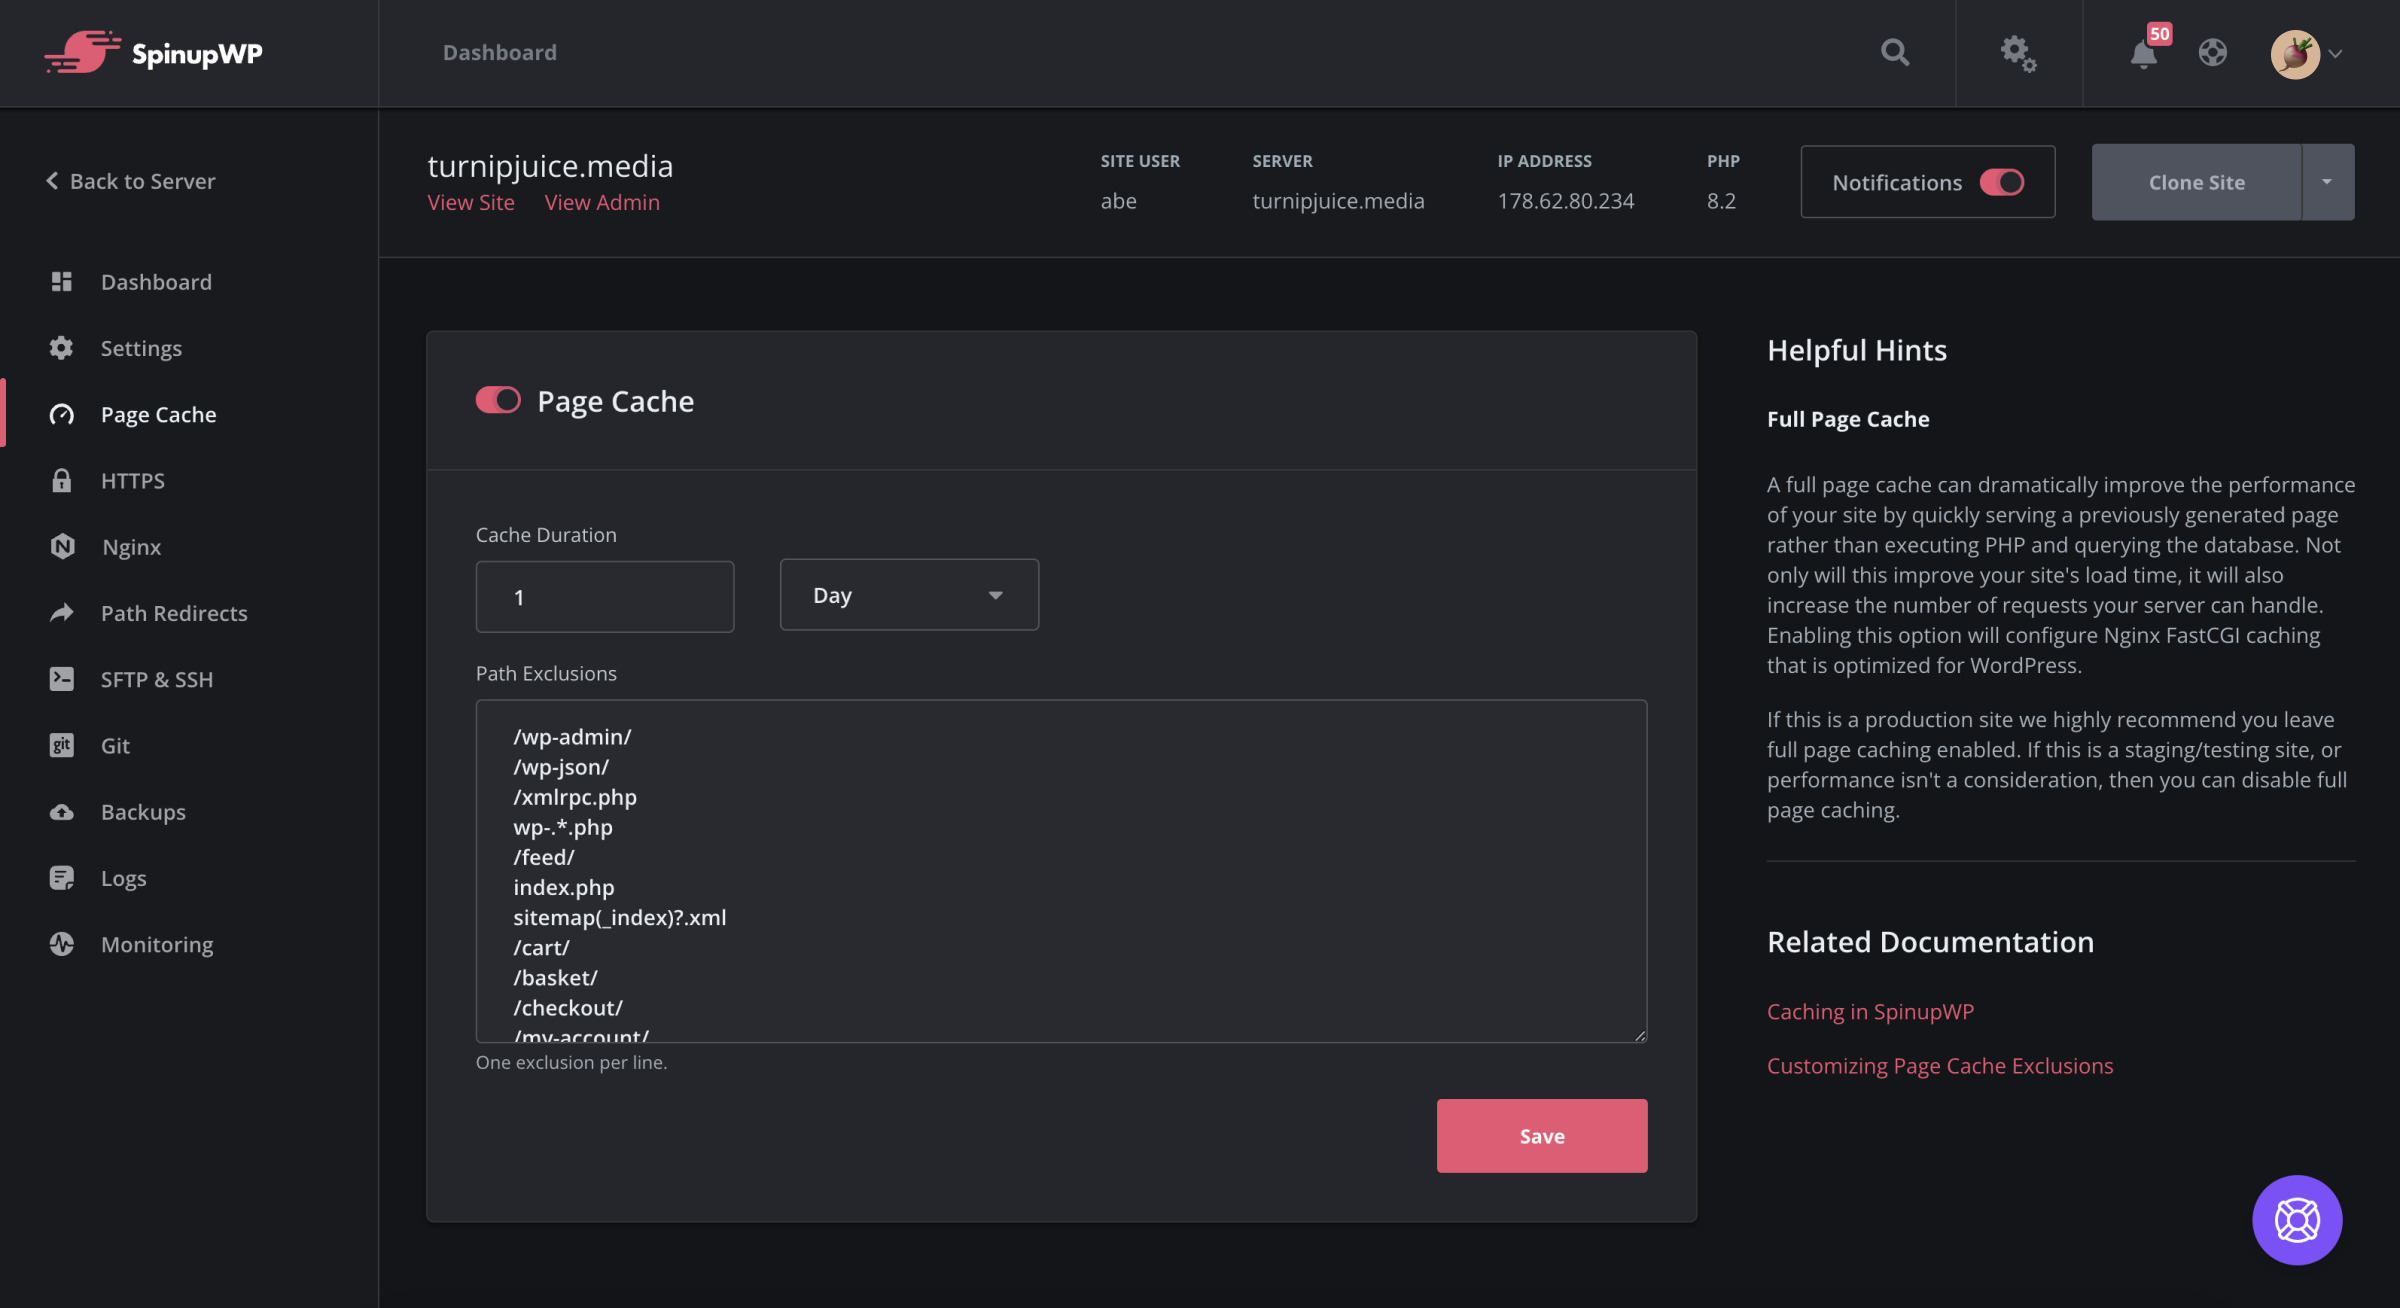
You’ll be able to quickly enable page caching. When enabled, SpinupWP configures full page caching, essentially turning your site into a static site and dramatically improving the load time of your site.
You can also toggle on an SSL certificate to enable HTTPS. This generates a free Let’s Encrypt certificate so you don’t have to manually manage this yourself. If you’d prefer to use a custom SSL certificate, you’ll have the opportunity to upload that instead.
If you’re looking to add rewrite rules or prevent PHP scripts from being executed in the uploads folder, the Nginx settings steps will cover that.
We’ll also cover enabling SFTP & SSH access to your site and setting up site backups.
SpinupWP can take care of automated daily site backups which include full backups of your site files (media, themes and plugins). You’ll have the option to backup to Amazon S3, DigitalOcean Spaces, Akamai/Linode, Google Cloud Storage, Wasabi or Backblaze B2.
Follow our Getting Started Guide for step by step instructions for all of the above mentioned features and more.